How to customise the text input cursor in Windows 10
To set cursor highlight colour and thickness:
- Launch Settings.
- Click “Ease of Access”.
- Switch to the “Text cursor” page.
- Adjust settings to your preferences.
Applies to Windows 10 20H1, and up
Windows 10’s May 2020 update added new options that let you customise the text input cursor (caret) displayed while you type. They can be found by opening the Settings app, clicking the “Ease of Access” category and switching to the “Text cursor” page from the menu on the left.
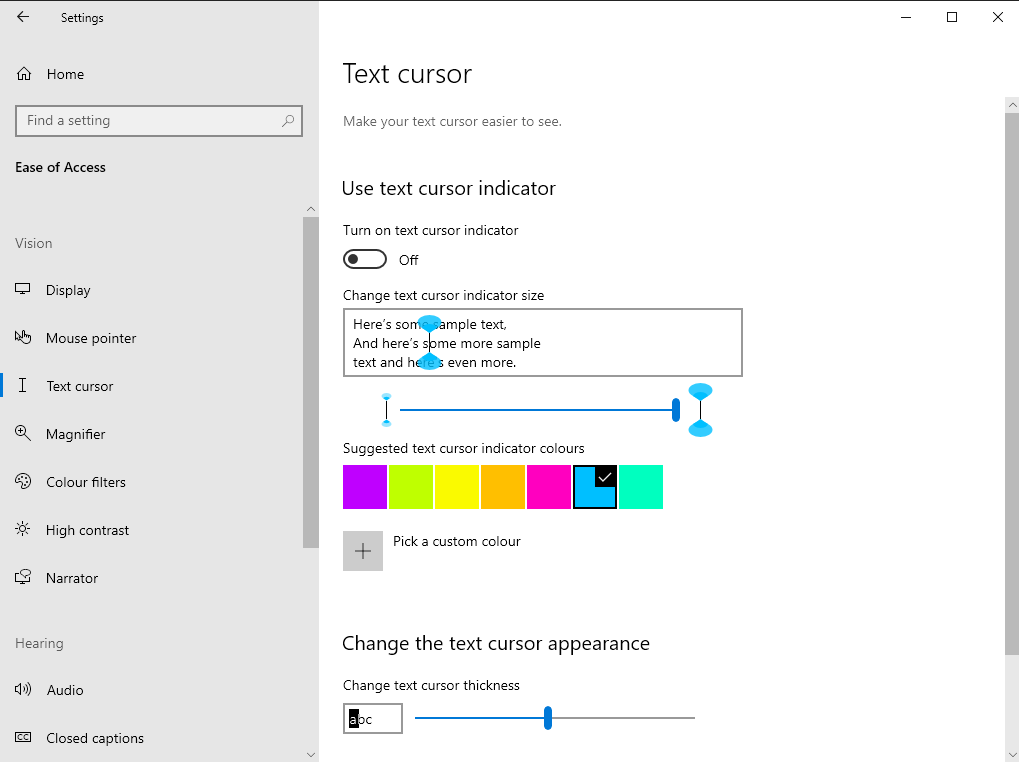
You can change the thickness of the cursor and choose to have coloured indicators appear around it. This is primarily intended for accessibility purposes, to make the cursor easier to see. At the same time, it gives you the opportunity to colour the cursor and tone it into your chosen accent colour.
To adjust the cursor’s thickness, use the slider at the bottom of the page. A setting somewhere around the middle of the slider will give you a squared block shape, reminiscent of the classic Windows Command Prompt box cursor.
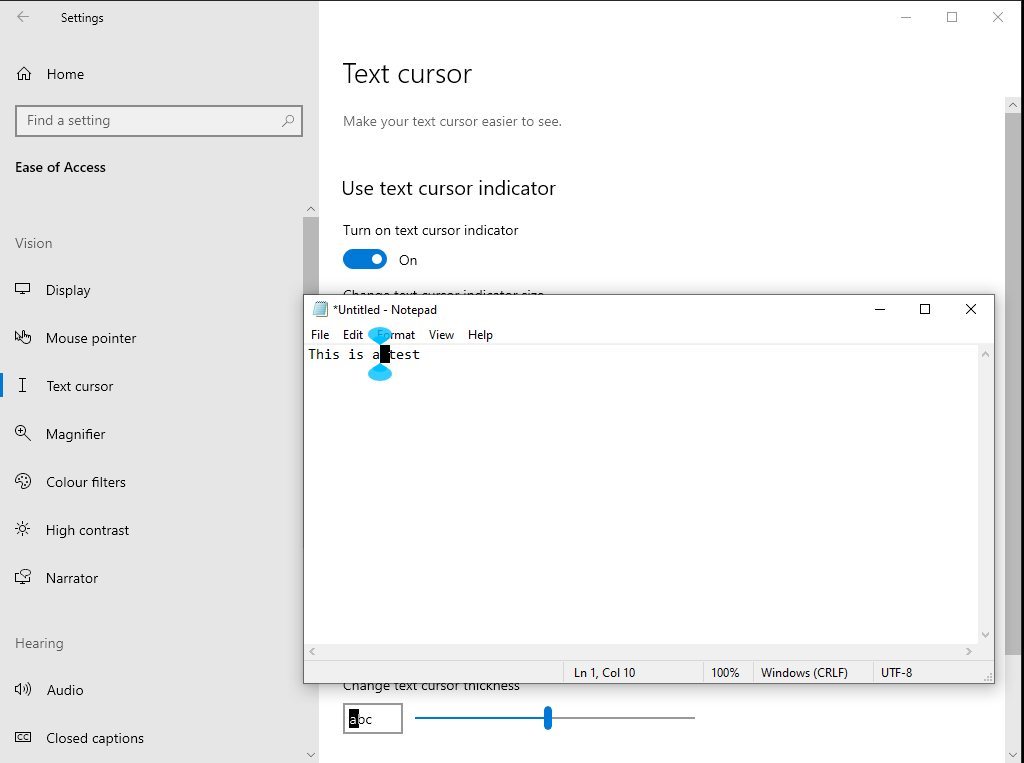
To enable cursor colour indicators, first activate the “Turn on text cursor indicator” toggle button at the top of the page. You can then pick a colour from the suggested neon palette, or press the “Pick a custom colour” button to access a full colour picker. The size of the indicators can be adjusted with the slider.
Cursor style changes apply immediately and will affect all of your apps. Although there’s no way to recolour the cursor itself, the coloured indicators may help you identify the cursor while providing an extra personalisation option.