For the upcoming Windows 10 Creators Update, Microsoft is adding several new ways to interact with your devices, like the Surface Dial for example or the Virtual Touchpad.
In the Insider Preview build 14965 for PCs, the company introduced a Virtual Touchpad that gives you an on-screen touchpad to replace mouse when necessary. The functionality is created especially for those moments that you don’t have a mouse, and also when hook up your tablet to a second display. Interestingly, the option went missing in build 15002, but was soon back.
To enable the Virtual Touchpad, press the Taskbar or right click on the Taskbar, and from the menu options, tap/click on the Show touchpad button.

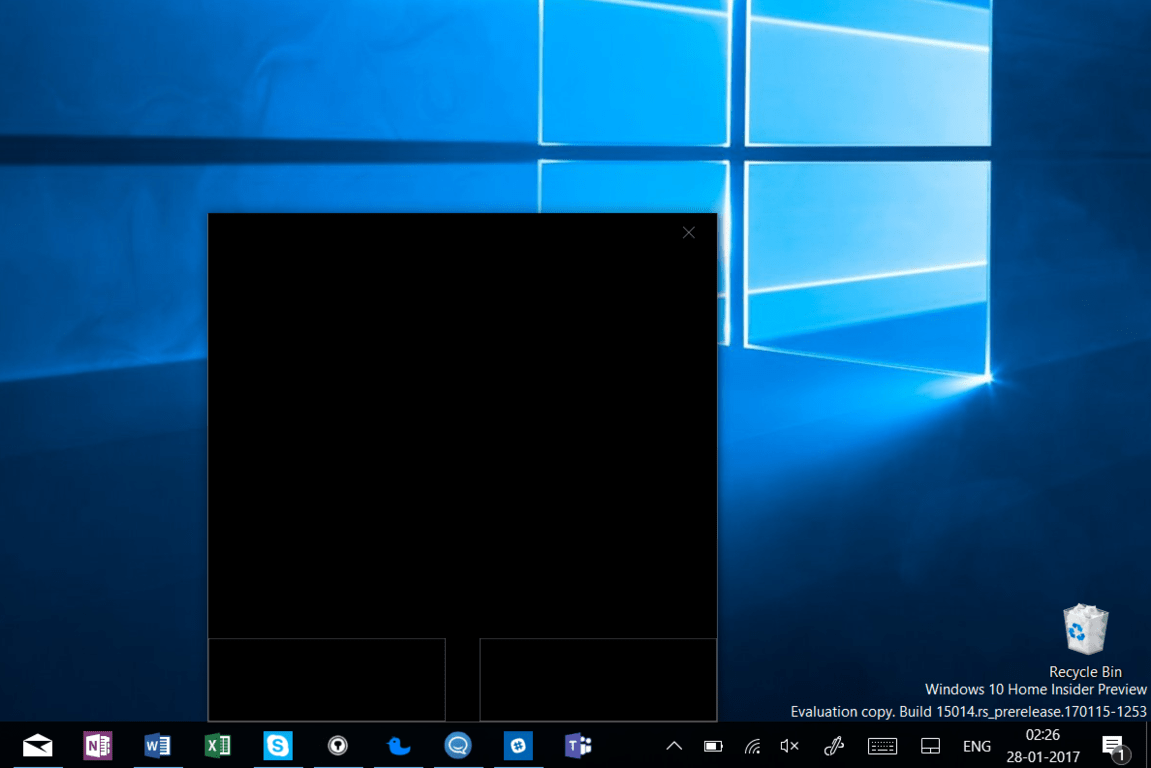
This will display a Touchpad icon on the bottom right of the Taskbar, near the clock. Tapping or clicking the Touchpad icon, will display the Virtual Touchpad.

You can move around the on-screen touchpad by simply dragging it around. Once you’ve placed it where you wish, you can drag your finger on the touchpad for pointing and tapping and use Windows 10 gestures for scrolling etc. as well. Also, just like the physical touchpad on your laptop, you can configure the Virtual Touchpad with the same settings by navigating to Settings > Devices > Touchpad.
Have you tried the Virtual Touchpad on your Windows 10 PC or tablet? What are the different scenarios where this can come handy? Tell us in the comments.
Further reading: Windows 10, Windows 10 Creators Update