
Install Linux subsystem on Windows 10
Since Windows 10 Fall Creator’s Update (version 1709), you’ve been able to fairly easily host a Linux subsystem on Windows, to host a Linux distribution like Ubuntu, and run Linux commands from Windows. To get started, first you need to enable the Windows Subsystem for Linux (WSL) on your PC:
- Open Start, and begin typing Turn Windows Features on and off until you see it offered in the results
- Click on Turn Windows Features on and off and scroll down and check Windows Subsystem for Linux
- Click on OK, and WSL will install. You’ll need to reboot to enable it.
- From there, go to the Windows Store and choose your preferred Linux distribution
- Click on Get, install the distribution, and launch it from the Start menu
Applies to Windows 10 1709, and up
In 2016, Microsoft made a stunning announcement during its annual Build developers conference: it was bringing the Linux shell Bash to the Windows desktop* as a first-class citizen.
The initial branding of “Bash on Ubuntu on Windows” obscured a lot of the underlying technology though – what Microsoft really engineered is a way to layer a Linux stack on top of Windows, without emulation or virtualisation. The “Windows Subsystem for Linux” provides a Linux kernel interface to the Windows kernel, so Linux apps get their kernel calls seamlessly translated into native Windows ones.
The early naming also hid the fact that it’s not just Ubuntu that’s supported. While the first release was Ubuntu-only, the subsystem’s now been expanded to support many other Linux distributions including Debian and SUSE.
Enough of the technical talk – let’s get started installing a Linux distribution on Windows, natively. For illustrational purposes, we’ll be going ahead and using Ubuntu. The process is very similar for other distributions. We’ll also assume you’re using the Windows 10 Fall Creators Update (version 1709) or newer; older versions of Windows 10 do require a different installation process.
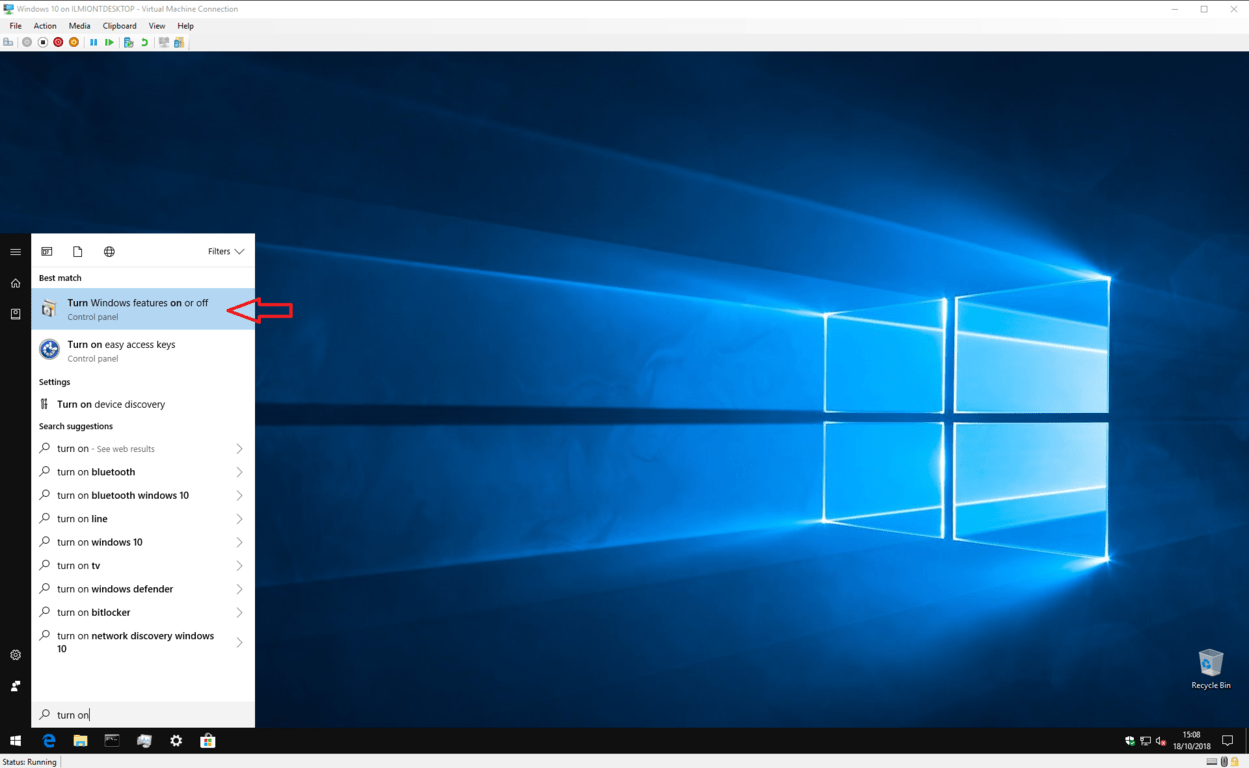
To begin, you need to enable Windows Subsystem for Linux support on your device. Open the Start menu and type “turn on” until you see the “Turn Windows features on or off” program. Launch it and scroll down the list to “Windows Subsystem for Linux.”
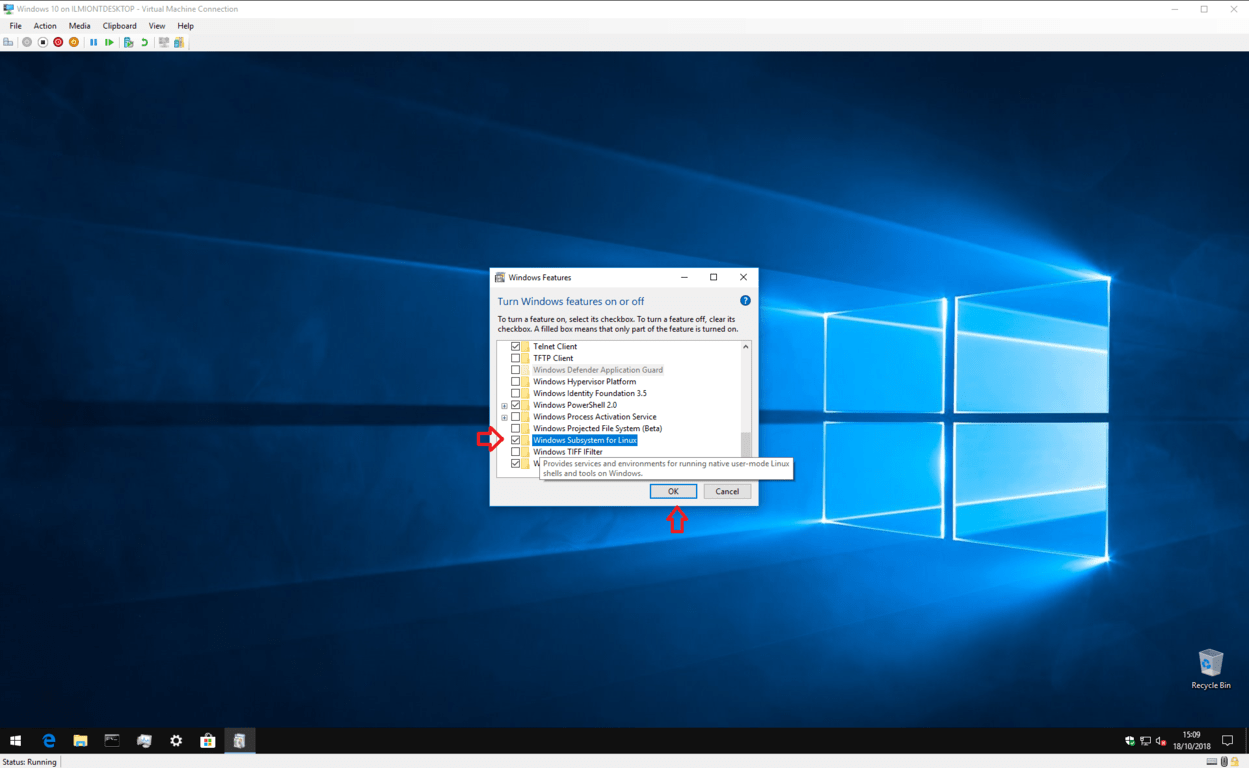
Tick the checkbox, press OK and wait while Windows configures the feature. You’ll then be prompted to reboot your computer; come back to this tutorial once you’re back at your desktop!
Now you’re ready to download the Linux distribution itself. This is much simpler than it used to be, as distros (that’s Linux parlance for “distributions,” or operating systems) have been hosted in the Windows Store since the Windows 10 Fall Creators Update.
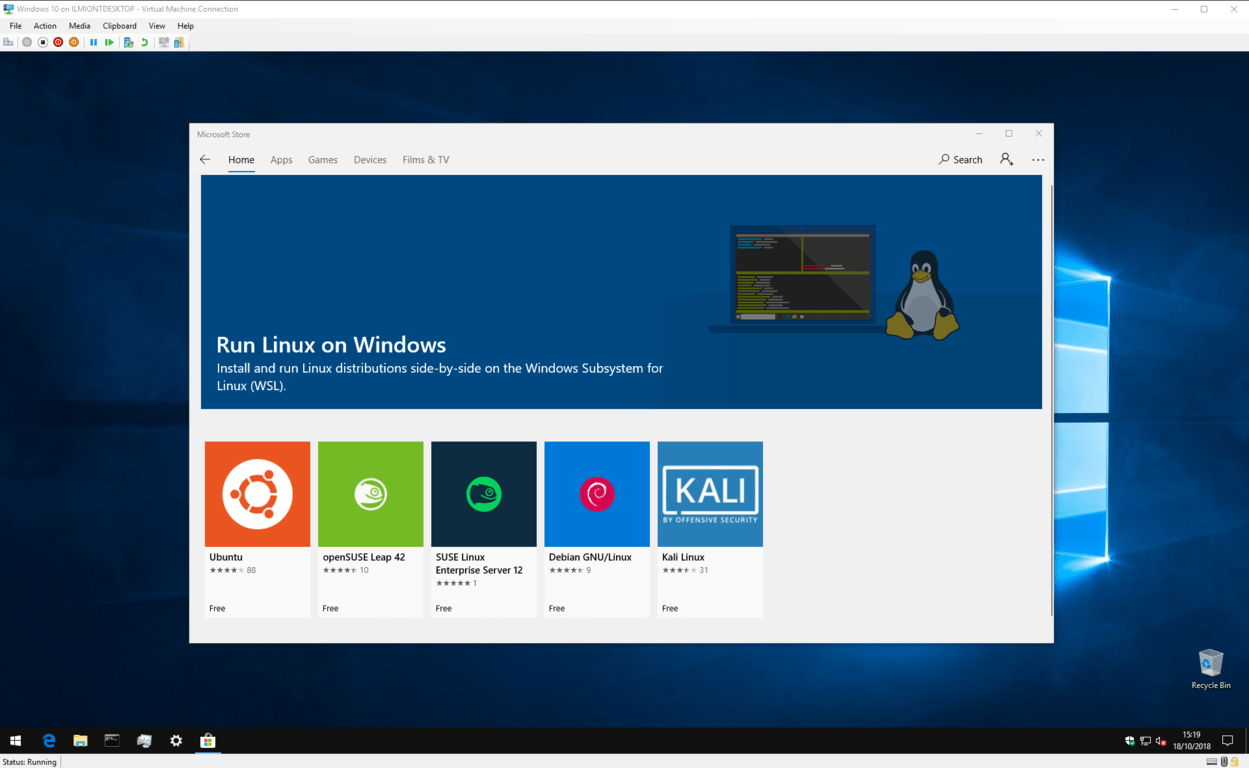
Open the Store and search for the name of your distribution. You can also search for “linux” to see a link to a special page showcasing all the available distributions. As mentioned, we’ll be running Ubuntu, but you’re free to choose an alternate distro if you prefer.
At this point we’ll add a brief note on versioning – some distros, Ubuntu included, have multiple pages in the store with each one dedicated to a specific release. The “Ubuntu” listing, for instance, always tracks the latest long-term support (LTS) Ubuntu release, which is 18.04 at the time of writing. If you want to install a particular version, make sure you’re on the right page first.
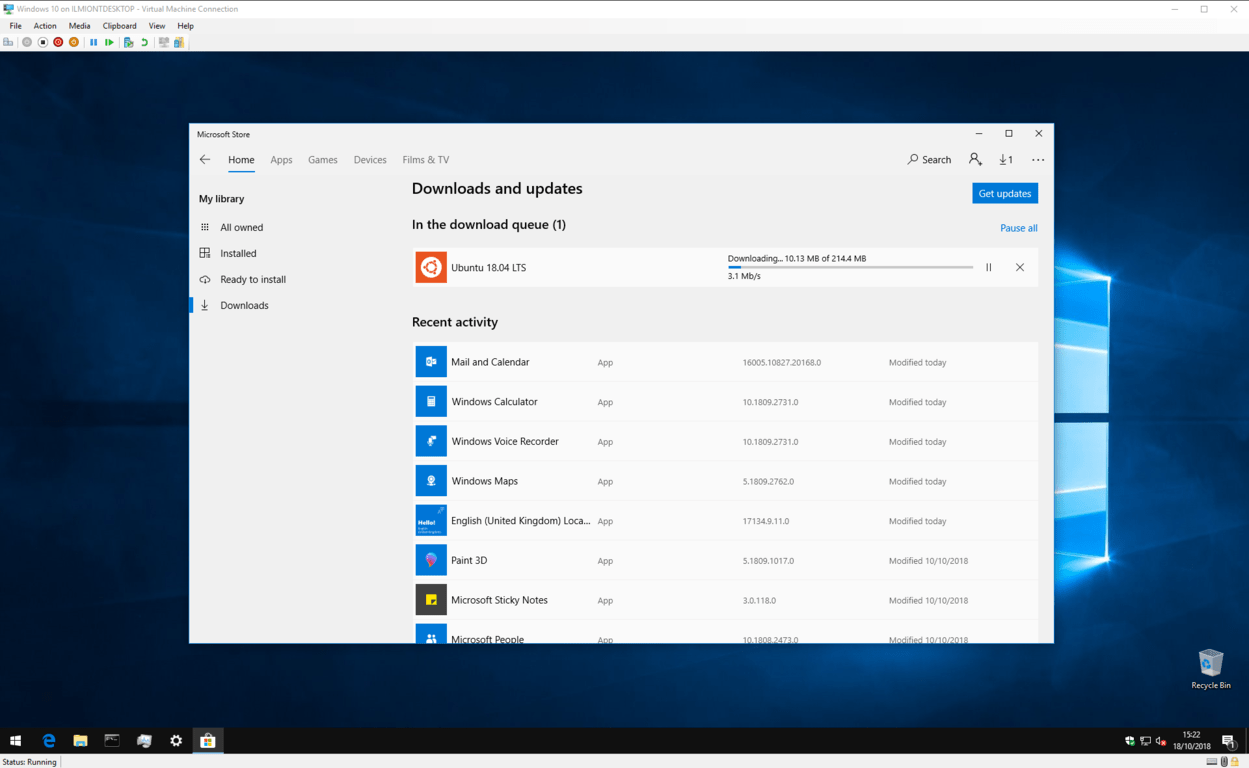
When you’ve found the distro you want to install, simply click the “Get” button. The Linux distribution will download and install itself like any other app from the Windows Store.
After the install completes, launch the distribution from the Start menu. A console window will launch and display progress as final installation and first-run steps are performed. Wait while these activities complete.
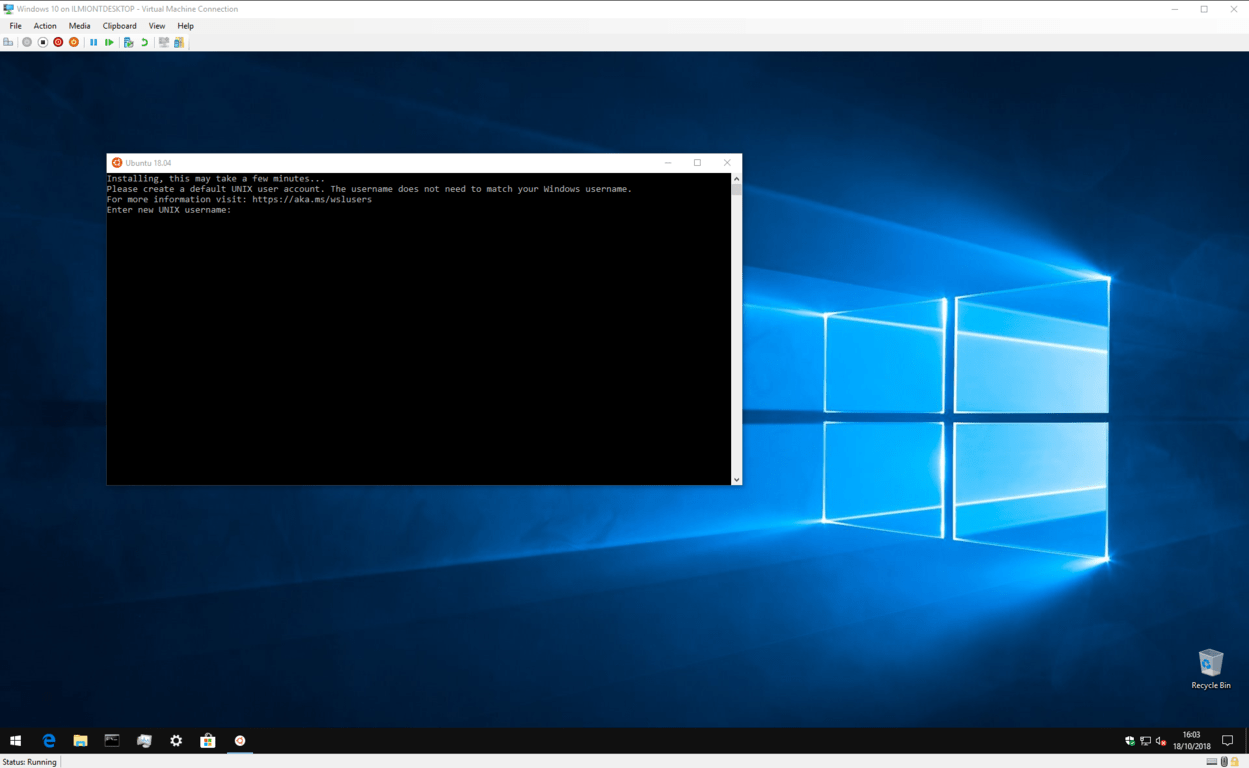
You’ll then be deposited at a UNIX user account creation screen. Follow the steps to create your new Linux user account within your distribution. Feel free to choose any username and password – they don’t need to be linked to your Windows credentials.
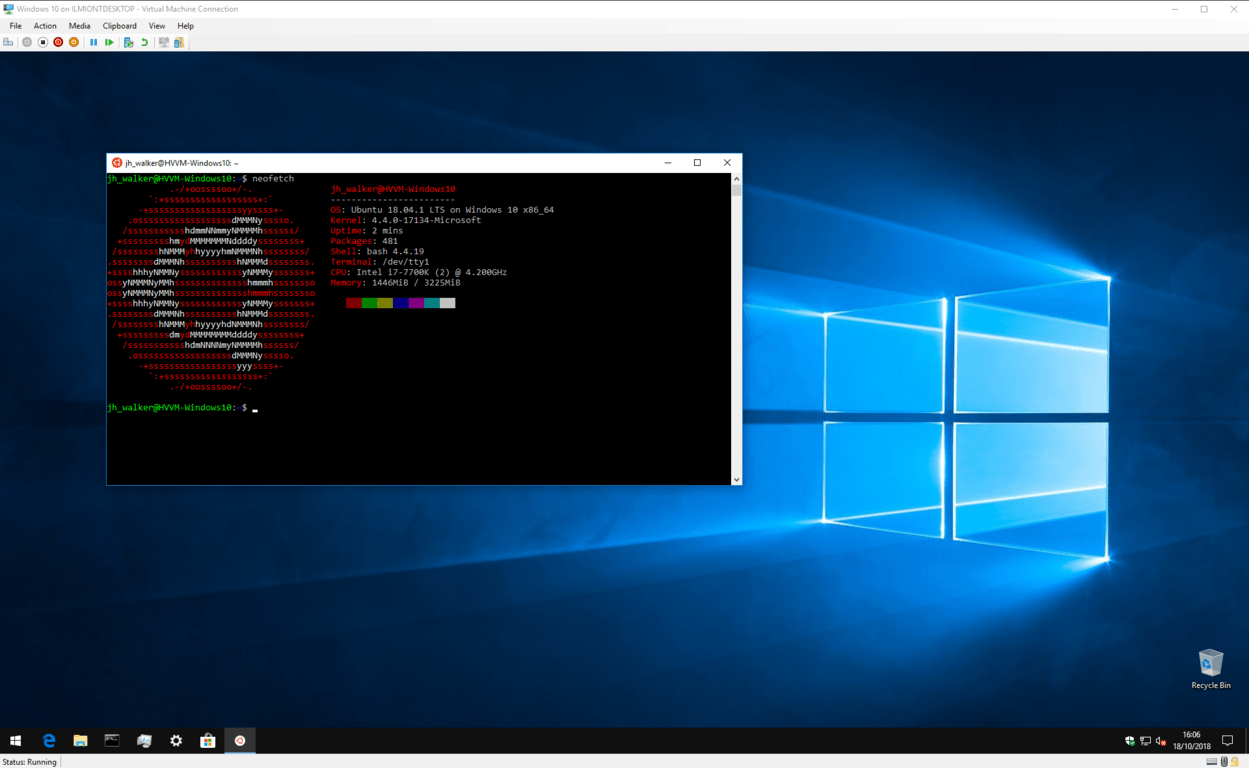
Now, your distribution should be ready to go. Next time you launch it, WSL will start almost instantly and present you with a fully-functioning Linux terminal. You can install Linux software using the distro’s regular package manager, but remember that not all programs will function correctly – or at all – under the basic Linux kernel provided by the Windows Subsystem for Linux.
That’s about all for this tutorial. Windows Subsystem for Linux is aimed squarely at developers and power users who, for whatever reason, need access to a Linux terminal on a day-to-day basis. The complexity of its initial setup reflects the anticipated technical know-how of the feature’s target audience.
After installation though, WSL provides an incredibly effortless approach to running Linux from within Windows. With no virtualisation overheads and support natively integrated into Windows, it’s a simple way to combine the best of both Windows and Linux environments.
Further reading: Bash on Windows 10, Linux, Windows 10, Windows Subsystem for Linux