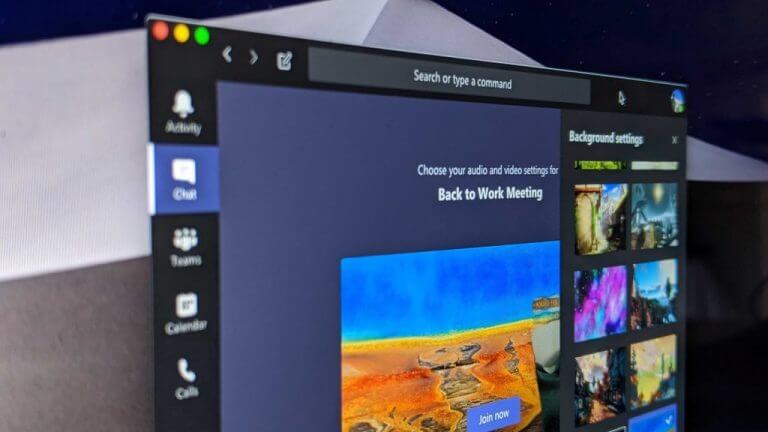
We’ve previously explained how you could use a “trick” to set your own custom background image in Microsoft Teams on a Windows 10 PC ahead of the general availability later this quarter, but it is also possible on Apple’s macOS, too.
It’s a feature you might want, as setting a custom background images gives your video calls a new look that’s different from Microsoft’s pre-set images. We still advise you to wait for the feature to officially roll out, but if you’re eager, here’s a look at how you can set your own custom background image on Microsoft Teams on a Mac by digging through system folders.
Update: Since this article was originally published, it’s now officially become possible to set custom background images in Teams. We invite you to check out our post here for more information.
Step 1: Look for an image
Before doing anything, we suggest you to find a background image that’s right for you. Wallpaperhub.app has a nice collection of images, but you also can use your own photos or something from Google Image search. Just keep your background image appropriate for the workplace, and make sure you’re not violating any copyright laws when using it. You’ll also want to make sure that you’ve logged in to your Mac with an administrative account, as you’ll be accessing system files in the next steps ahead.
Step 2: Quit Microsoft Teams
Next up, you’ll want to quit Microsoft Teams. Just like any other app on macOS, you can do this by holding the Command and Q keys together on your keyboard when in Teams. You also can go to the top menubar, click where it says Microsoft Teams, and then choose Quit Microsoft Teams. Quitting teams will ensure that you won’t lose any data when messing with the system folders.
Step 3: Go to your desktop and click the Go to Folder Option
To continue, you’ll want to close or minimize all open windows and go to your Mac’s desktop. Click your desktop, and then visit the top menu. You should see an option for Go. Click it, and then choose Go to Folder. You’ll want to type in the following command.
~/Library
Once you input the text, click the Go button. This will open a new Finder window with your system library. You’ll want to click the Application Support folder. Then, click the Microsoft folder. Next, click Teams. You should then see a folder called Backgrounds. Double click to open it, and then look for the Uploads folder.
This is the folder where you’ll want to paste in the image you saved earlier. You can do this by copying it from the previous location with Command+C and then pasting with Command+V. You also can drag it in, too.
Step 4: Relaunch Teams
With the image file upload, you now can relaunch Teams. Head into your meeting, or join a waiting room as normal. Now, when you click the toggle switch for background options, you should be able to scroll to the bottom of the list to click and choose the image or images you just uploaded. You’ll also see the pre-set images from Microsoft, too, if you still want to use those.
Show us your backgrounds!
Officially, Microsoft still says that custom backgrounds won’t be coming to Teams until the end of this quarter. So, if you’ve just used this “hack” to try out your own background image, show us in the comments below. And, feel free to check out the rest of our Teams coverage over at our dedicated news hub.


