6 Quick Ways to Transfer Files from Windows to Mac
You can use either File Sharing wizard or a third-party tool
6 min. read
Updated on
Read our disclosure page to find out how can you help Windows Report sustain the editorial team Read more
Key notes
- Transferring files from Windows to a Mac is often deemed a pretty troublesome task.
- However, you can easily transfer files using an external hard disk or a USB stick.
- Else, you can set up a remote device and then transfer files without any issues between the two OSs.
Have you moved on from a Windows PC to a Mac or used both and want to know the best ways to transfer files from Windows to Mac?
If so, then you are in the right place. Because in this guide, we will show you all the methods you can follow to transfer files from Windows 10 or Windows 11 PC to Mac.
Not only using Migration Assistant but there are several other ways, including using third-party apps to transfer your files from Windows to Mac or vice versa. If you are interested, you can learn how to transfer files from a PC to an iPhone as well. Let us get right through it.
How can I transfer files from Windows to Mac?
1. Use Windows Migration Assistant
- Download the appropriate version of Migration Assistant on your PC.
- Launch the Migration Assistant EXE file and hit the Next button.
- Accept the terms and agreements and click Install.
- Click Finish.
- You will be asked to quit all other background programs.
- You will be asked whether you would like to send app usage data to Apple. Choose from the below two options:
- Automatically Send
- Don’t Send
- Migration Assistant will begin searching for a Mac.
- Open Migration Assistant on your Mac.
- Follow the on-screen steps.
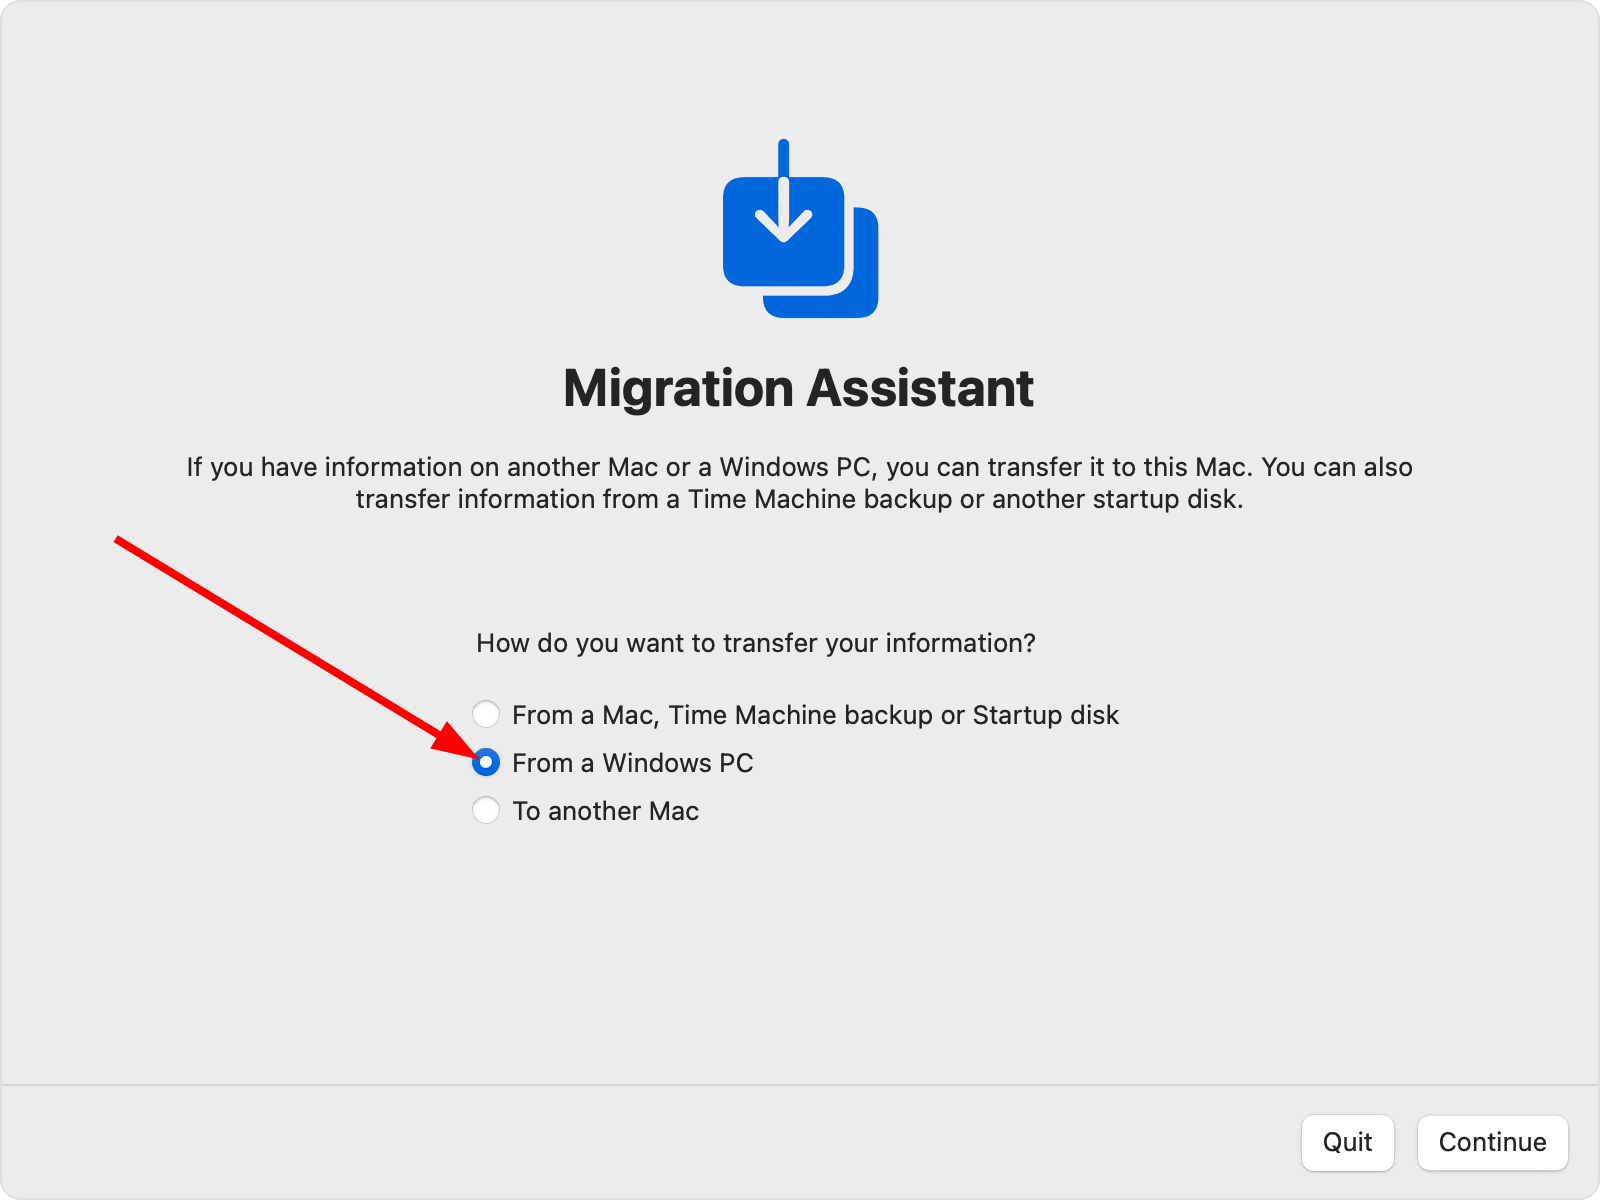
- Select the option From a Windows PC and click Continue.
- Click on your Windows PC icon and click Continue.
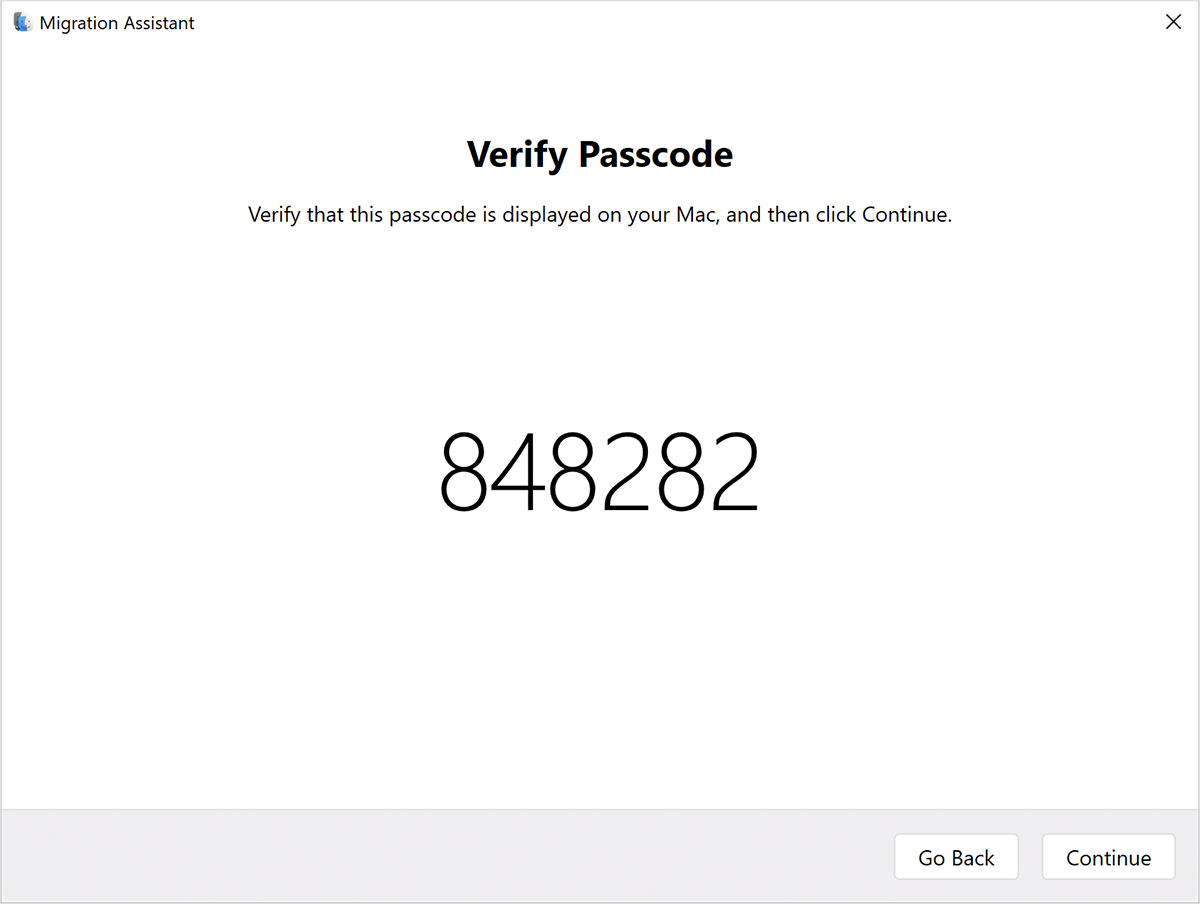
- On your Windows PC and Mac, check if the passcode appearing is the same and click Continue.
- Your Mac will begin scanning files on your Windows PC.
- Select the files that you wish to transfer to the Mac and click Continue.
- The transfer will begin.
The Windows Migration Assistant for Windows is a nice tool that will help you migrate all your Windows files to a Mac pretty quickly. The setup process may take a while, but using Migration Assistant to transfer files from Windows to Mac is smooth.
2. Via USB
A USB is a pretty effective tool if you wish are looking to transfer files from your PC to a Mac. It is portable, comes in various storage variants, and is simply plug-and-play.
All you need to do is copy all the files from your Windows PC that you wish to be moved over to a Mac inside the USB. Then plug the USB into your Mac and copy and paste the files that you moved from your Windows onto your USB to your Mac.
One important thing to note is that you should format your USB drive to exFAT file format since it is compatible with both operating systems to accomplish transferring files from PC to Mac via USB.
3. Use WiFi
- Open the Start menu by pressing the Win key.
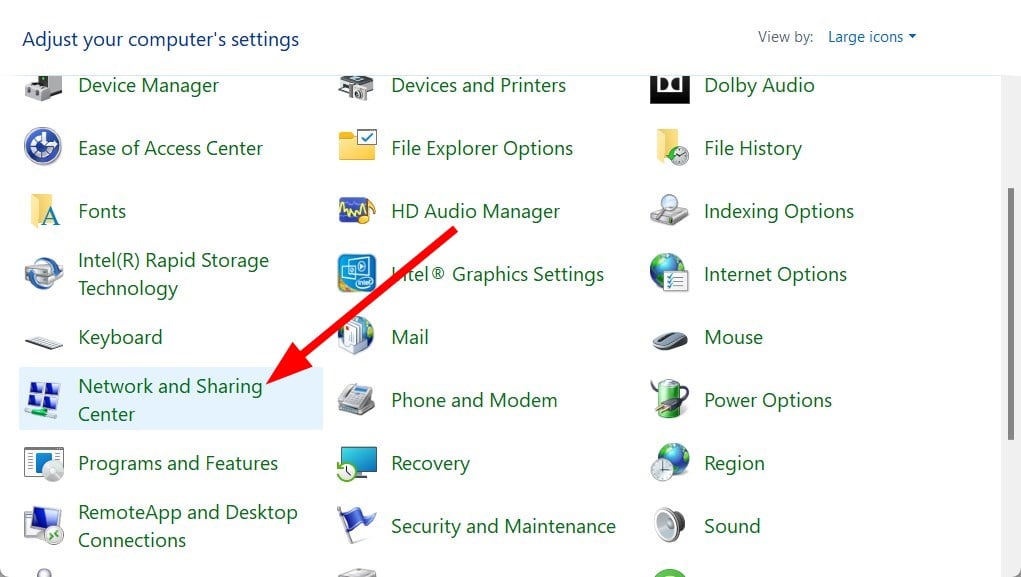
- Open Control Panel.
- Click on Network and Sharing Center.
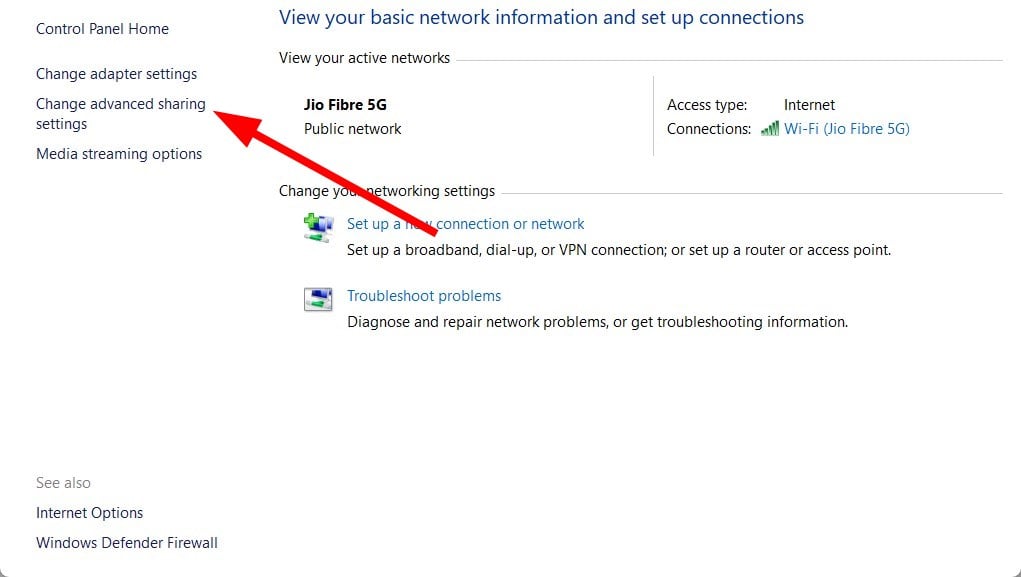
- Select the Change advanced sharing settings option from the left.
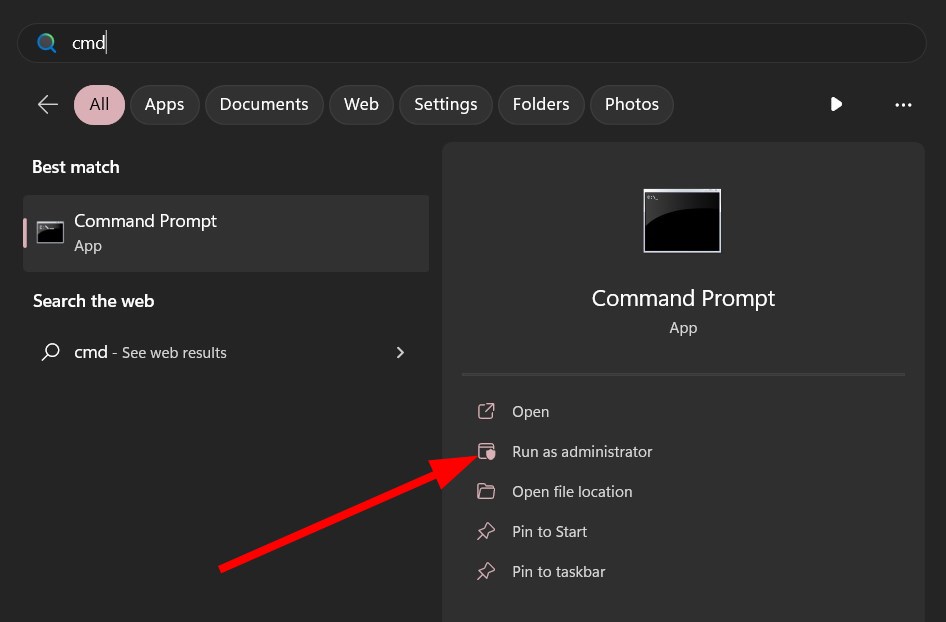
- Run command prompt as an admin.
- Type the below command and press Enter.
ipconfig - Note down the value next to IPV4 Address.
- On your Mac open Finder.
- Press Command + K keys.
- Type the below command followed by the IP address of your Windows PC (noted in step 7) and press Enter.
- Enter the credentials to log in to your Windows PC.
- You will be asked which folders would you like to copy to your Mac. Select those folders and press OK.
Following the above steps will help you transfer files from a Windows PC to Mac over Wi-Fi. You need to ensure that both your Mac and Windows PCs are connected to the same Wi-Fi network.
4. Use cloud storage
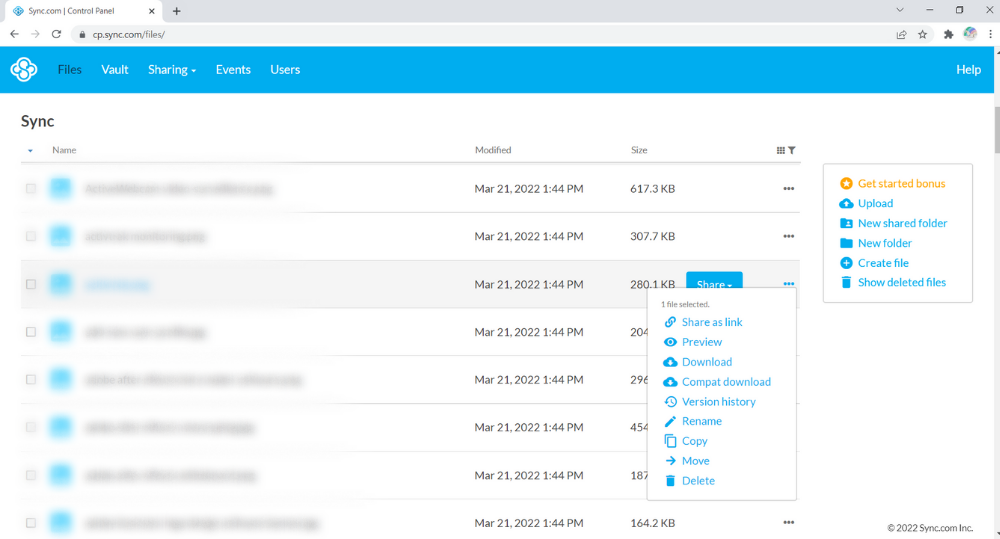
Another convenient way of transferring files from a Windows PC to a Mac is to make use of the different cloud storage services available.
Using cloud storage service is pretty easy. All you need to do is create an account in any cloud storage such as Dropbox, OneDrive, Google Drive, etc. You can check out the best free cloud storages that you can use in 2023 in our dedicated guide.
Upload all the files you wish to transfer to your Mac from your Windows PC. Now, log in to the cloud storage service on your Mac and download the files. Simple and easy.
More exactly, it’s possible to perform this action with a file-sharing tailored solution that can sync both devices simply and fast.
All you have to do is select the files you need to transfer, no attachment required, and press on the Share button to complete it.

Sync.com
Add your files to the cloud or transfer them quickly cross-platform with this method.5. Use an external hard drive
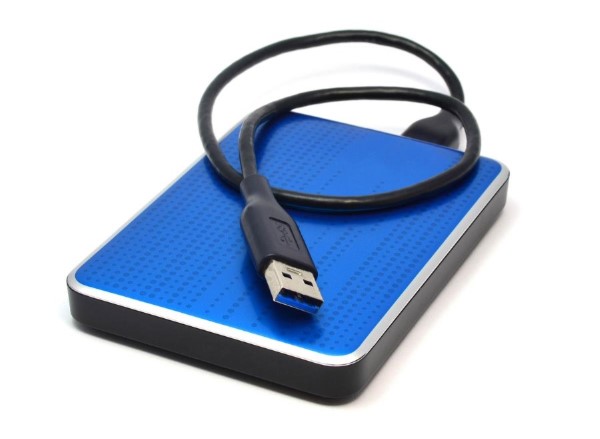
If the USB drive storage isn’t sufficient for you, you can also opt for an external hard drive. There are so many options available for external hard drives to choose from, and you can pick the best one for you, upload your files and transfer them to your Mac.
6. Use a third-party tool
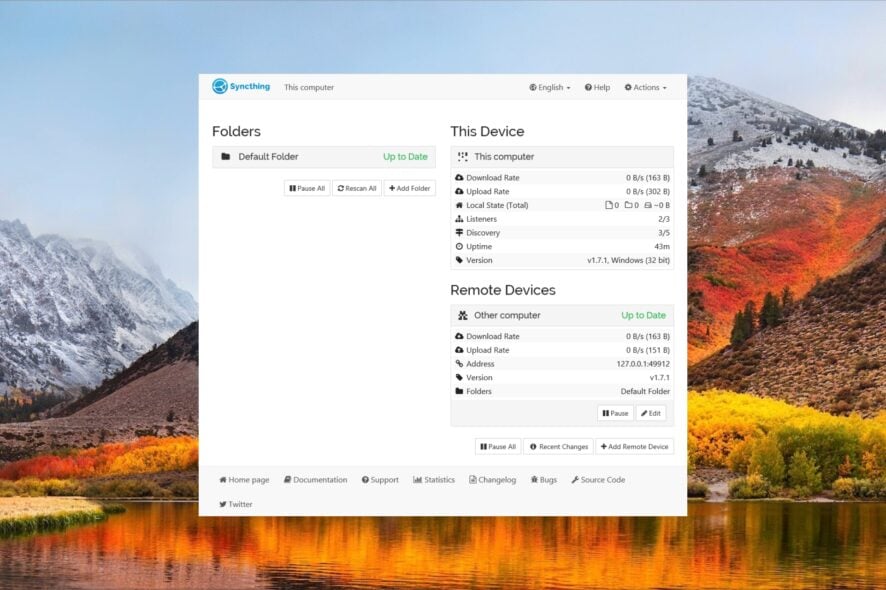
- Download and install Syncthing on both of your PCs.
- Windows: 64-bit (x86-64), 32-bit (x86-32), ARM, ARM64
- Mac: 64-bit (Universal)
- Launch Syncthing on your Windows PC.
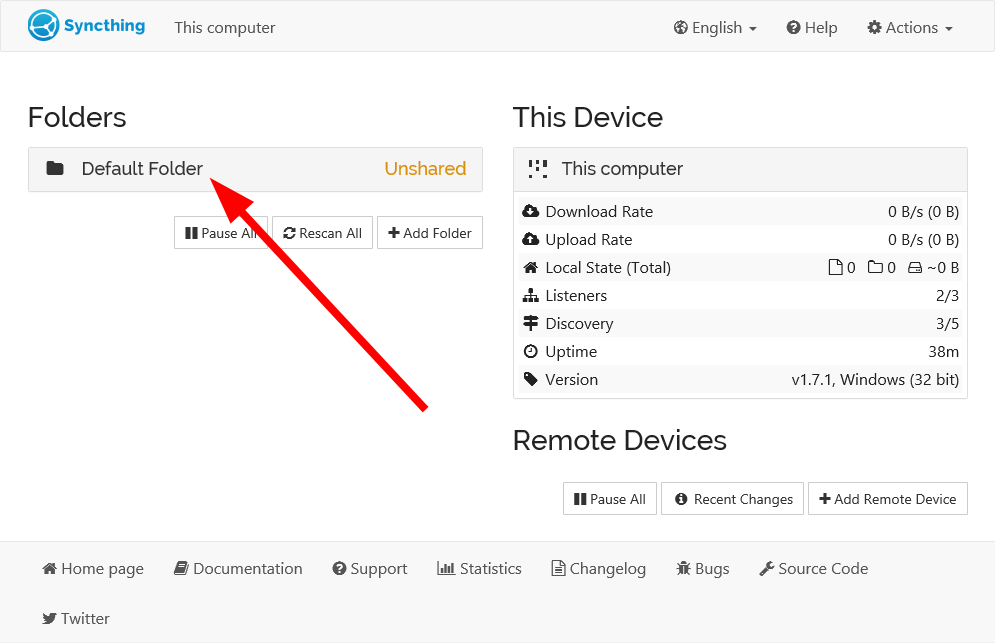
- Syncthing will set up a Default Folder for you in your home directory.
- Your Windows PC will remain available on http://localhost:8384/.
- Click on Actions and then select Show ID to view your unique ID which you will use to connect with your Mac.
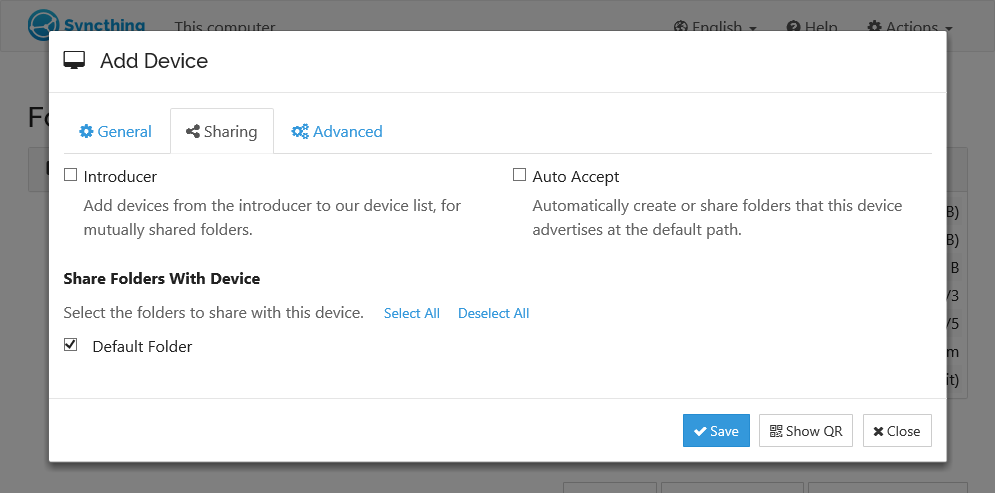
- Click on Add remote device at the bottom right.
- Enter the unique ID on your Mac.
- Select the folders that you want to share.
- Clicking on Save will make the remote device appear on the bottom right of the interface.
When you add files to this Default Folder, the files will get synced with the connected remote device, allowing you to transfer files from Windows to Mac.
That is it from us in this guide. We have listed some of the best tools that you can use to transfer files from PC to iPhone.
Feel free to let us know in the comments below which one of the above solutions you utilized to transfer files from Windows to Mac.


