
Best practices for Microsoft Outlook in Windows 10
In our latest Microsoft 365 piece, we will be explaining some of our best practices for Outlook on Windows.
- Organize your emails into folders in Outlook
- Use filters and categories to clean up your inbox and find your messages
- Use Outlook to schedule Teams meetings
- Block out the spam and junk with junk email options
Applies to
These days, you might be spending a lot of time in your email inbox to catch up with school and work, and even all those online shopping orders. That could mean your inbox is a mess, which means that managing your emails is something that’s even more important.
Well, if you’re not already using it, the Microsoft Outlook app, as included as part of Microsoft 365, is a great way to manage your emails on Windows 10. With it, you can organize emails into folders, create Teams meetings, and so much more. That’s why in our latest Microsoft 365 piece, we will be explaining some of our best practices for Outlook on Windows.
Use folders

First things first, you’ll want to organize your emails into folders in Outlook. This might seem like one of the more obvious things to do, but it really will help clean up your inbox and organize yourself. Doing this is quite easy. First, you’ll want to open Outlook and visit your inbox and list of messages. Then, from there, right-click on Inbox and choose New Folder.
Once you do that, you can go back to your inbox, right-click a message, and then choose the folder you created. You can create folders in most places in Outlook, including the Deleted Items folder, where deleted items go. Doing this makes it easy to find messages you might eventually forget about. And, any folders you create in the Outlook Desktop app will also sync up with Outlook on the web, and Outlook on your phone, giving you a great way to organize emails, no matter where you are.
Use filters and categories
If folders aren’t working out for you and your inbox is still a mess, then there are some additional controls in the Outlook app for Windows 10 that you can use to your advantage. These include categories and filters.
Categories are a lot like folders, but instead of moving emails into their own space, each email you categorize will get a color code as it stays in your inbox. By default, there are a few categories. The list includes Blue, Green, Red, Yellow, and Purple. When you right-click an email to categorize it for the first time, you’ll get the option to name the category, and even assign a shortcut. Once you categorize your emails, you can visit the Home tab and choose the four-colored square icon to show the category icon on an email. You’ll see the specific color category appear above the date.
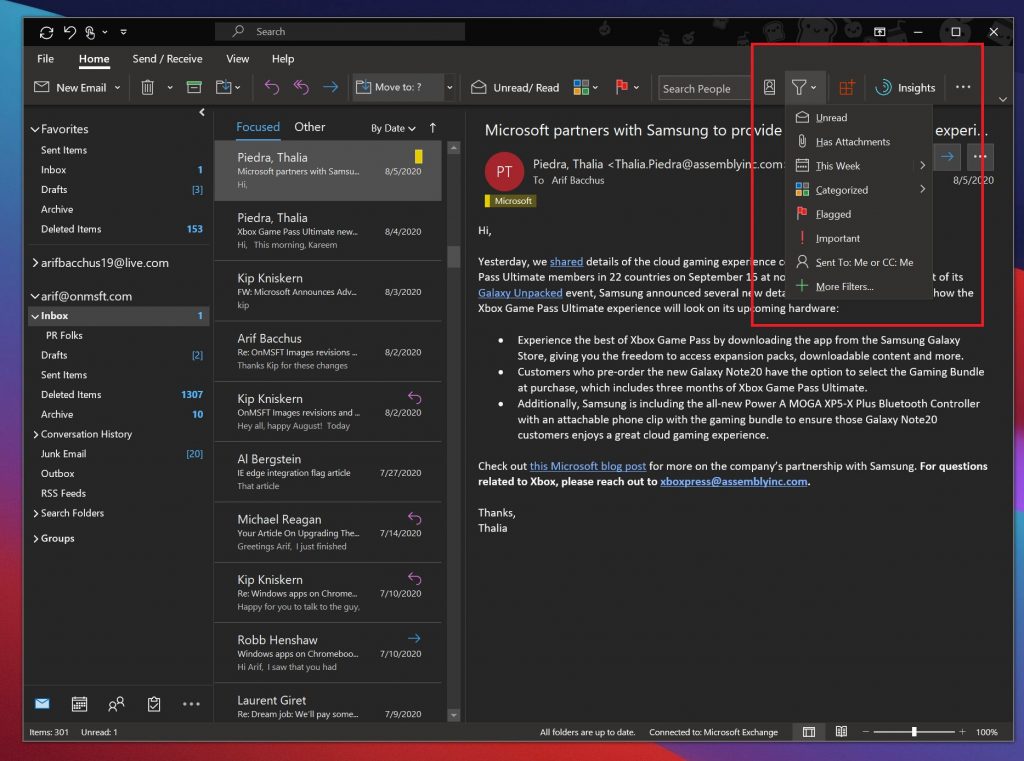
In addition to categories, there’s also the filter option in Outlook, too. With this option, which shows in the Home tab as a triangle towards the right of the screen, you can filter your messages by unread, messages with attachments, by the week, the category, and even who has been CC’ed on it. This makes finding your emails so much easier!
Use Teams with Outlook
Microsoft Teams goes together with Outlook, and Outlook goes together with Teams. But, did you know that you can create Teams meetings directly from Outlook? Instead of manually creating a meeting in the Microsoft Teams app, you also can make one through Outlook itself, which is where you’ll usually have to go to email a link, anyway.
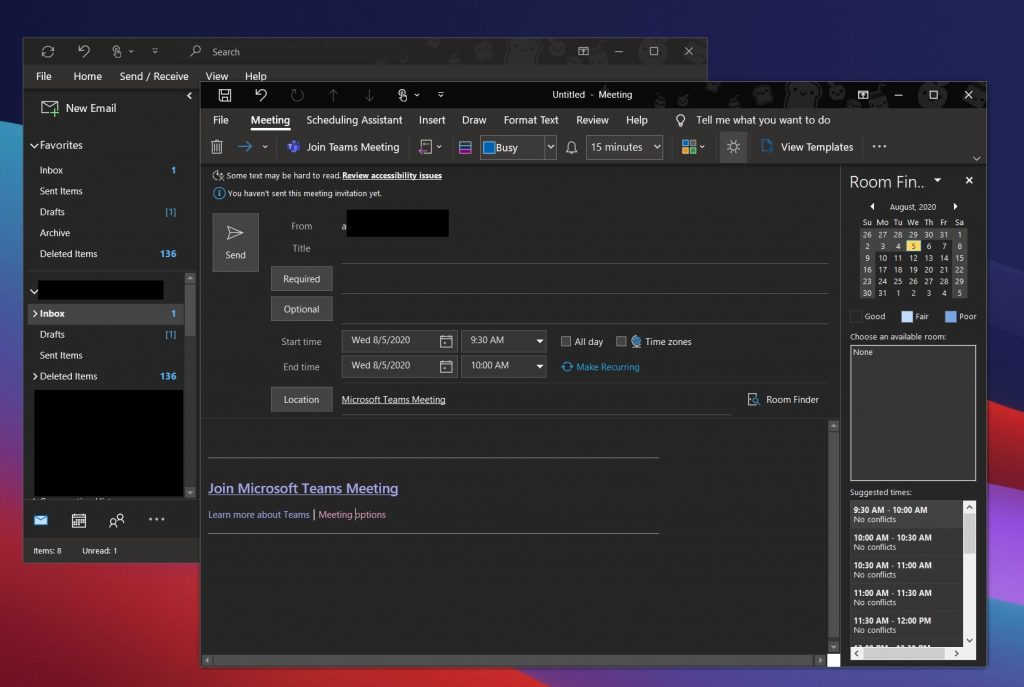
We previously explained how you could do this, but we’ll recap. Again, it’s quite easy. First, open Outlook and switch to the account you’ll want this meeting to be with. After that, fo to the top tab, and select Home. There should be a drop-down arrow next to New Email. Once you click this, they’ll be an option for Teams Meeting. A new meeting window will appear, and then you can fill out the information fields as needed. When finished, you can click Send. Just like that, creating a Teams meeting in Outlook is that easy!
Block out the spam and junk
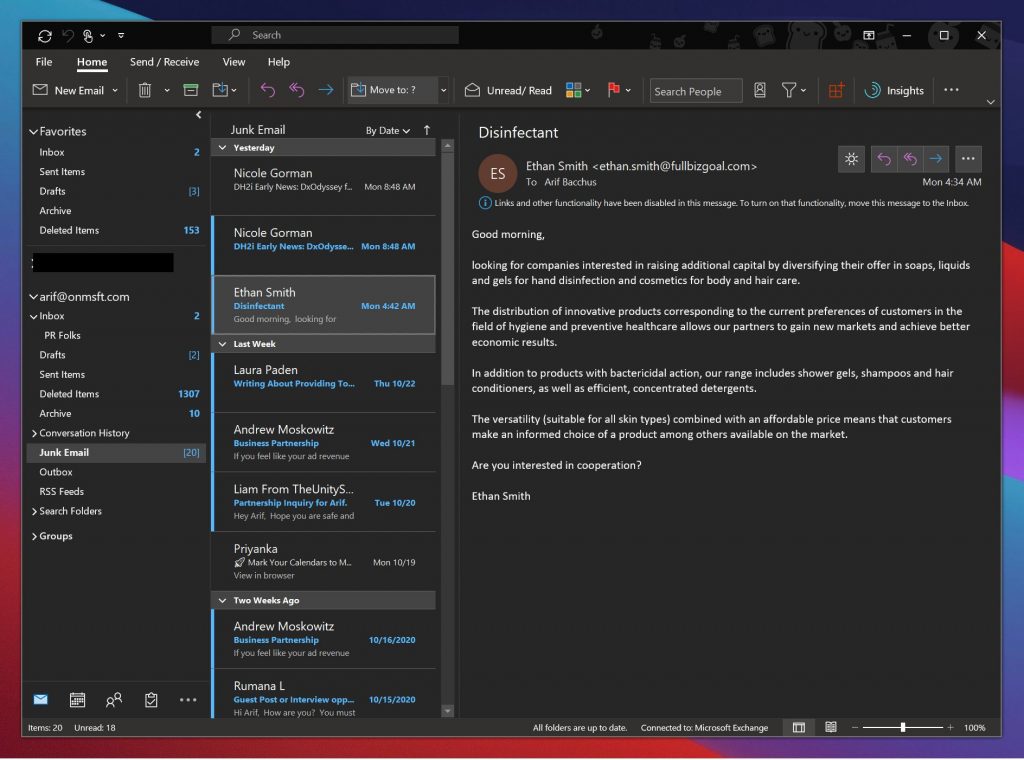
Junk email is dangerous. Not only does it pollute your inbox, but sometimes the links in them can harm your PC if you end up clicking by accident. That’s why you can block out the junk in Outlook by clicking specific senders. Usually, Outlook’s own spam and junk filters will do the job, but if you’re constantly getting unwanted messages, you can use the Outlook app in Windows 10 to block messages from a specific sender.
To block messages, you can go to the Home tab, followed by Junk email options. You should then get a new window, which allows you to pick which senders, and emails from which country you want to identify as spam. From here, you also can change your level of protection, too.
There are various levels, from low, high, and safe lists only. Low is usually best if you don’t get many junk messages. High is for if you receive a lot of junk. And safe lists is the most restrictive. Microsoft explains each of these in-depth on this support page.
We have more guides!
Our best practices for emailing with Outlook is just the start. We’ve also explained some of our favorite tricks for the Outlook app, which includes keyboard shortcuts and backing up emails. And, we’ve shared some tips and tricks for getting the most out of Outlook on the web, too. It’s all part of our Microsoft 365 coverage, which you can explore here to find more guides, how-tos, news articles, and a lot more.