
Display Google Chrome browsing history in Windows Timeline
To display your Google Chrome browsing history in Windows Timeline:
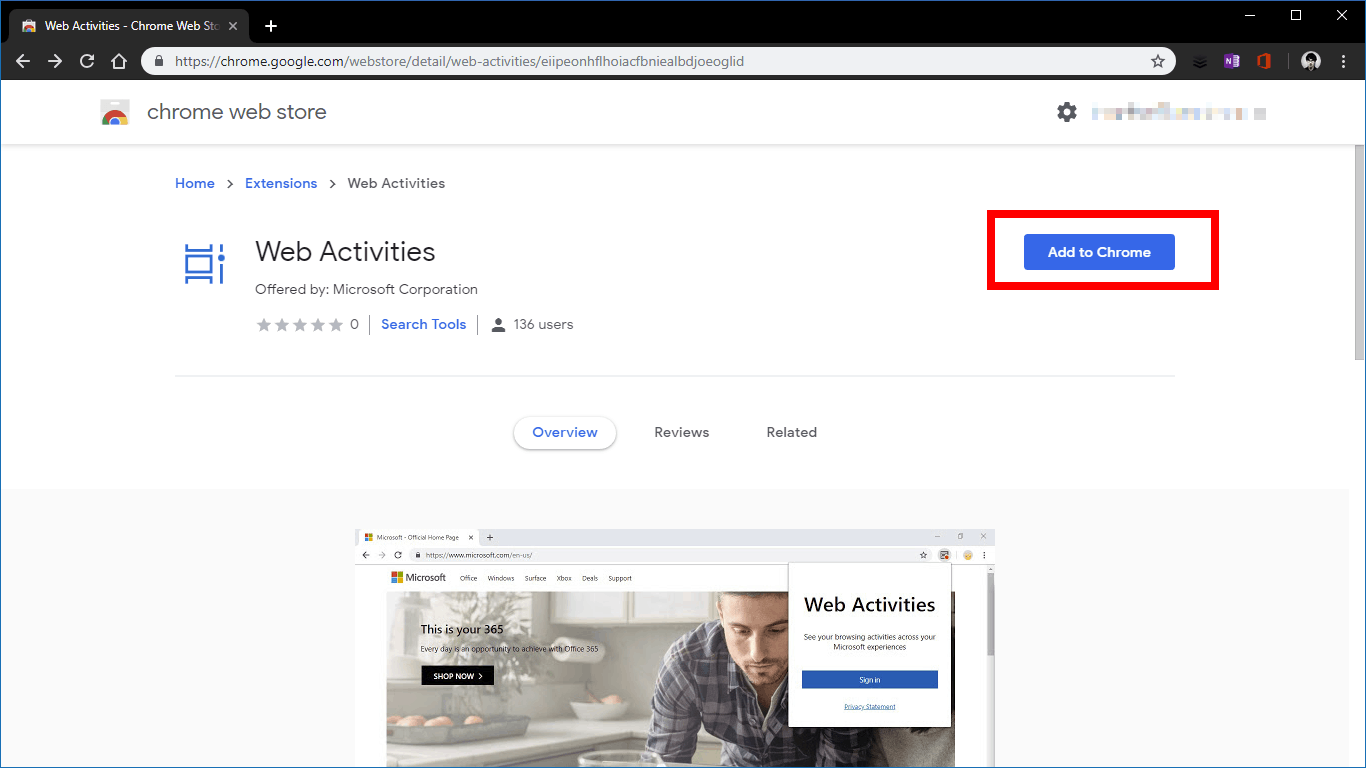
- Search for the “Web Activities” extension in the Chrome Web Store, published by Microsoft Corporation.
- Install the Web Activities extension – press the blue “Add to Chrome” button.
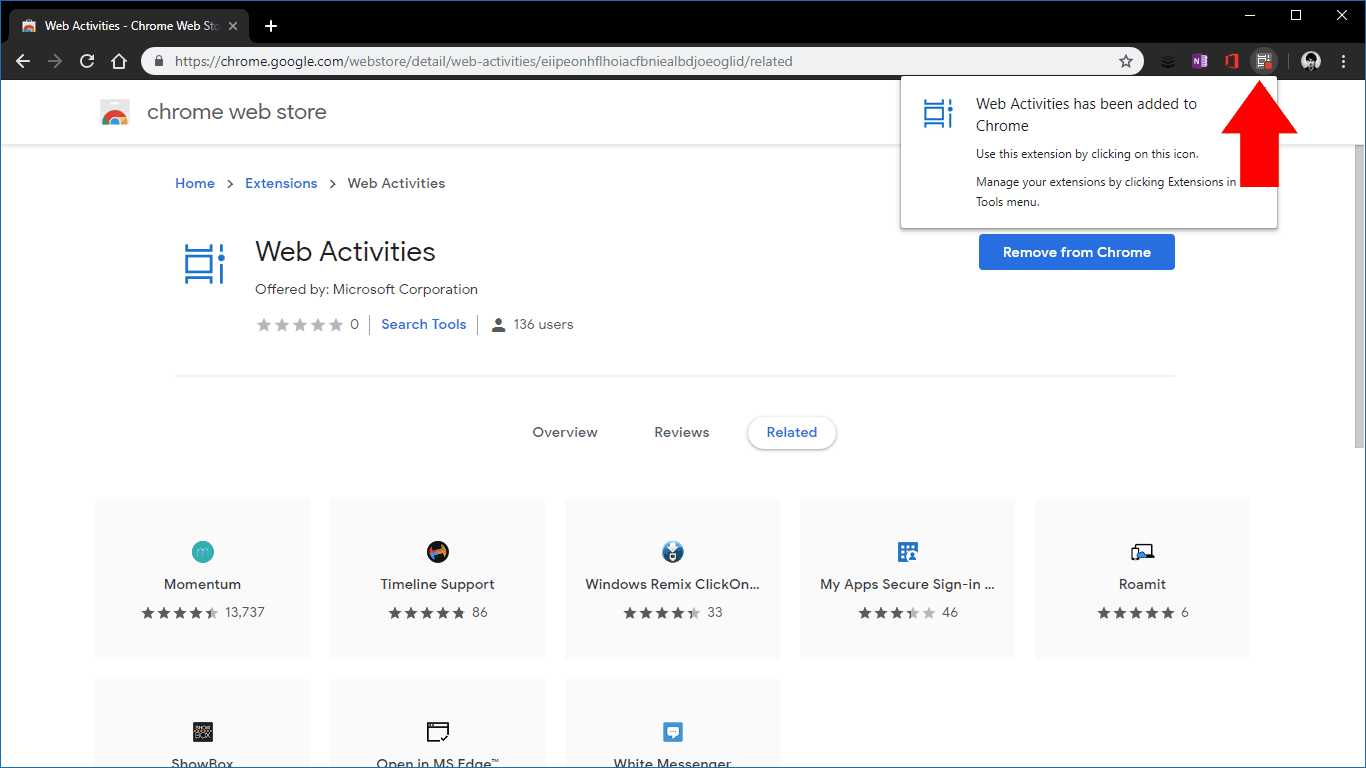
- Click the extension’s icon in the Chrome toolbar.
- Click “Sign in” and login with your Microsoft account. Your browsing history will now sync to Windows Timeline
Applies to Windows 10 1803 and up
Windows Timeline is a handy feature introduced with the Windows 10 April 2018 Update that logs the activities you perform on your PC. Websites you visit, Office documents you edit and songs you play will all show up in chronological order within the Task View interface, accessed from the taskbar or the Win+Tab keyboard shortcut. Your Timeline is synced across your devices, including to Android phones via Microsoft Launcher.
This week, Microsoft announced a new Chrome extension which lets you bring your Chrome browsing history into Timeline. Published as “Web Activities” in the Chrome Web Store, it was announced alongside Windows 10 Insider Preview Build 18342 but is already available for download. We’ve found it’s compatible with every version of Windows 10 that supports Timeline.
To get started, make sure TimeLine is enabled on your PC, and then download the extension from the Chrome Web Store. Click the blue “Add to Chrome” button to install it in your browser. You’ll need to acknowledge the confirmation prompt, which warns the extension is able to access your entire browsing history. This is necessary so your visited websites can show up in Timeline.
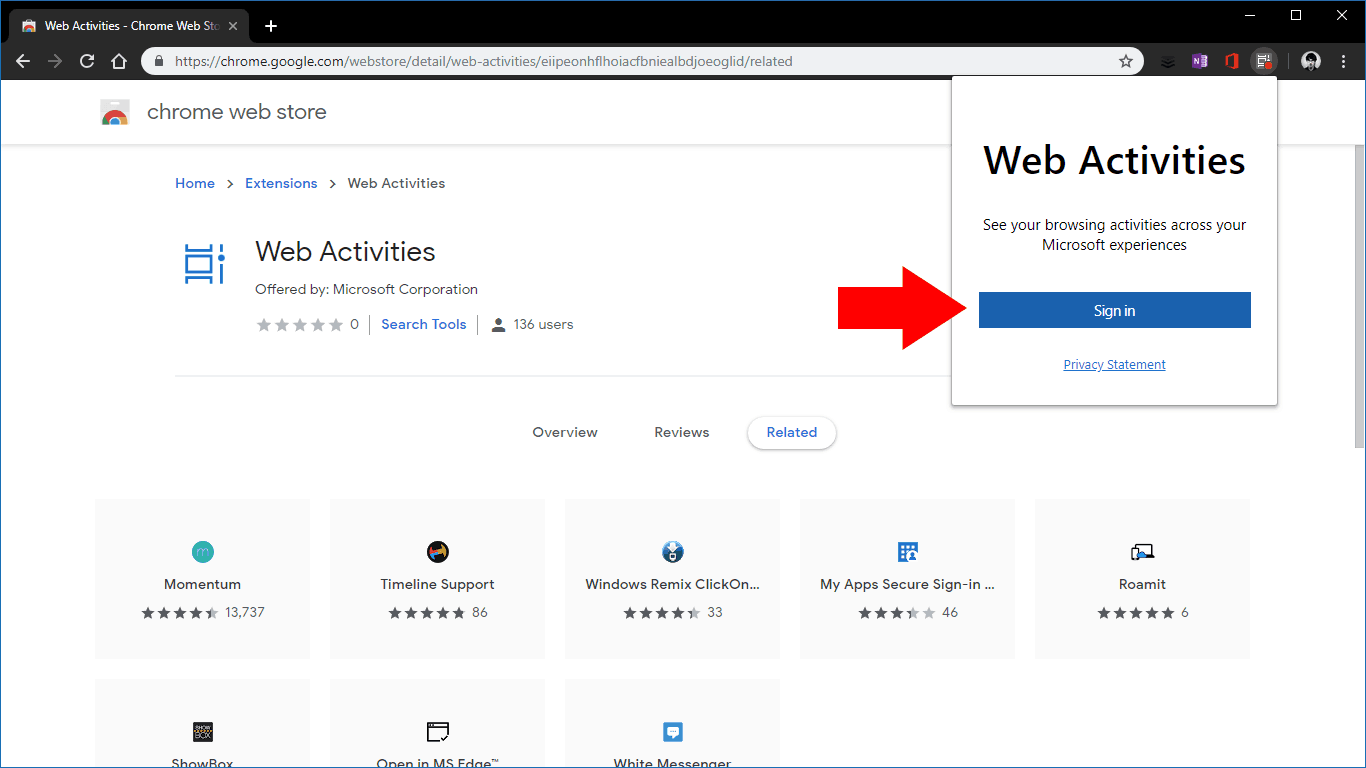
After a few moments, you’ll be notified that the extension has been installed. Its icon will show up in the Chrome toolbar; click it to get started. Press the blue “Sign in” button” and follow the prompts in the popup window to login with your Microsoft account.
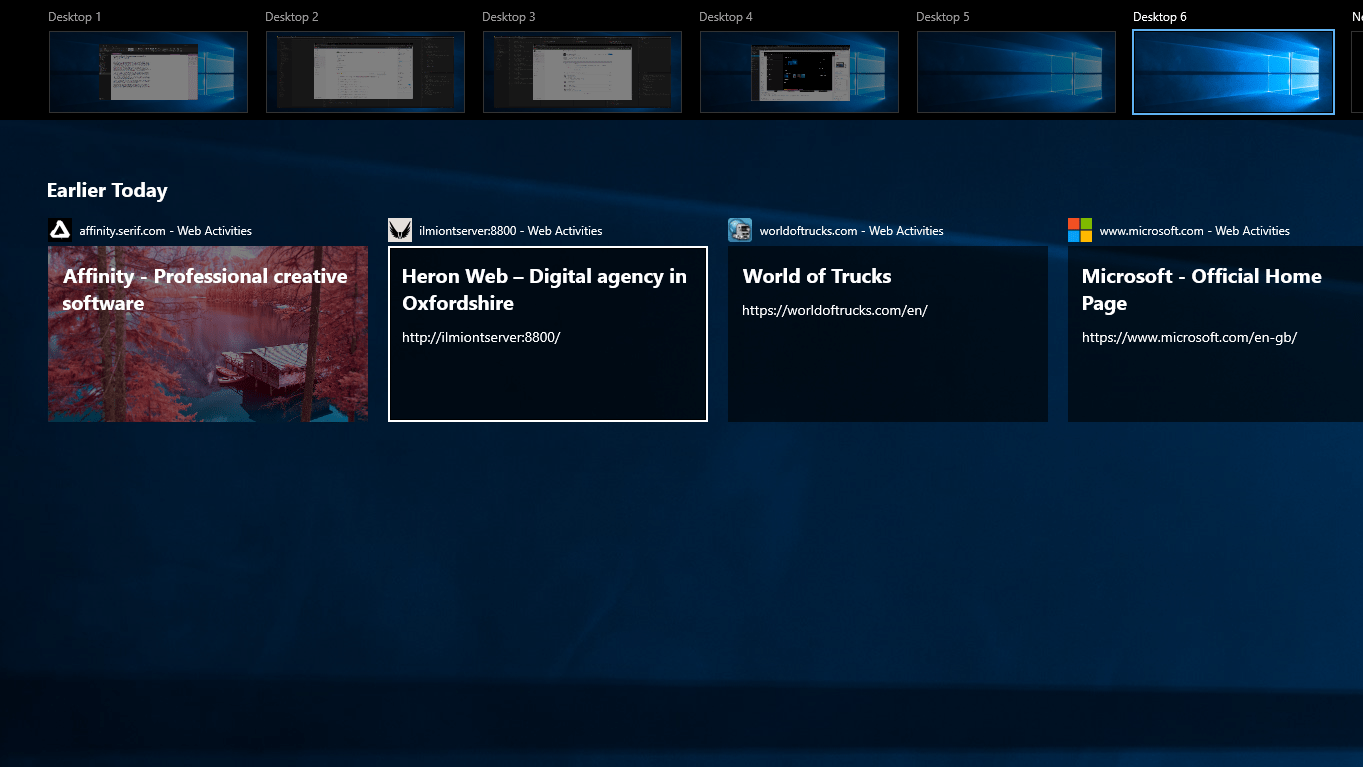
That’s all there is to it. Once you’re signed in, the extension will start recording your Chrome browsing history and feeding it through to Windows Timeline. We’ve found there’s usually a short delay but after a few seconds websites you visit should appear within Windows.
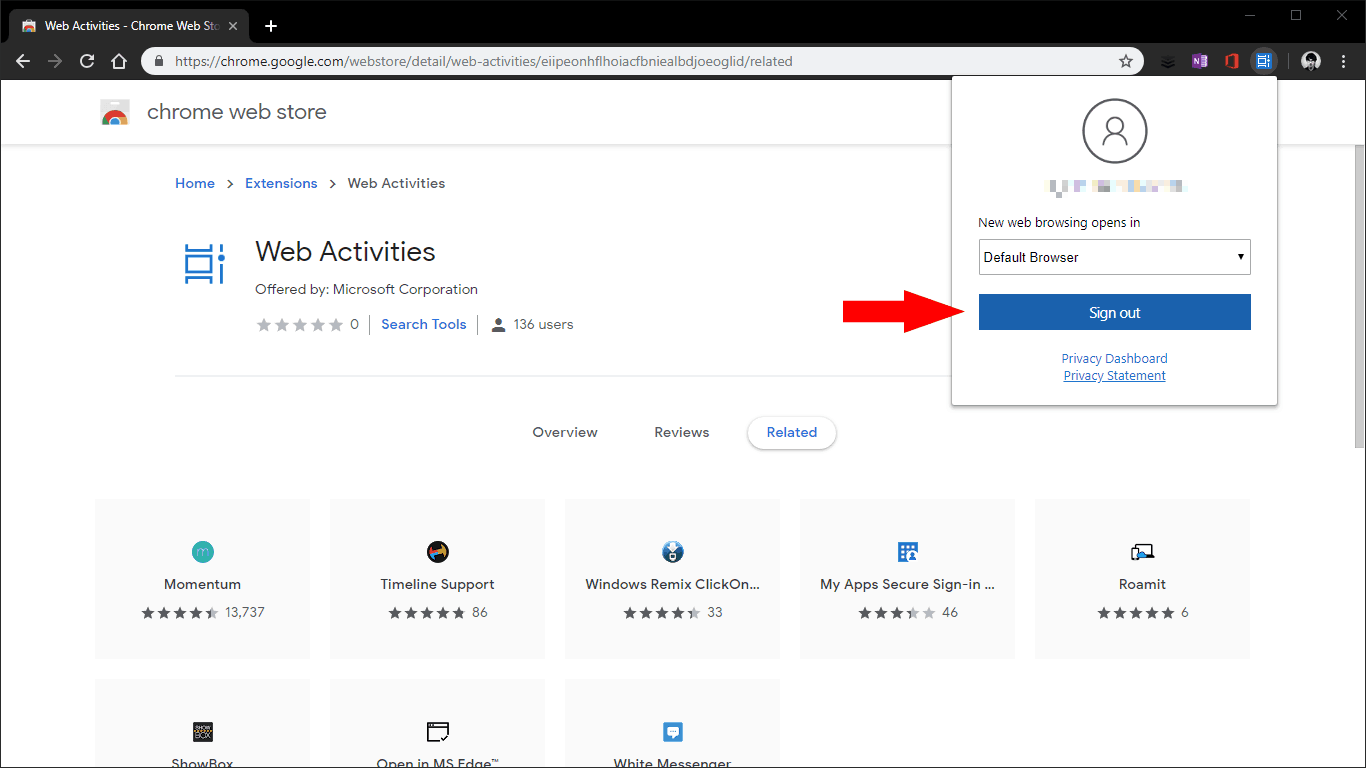
If you ever need to logout, just click the extension’s icon and press the blue “Sign out” button. The extension’s menu also includes the option of choosing whether to open Timeline web browsing activities in your default browser or Microsoft Edge. Thankfully, it’s “Default Browser” that’s selected by default. To remove the extension entirely, right-click its icon and choose “Remove from Chrome.”
Further reading: Google Chrome, Timeline, Windows 10, Windows Timeline