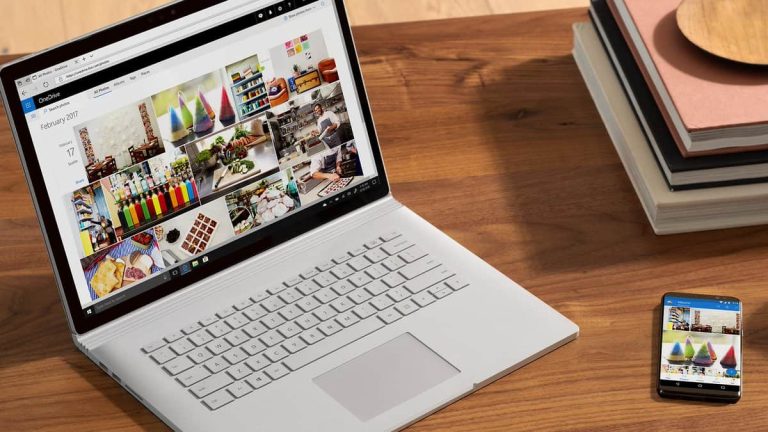
If you’re looking to store your files online with your Microsoft 365 Business subscription, then OneDrive is where you’ll need to go. You likely already know it, but OneDrive is a cloud storage platform, where you can upload your business’s important files, view them across devices, and a lot more.
That said, getting started with OneDrive is easy. In this guide, we’ll give you a basic tour and a look at what you need to know about OneDrive on the web. That includes a look at the OneDrive user interface, how you can create or upload files, download files, sync folders, and a lot more.
The basics

There are for core areas to OneDrive which you need to be aware of. There’s the left pane, the top pane, the information pane, and then your list of files. Each of these has a different purpose, and we’ll dive deeper below.
We’ll be starting first with the left pane. Located on the side of the screen, here is where you’ll see toggles for the different functions in OneDrive. First, they’ll be the My Files option to see all of your uploaded files. You’ll also see a list of recent files or files you’ve shared. Then, there’s the Discover section, to see popular and relevant files being shared across your company. Lastly, there is the recycle bin, where all your recycled files will go. Keep in mind, these files will remain there for 30 days until you choose to delete then. We’ll also mention shared libraries, too. If an admin has configured Teams, and Teams is in use in your business, a shared library is a location to store files for Microsoft Teams. All your files that are in Teams will appear here.
Moving along in our guide, at the top of the screen in OneDrive on your home page, you’ll notice some additional top-pane controls. These will change depending on which section of OneDrive you’re in. On the main My Files page, which is where you’ll spend most of your time, there are a few controls to see here. You’ll notice options to create a new document or folder, upload a file or folder, a button to initiate a sync of OneDrive, and another button to Automate tasks with Power Automate.
If you click a file, they’ll also be controls to rename it, delete it, or download it. And, finally, you’ll see filter options to help you sort or change the view between a list, compact list, or tiles. Of course, there is a search bar, too, which will let you search for files, as powered by Microsoft Search and the Microsoft Graph.
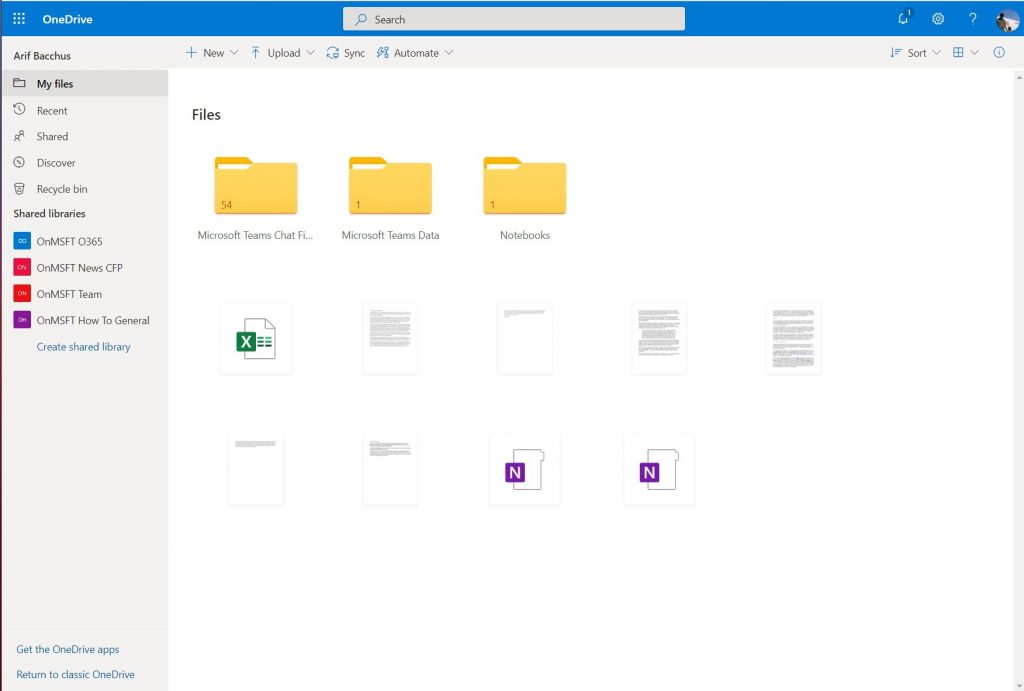
Now comes the most important part, your list of files. When you see your list of files, it’ll be organized in one of three ways. It either can be as tiles, a list, or a compact list. You can change these by clicking the four squares at the top right of the screen. If you’re having trouble finding a file, you also can configure the way you want to sort your files, too. You can sort by Type, Name, date modified, or size from the sort menu on the top.
Finally, we’re ending with the information pane. This pane only pops up once you click, or right-click on a file and then click the “i” in the right corner of the screen, or choose Details from the right-click menu. Most times, you’ll get a preview of the file here, as well as a look at who the file has been shared with, and any activity on the file. You also can change access directly from this pane with the manage access link, and then choose who you want to share the file with.
Creating or uploading files and folders, and sharing files
Now that you get the basics, it’s time to look at how to create, upload files and folders. This task is easy. From the My Files page, click the + New button. Then, from the drop-down, choose a new document. This will open Office online, where you can create an Office document, and then save it to your OneDrive.
From this same menu, you also can create a folder. Just choose the Folder option. Creating folders is a great way to keep files organized, without having to deal with filters. You can rename or delete folders at any time, too. Just click the folder, and choose your option.
Next, there’s uploading files and folders. To do this, you can simply drag your file or folder into the My Files section of OneDrive. You also can choose it manually by clicking Upload in the top bar, and then pick a file or folder. A pop-out progress bar will let you know how things are going.
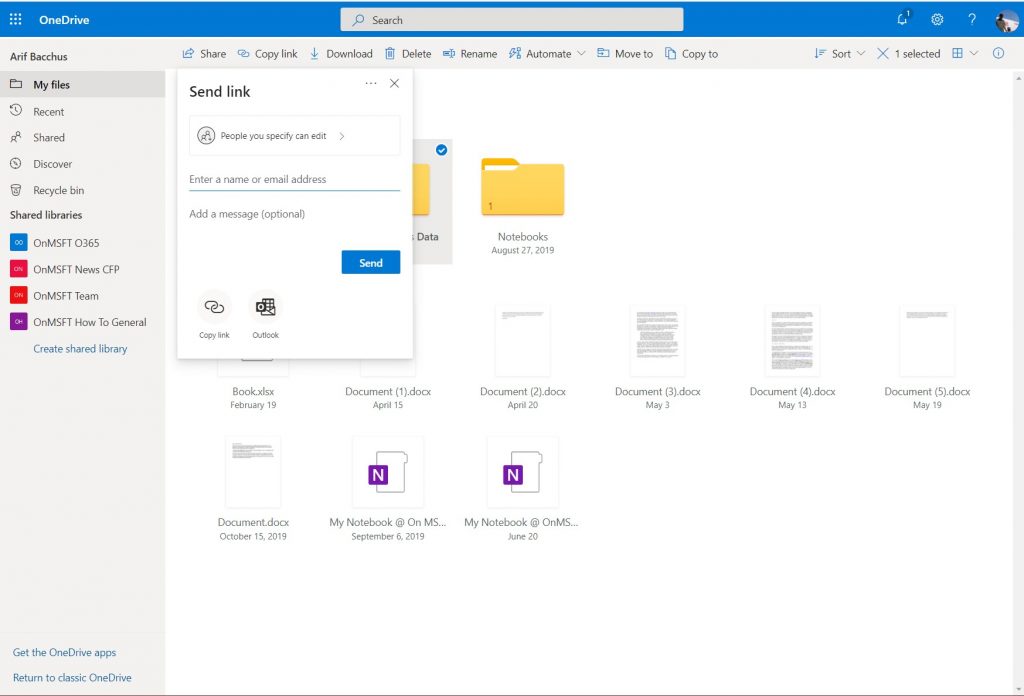
Capping off this section will be sharing files. This is the core of OneDrive, and it, too, is easy. To share a file or folder, just click on the folder or file. You should then see a Share icon at the top of the screen. Click it to proceed. Atleritvley, you also can right-click and choose Share as well. Once you do this, you’ll get a pop-up telling you to send a link. From here, you can specify permissions who you want to edit by choosing from a list, or you can enter an email or address. This will send the link on Outlook. As an alternate, you can also choose Copy Link to copy the link to your clipboard.
Downloading, copying links to files, and opening files in Office apps
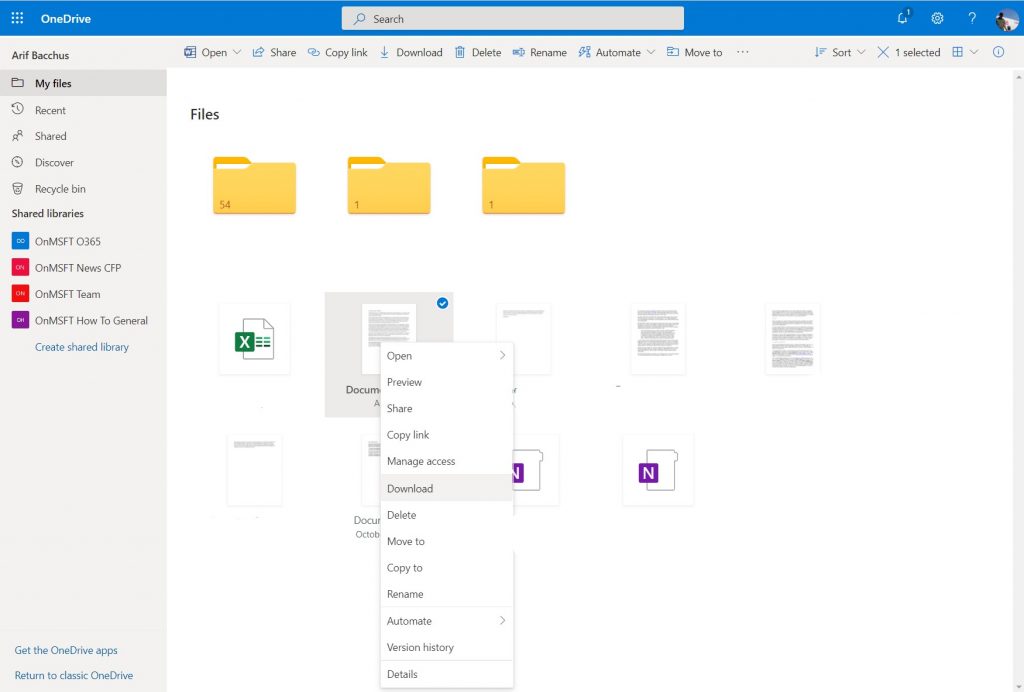
As we continue to explain OneDrive, we’ll now get into downloading, copying, and opening files. These steps are pretty straight forward, too. We’ll start with downloading files. To download a file, just click it in the list, and then choose Download. You also can right-click and choose Download. From the same menus, you’ll also be able to copy the link to a file too, just choose Copy link option.
Finally, there is opening files in the desktop version of the Office apps. We have covered this before, but the process is easy. Just right-click the file, and choose Open in … You’ll then get a prompt on the screen, saying that this site is trying to open …. Agree to it, and click Open.
Syncing files and folders with the OneDrive desktop app
A lot of our article so far has been focused on the OneDrive web experience, however, you also can also use the OneDrive desktop app on Windows 10 to sync up your system files and folders to the web. This will allow you to access your files from your computer, almost anywhere. We explained this in a separate post, but you can get started by searching for OneDrive in your Windows 10 PC, and then following the on-screen prompts.
As we always say, this is just the touch of the surface when it comes to OneDrive. There’s a lot more that’s possible with OneDrive, and it’s a topic we’re always covering. Check out our Microsoft 365 hub for more tips, tricks, how-tos, guides, and more.