Learn to build Hosted Web Apps for Windows in 3 easy minutes with Windows App Studio
3 min. read
Published on
Read our disclosure page to find out how can you help Windows Report sustain the editorial team Read more
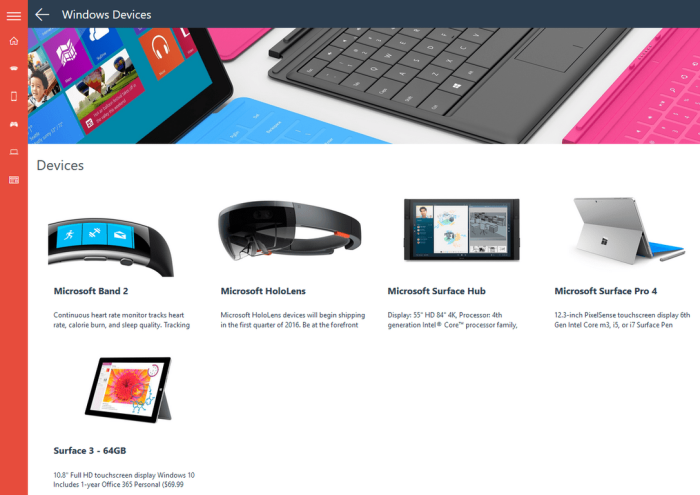
In a recent blog post, Microsoft details how easy it is to bring a web app to Windows 10. Windows App Studio is an online service provided by Microsoft to make it easy to make apps for Windows 10. You don’t even need any coding experience to bring your web app to Windows 10; simply use Windows App Studio’s Hosted Web App (HWA) template.
Windows App Studio allows you to turn any web app into a Windows 10 app, all within the convenience of your web browser, using Windows App Studio’s HWA template. Add data, services, and customize the app theme options any way you want. You can save your web app as a Visual Studio file, or a Publishing package to get your app ready for the Windows Store.
Microsoft promises you that it takes barely three minutes to create a web app for Windows 10 in four easy steps:
- Creating the project
- Name the app
- Enter the URL
- Generate and publish
Here’s a closer look at what you need to do to get your web app to Windows 10. Microsoft requires you to have a Microsoft account to use Windows App Studio. Once you’ve signed up or logged in to your Microsoft account, go to “Start New Page,” to get started on creating your own HWA project.
Once you decide on your HWA project, you move on to the Content Editing screen. This phase is where you enter the URL for the website that you’re turning into a web app. The Content Editing page also allows you to upload a Manifest, which is a JSON document that has information about application defaults, start-up parameters, and additional URL rules. The Manifest upload is just an extra option, so don’t worry if you don’t have one or don’t know anything about it.
After you add the URL and other app information, you can update the app’s icon. To do this, click the app icon on the navigation bar, marked in green, to open the icon editor.
When you click the App logo, it will open a file picker where you can pick what icon you want to use for your HWA. As you can see, there are various app icon sizes that will be generated, so you can choose which one works best for your HWA.
After you’ve settled on an app icon, there’s just one more configuration step; adding the Windows Store details. Just click the Settings tab to edit your Store listing details, like app description, language, Windows Store association details, and your app’s privacy policy. Please note: in order to publish an app in the Windows Store, all of this information must be entered.
After you’ve entered everything you need, click Generate to generate your HWA for Windows 10. After everything is ready to go, click Generate. That’s it, you’re done. You’ve just created your Host Web App.
That’s all you need to know when creating a HWA in Windows App Studio. If you want to give it a try for yourself, head on over to the Windows App Studio to start your own web app. Use the Windows App Studio User Voice to let Microsoft know your thoughts on what they can do to improve your experience.

