How to install Windows 11 today
![]() 6 min. read
6 min. read
![]() Published on
Published on
Share this article

Read our disclosure page to find out how can you help Windows Report sustain the editorial team Read more
The wait for the final version of Windows 11 ends today. Microsoft has taken the wraps off its latest operating system, and anyone interested in a softer UI design, animations, drop shadows, updated ribbons, improved security, new iconography, fonts, snap layouts, sounds, and more, can read below on how to get started.
Step 1: Ask yourself if you have the time for the upgrade?
To begin, you need to consider this: to upgrade to Windows 11 and receive official support from Microsoft, Microsoft is requiring that devices have TPM 2.0 enabled prior to upgrading. You also need to check and see if your PC has a compatible processor, too. Windows 11 only works with PCs that have an Intel 8th generation or newer processor, or an AMD Ryzen 2000 series or newer processor. Of course, select PCs with Qualcomm processors are eligible too. That processor list is here.
To some fortunate degree, Microsoft does provide a tool at least to get the ball going on whether or not a Windows PC is capable of upgrading to Windows 11. We have more on that in the next section. Otherwise, continue below for some of the other minimum specs suggested by Microsoft. These are not very different from Windows 10’s.
- CPU: a 1 GHz or faster dual-core or higher processor on a compatible 64-bit processor or System on a Chip
- Memory: 4 GB RAM
- Storage: 64 GB
- TPM: Trusted Platform Module (TPM) version 2.0
- Graphics card: DirectX 12 compatible graphics / WDDM 2.x
- Display: A display 9 inches or larger, with a resolution of 720p or higher
Once you confirm that you can move on to the second step. This is where the action truly begins and when you can start downloading the new operating system.
Note that if you’re on an unsupported system that don’t meet these requirements, skip to the end of this piece. We have an important note for you on how you might be able to run Windows 11 anyway using the Media Creation Tool.
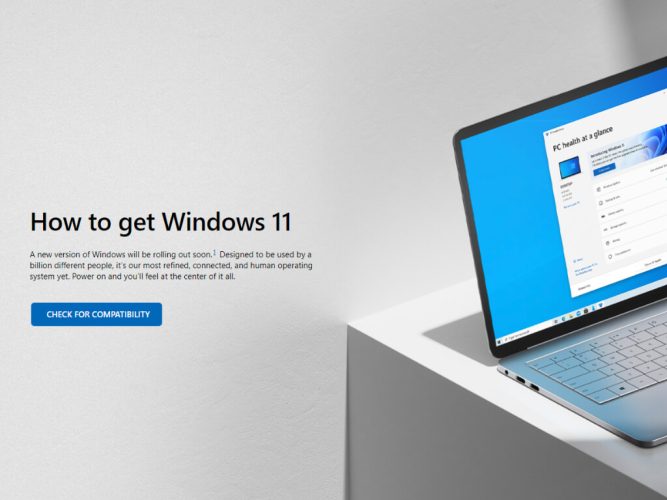
Step 2: Download PC Health Check App
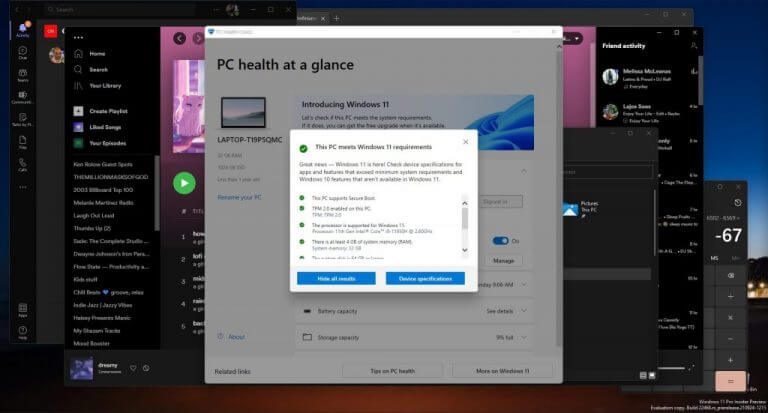
Now that you’ve committed to the upgrade process and the time it might take to get your PC updated with all of the new goodies of Windows 11, head over here to download the app for more device compatibility.
There was a separate link for Insiders established when Windows 11 was in testing, but the above link has now become the official way to test PCs both as Insiders and non-Insiders alike.
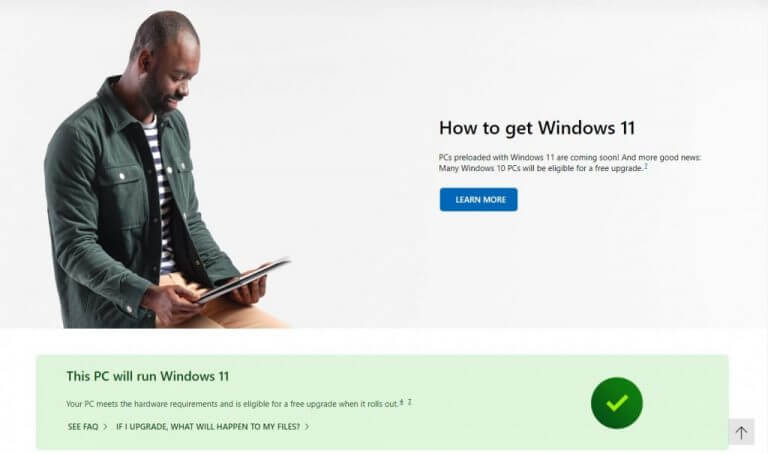
Once downloaded, run the .exe file to get started and follow the Install prompt. There will be two options to choose from to diagnosis your PC, I recommend Show All because it will also incorporate device-specific qualifications. The process (scan) should take less than 3 minutes to complete.
For those who need a straightforward answer, using the Device Specifications option will bounce you out to a web page with a clearly marked Will Run, Will Not Run prompt as well as some further FAQs about the process. Now you know if your PC truly will run Windows 11.
Step 3: Upgrade to Windows 11 via Windows Update

Assuming the fork in the road guides you to a device that will run Windows 11, you can then head to Windows Update to check if your PC has the new operating system ready for download. Go Settings, then click Update & Security, and then Windows Update. Choose Check for updates, and you’ll see a window show up with Download & install. Click this.
Note that Microsoft is taking a “phased approach” to rolling out Windows 11. It wants to ensure that the operating system only shows up for you when it’s ready. Depending on the age of your PC, you might not see Windows 11 in Windows Update right away. Microsoft says new devices will be offered the upgrade first. Then upgrade will then roll out over time to in-market devices based on intelligence models that consider hardware eligibility, reliability metrics, age of the device, and other factors that impact the upgrade experience.
When all is said and done, if you have Windows 11 for you in Windows Update, follow the on-screen prompts. The download and installation portion of Windows 11 could take anywhere from 20 to 40 mins, dependent on OTA downloading speeds in your area. I’ve upgraded four devices from Windows 10 to Windows 11 via the Insider program and each device took roughly 35 mins to complete the download, install and restart the process for Windows 11.
Alternatives: Use the Installation Assistant, or Media Creation Tool or Windows Insider Program
Windows Update is the best way to get Windows 11, but there are some alternatives if it’s not available for you. As an alternative, you can check out the Windows Meda Creation Tool or Windows 11 Installation Assistant. The Installation Assistant will let you upgrade to Windows 11 without going through Windows Update. However, installing with this tool might lead to a lot of bugs on your PC as it won’t undergo verification through Windows Update. It’s best to wait it out and download the right way through Windows Update.
Note that the Media Creation tool will also work to upgrade or install Windows 11 on unsupported hardware, according to Microsoft. However, going this route will leave your PC in an unsupported state, and you won’t get critical security updates or driver updates.
If all else fails, users can join the Windows Insider Program to get the operating system right away to start testing, playing, and living with Windows 11.
You can begin by going to the Windows Insiders webpage here to register, or simply visit your PC’s Windows Update Settings page. Make your way over to the Windows logo in the taskbar and use it to open up the Settings page. Navigate to the bottom and select Windows Update & Security.
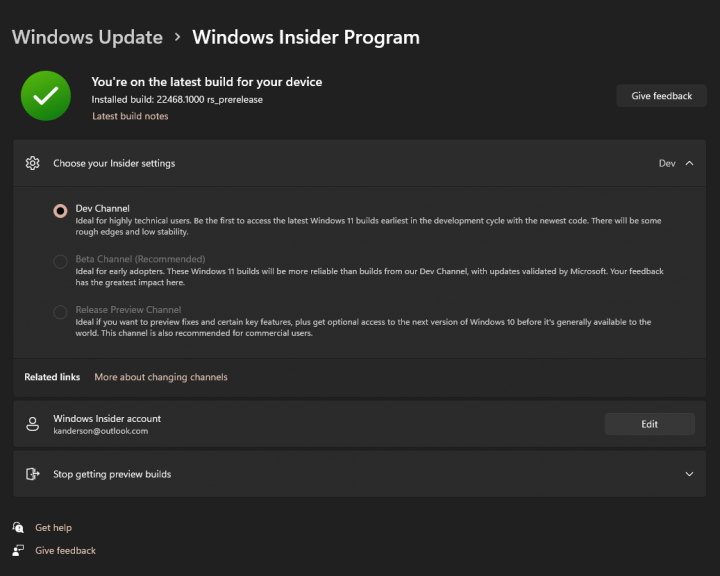
Next, select the Windows Insiders tab to approve or disapprove of Microsoft collecting diagnostic data and hit the Get Started Prompt. Pair a Microsoft account with the Insider program for notifications, prompts, and account sync.
Once a Microsoft account has been linked, you will be able to choose your channel of upgrades and updates with the options including a Dev Channel for “highly technical users,” a Beta Channel for “early adopters,” and a Release Preview, for those who only prefer minor “fixes for certain key features.” I recommend the Beta Channel to the most up-to-date features of Windows 11 as it is the most stable with fewer bugs. The Dev Channel, however, will be the most unstable with the most chances of messing up your PC.