
If you’re a regular, modern computer worker of 21st century, chances are you most likely use the Wi-Fi for getting your work done, leisure, or both. It some cases, though, it’s not unheard of the Wi-Fi network not showing up on your computer.
If you can’t even see or manage the Wi-Fi signal, you obviously can’t connect to your computer to the internet. So in this article, we’ll go over the exact ways to resolve the problems with your Wi-Fi network. Let’s get started.
Wi-Fi network not showing up? Follow these steps to fix this issue for good…
You can end up with a troubled Wi-Fi connections for a variety of reasons—an abrupt shutdown, a malware disputing normal functioning, or even a recent update gone wrong, there are all kinds of stuff.
It’s difficult to put the finger on what’s the cause of this error, so what you can do is try out a host of methods that are most likely to get out of this Wi-Fi network trouble. So, let’s get started with one of the most recommended troubleshooting method.
1. Restart your Windows
Go to any random troubleshooting guide for pretty much any device, and you’ll find the advice to rebooting your device almost always makes it there. It’s been done to death, but it’s not without reasons.
A reboot flushes your memory, which otherwise gets occupied by running different computer apps. So give restart a go and see if your problem gets solved.
2. Network Troubleshooter
While the Windows has marched on with improvements over the years, it’s not without its issues. That’s why Microsoft provides an in-built troubleshooter; anytime you get into trouble with random bugs, you can simply run the troubleshooter, and it’ll try to fix your Windows problems.
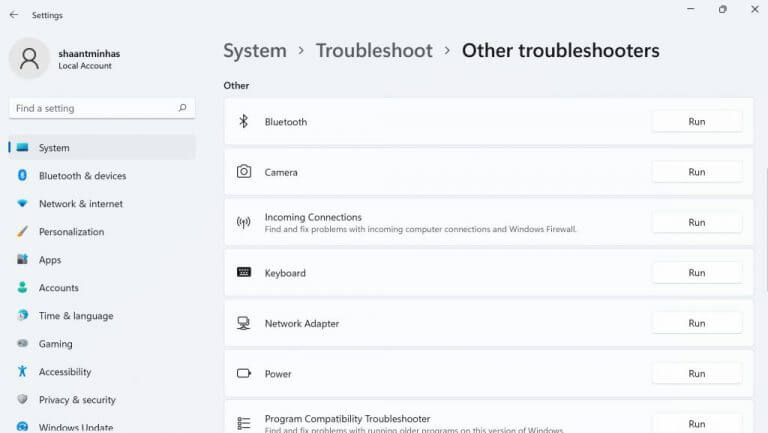
1. To get started, head to the Start menu search bar, type in ‘settings,’ and select the best match.
2. On the Settings app, click on System > Other troubleshooters.
3. Scroll down until you find the Network Adapter and then click on Run.
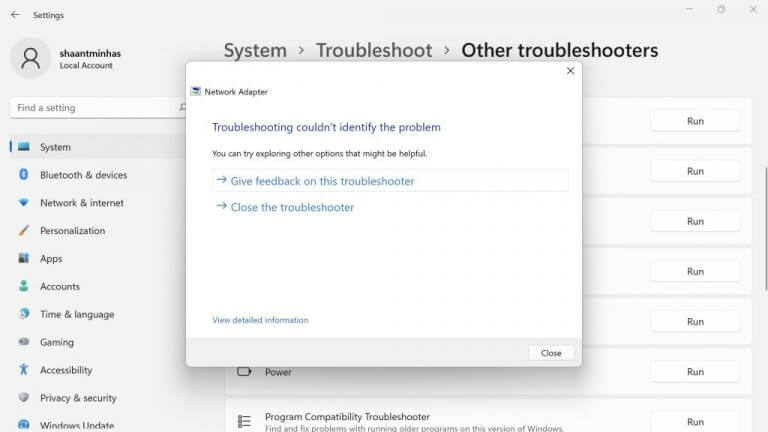
A scan will begin, and if the troubleshooter find any problems with your network adapter, it will try and fix them. In our case, for example, there were no issues, so we got something like this:
3. Update the Driver
Have you updated your network driver for a while? If you’re running your Windows on an outdated driver, things can get troublesome pretty soon, and difficulties with your Wi-Fi networks can arise. So, make sure you’re using the latest version of network driver. Here’s how you can check and get the latest update.
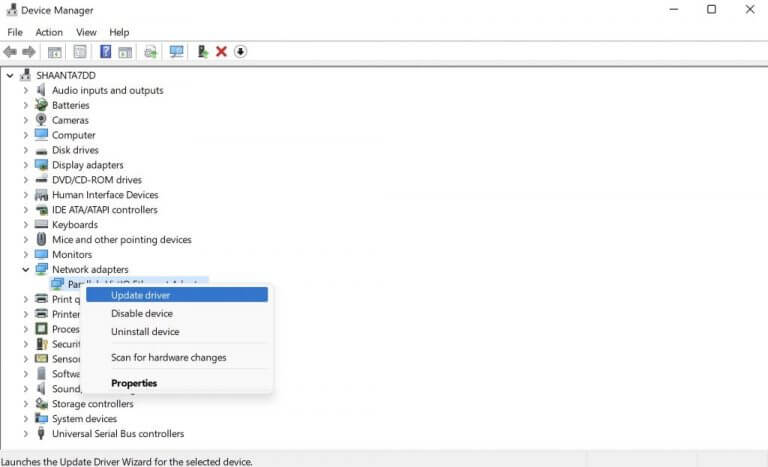
Head to the Start menu search bar, type in ‘device manager,’ and select the best match. From there, click on the Network adapter to expand, right-click on the Wireless adapter and click on Update driver.
Your driver will get updated in a few seconds.
4. Reinstall the Wi-Fi driver
If the update couldn’t solve the problem, then perhaps it’s time for complete reinstallation of your Wi-Fi driver. Before you start, though, make sure you’ve an Ethernet cable you can connect your Windows to.
This is important as you won’t be able to connect to your internet otherwise.
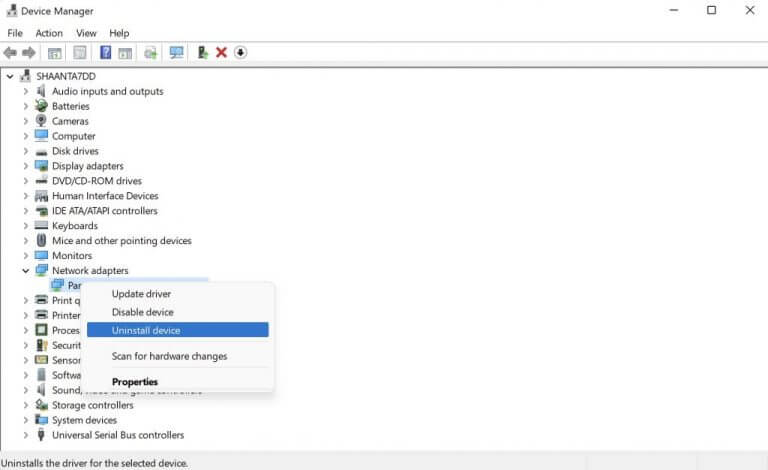
Now to uninstall your driver, head to the Device Manager, right-click on the driver, and select Uninstall device.
Your driver will be getting uninstalled in a few seconds. Now plug in the Ethernet cable, and reboot your PC. When your PC boots up the next time, it will automatically download the driver.
Fixing the Wi-Fi not showing up error in Windows 11
If your Windows 11 Wi-Fi network is not showing up, then there’s probably something wrong with your Wi-Fi adapter. One of the methods from above should help you get your Wi-Fi back in business again. If, however, none of the methods did the trick, then perhaps it’s time for a Windows factory reset, and start everything from scratch again.