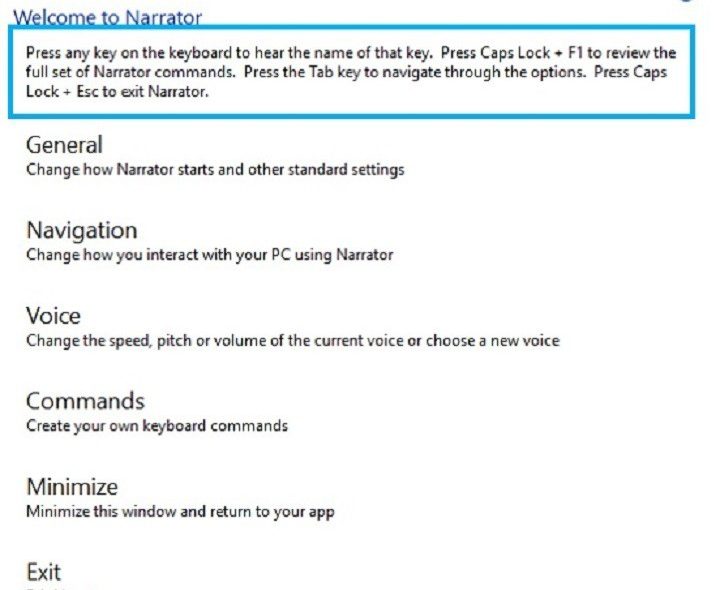
Here are the new features of Narrator in Windows 10
2 min. read
Published on
Read our disclosure page to find out how can you help Windows Report sustain the editorial team Read more

Back in April we wrote about the cool features Narrator had received, improving the tool’s performance, the keyboard commands unification or the fact that Cortana and Edge results became readable among other features. This month, Microsoft rolled out a series of interesting improvements related to navigation, auto-suggest announcements and faster text-to-speech.
The May features are available in build 14328 or newer. If you want to help Microsoft refine their Narrator, send it your feedback via Narrator’s own feedback command of pressing CAPS LOCK+E twice to enter comments about your experience. If you press CAPS LOCK+E once this means you are not satisfied with the tool. The updates focus on five main areas.
1. Scan mode – which is actually a new navigation mode. When this mode is on, use the up and down arrows to move through applications and web content. You can press SPACE to activate an item of your choice: follow a link, press a button in an app, etc. Scan Mode supports common keys found in other screen readers to make navigation easier and more familiar. Scan Mode is turned on /off by pressing CAPS LOCK+SPACE.
2. Verbose modes – six levels of verbosity are now available, giving you more information about the text characteristics. At Verbose mode zero, you will hear the text. At verbose mode 1, you will hear if the text is a heading. At verbose mode 2, information about text formatting will be provided: you will know if the text contains bullets, words in bold, italics or color.
3. Punctuation modes: you now have more control over how much punctuation you hear when reading a text. The settings for punctuation include none, some, most or all.
4. Faster text-to-speech: three new voices have been added to Narrator for a faster rate of speech. The current voices can utter 400 words per minute, while the new ones are almost twice as fast.
5. Auto-suggest announcements: will now get a verbal hint with an audio indication when Windows 10 apps make suggestions. This feature is extremely useful when used with Cortana, as you get suggestions when you enter a term in the search box.
RELATED STORIES YOU NEED TO CHECK OUT:


