How to Download & Use Offline Maps on Windows 11
Never get lost, even if you are off the grid!
![]() 3 min. read
3 min. read
![]() Updated on
Updated on
Share this article

Improve this guide
Read our disclosure page to find out how can you help Windows Report sustain the editorial team Read more
Key notes
- Offline maps can be useful if you are navigating through remote areas or if you want to plan your route in advance.
- Keep reading to know the steps to download and use them.
If you are an adventurer, hiker, or person often traveling to remote places, you might want to download the offline maps of a specific region on your Windows 11 in advance.
In this guide, we will discuss step-by-step instructions to download and use them via the Windows 11 Maps app when the network fails you.
There are several benefits of using offline maps:
- Saves data, useful for people with limited data plans.
- Gives access to maps when you don’t have an active internet connection.
- Helps you explore places in areas with no cell service.
- Plan your route before starting the journey.
How do I download offline maps in Windows 11?
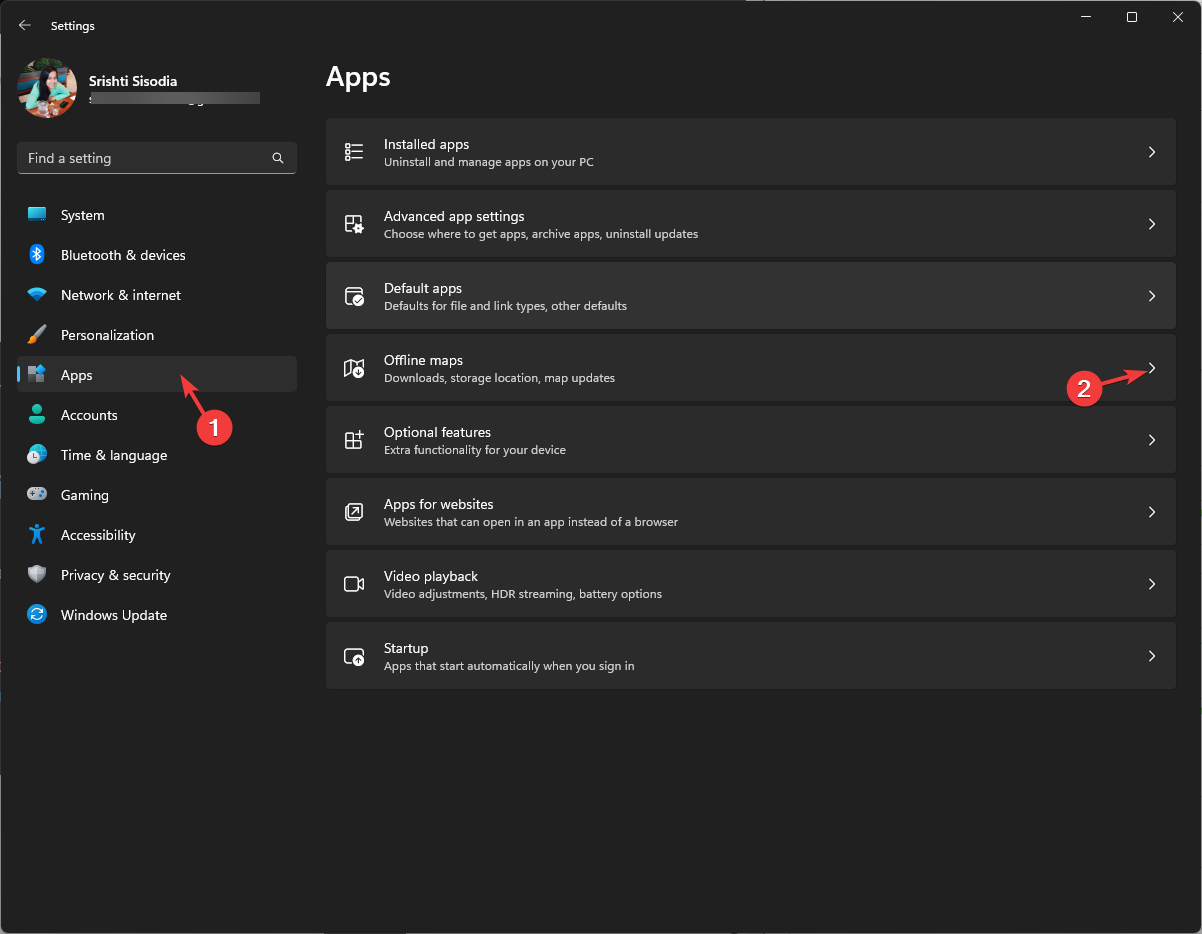
- Press Windows + I to open Settings.
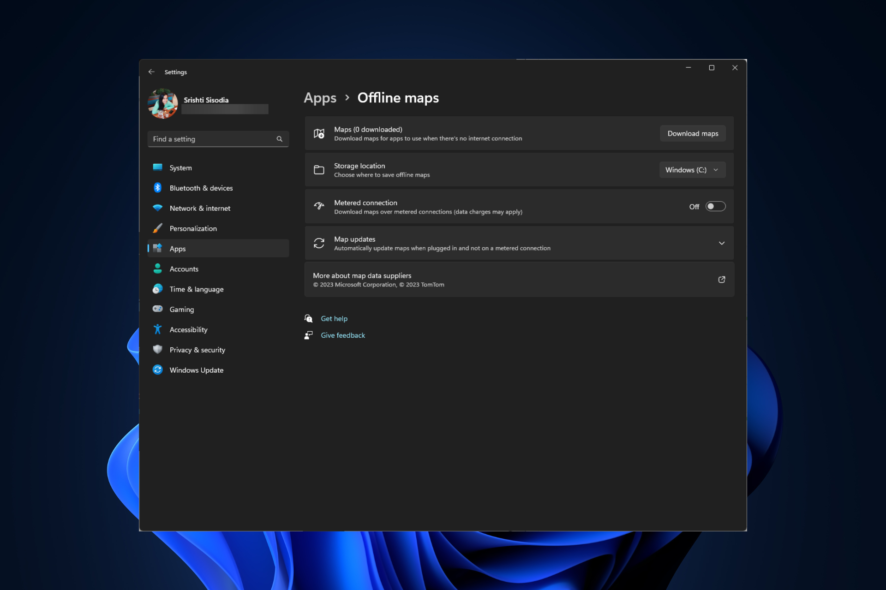
- Go to Apps, then click Offline maps.

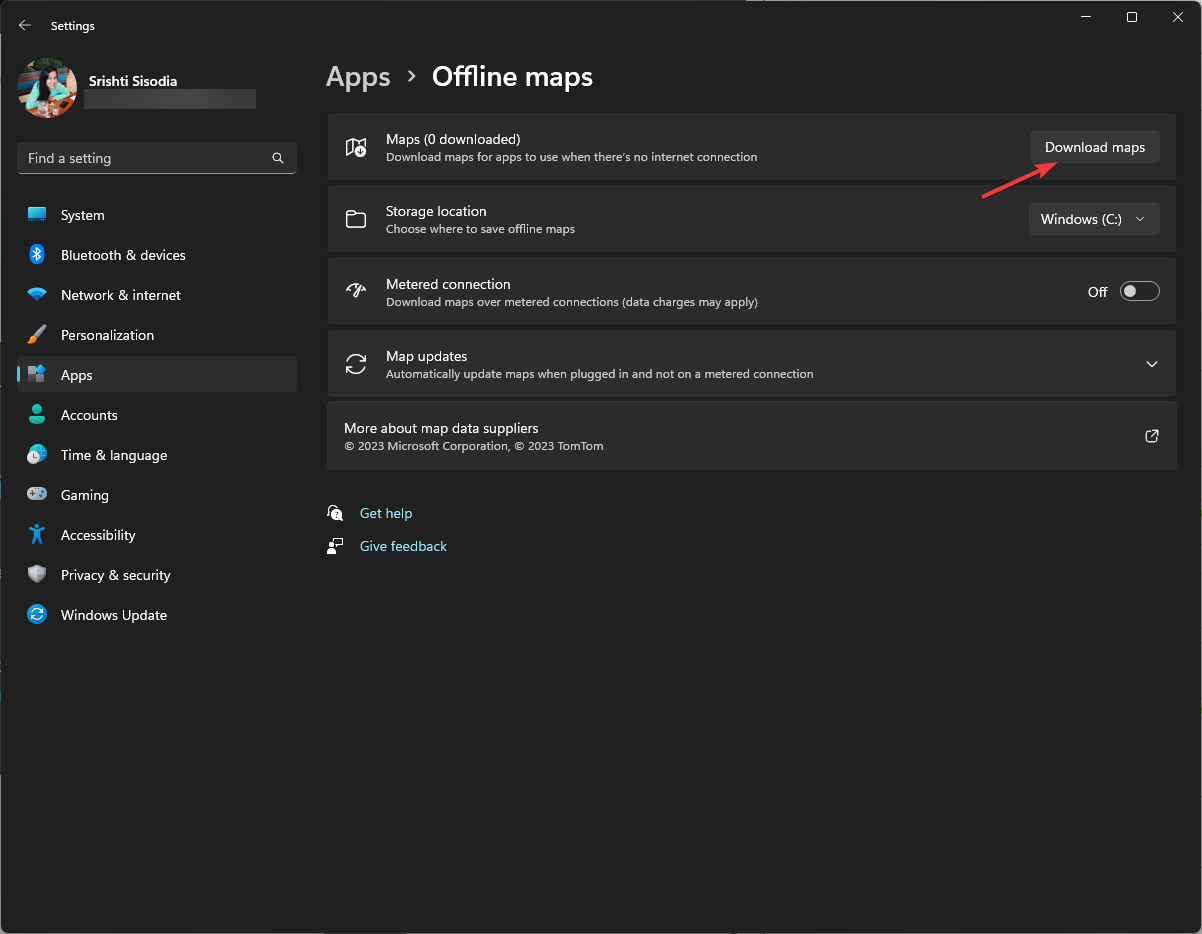
- Locate Maps and click the Download maps button.
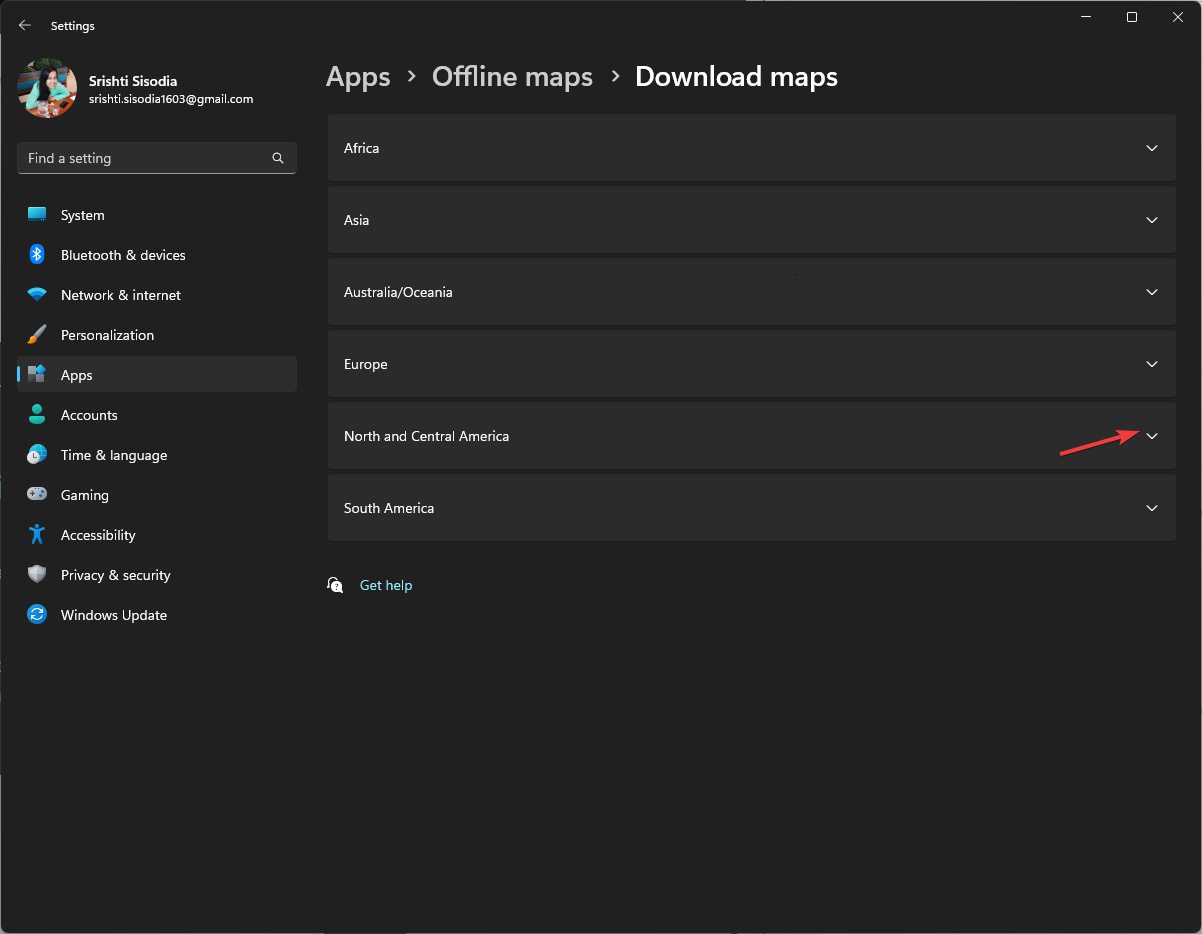
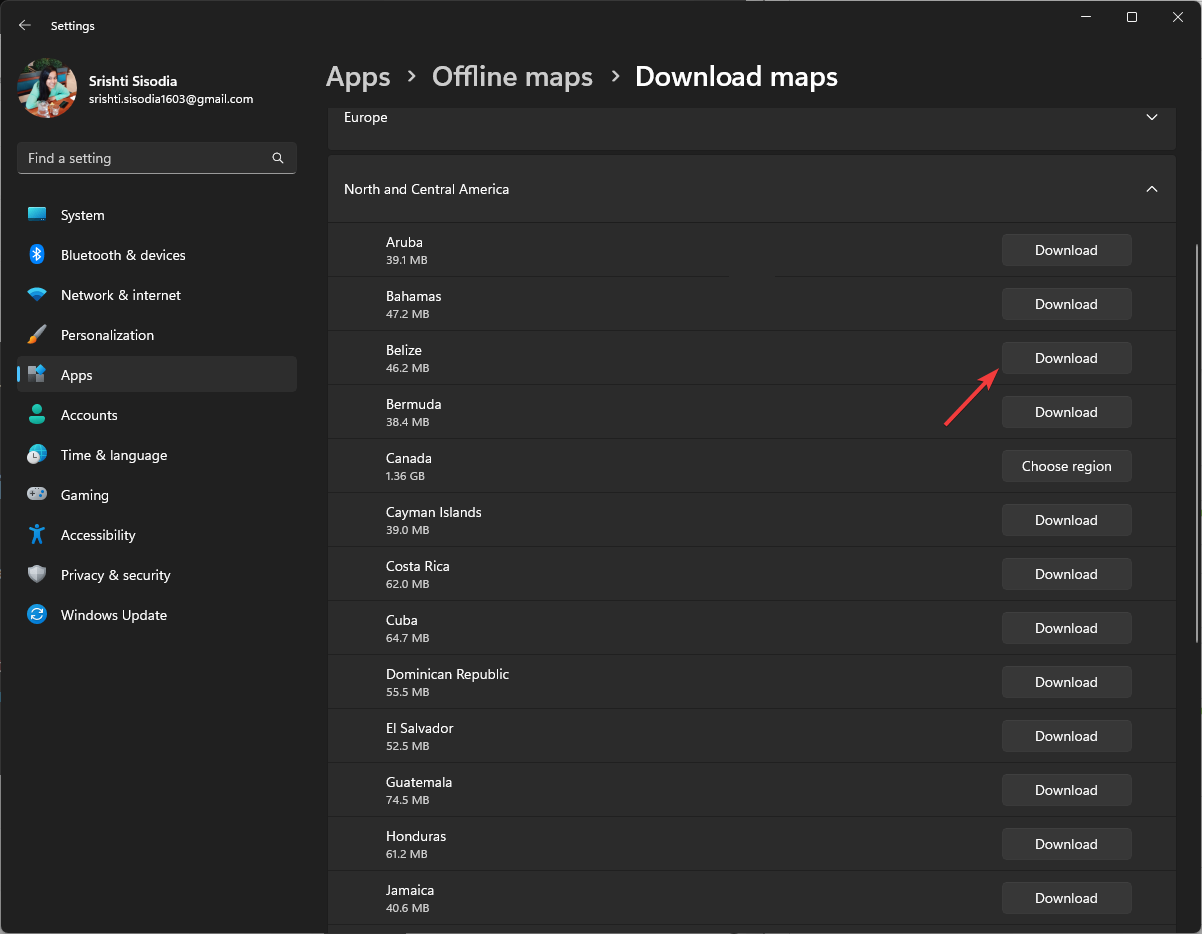
- Next, select a Continent from the list.
- Select a country from the list of countries and click Download.
- Also, to get automatic updates for maps, go to Map updates, then select the Update automatically when plugged in and on Wi-Fi option.
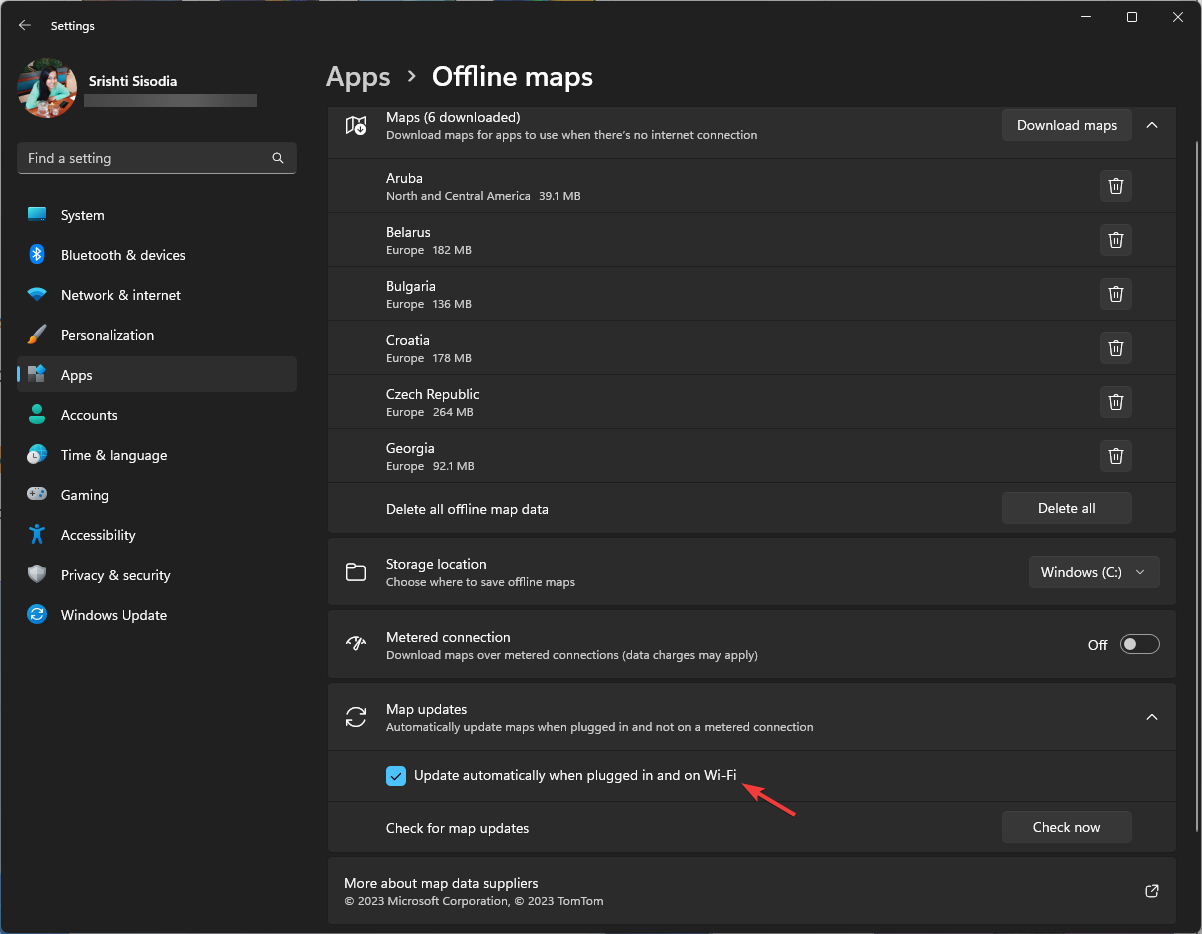
To download the maps using a metered connection, on the Offline maps page, locate the Metered connection and toggle on the switch, then follow steps 3 to 5.
How do I use offline maps in Windows 11?
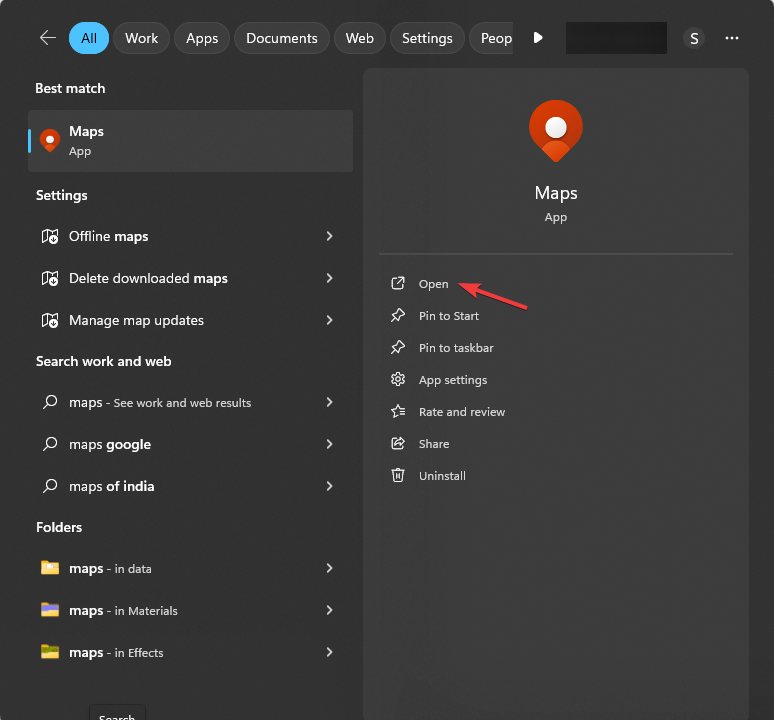
- Press the Windows key, type maps in the search box, and click Open to open the Windows Maps app.

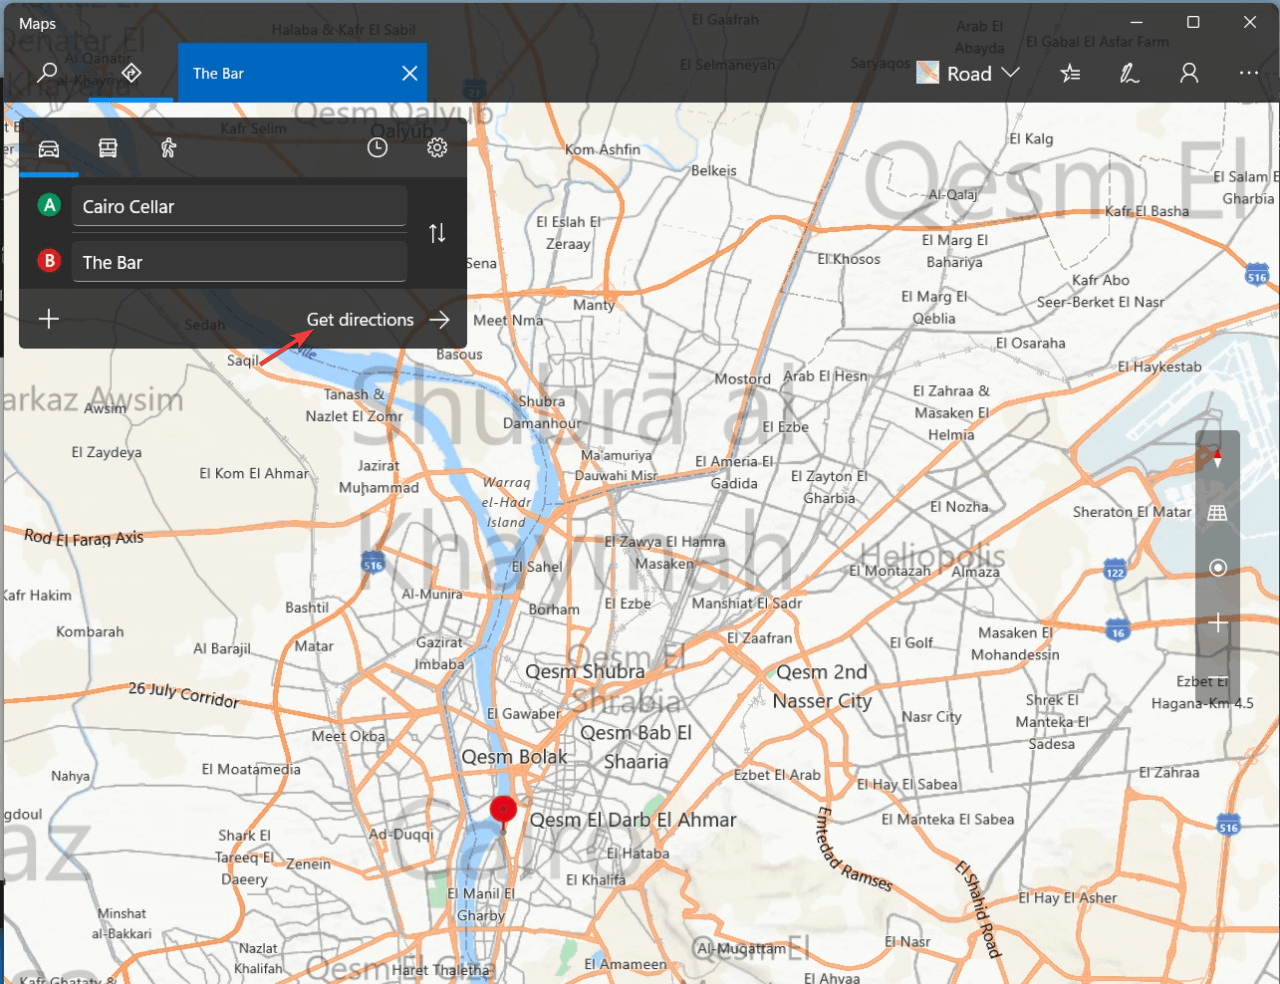
- In the Windows Maps app, locate the search box in the left corner, and type in the name of the city or place on your downloaded map, then click Get Directions.

- You can also search for individual locations on the map to get step-by-step directions.
In case the Windows Maps app is not working for you, you can download Google Maps on your PC to get the directions.
Where does Windows save offline maps?
The downloaded maps are usually stored in your system drive, however, you can change the location to ensure there is enough space. To do that, open Settings>Apps>Offline maps>Storage location, and select the drive from the list.
With offline maps, you can explore the world without any limits even when your Google Maps is facing problems.
However, don’t forget to ensure the storage drive selected has enough space and delete the ones you no longer need.
To remove the downloaded maps you don’t need, go to Offline maps, locate the map, and click the Delete icon.
Which offline maps have you downloaded lately? Feel free to mention them in the comments section below. We would love to know!