How to Wirelessly Transfer Files from PC to Android
LocalSend is free, open-souce, and cross platform.
![]() 3 min. read
3 min. read
![]() Updated on
Updated on
Share this article

Improve this guide
Read our disclosure page to find out how can you help Windows Report sustain the editorial team Read more
Key notes
- Reddit users are still looking for a fast way to transfer files.
- We've found a great app to do just that, LocalSend.
- It's 100% free, safe, and cross-platform.
There are several ways to quickly and wirelessly transfer files from PC to Android phones. On Windows 11, you can use Phone Link for both Android and iPhones. You also have several other apps to use to transfer data from mobile devices to desktops and PCs.
However, as spotted on Reddit, there are some other great apps out there that you can use, especially on Windows + Android combinations. This Reddit user wanted such a combination, and the answers are beneficial, at least.
Turns out, there are a lot of possibilities when thinking about a universal file-sharing system for Windows + Android. And if PhoneLink lets you take and make calls and generally keep up with the conversations on your phone, some great apps allow for a seamless file transfer.
How to wirelessly transfer files from PC to Android with LocalSend?
Naturally, other Reddit users came up with a lot of answers. But one, in particular, seems to be a good option. LocalSend is a free, open-source, and cross-platform that allows you to transfer files wirelessly.
And you have a lot of options. You can transfer them from Windows to Android, Linux, or iOS and vice-versa with just a few clicks.
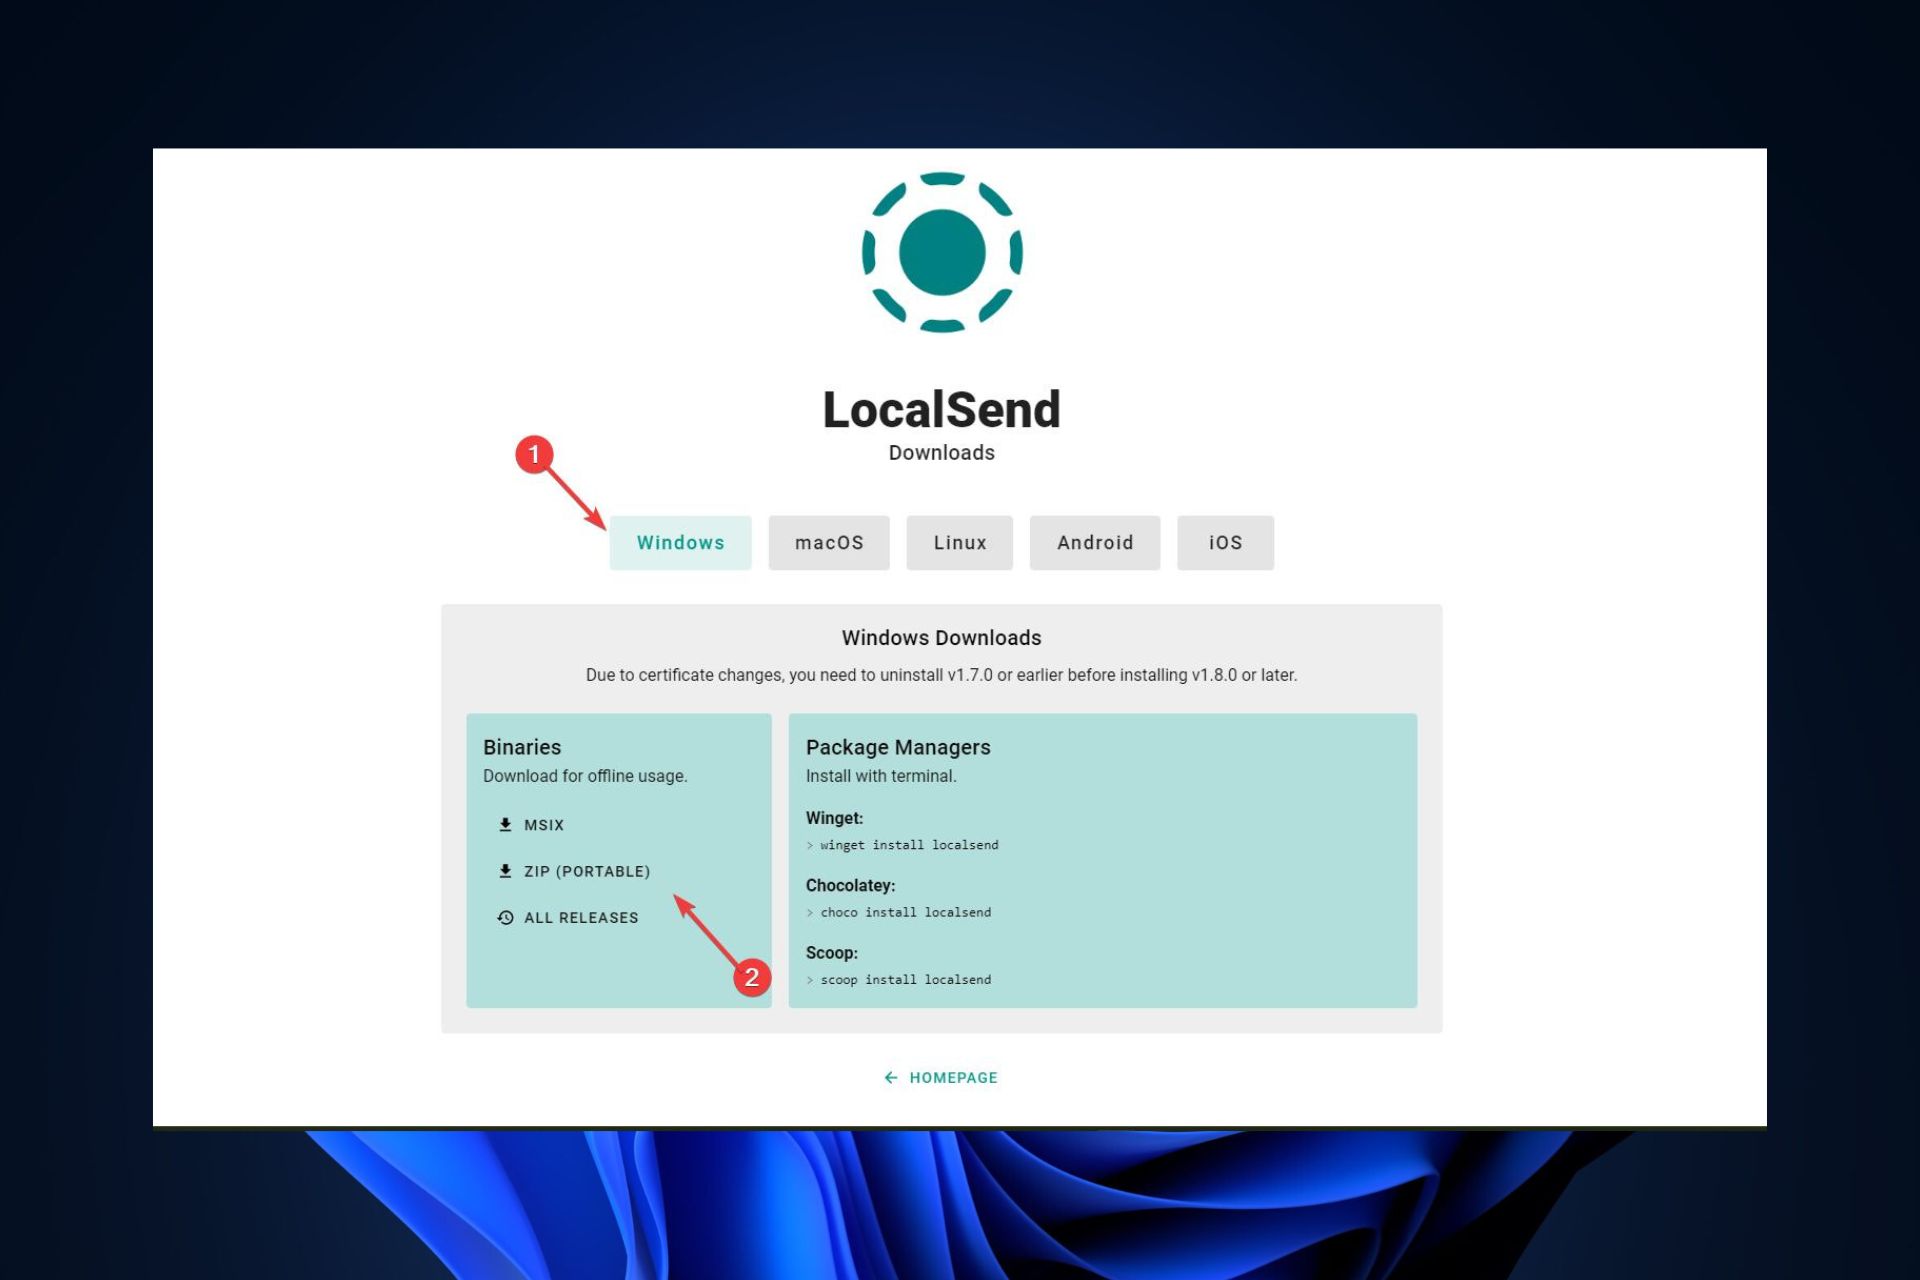
- Go to LocalSend and download it on your Windows, iOS, or Linux.

- Install the app and open it.
- Go to GoogleStore or Appstore and download and install LocalSend on your mobile device.
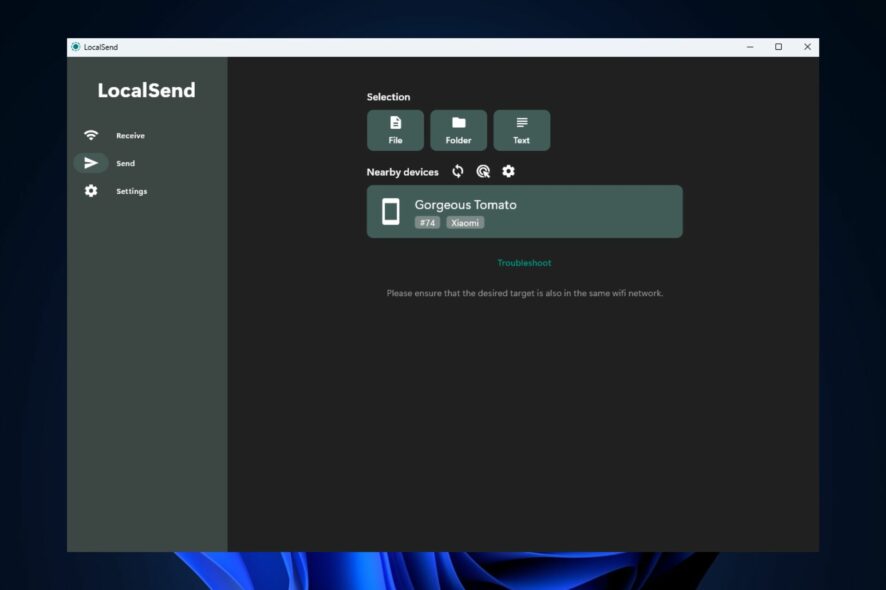
- Open LocalSend on your desktop and on your phone.
- Your desktop should now automatically detect your phone.
- That’s it, you’ve done it. Enjoy the file transferring.
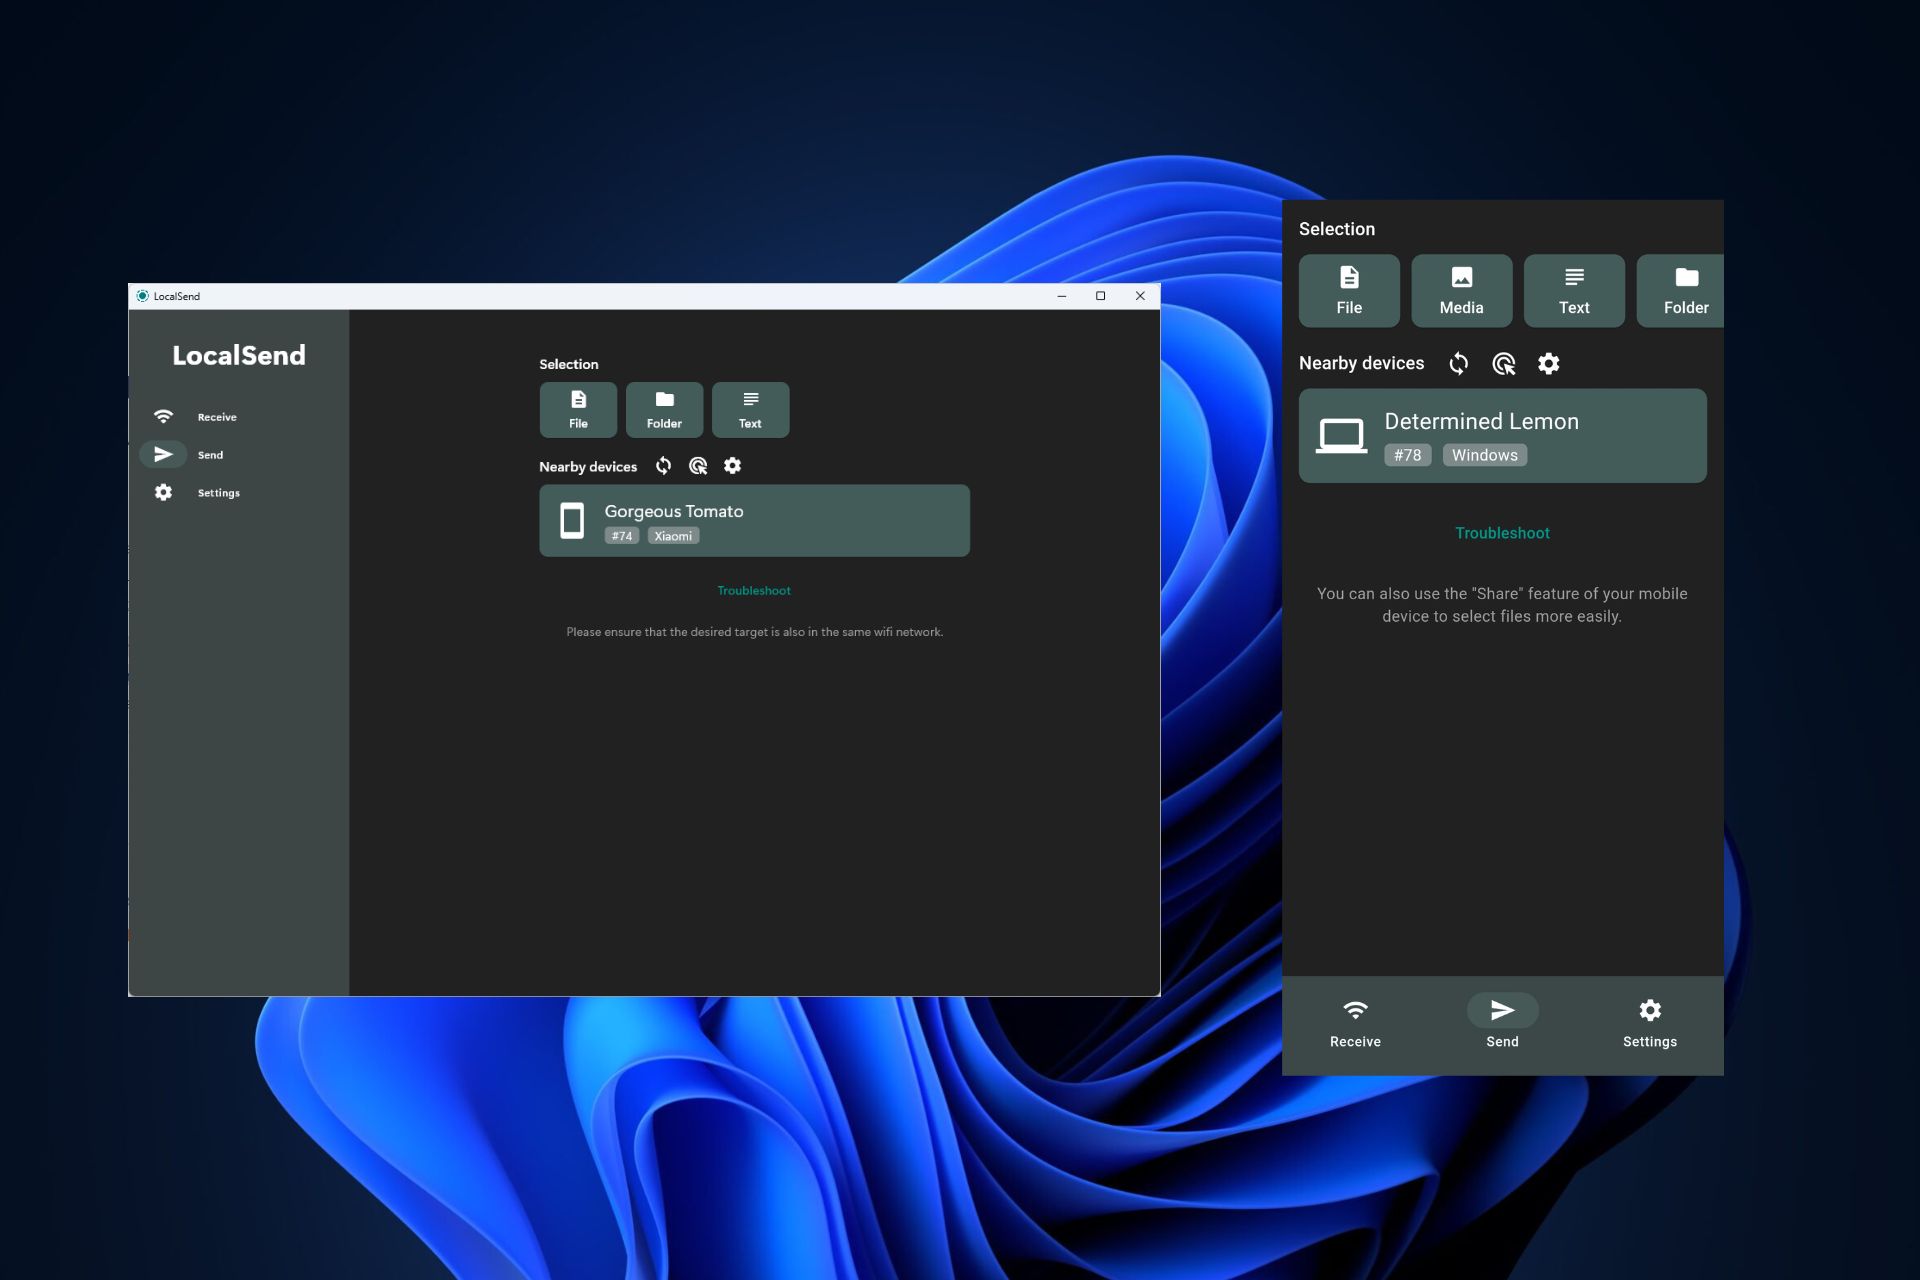
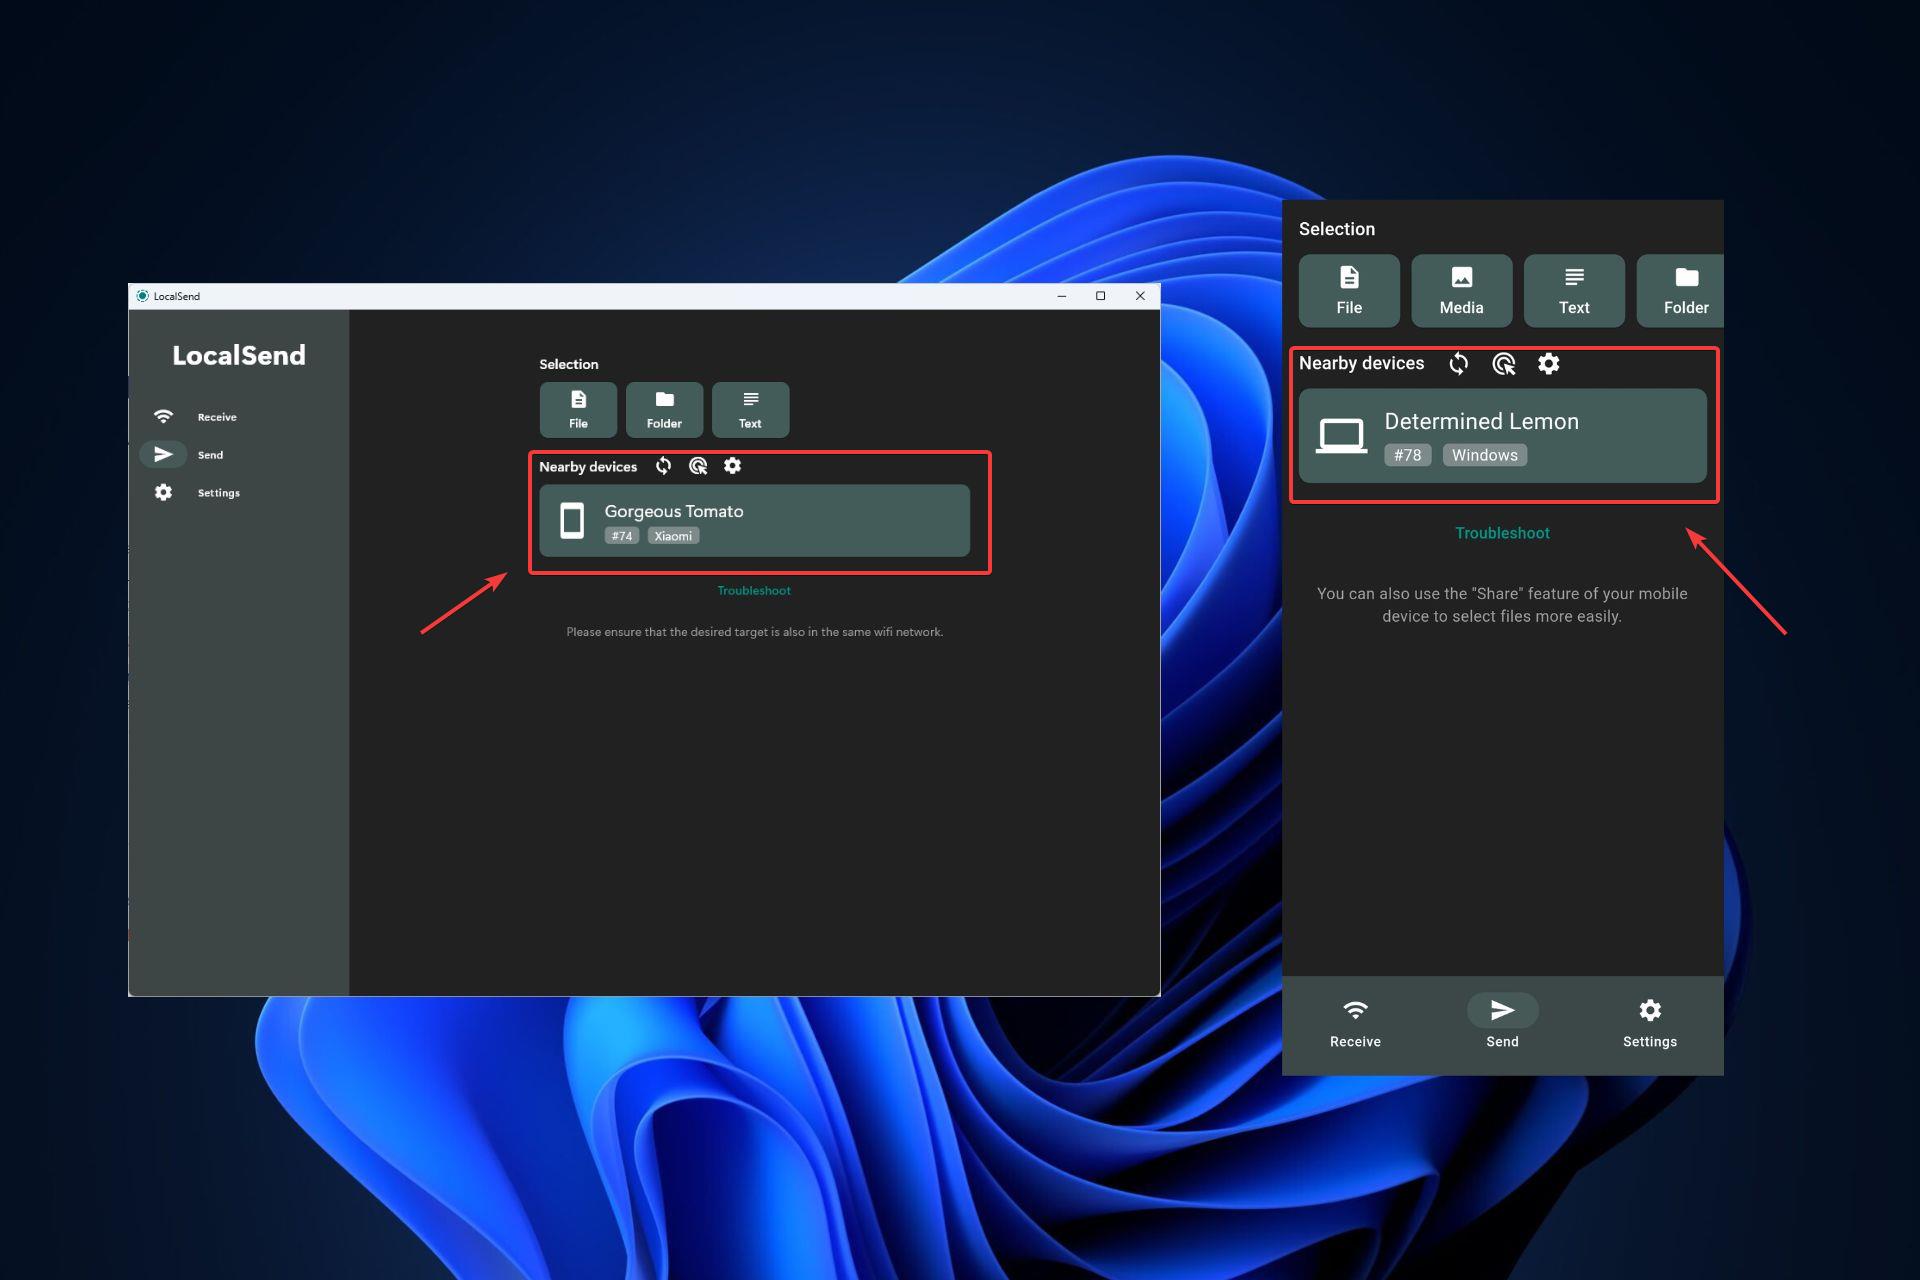
As you can see, you have the option to wirelessly transfer your files from your PC to your mobile and vice-versa through the Send and Receive options.
However, both devices must be on the same wifi network, so consider this when using LocalSend. This is much better compared to USB transfer because it is often plagued by errors such as the please update your device settings to accept media files.
The app is small, so it won’t occupy much space on your mobile devices and desktop. It also has a community where you can ask or look for answers. And if you want, you can also contribute to the project.
So here you go. Until Microsoft comes with a proper built-in app to allow you wirelessly to transfer files, LocalSend can be a very good alternative.
What do you think about it? Will you use it? Let us know in the comment section below.