How to setup Assigned Access in Windows 10 (Kiosk Mode)
![]() 2 min. read
2 min. read
![]() Published on
Published on
Share this article

Improve this guide
Read our disclosure page to find out how can you help Windows Report sustain the editorial team Read more
Let’s say you’re building some sort of ingenious mechanical contraption to be displayed in public that involves using a Windows 10 tablet as an interface. You’ve written or found the perfect app to use this contraption with and now everything is set up. The last thing you would want is for the public to simply close the app, fire up Microsoft Edge and start checking their Facebook on it, turning your creation into a glorified social media browser. You can avoid all that with a feature called ‘Assigned Access’.
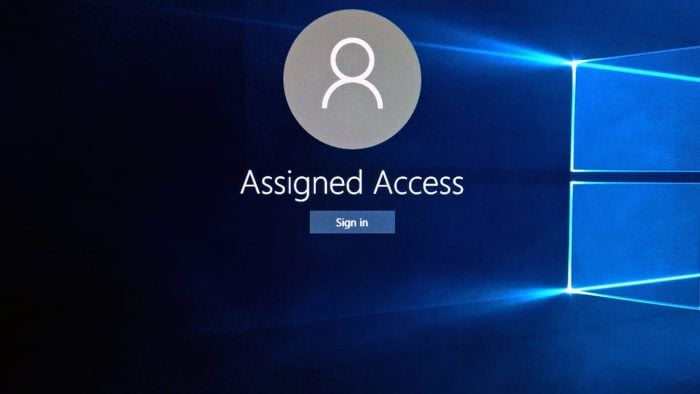
With Assigned Access, you create a new user account that automatically launches one Windows Store app in full screen mode, with no access to the rest of Windows at all. Setting it up in Windows 10 is fairly straightforward.
Step 1: Create a new user account that will be used for assigned access.
Step 2: Sign out of your current account and sign into the new account created in Step 1.
Step 3: In this new account, go to the Windows Store, and install the app you want it to use with Assigned Access.
Step 4: Sign out of the assigned access account and back into your primary account.
Step 5: Launch Settings, then go to Accounts, ‘Family & other users’, then click ‘Set up assigned access’.
Step 6: Here, choose the assigned access account and the app in their respective fields.
That’s it! Go ahead and try out your new assigned access account. If you want to exit the account, all you have to do is hit Ctrl+Alt+Del and you’re signed out.
Assigned Access is primarily designed for kiosks but it can also be useful for DIY builders as well. How would you use Assigned Access? Let us know in the comments section below.