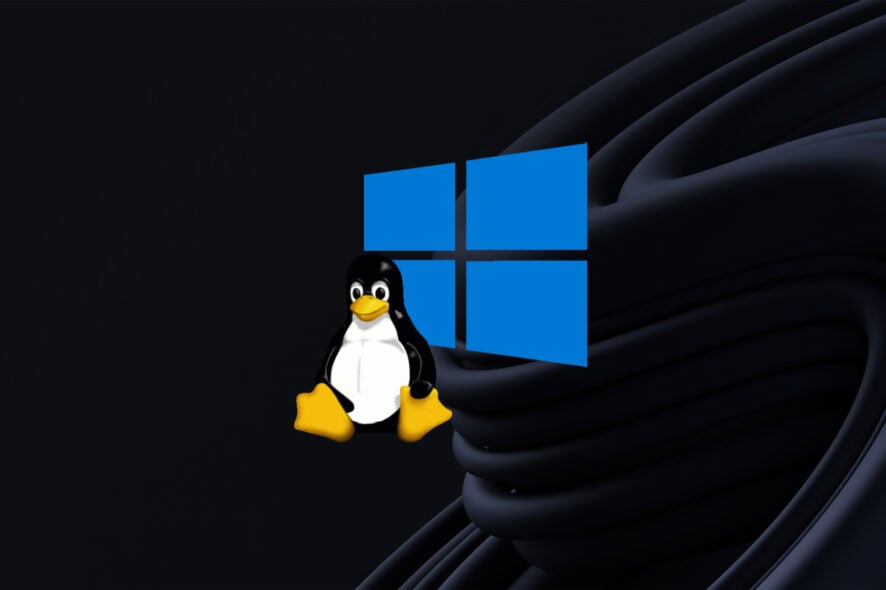
Windows SUbsystem for Linux is now available on the Microsoft Store
![]() 4 min. read
4 min. read
![]() Updated on
Updated on
Share this article

Read our disclosure page to find out how can you help Windows Report sustain the editorial team Read more
Key notes
- The Windows Subsystem for Linux is no longer just a preview product on the Store.
- In fact, Microsoft has added a ton of new features to it and declared it complete.
- You can now download this app whenever you want directly from the Microsoft Store
For those of you that remember, over a year ago, Microsoft brought Windows Subsystem for Linux (WSL) to the Microsoft Store on Windows 11 in a preview state.
Windows Subsystem for Linux is a very useful capability that Microsoft added to Windows 10 in 2017, which enables developers to run GNU/Linux environments directly in Windows without requiring virtual machines (VMs) or dual-boot configurations.
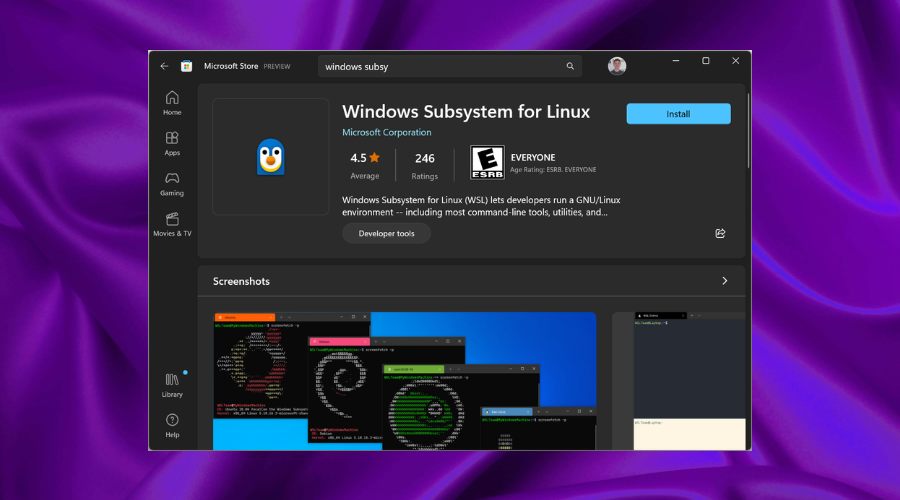
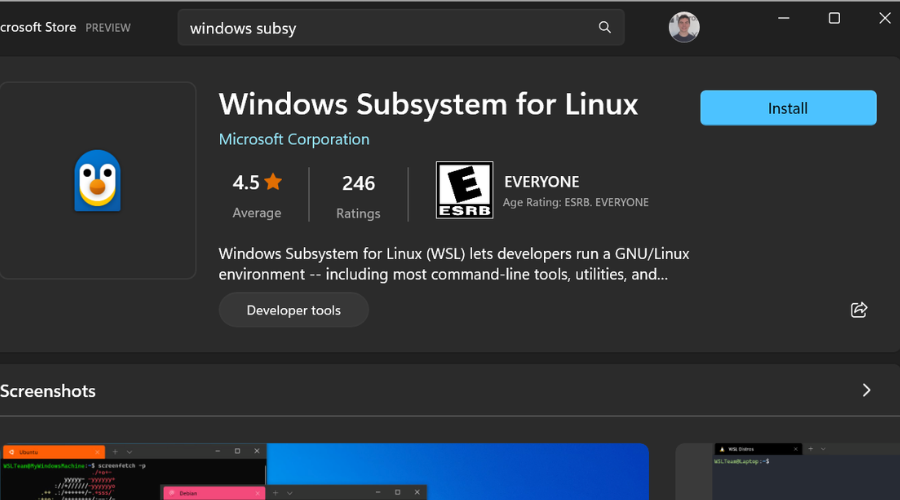
You will be extra pleased to learn that today, Microsoft has made WSL generally available in the Microsoft Store for both Windows 10 and Windows 11.
WSL is no longer just a Preview on the Microsoft Store
That being said, with the release of version 1.0.0 of WSL, Microsoft has ditched the previous Preview tag it had for the software.
Furthermore, it has made this variant of WSL the default experience for people who run the wsl –install or wsl –update commands.
The tech giant also mentioned several advantages of installing the Store version of WSL., which include faster updates, better error printing, WSLg and WSL packed in a single package, and the ability to opt-in for systemd support, among other things.
Some of the other improvements introduced by backporting the Microsoft Store version of WSL to Windows 10 and making it the default experience on both OSes also include:
- wsl.exe –install will now automatically install the Store version of WSL, and will no longer enable the Windows Subsystem for Linux optional component, or install the WSL kernel or WSLg MSI packages as they are no longer needed (The Virtual machine platform optional component will still be enabled, and by default Ubuntu will still be installed).
- wsl.exe –install` also now includes:
- –inbox Installs WSL using the optional Windows component instead of using the Microsoft Store
- –enable-wsl1 Enables WSL 1 support during the install of the Microsoft Store version by also enabling the Windows Subsystem for Linux optional component
- –no-distribution Do not install a distribution when installing WSL
- –no-launch Do not automatically launch the distro after install
- –web-download Download the most recent version of WSL from the internet instead of the Microsoft Store.
- wsl.exe –update will now check for and apply updates for the WSL MSIX package from the Microsoft Store, rather than updating the WSL kernel MSI
- When running WSL using the Windows optional component version, once a week we will show a message on start up indicating that you can upgrade to the Store version by running wsl –update.
We should also inform you that there is a known issue in the Microsoft Store release though, which is that WSL may fail to start if you are running in a session 0 session.
For the time being, this new experience of WSL is only available to seekers, but it will be rolled out automatically to everyone by mid-December 2022.
If you didn’t know, the seeker process involves checking for Windows updates and then installing KB5020030 if you’re on Windows 10, or KB5019157 if you’re on Windows 11.
Note that you can then run the wsl –install (new users) or wsl –update (existing users) commands to get the Microsoft Store version of WSL, or just manually install the latest release from GitHub.
Please keep in mind that if you’re running a WSL 1 distro, you still need to manually install the Windows Subsystem for Linux optional component.
More importantly, the built-in Windows version of WSL will only receive critical bug fixes moving forward, new features will be exclusive to the Microsoft Store version.
And remember that you can download Windows Subsystem for Linux from the Microsoft Store here whenever you choose.
Have you tried out the new version of Windows Subsystem for Linux? Share your experience with us in the comments section below.