How to install Git on your Windows PC
![]() 3 min. read
3 min. read
![]() Published on
Published on
Share this article

Improve this guide
Read our disclosure page to find out how can you help Windows Report sustain the editorial team Read more

If you’ve dabbled anywhere near code, you probably already know how vital Git is for the modern programmer. A handy, open-source version control system, Git makes maintaining your development projects a breeze.
If you’re a Windows user, you’ll have to install the Git tool on your PC to get going with the version control system. In this article, we’re going to cover exactly how you can do that.
How to install Git on your Windows PC
To start with Git on Windows, head to the official Git website and grab the tool’s installer from there. Then, depending on your system, download the 32-bit/64-bit installer from the website.
Now, launch the installer to get started with the installation. Follow the on-screen instructions; for instance, choose Vim when selecting a default browser and click on Next.
On the next option, select Let Git Decide (this lets Git set up a default branch name), and then click Next.
For the next option, select Git from the command line and 3rd-party software, and click on Next; this decides how Git integrates into your system. Next, click on Use bundled OpenSSH and click on Next. Next, implement the following instructions similarly (also, choose None when choosing credential helper) and click on Next. Finally, click on Install.
The installation will take anywhere from a few seconds to a minute; click on Finish to finalize everything, and then you can start using Git.
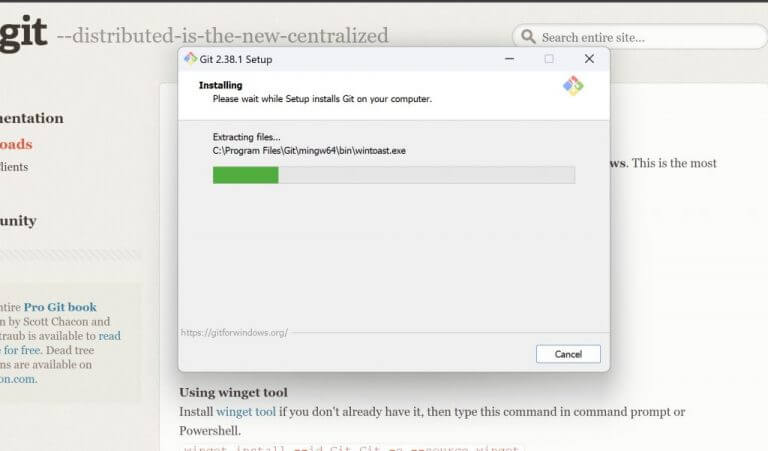
When you’re done, click on the Launch Git Bash checkbox and select Finish to complete the installation officially.
Check the Git installation on your Windows
If you checked the Launch Git Bash checkbox before terminating the installation dialog box, Git Bash should get launched automatically. Alternatively, you can launch it manually. Head to the Start menu search bar, type in “git” and select the best match (it should be Git Bash).
Once you open the Git Bash app, type in the following command in the bash and hit Enter:
git --version
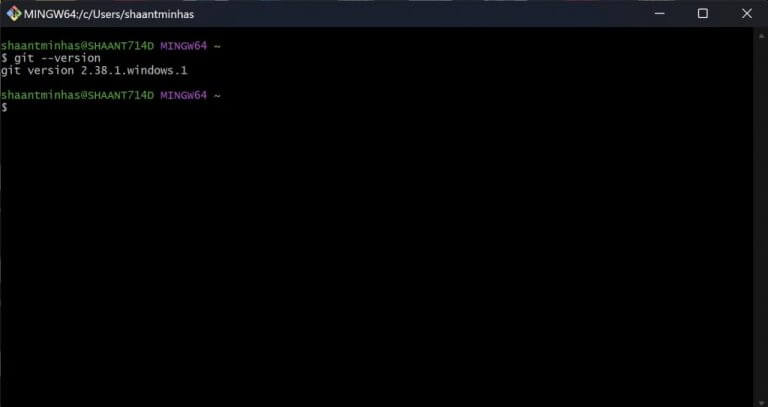
The bash should give you the current version of Git running on your Windows as soon as you run the following command. This means Git has been installed successfully on your PC.
Installing Git on your Windows PC
Git has gradually become famous as the go-to tool for storing and managing your codebase. It’s only natural, then, as you get the convenience of Git on your Windows computer. The next step would be to get GitHub for your PC, a web-based interface that uses Git to make the most out of your system.