
How to create a wireless hotspot in Windows 10
To create a wireless hotspot in Windows 10:
- Launch the Settings app.
- Navigate to Network & Internet > Mobile hotspot.
- Use the controls to configure the network settings.
- Toggle the “Share my Internet connection with other devices” button to “On”.
Applies to All Windows 10 Versions
You can use your Windows 10 PC to host a wireless hotspot for your other devices. Windows has built-in support for both Wi-Fi and Bluetooth hotspots (provided your PC has hardware for both), so you’re able to connect a wide selection of phones and tablets.
To configure your hotspot, first open the Settings app and click the “Network & Internet” category. Select the “Mobile hotspot” page from the navigation menu at the side.
The settings should be fairly self-explanatory. First, you need to select the network adapter whose Internet connection you want to share. On a desktop PC, this may be an Ethernet port. If you’re using a tablet with mobile connectivity, you might want to share its LTE connection. Select the relevant adapter from the list using the dropdown menu.

Next, decide whether to host the hotspot using Wi-Fi or Bluetooth. You should generally choose Bluetooth unless the device you’ll be connecting does not support Wi-Fi. Wi-Fi offers transfer speeds far in excess of Bluetooth, making it better suited to Internet traffic.
You should now take the time to customise the name and password for your hotspot. Click the Edit button to change these options. The network name is what devices will display when scanning for available connections. Make sure you use a strong password to prevent any unwanted intrusions.

The final button on the page, “Turn on remotely,” can be used to make Windows enable your hotspot on-demand. Client devices can request the hotspot is turned on, even if it’s disabled in Windows settings. This only works if the device is already paired with your PC over Bluetooth, so it has a way of communicating with Windows. Only some devices, such as Windows 10 Mobile phones, are compatible.
Finally, toggle the “Share my Internet connection with other devices” button at the top of the page to the “On” position. This will activate your hotspot. After a few moments, it should show up as a Wi-Fi or Bluetooth network on your other devices. Connect using the password you configured above.
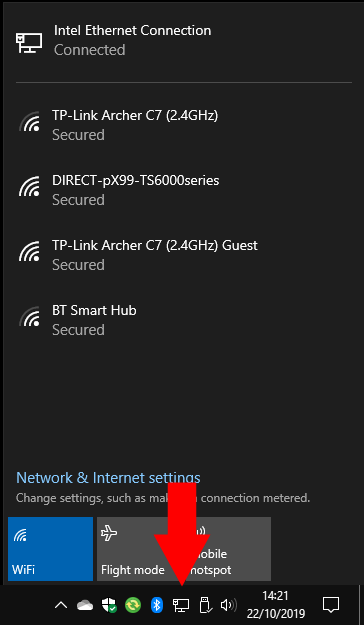
When you’re connecting with another Windows 10 device, your hotspot will show up in the networking menu in the system tray. Click the Wi-Fi icon in the bottom-right and wait for the networks list to populate. After a few moments, your hotspot should appear, named with the label you assigned back on the Settings page. Click the network to enter the password and connect.

Once your hotspot is active, you get access to a new option, “Power saving.” This allows Windows to automatically turn off the hotspot if no devices have been connected for a period of time. This saves power and lowers the security risk of your device publicising an available hotspot.
You can disable the hotspot at any time to disconnect all the devices. You don’t need to open the Settings app as there’s a Quick Action tile available in Windows 10’s Action Centre – press Win+A to open Action Centre and then click the “Mobile hotspot” tile to turn off the feature.
Further reading: Windows 10