How to use To Do in Outlook with Microsoft 365
Microsoft Outlook has integration with To Do, a task management tool that can help you be a bit more productive. Here’s how you can use it.
- The “My Day” view lets you add tasks you want to accomplish each day
- The “Important” view lets you add important and urgent tasks
- The “Planned” view lets you add tasks for the future
- You can also see tasks from emails, and Microsoft Planner with the “Assigned to you” and “Flagged Email” section
Applies to All Windows 10 Versions
If you’re a Microsoft 365 Personal, Family, or Business subscriber, you might have noticed a little checkmark at the bottom right corner of your mailbox when looking at the sidebar in Outlook on the web. If you also click the Try the new Outlook switch, this is a link that will take you to try out a preview integration with To Do, Microsoft’s new task management tool.
This tool is something that small business owners, students, parents, or teachers alike could find it useful. It can pull your important flagged emails, show you things that are planned, and even pull your assignments in Microsoft Planner. Here’s a look at all that, and how you can use it to your productivity advantage.
My Day and Tasks in To Do
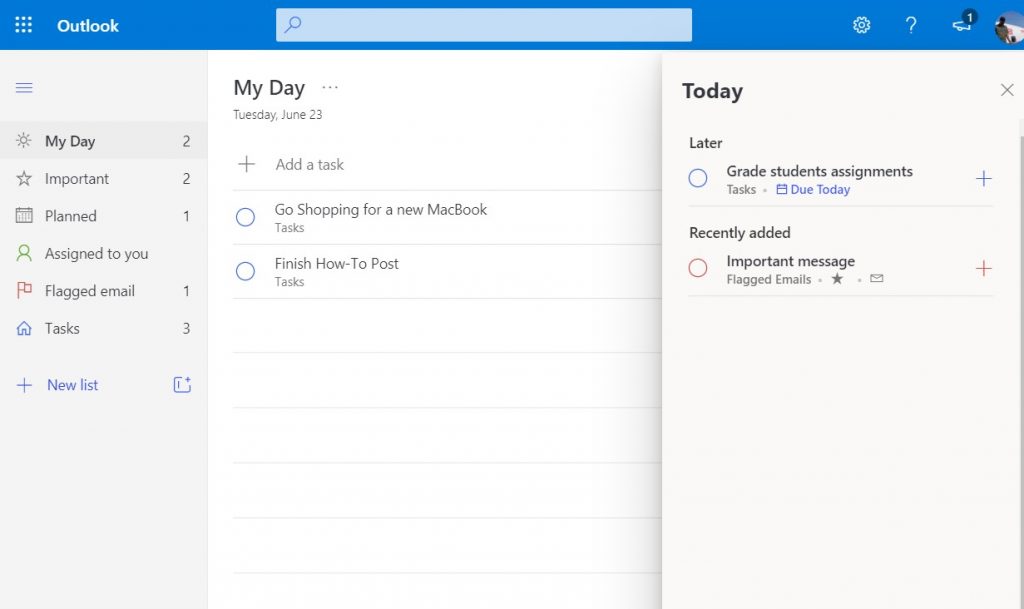
The first thing that noticeable in To Do is what is known as “My Day.” My Day is a fresh clean slate to add certain tasks that you want to accomplish each day. You can manually add common tasks with the Add a task button, or you can see suggested itineraries and other items for your day with the lightbulb icon at the top of the screen. Suggestions will be grouped by Yesterday, Later, and Earlier, based off when To Do thinks you should add them. You can click the + icon next to the task to add it, or the circle box to complete it. Other options available from the My Day page include options to sort. You’ll see options to sort by importance, due date, alphabetically, or creation date.
Also of note is the “Tasks” section in To Do. This appears at the bottom of the sidebar and is your list of all the things you’ve added To Do from across all the categories which we’ll be discussing next.
Important in To Do
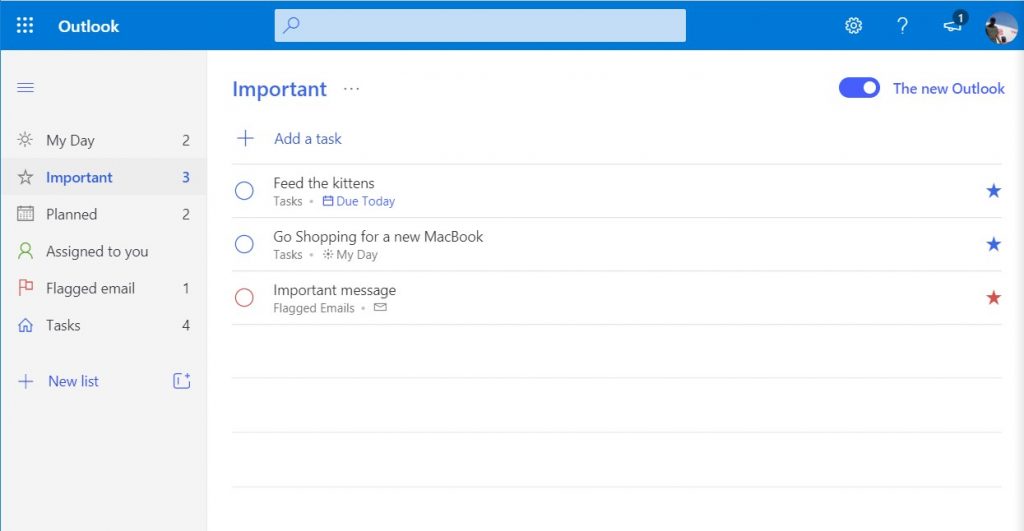
Next up in To Do is what is known as “Important.” Important in To Do are a collection of tasks that you’ve marked as urgent, say to attend that important meeting, or grade papers, or even feed the kittens. These will get extra visual attention thanks to the star icon you’ll see next to them. Important tasks work just like other tasks, though. After creating one with the Add a task button, you’ll see it populate the list and you can mark as important with a star. You’ll be able to complete it by clicking the circle checkbox. All tasks in To Do will also have an icon next to the task to tell you where it came from — be it My Day, or an email.
Planned in To Do
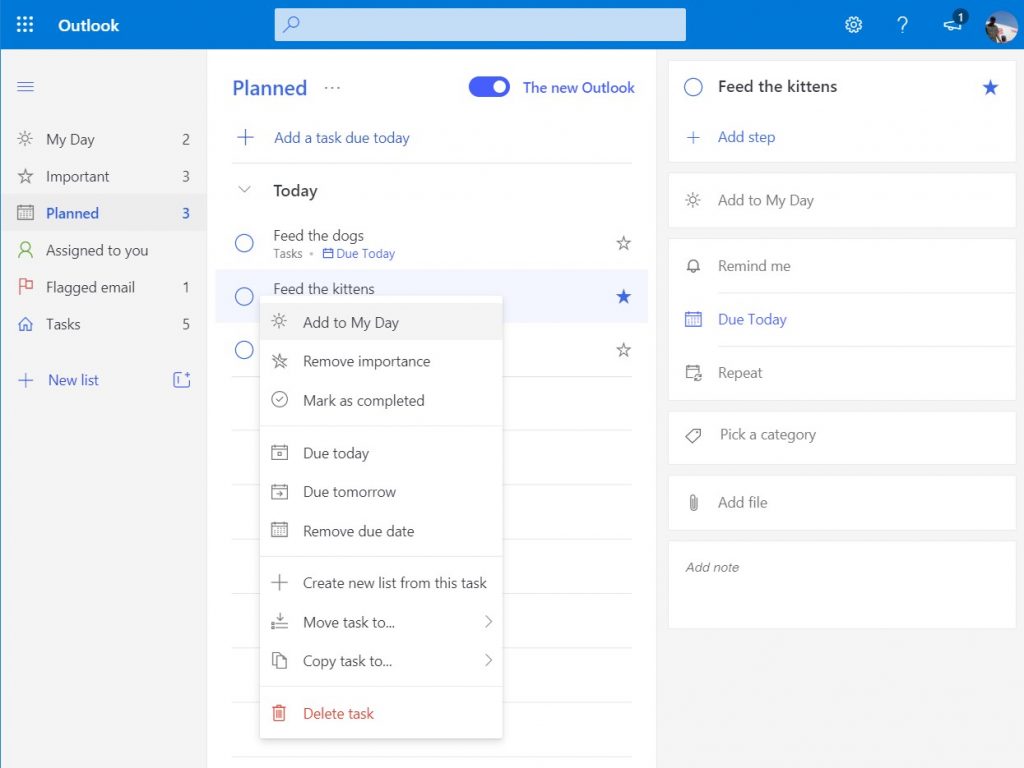
A third area in To Do is what’s known as planned. As the name suggests, planned tasks are tasks for the future. You can create these tasks with the + icon, and then click add. Once added, you can change the due date by right-clicking, and choosing another date. A traditional left click on the task, meanwhile, will give you reminder options, steps, and more options to set a different date. You even can attach files or leave notes if you need to.
Assigned to you and Flagged email in To Do
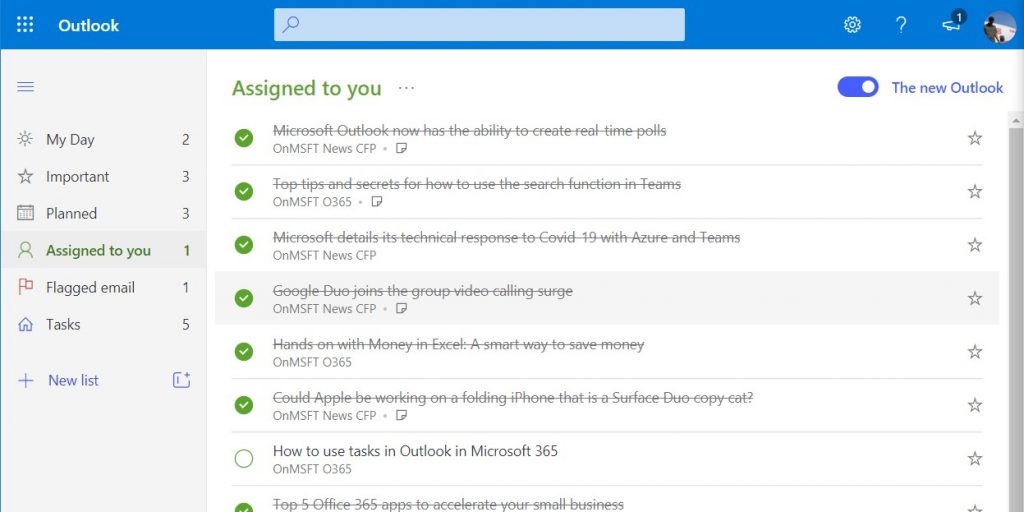
If your small business or school is subscribed to Microsoft 365 and using Microsoft Planner, then this section of To Do is for you. The “Assigned to you” section will show you tasks assigned to you by management through To Do or Microsoft Planner.
You might need to see it up by clicking the Create button in the pop-up in the sidebar, to link your Planner account to To Do. Once set up, all Planner tasks will show in To Do. You even can see old ones by clicking the . . . and then choosing Show completed tasks. It’s a nifty little feature that gives you a good productivity boost and a look at all the tasks you need to finish for the day.
We’ll also talk about the Flagged email section too. If you’ve flagged any emails in Ourlook, they’ll show up in this section of To Do. From here, you can right-click the task to add it to the “My Day” list, remove the importance, or change the due date. Doube clicking it, meanwhile, will show you the information from the message, and allow you to open it in Outlook. Again, it’s a nice little shortcut to avoid having to click through multiple things to find what’s important.
Other aspects of To Do
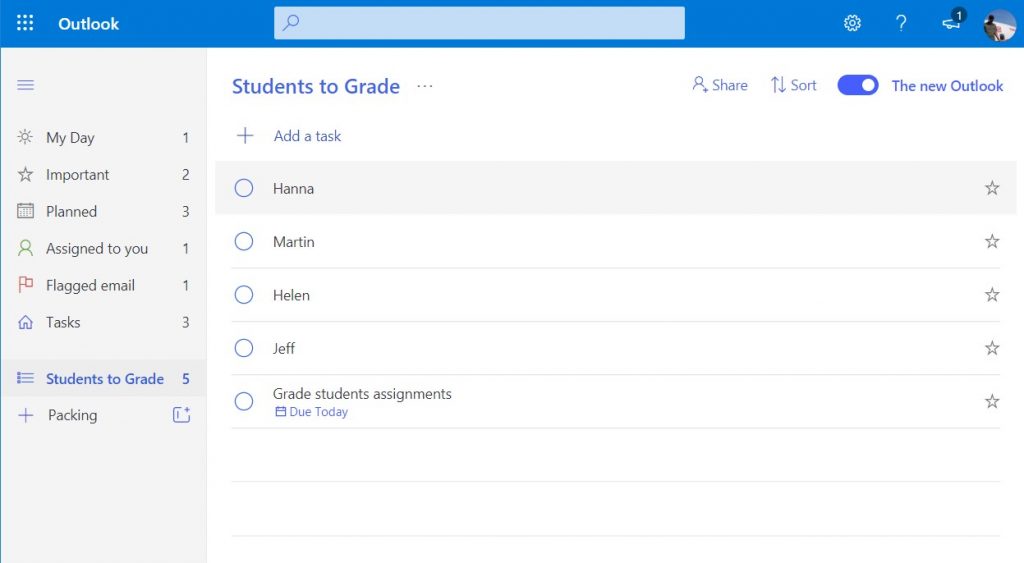
We’ve touched on the core aspects of To Do, but you also can leverage the Lists function of the service too. Once you add a task to To Do, you can create a list for it. Say, if the task is to go shopping, you can right-click the task, and then create a list for it. The list will show up in the sidebar, and you’ll be able to check things off as you complete them. It’s a really nifty way to manage complicated situations, like grading papers, or even an inventory of stuff.
If you’re finding To Do useful, let us know in the comments below. And feel free to check out our news hub, where we talk about the other Microsoft 365 apps and services.