Download & Set Custom Backgrounds in Microsoft Teams
Custom Teams backgrounds will make your appearance interesting
![]() 3 min. read
3 min. read
![]() Updated on
Updated on
Share this article

Improve this guide
Read our disclosure page to find out how can you help Windows Report sustain the editorial team Read more
Installing custom Microsoft Teams background effects is a great way to personalize your experience and make the app feel more like your own. If you don’t have the option to select custom backgrounds in Teams, that is probably because you are using an older version of the app.
You can add more backgrounds from your computer, or download them directly in Microsoft Teams. After downloading them, you should always set the background before a Teams meeting to avoid last-minute hassles.
How do I install a background on Teams?
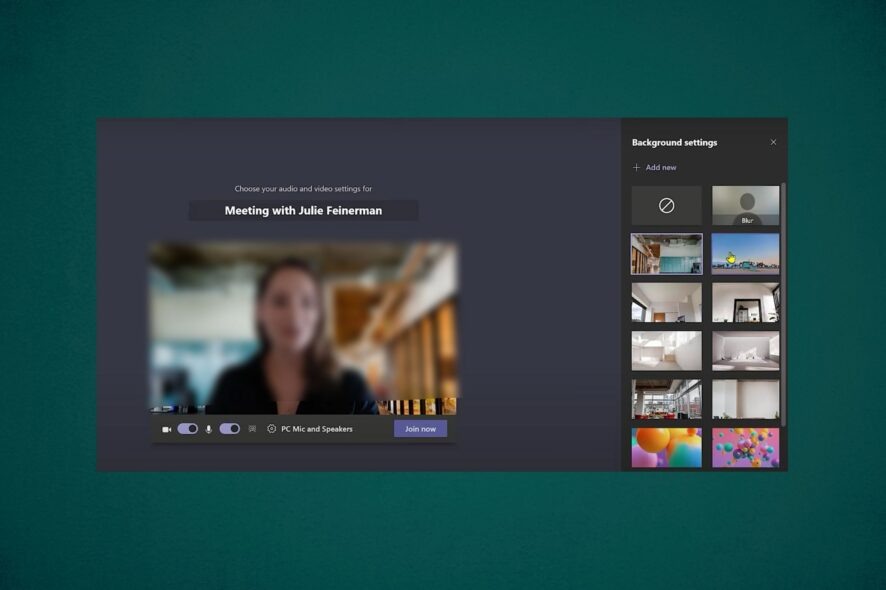
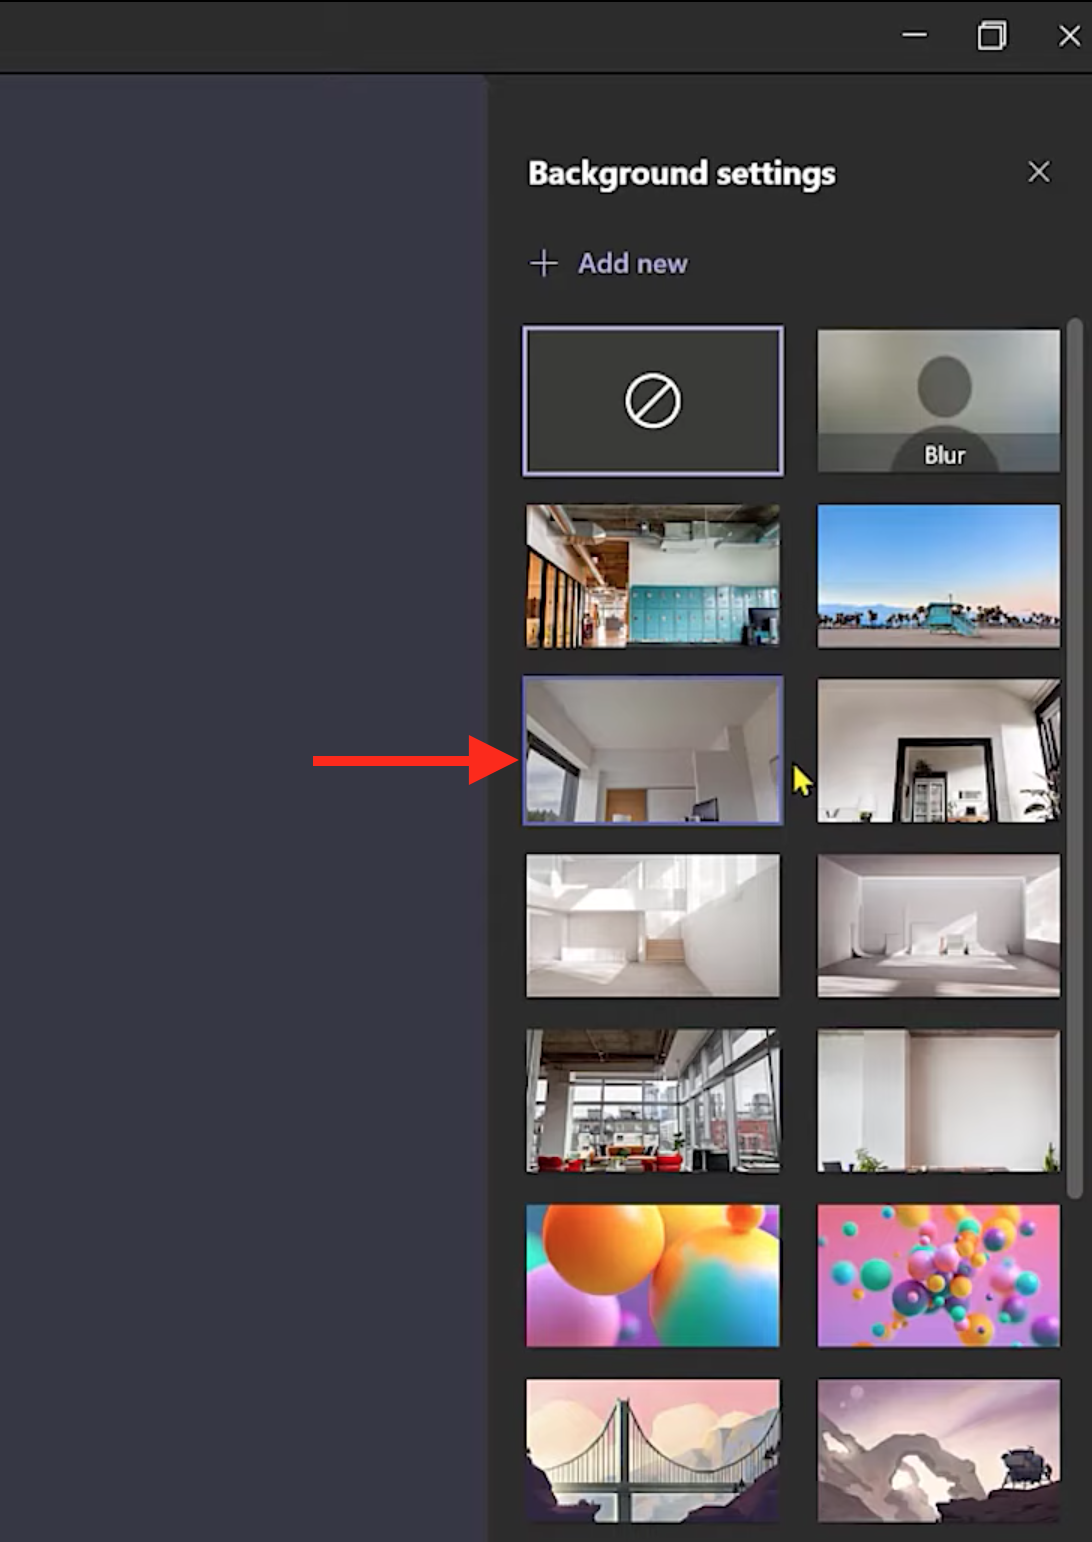
1. Select from your available backgrounds
1. Open your desktop version of Teams.
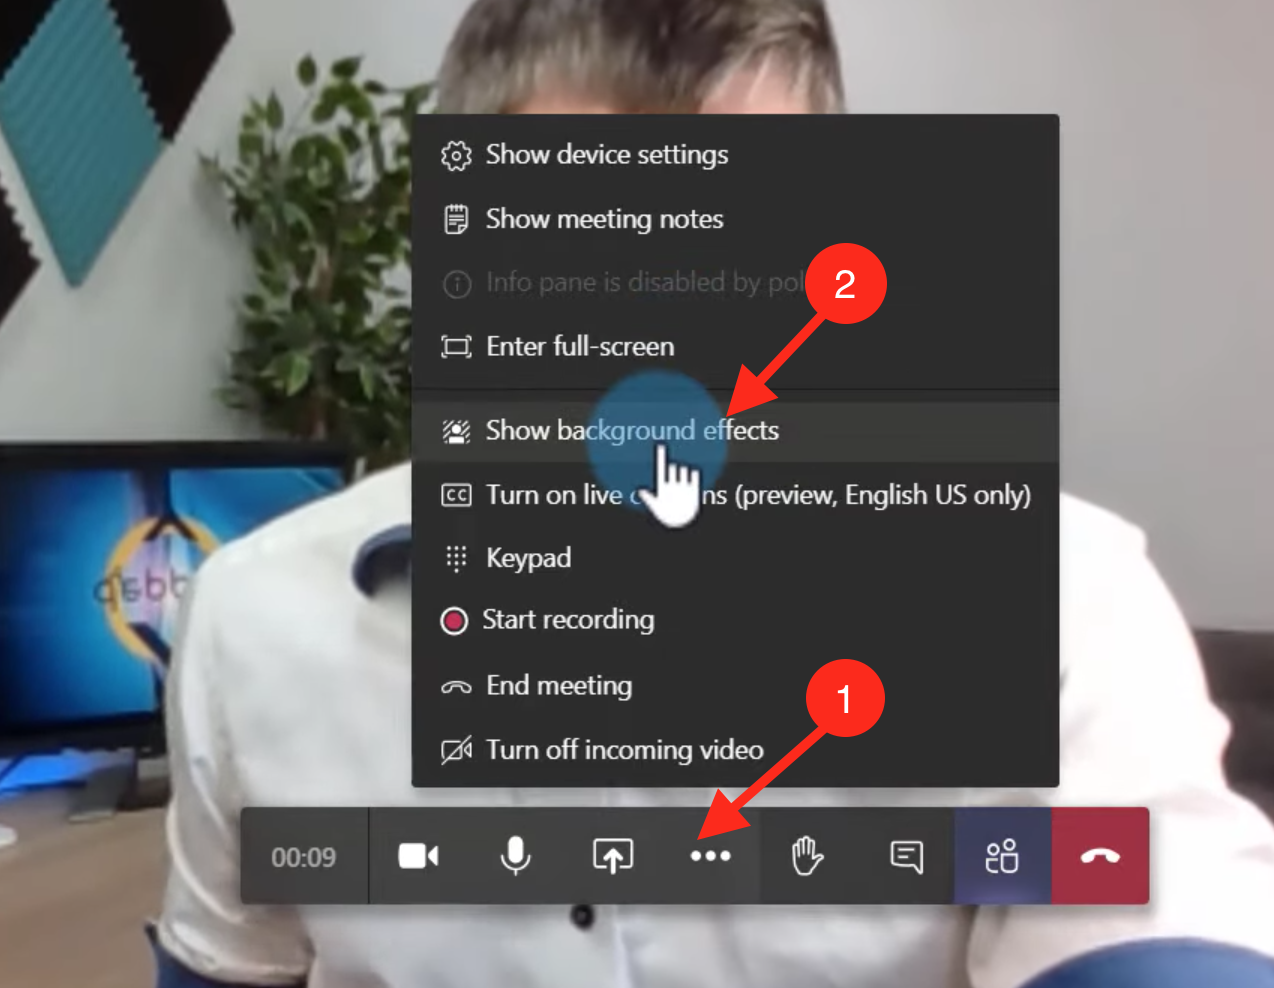
2. Click on three dots, and select Show background effects.
3. Then, on the left hand side, available background effects are shown to you.
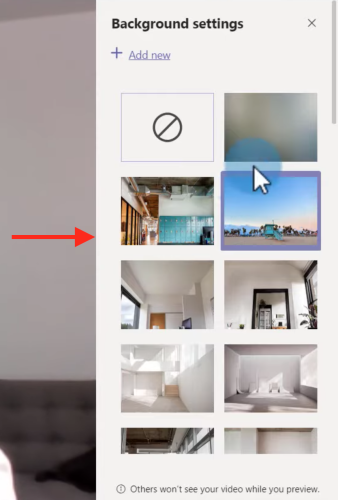
4. Click on your desired background; a preview of that background is shown to you at the bottom.
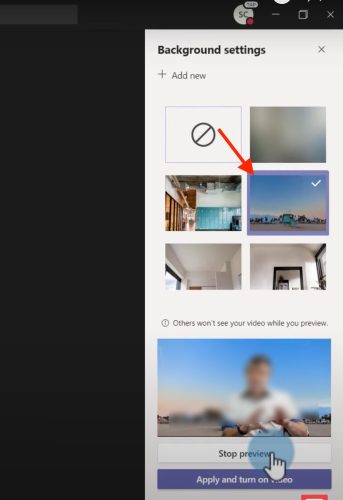
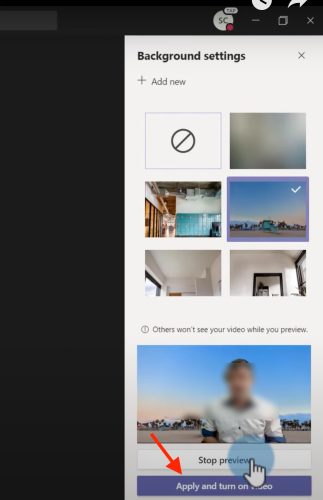
5. Now, click on Apply and turn on the video.
If you’re looking to apply the best Teams backgrounds in your meeting, you can choose between a default background or create a custom one.
You must first enable background effects, and then manually choose the perfect background from the list of available ones.
2. Add your custom background
- Log in to your desktop version of Teams and click on three dots and select Show background effects.
- In the right menu, click on Add new and select a background from your computer.
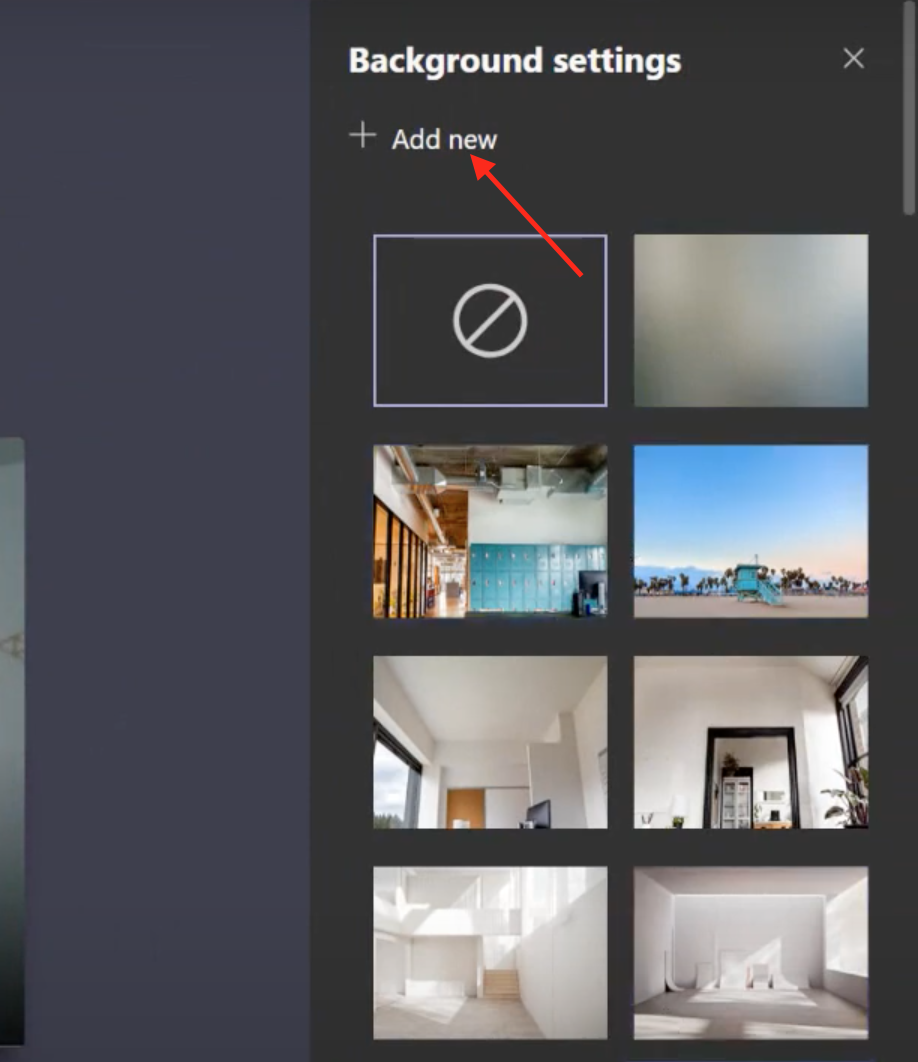
- Then, click on Apply and turn on the video.

You are good to go with your custom background in Teams, and if the background option is not available, there are some quick fixes for you at the end of this article.
Can I change my Teams background without being on a call?
- To change the background without being on a call, turn on the Audio and Microphone toggle button, then click the background image settings icon.
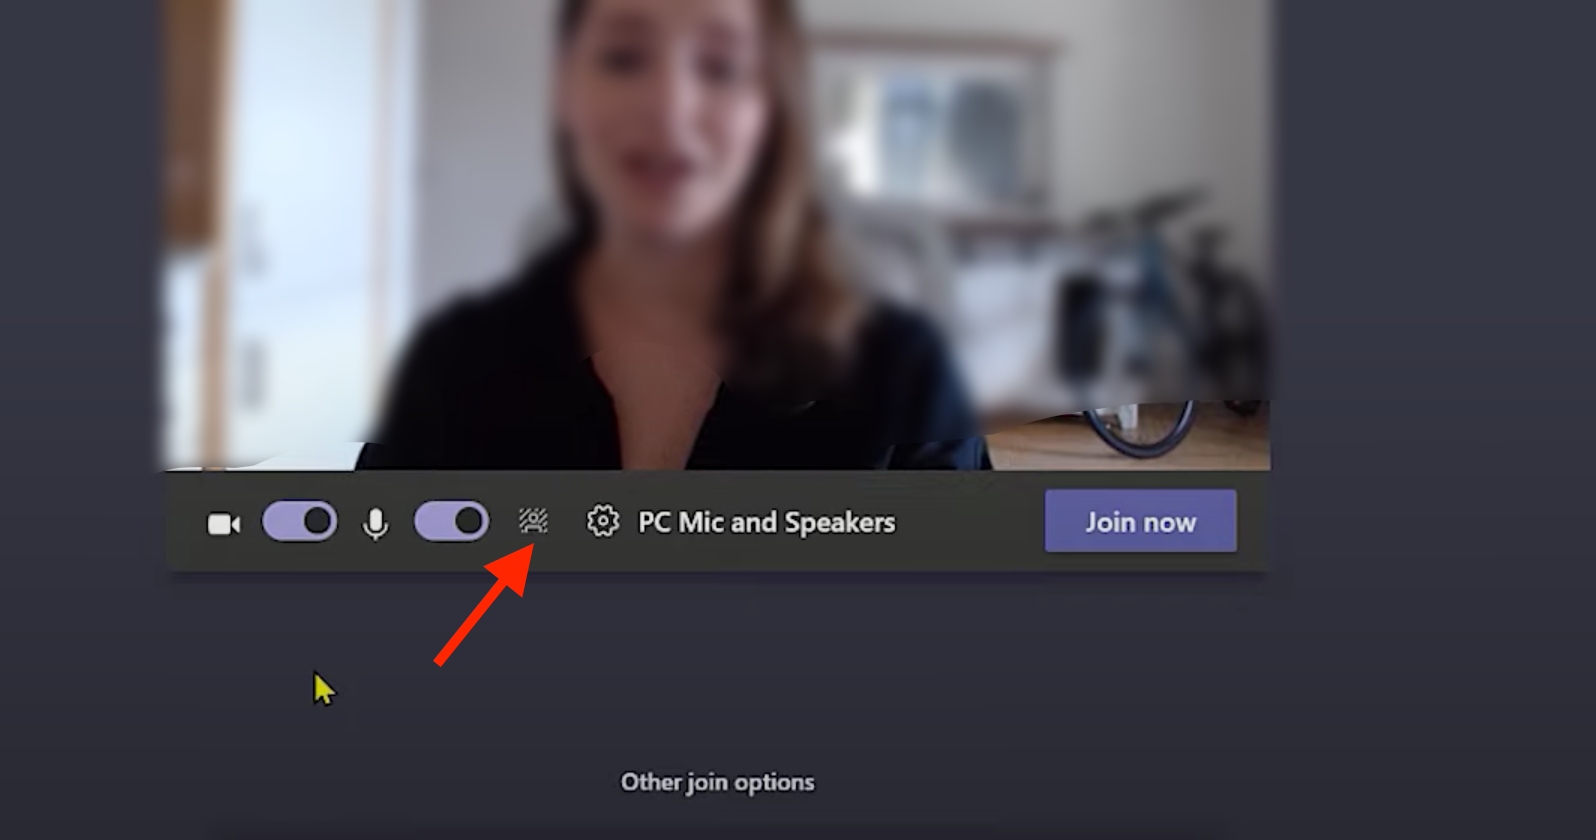
- All background options appear on the right side.
- Then select your desired background, you are good to go.
How can I fix Microsoft Teams background effects not working?
1. Update your Teams version
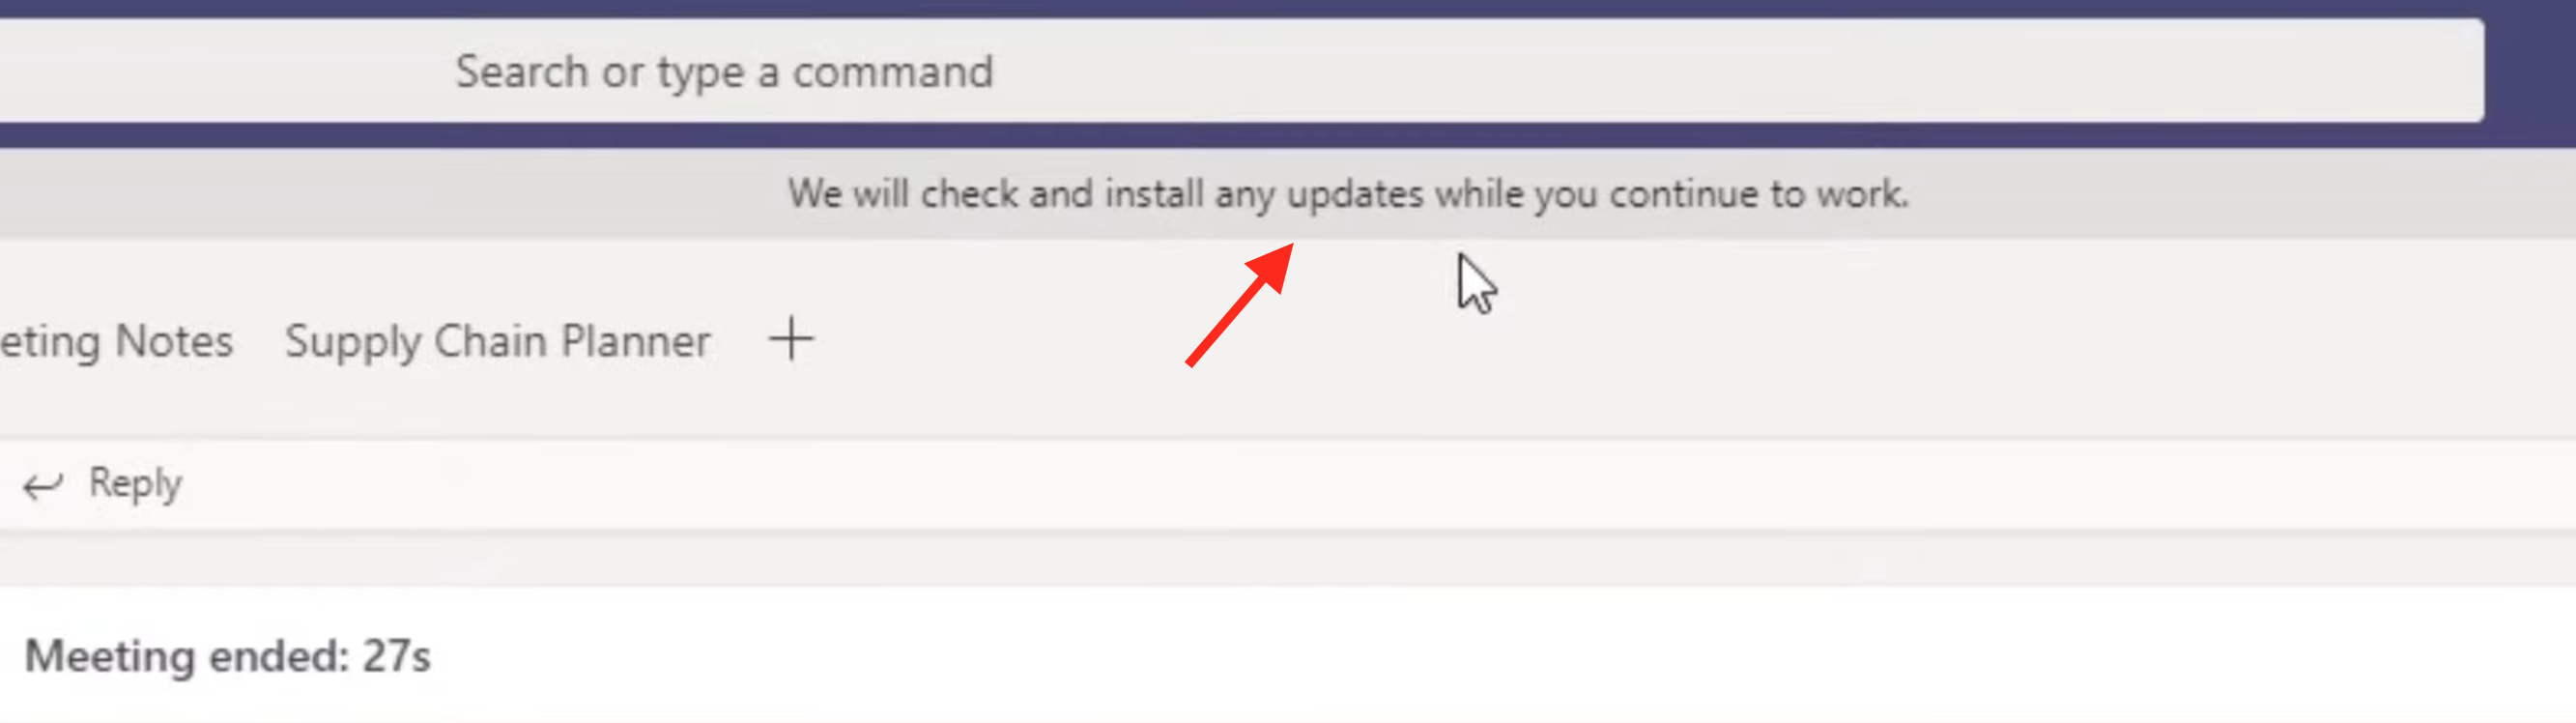
- Click on your Name icon and select Check for updates.
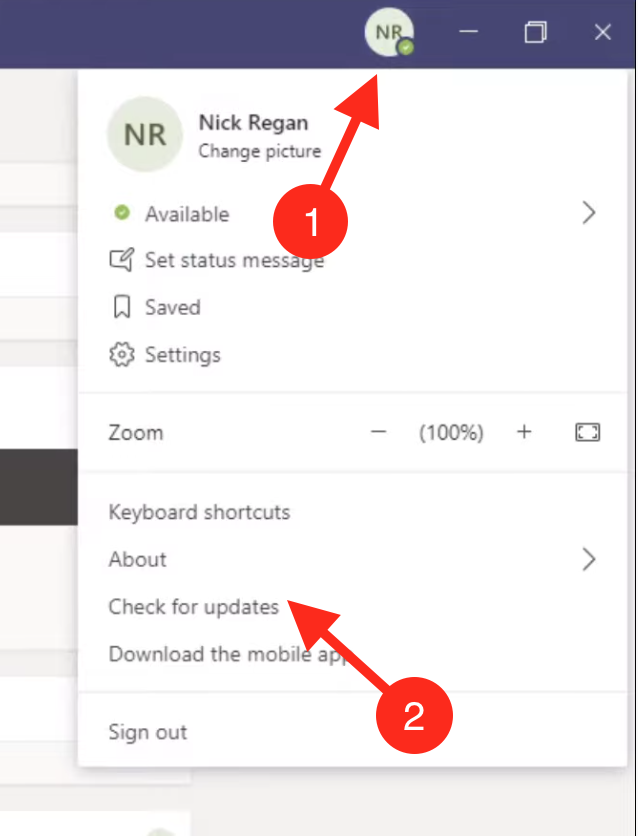
- A message appears We will check and install updates while you continue to work on top of your screen.
- When the new message appears, click on Please refresh now.
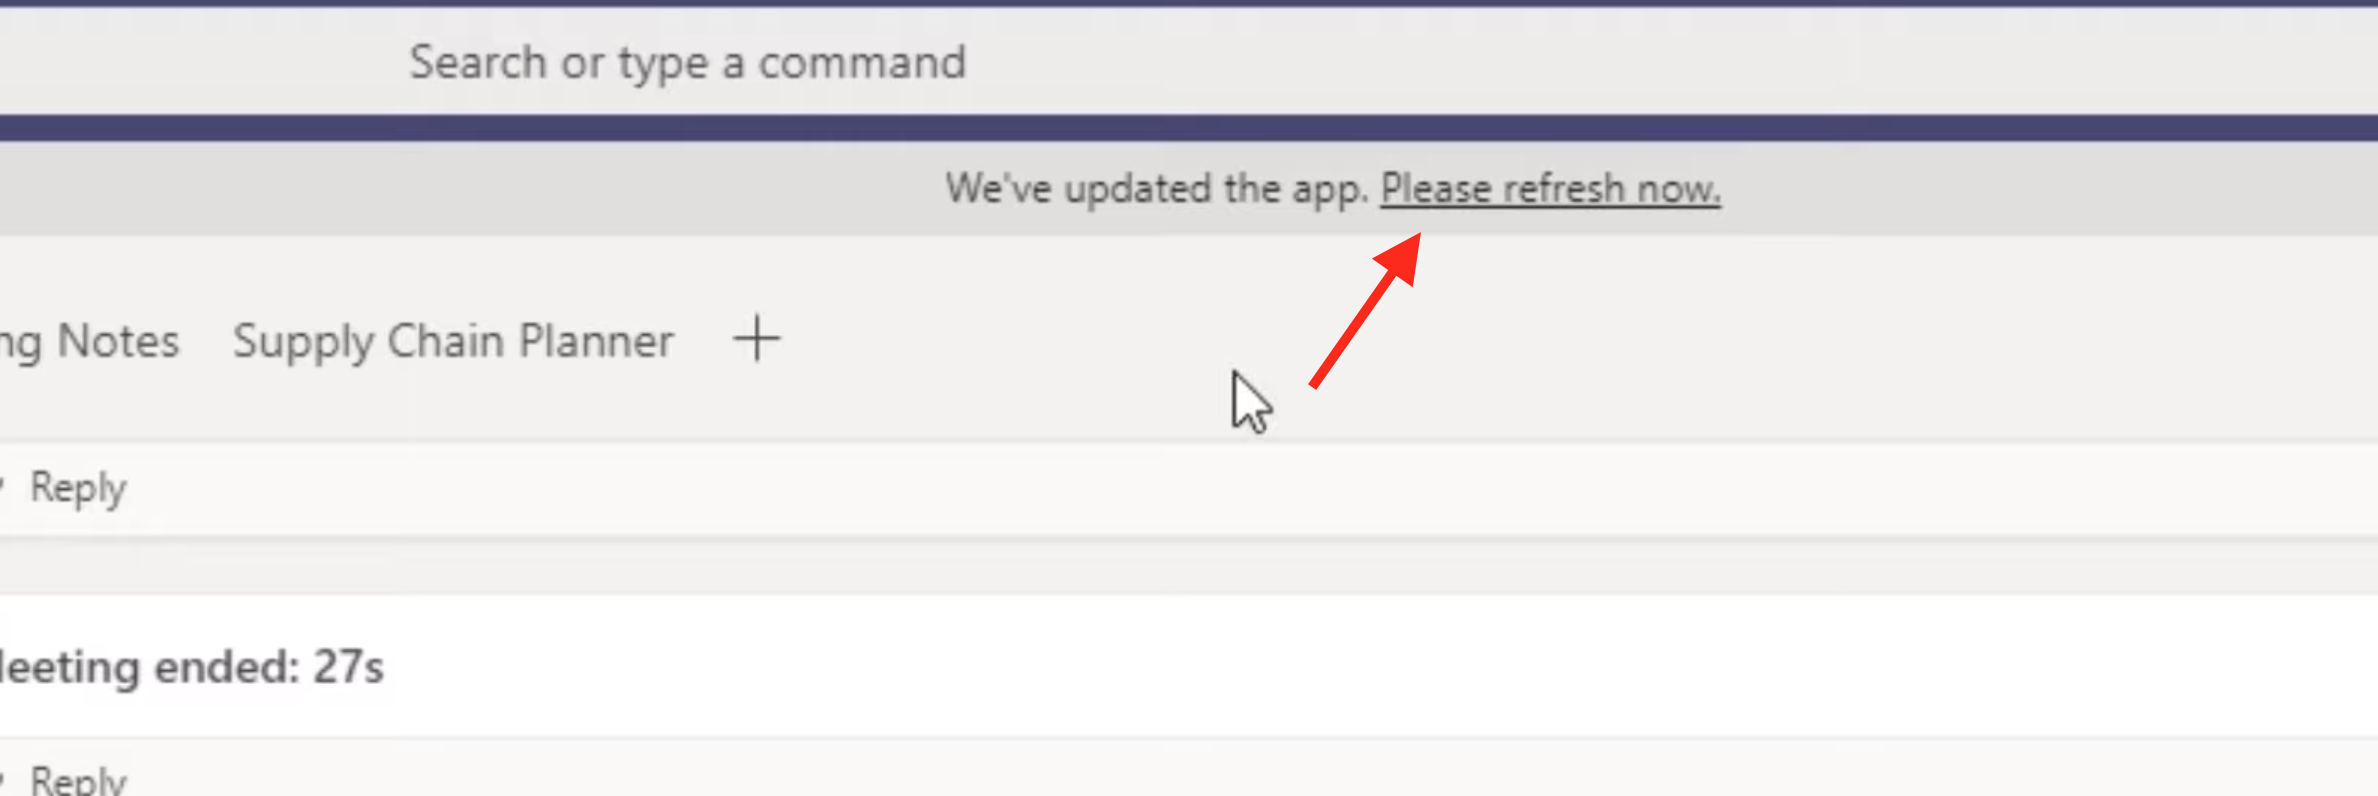
- After refreshing, your version will be up to date, and now you can see that background options are available.
Older versions of the Teams app didn’t have the custom background feature. So, if you are using an older version, then simply update it to use this feature.
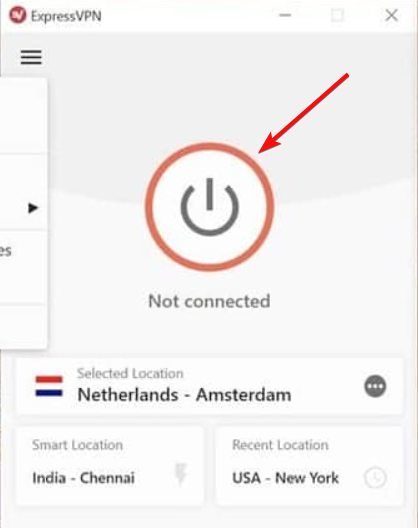
2. Use a VPN
- Download and install a VPN solution.

- Run the VPN app and set the location where this feature is available, like Europe.
VPN encrypts your traffic, so your privacy will be protected as well. Now, open the Teams app to see the background option available.
When looking for a VPN that allows you to bypass your location restrictions, ExpressVPN is our top recommendation.
From ExpressVPN, you can simultaneously protect all of your devices with a single account.
This VPN provider uses top-notch AES 256-bit encryption and a network lock kill switch to keep all your data safe. Also, it’s optimized for speed, so it can deliver the fastest speeds possible at all times.
ExpressVPN
Access all region-locked content and enjoy the full functionality of each app.3. Use a desktop-based version
The custom background option is not available in the web-based version of Teams. So, if you haven’t installed the app yet, download Microsoft Teams and install it.
Now, you can see that the background option is available to you. And you can set animated backgrounds in Teams from the available options. Or, we have a selection of excellent Teams Halloween backgrounds.
We hope this guide was helpful and you could install custom backgrounds in Teams. If you still have questions, please ask us in the comments section below.