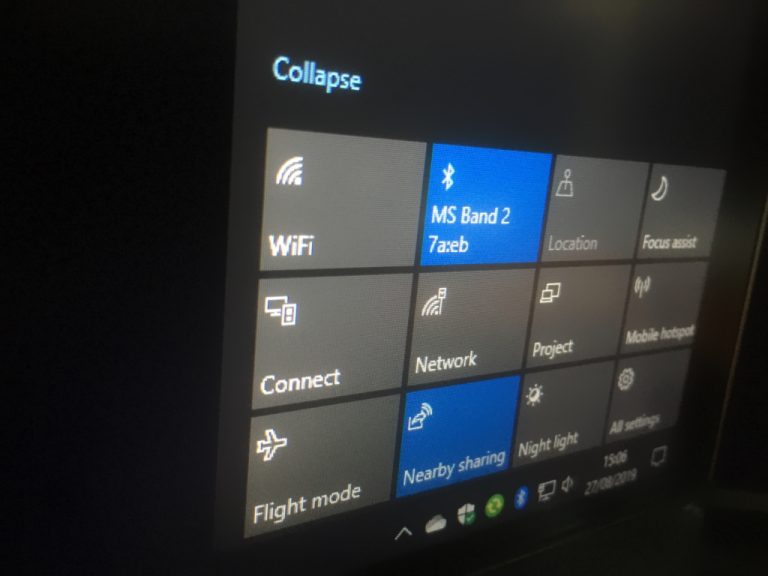
Windows 10’s May 2019 Update overhauled the Quick Actions area of the Action Centre notification interface. It’s now quicker and easier to customise your Quick Actions, as you no longer have to visit the Settings app. The Quick Actions themselves have also been updated, with the maligned brightness button replaced by a slider.
To customise your Quick Actions, open Action Centre by clicking its icon on the bottom-right of the taskbar (you can also press Win+A). Right-click any of the existing Quick Action tiles and press “Edit quick actions.”
You can now drag and drop your tiles into new positions to rearrange them. To remove a tile, tap or click the pin icon above it.
You can add a new tile by clicking the “Add” button at the bottom of the interface. A list of available tiles will appear – the selection may vary depending on the hardware features of your device. Click the tile’s name to add it to the screen. You can then drag it into position to organise your layout.
That’s all there is to it. The new editing interface is much simpler than the old one in the Settings app. You now make changes in-place so they’re more representative of the final result. Once you’ve finished tweaking your layout, click “Done” to save it and exit the editor.


