How to Set Up OneDrive in File Explorer
![]() 2 min. read
2 min. read
![]() Updated on
Updated on
Share this article

Improve this guide
Read our disclosure page to find out how can you help Windows Report sustain the editorial team Read more
Key notes
- One Drive can be accessed from your File Explorer as well, you just need to set it up.
- This process will only take up a couple of minutes of your time so don't worry about it.
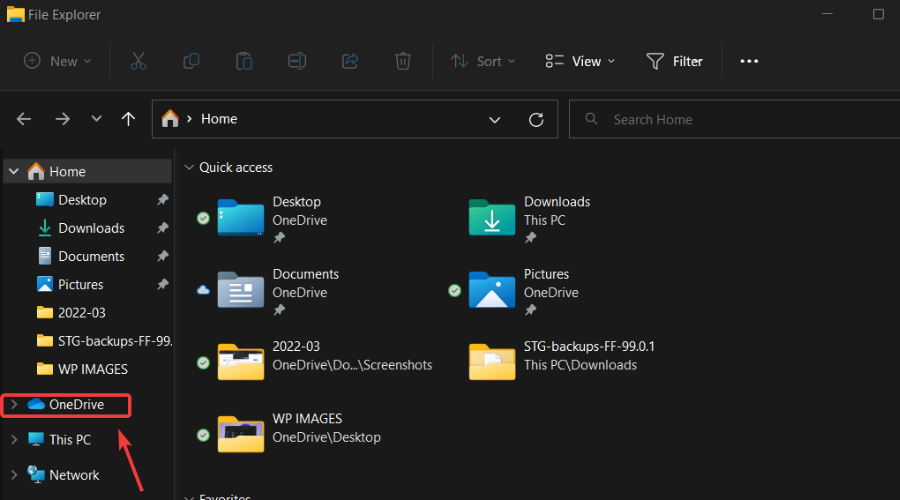
- You can find your One Drive folder in File Explorer, under Home, for easier access.
We pretty much all know how important backing up our files really is. Whether we’re talking about important company documents or your favorite family pictures, all personal possessions are important.
Sometimes, stuff happens without us having any control over it and we always run the risk of our devices malfunctioning or getting destroyed, resulting in us losing all stored data.
So, having a backup of all your existing content is crucial if you don’t want to take that risk and end up in a situation where recovering everything is simply impossible.
That’s why Microsoft created One Drive, and that’s why so many people use it. Storing data in the cloud is one of the best and safe ways to keep your personal cyber-possessions.
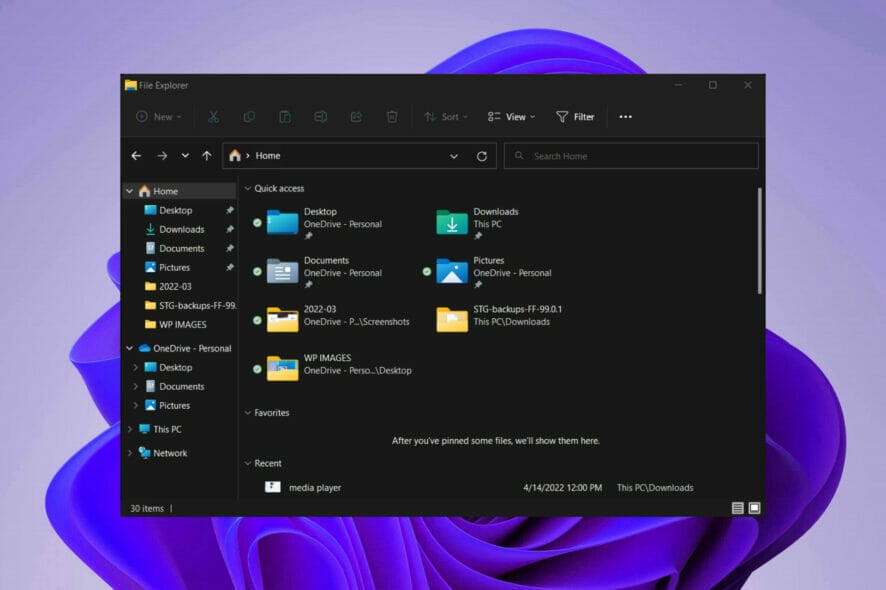
If you are a Windows 11 user, you surely know by now that the default homepage of File Explorer is now called Home.
The name Quick access has been repurposed for the pinned/frequent folders section and Pinned files are now called Favorites, in order to align with Office and OneDrive.
Setting One Drive up on your Windows 11 device is actually easier than you might think and we’re about to show you how to do just that.
How can I set up my File Explorer One Drive?
- Click to open the fly-out taskbar menu and click on One Drive.

- Click on the Sign-in button.

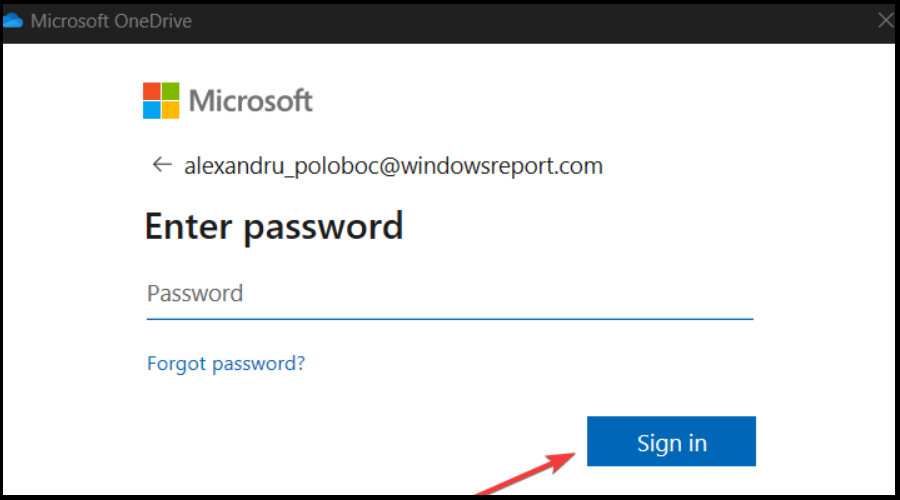
- Press the Create an account button if you don’t have one already, or input your email address and press the Sign in button.

- Type in your password and click the Sign in button.
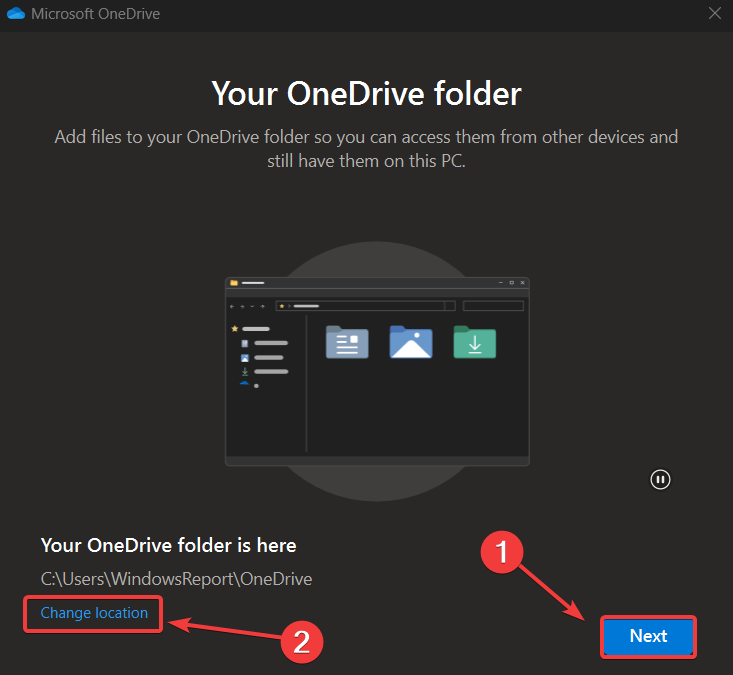
- If you agree with the selected One Drive folder press Next, or select Change folder to choose a new one.

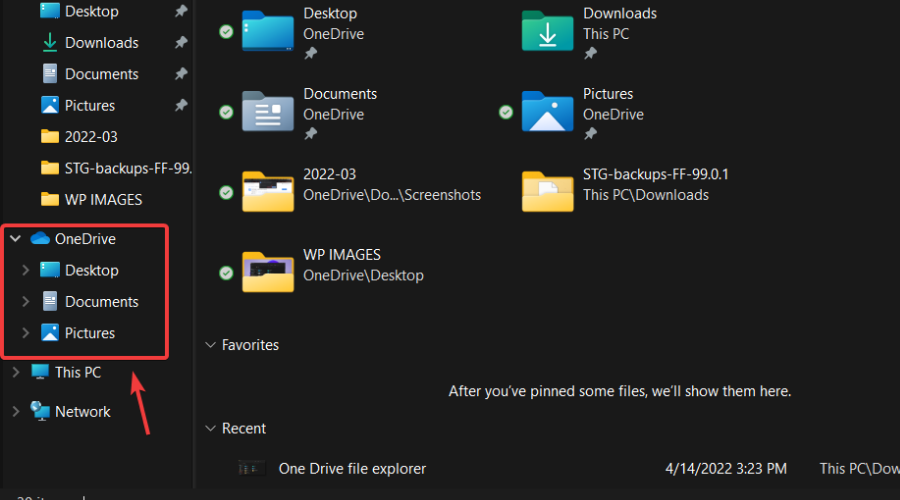
- In File Explorer, click the One Drive dropdown located under Home.
- Now you can access all your One Drive content directly from its File Explorer dedicated section.


Also, recent and pinned files displayed in Home are now searchable using the search box in File Explorer even if they are not local files, so you can find Office files recently shared with you.
That’s pretty much all you have to do in order to sync up your One Drive on your Windows 11 device, making it a lot easier to access what you need, really fast.
Let us know if you had any trouble completing this process in the dedicated comments section below.