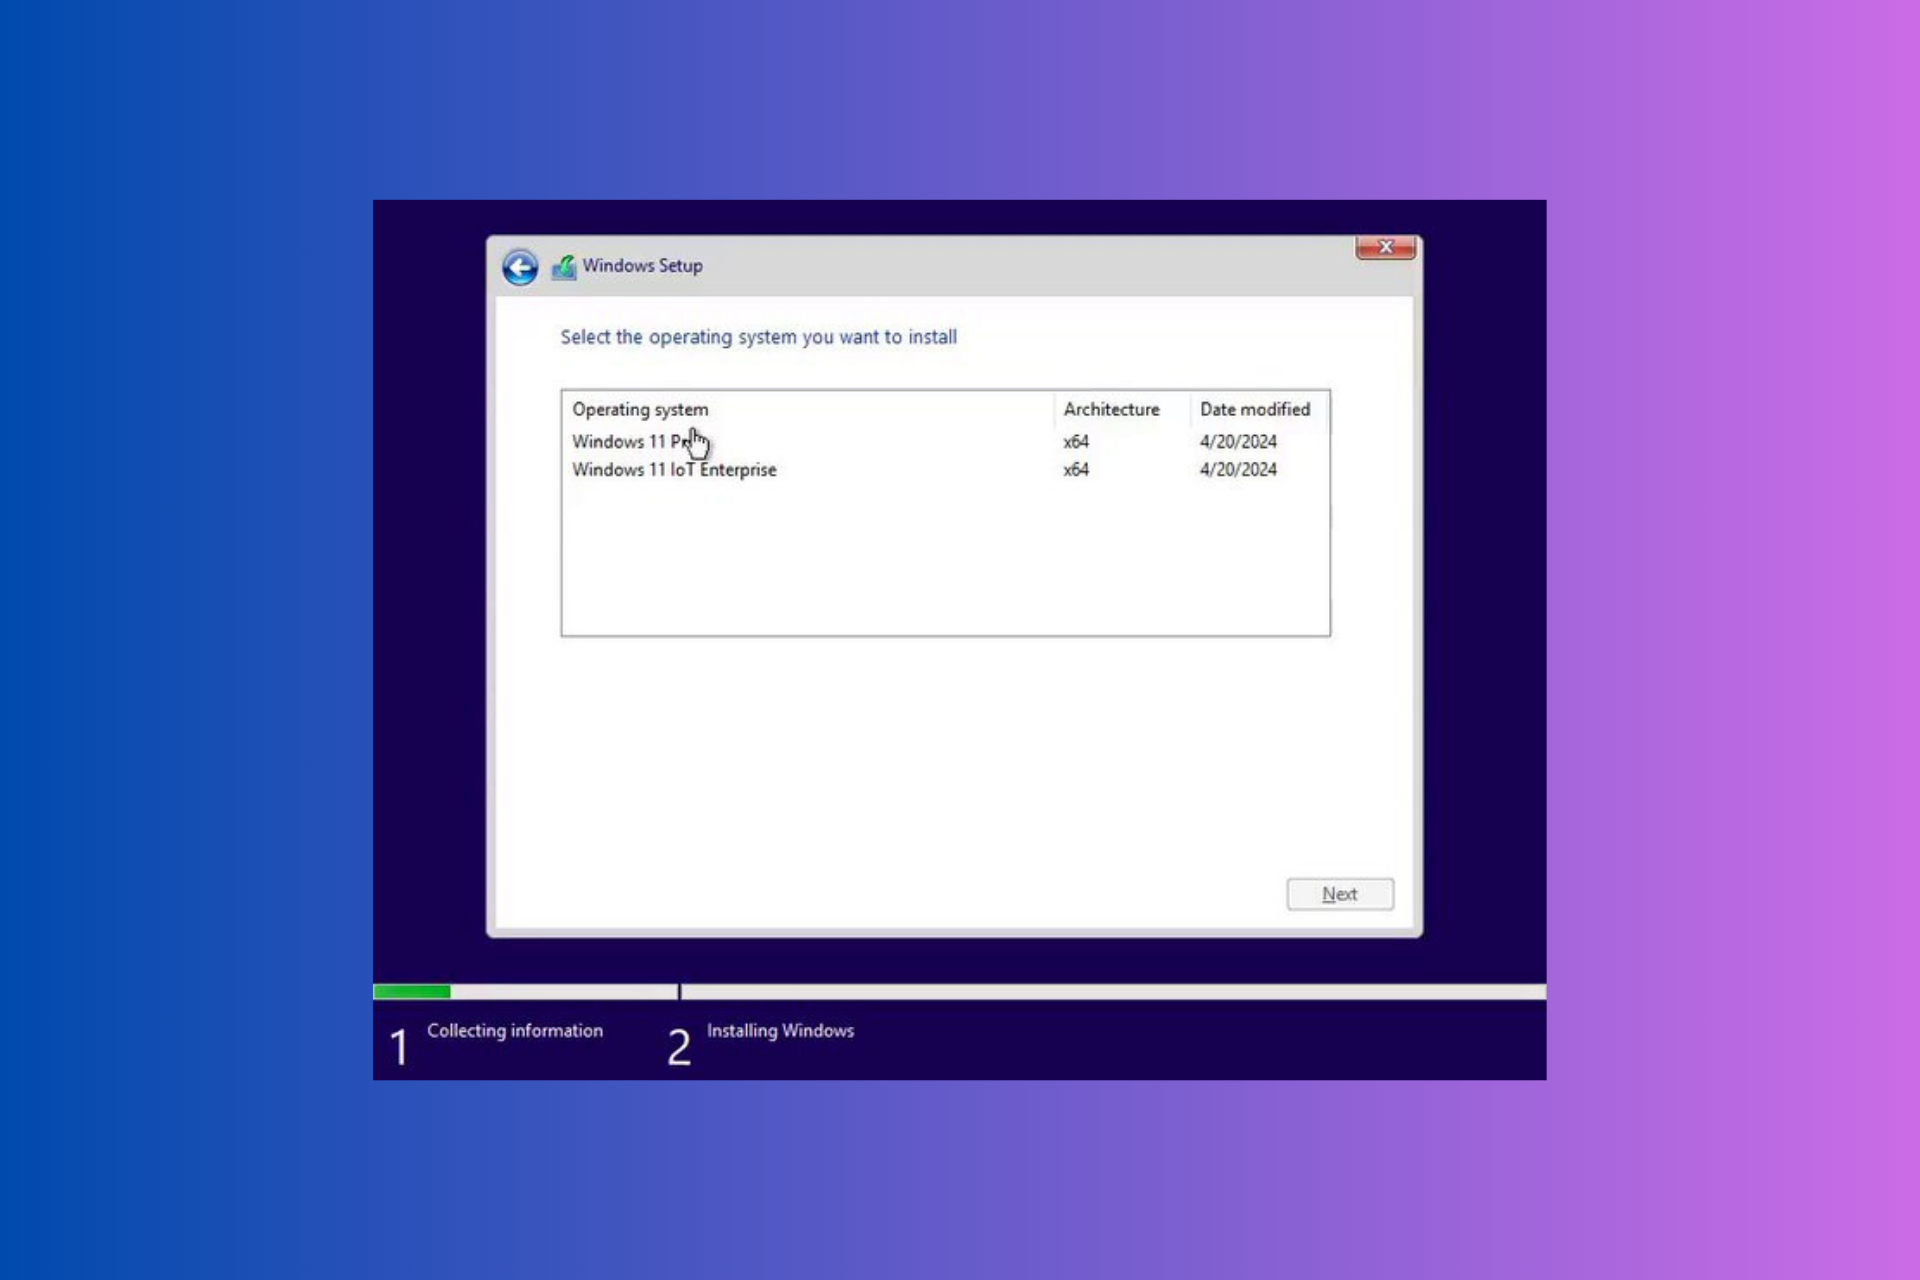
Windows 11 Mobile Hotspot: How to Set Up & Manage
You can choose a custom name and password for your hotspot
![]() 6 min. read
6 min. read
![]() Updated on
Updated on
Share this article

Improve this guide
Read our disclosure page to find out how can you help Windows Report sustain the editorial team Read more
Key notes
- This can sometimes be a lifesaver, especially when you don’t have any available Wi-Fi sources.
- The guide isn’t only for Windows 11, but for the 10, 8.1, 8, and 7 versions of the OS as well.
- It’s a simple and fast process that only requires setting up the mobile hotspot and turning it on.
- If for any reason, you are unsuccessful in establishing a connection, you can also use a USB cable.
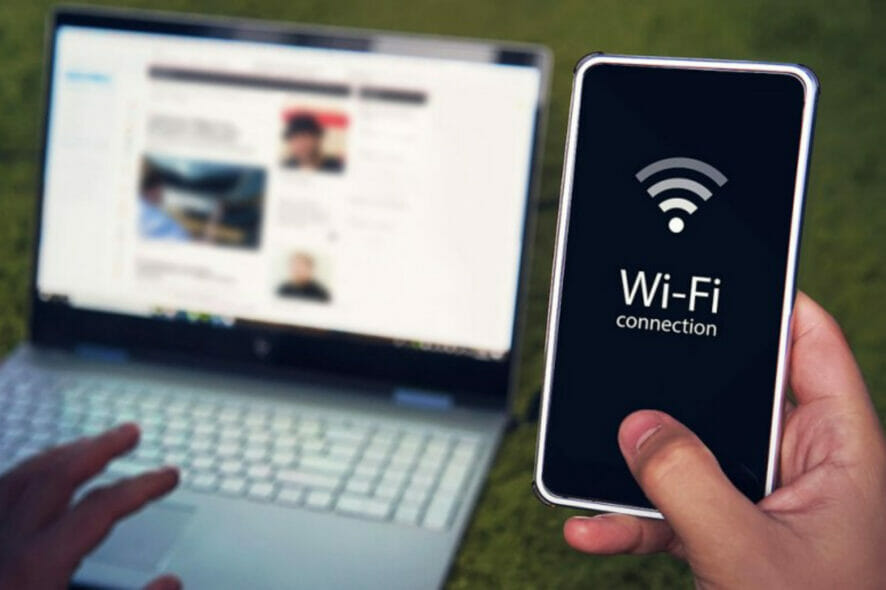
Of course, sharing mobile internet between an Android smartphone and a Windows 11 PC can be useful, especially when Wi-Fi is not available.
Thus, knowing how to share mobile internet with a Windows device can come in real handy when other options are just present.
Just like an iPhone can be tethered to a Mac when there’s no Wi-Fi, Android devices also let users do the same with their smartphone’s internet connection with any Windows laptop via USB and Bluetooth.
Connecting a phone and a PC via a cable is not an option for many of us, while internet connectivity via Bluetooth can be slow.
Therefore, creating a Wi-Fi hotspot with your smartphone is the only option that’s both fast and uncomplicated.
Are hotspots safe to use on Windows 11?
To answer this question we need to take into consideration a few important things:
- The creator of the hotspot
- Source-network security level
- The hotspot’s name and password choice
Because this information is essential in case you’re worried about your system’s security level while accessing a hotspot, let’s dive deeper into each of these elements and discuss the details.
➡ The creator of the hotspot
If you have created the hotspot by yourself, then you shouldn’t be worried about other people accessing the network without your knowledge. This, of course, involves using a password and network name that only you or the people you trust are aware of.
In case somebody else created the hotspot and you have been given access to the password and network name, ensure that you trust that person enough to avoid any network attacks.
➡ Source-network security level
This element is one of the most important of the three presented above, as it involves the security level applied already to the network from which you will share the internet connection through the hotspot.
If you are at home, and a trustworthy ISP provides your internet connection, then you don’t need to worry about security levels, as most companies that provide internet are secure enough.
In case you’re using a public network, like one from a coffee shop or train station, it is recommended that you use powerful antivirus software that also offers network protection.
➡ The hotspot’s name and password
Windows 11 enables you to choose both a network name and a password is that this allows you to improve the security level from the start.
Anybody who doesn’t have the right network credentials will not be able to access the hotspot.
That being said, not all passwords are the same, nor they should be. Whenever you choose a password for your network, no matter if it’s a hotspot or not, it is recommended that you create one that contains both numbers and letters.
Also, make sure that you can remember that password, or simply write it somewhere safe to ensure you can always access the hotspot without any issues.
How can I create a mobile hotspot on Windows 11?
You can easily create and configure a mobile hotspot on your PC device through the Network & internet settings. In just a few clicks you can choose a name and password for your hotspot, then you can connect to it using another device.
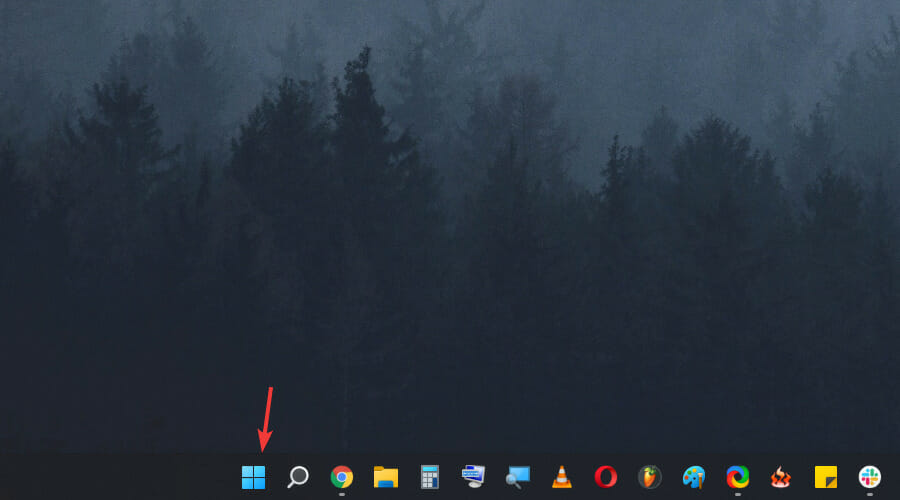
1. Click the Windows icon from the taskbar.
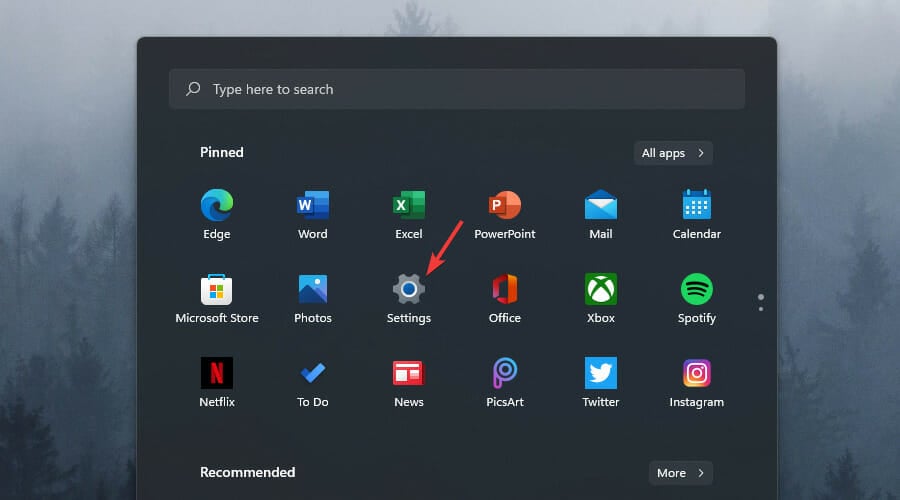
2. Choose the Settings button from the menu.
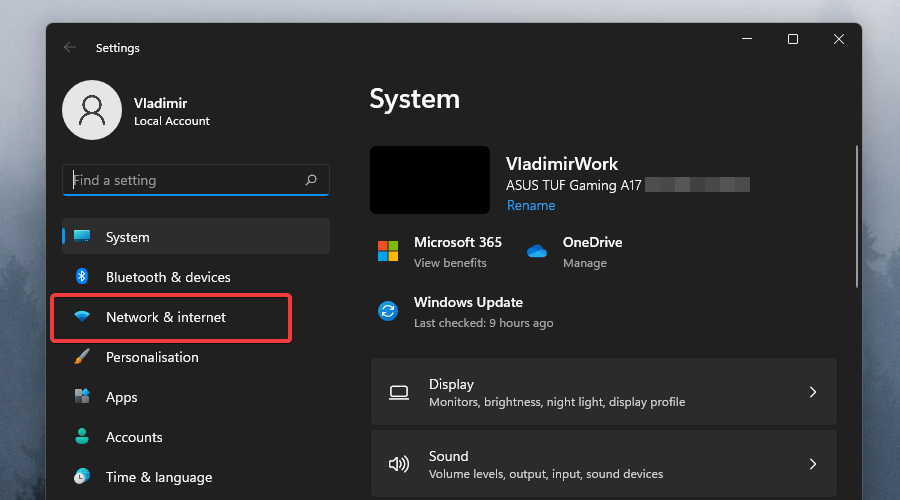
3. Select Network & internet from the sidebar.
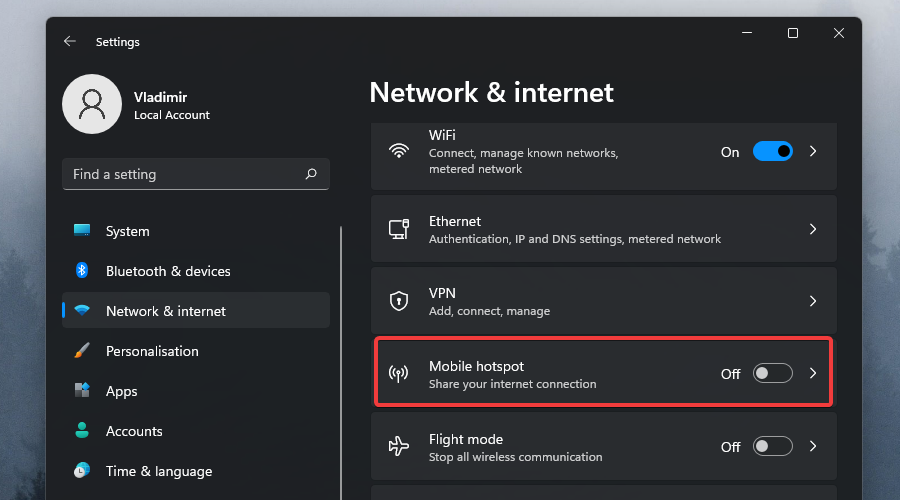
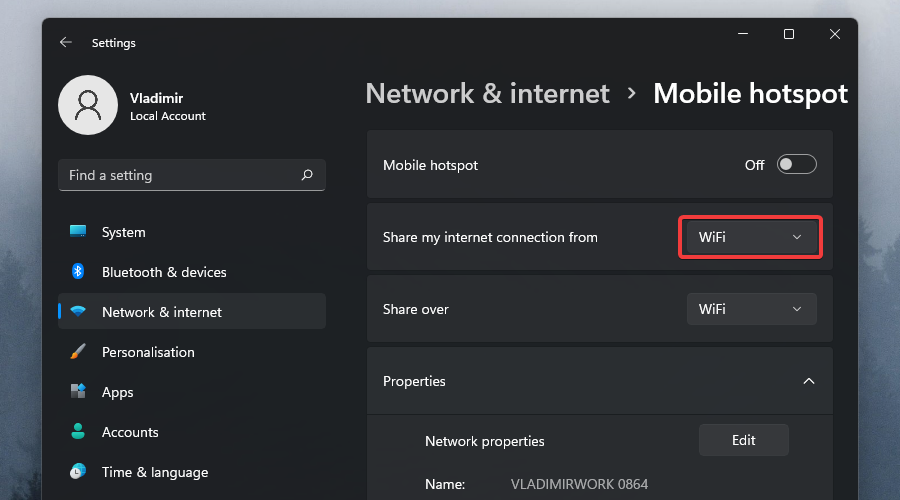
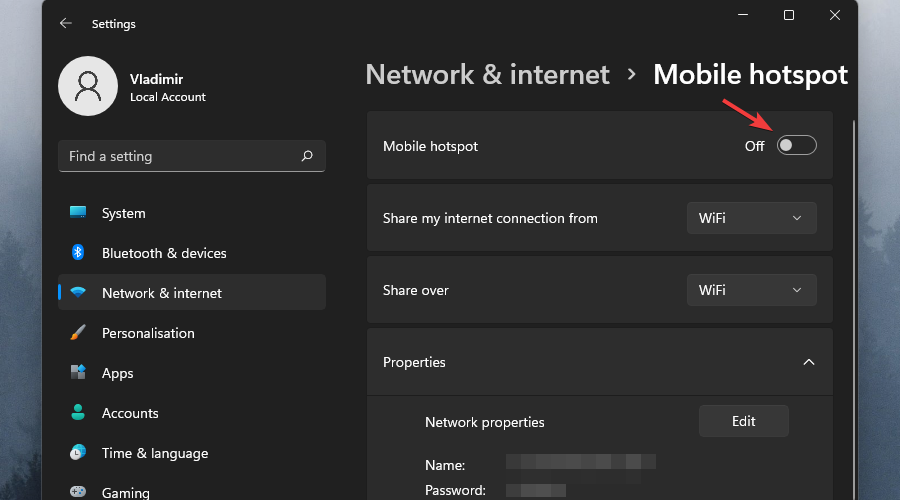
4. Click the Mobile hotspot option.
5. Choose which connection you want to use for the hotspot from the drop-down menu (if you have multiple connections).
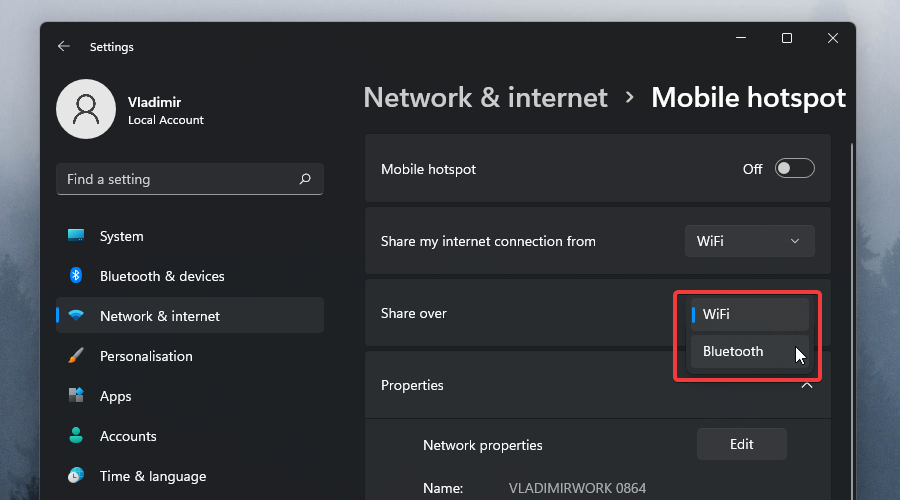
6. Click the Share over toggle to choose how you want to share your connection.
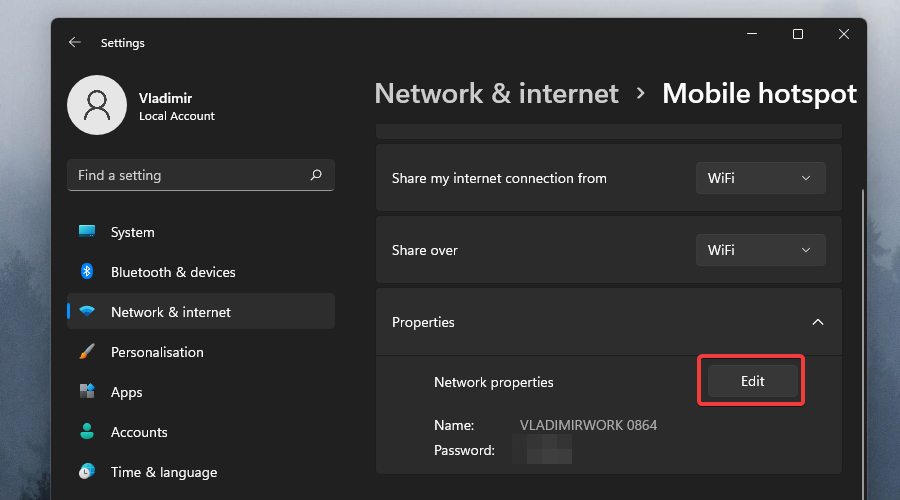
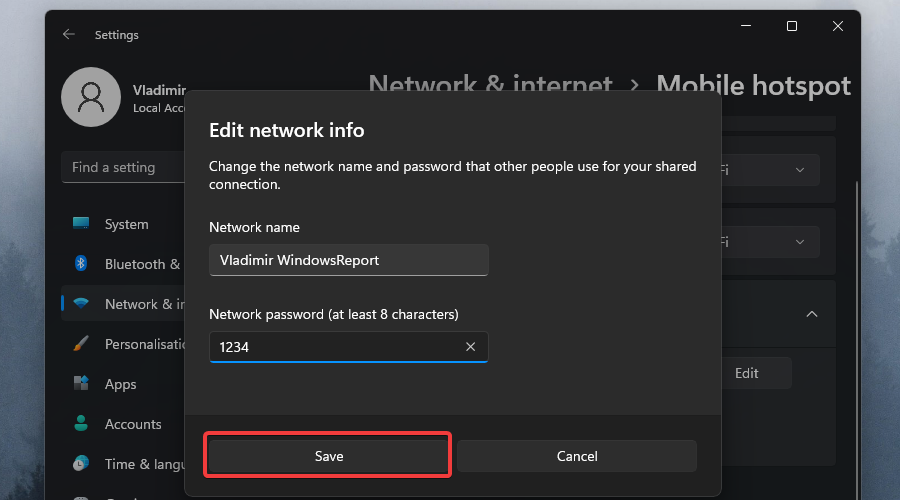
7. Select the Edit button from the Properties section.
8. Set a name and a password for your Hotspot.
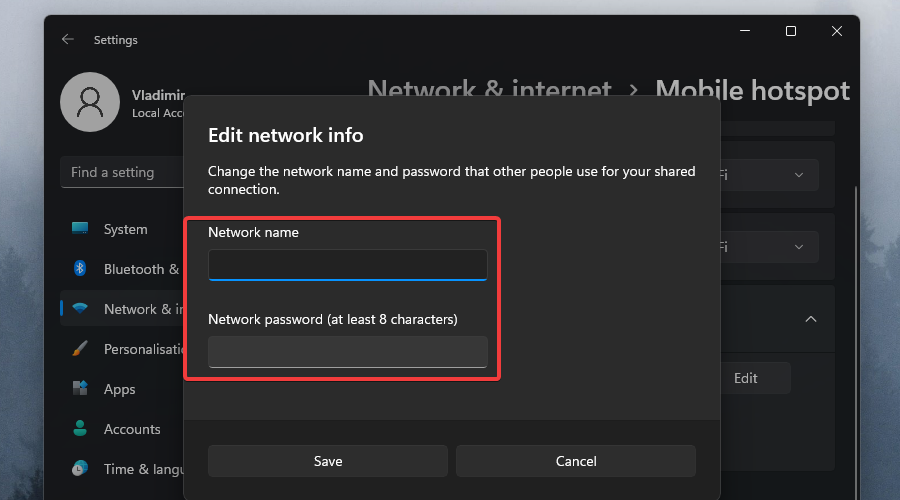
9. Click the Save button.
10. Lastly, turn on the Mobile Hotspot toggle, and connect your other device to the newly-created network.
As you can see, the process that needs to be followed to create a hotspot in Windows 11 is far easier than in any other previous version of Windows.
The user-friendly interface guides you through the entire process and offers all the information you need to achieve this task, but having a handy step-by-step guide can ensure no issues are encountered.
How can I connect my Windows 11 laptop to a mobile Hotspot?
The process we mentioned above is simple and only requires a few clicks. Even better, it works on older versions of Windows as well, including 10/8.1/8/7 and so on.
The critical condition here is that the Android device has cellular data. If so, it can be tethered to virtually any Windows computer with a Wi-Fi adapter.
Naturally, once the mobile hotspot is set up on the phone, the connection can be used by virtually any other device, including a Windows PC, a Mac, an iPhone, or a second Android device.
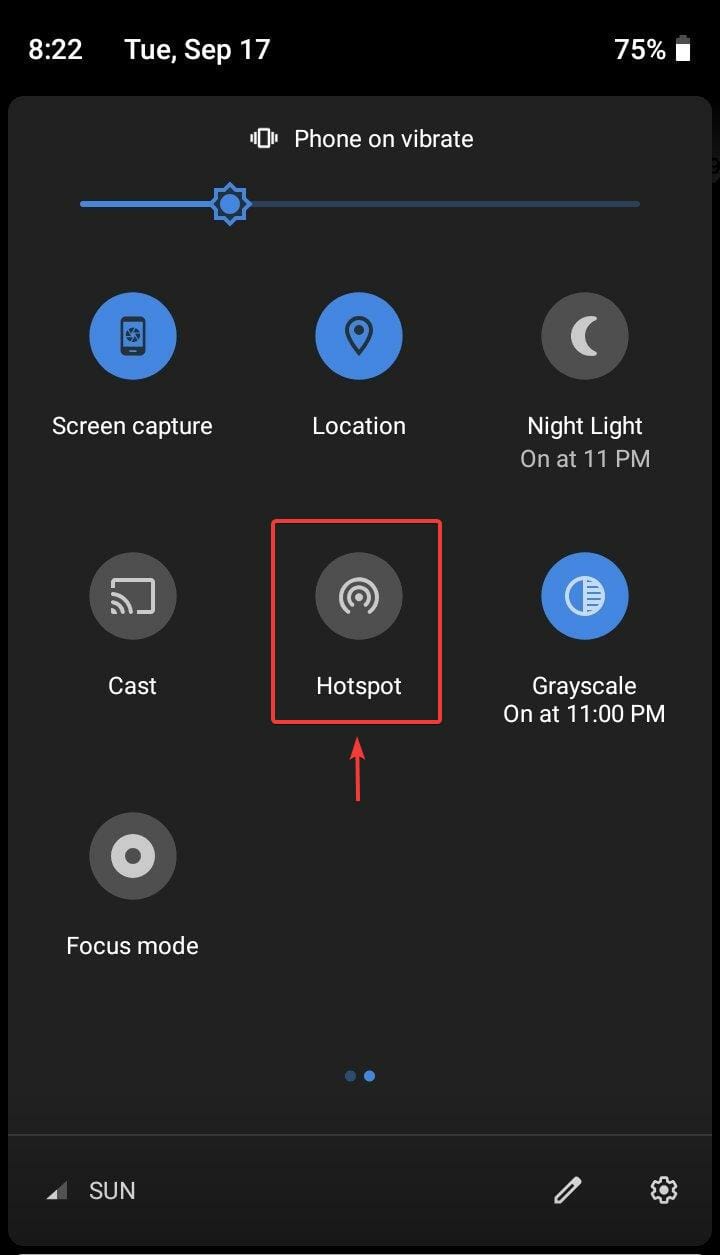
The quickest and easiest way to share an Android smartphone’s cellular data connection with a Windows 11 device is to switch on the Hotspot option from the phone’s Quick Settings panel.
To do this, swipe down from the phone’s home screen. Now tap on the button that says Hotspot, and the cellular data connection of that phone will be available for use on any compatible device.
Before you attempt all this, remember that it will only work once the hotspot has been set up and configured with an SSID and a password.
So let’s see exactly what you have to do to set this whole thing up on your mobile device.
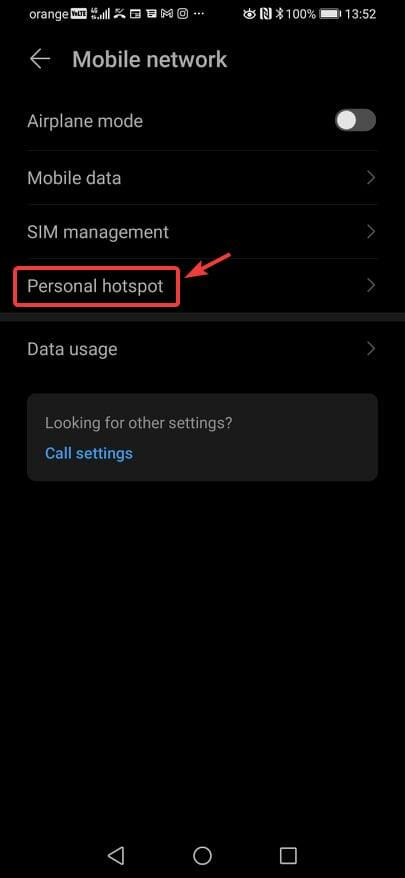
- Access your phone’s Settings menu.
- Select the Mobile Network option.

- Select Personal Hotspot from the list.
- Modify and configure various security options, including the hotspot’s name, security type, and the password that will be required to use the connection, then activate the hotspot.

So we figured out how to set it up on the mobile device. To use this hotspot on a Windows 11 computer, you simply have to find the connection and access it.
To do that, click on the Wi-Fi icon in the System Tray and select the mobile hotspot as your internet option, then fill in the password and hit Connect, to establish the connection.
Also, when not in use, we advise you to switch off the mobile hotspot for security reasons and to save the phone’s battery life.
What if I can’t connect via hotspot?
If the Wi-Fi hotspot isn’t working, a USB cable can share the internet between the Android phone and the Windows 11 device.
To do this, connect the PC and the phone using a compatible USB-C or micro USB cable. Then go to Settings access Hotspot & Tethering on the phone and switch on USB Tethering.
As with any wired Ethernet connection, there’s no need for passwords, and the internet can be accessed through the PC the moment the USB tethering option is enabled on the phone.
That’s pretty much all there is to this process. Neat, right?
Before you leave, find out what to do when the cellular option is missing in Windows 11, a common problem arising from driver issues.
In case you encounter any problems with mobile networks our We can’t set up mobile hotspot article should be able to help you.