How to Record Screen on Windows 10 [With & Without Game Bar]
It's never been easier to record your screen on Windows 10
![]() 4 min. read
4 min. read
![]() Updated on
Updated on
Share this article

Improve this guide
Read our disclosure page to find out how can you help Windows Report sustain the editorial team Read more
Key notes
- If you were looking for a way to record your PC screen for free, you're in the right place.
- Check out this quick tutorial on how to record your screen on Windows 10.
- Find how to use the built-in tool as well as a reliable and free third-party alternative.
If you were looking for a way to record your screen without breaking the bank, you will be pleased to know that there are a couple of ways to do so which come absolutely free of charge.
If you’re not a fan of third-party solutions, your trusted OS has something in store for you. Actually, Windows 10 has a secret screen recording feature that allows you to record on-screen activity.
As a matter of fact, there are professional screen recorders that provide free versions of their products and the Icecream Screen Recorder does just that.
Check out the best methods to record your screen on Windows 10 right here.
🔴 Does Windows 10 have a screen recorder?
Yes, Windows 10 has a built-in screen recorder – the Xbox Game Bar.
It’s pre-installed on Windows 10 devices and you can easily access it from the taskbar or using hotkeys. It automatically stores your recordings so you can easily reaccess them from one place.
Besides recording options, it offers minimal video trimming and editing options.
What is the shortcut key for recording in Windows 10?
Win Key + Alt + R is the hotkey that starts recording your screen right away.
It’s very useful since many video games will launch in full screen and you won’t be able to use the taskbar to search for the Game Bar app.
When you are done with your recording session, use the same hotkey combination to stop the recording. The app will automatically save your footage.
How do I record my screen on Windows 10 for free?
🎮 Use the in-built Windows 10 Game Bar
The Game bar is Microsoft’s toolbar which is meant for gamers to record screenshots and video clips directly from their games. Although this feature is for games, you can also use it in regular work.
Here’s how it works:
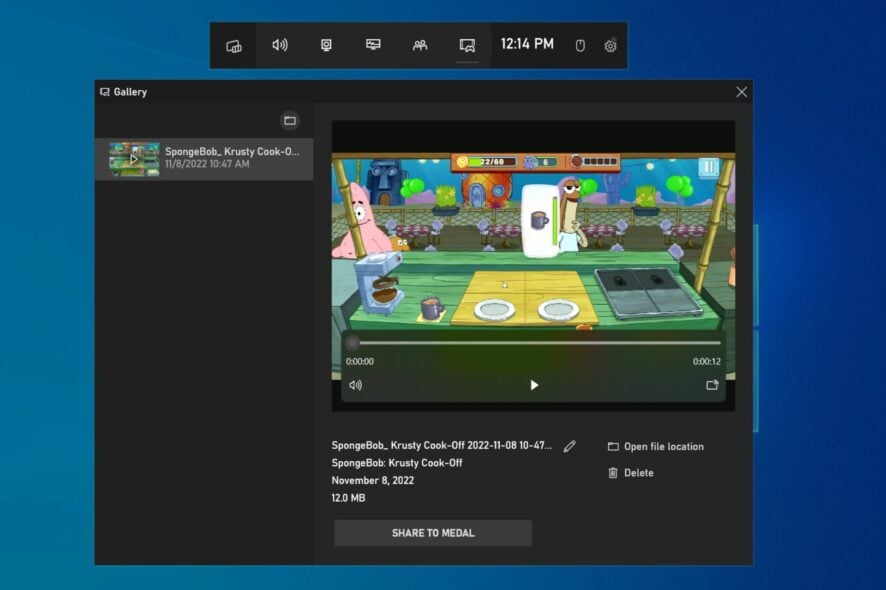
- Press the Windows key + G
- A pop-up will appear, and you should check the Yes, this is a game box
- All you need to do now to start recording your screen is to hit the capture button and it will start
Hit the button again when you want to stop the recording. You can also use a keyboard shortcut Windows key + Alt + R to start and stop the recording.
There’s also a Settings button that can be used to set the limit on the length of your recording, so you don’t have to worry about filling up your hard disk space.
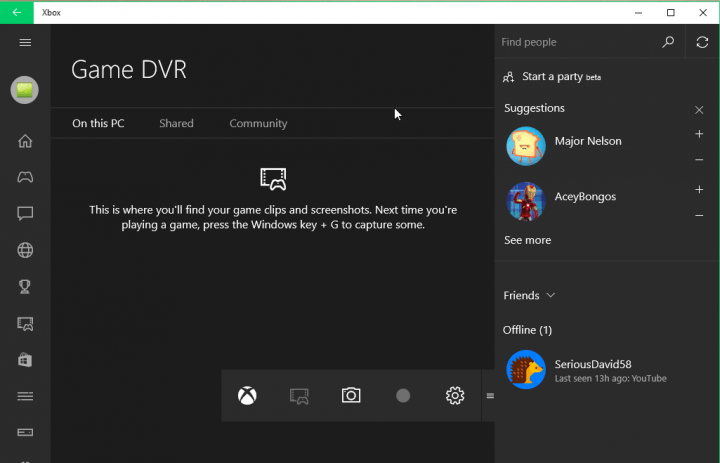
This hidden feature is the part of Xbox app in Windows 10, and it’s not so hidden, it’s just used for recording your screen in games, but apparently, you can use it in your regular work, as well.
To access your recorded videos, open the Xbox app and go to Game DVR (which is the fifth icon from the bottom).
How do I record my screen on Windows 10 without the Game Bar?
🎥 Use Third-Party Screen Recorder
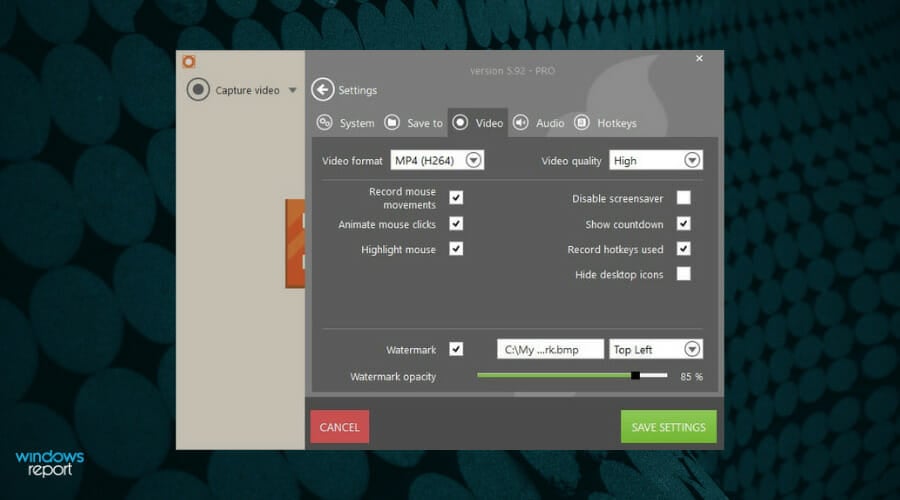
When it comes to screen recording software, Icecream Screen Recorder is your best bet. This tool takes the beauty of simplicity to the art level and it does so without compromising on features or compatibility.
Speaking about compatibility, the Icecream recorder can easily blend with Windows (even older versions such as Win 7 or Vista), Mac or Android architectures to allow you to record any area of your screen.
The ease of use and versatility of this tool are what make the Icecream-powered screen recorder feel like an in-built solution, thus eliminating the cluttered and intricated interfaces that third-party software can sometimes have.
What’s more, you can even use it to simultaneously record your screen with audio and webcam. And all that comes absolutely free of charge.
Let’s quickly look at its key features:
- Record your full screen or specific areas only, according to your needs
- Add text, arrows, shapes, and watermarks to your screen recording
- Record full-screen 3D games or only audio
- Shareware and easy uploading options (to YouTube, Dropbox, and Google Drive)
- Video editing tools to trim recordings, change the speed, or add mouse-click animation effects
- Conversion tools to change the format of your recordings
- Screen recording scheduler and Copy to clipboard

Icecream Screen Recorder
Capture quality video & sound effortlessly with the Icecream Screen Recorder!If you need more powerful tools to record Windows 10 screen videos, then you can download and install dedicated screen recording software.
Do you happen to know of an excellent program to record your Windows 10 screen? Feel free to share your experience with us via the comments section below.