5 Ways to Record Teams Meeting [How to]
You can do that from Teams or with third-party software
![]() 4 min. read
4 min. read
![]() Updated on
Updated on
Share this article

Improve this guide
Read our disclosure page to find out how can you help Windows Report sustain the editorial team Read more
Microsoft Teams is an irreplaceable tool, and many are looking to record a Teams meeting. This is pretty simple to do, and there are great tools that can help you with that.
Can you record a Microsoft Teams meeting?
You can record a meeting using a built-in recording feature. To do so, you’ll need the right permissions for the Teams channel you’re trying to record.
How do I record a meeting in Microsoft Teams?
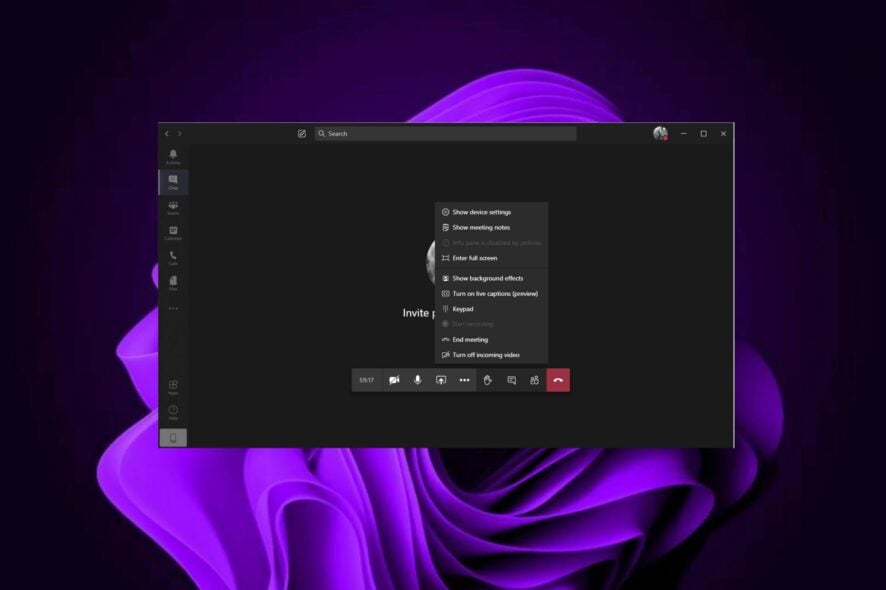
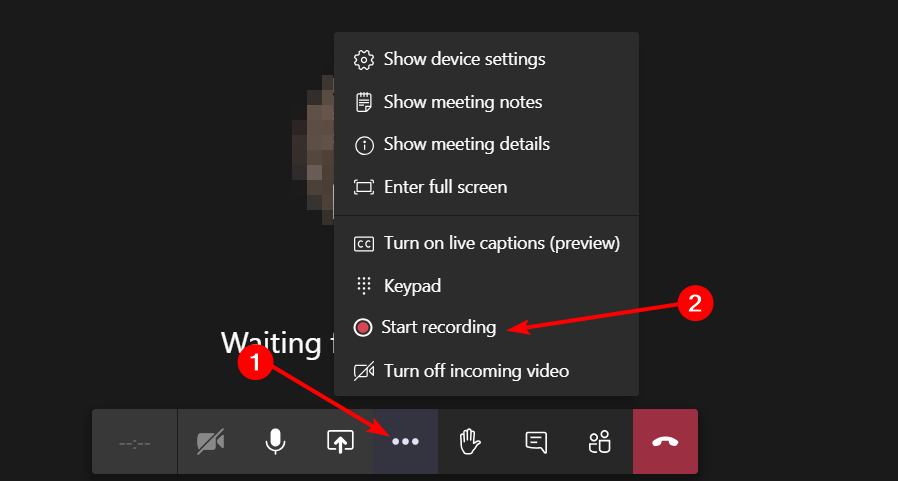
1. Use the Teams app
- Launch the Teams app when a meeting is just about to start.
- Click on the horizontal ellipses at the bottom and click on Start recording.

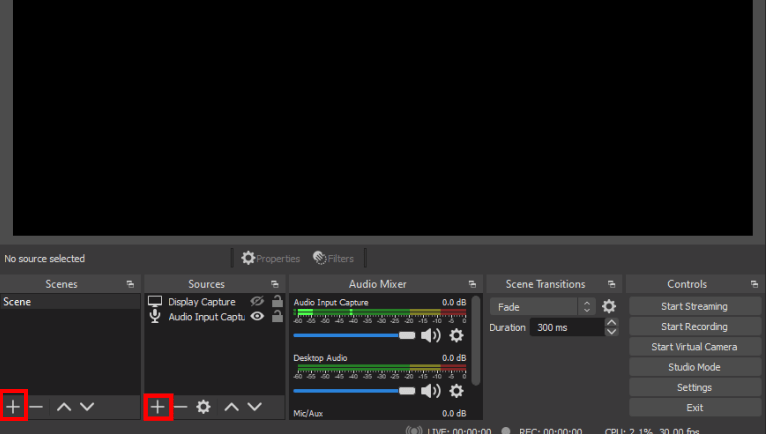
2. Use OBS Studio
1. Download and install OBS Studio.
2. Launch the app and click the + icon at the bottom left corner under Scenes and Sources.
3. Click on Display Capture and click OK.
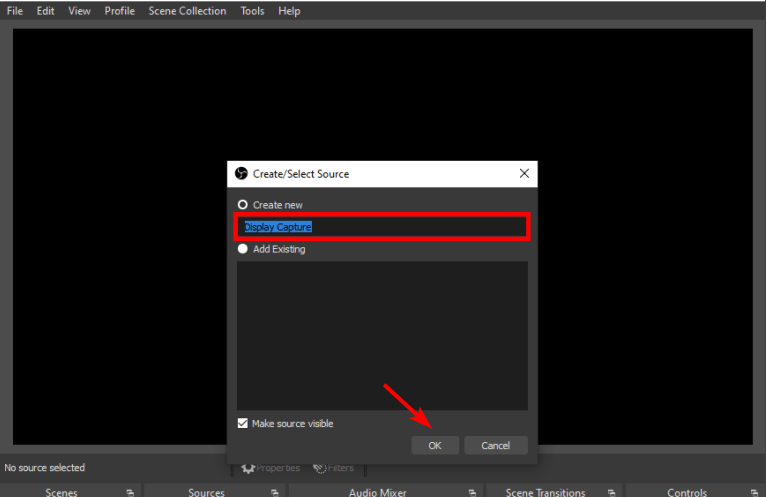
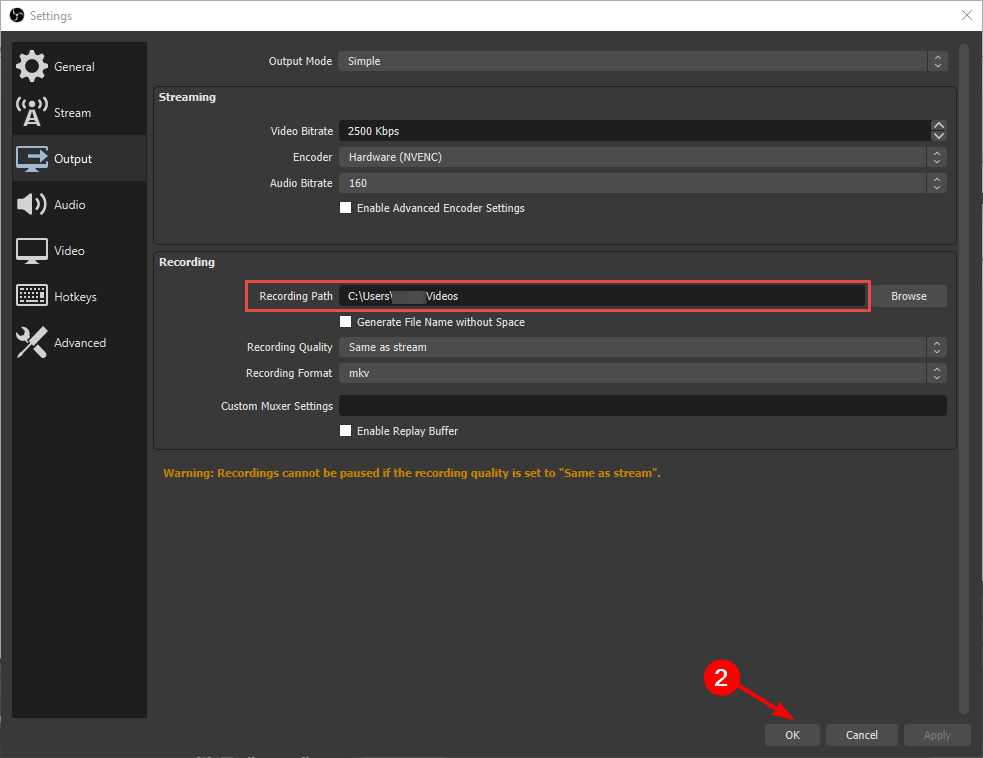
4. Go to Settings.
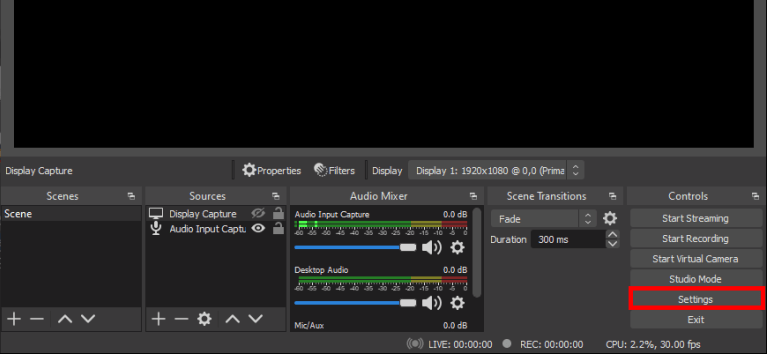
5. Click on Output in the window that pops up and select a location to save the recording.
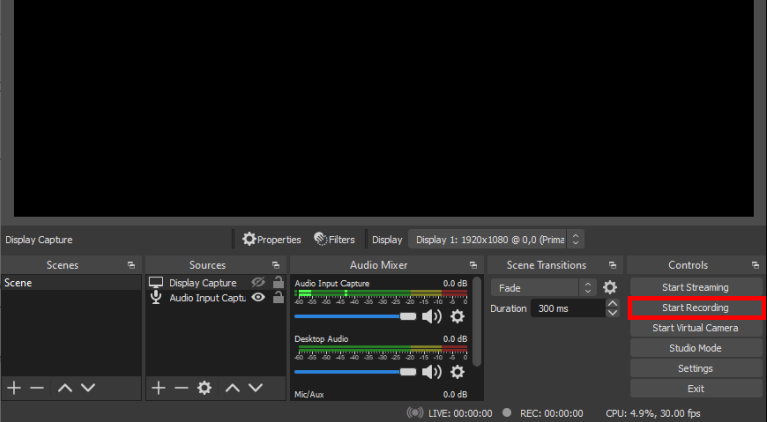
6. Now click on Start Recording.
3. Use Adobe Premiere Pro
Adobe Premiere Pro has long been the industry standard for video editing, but it’s also a great tool for capturing video from your computer screen.
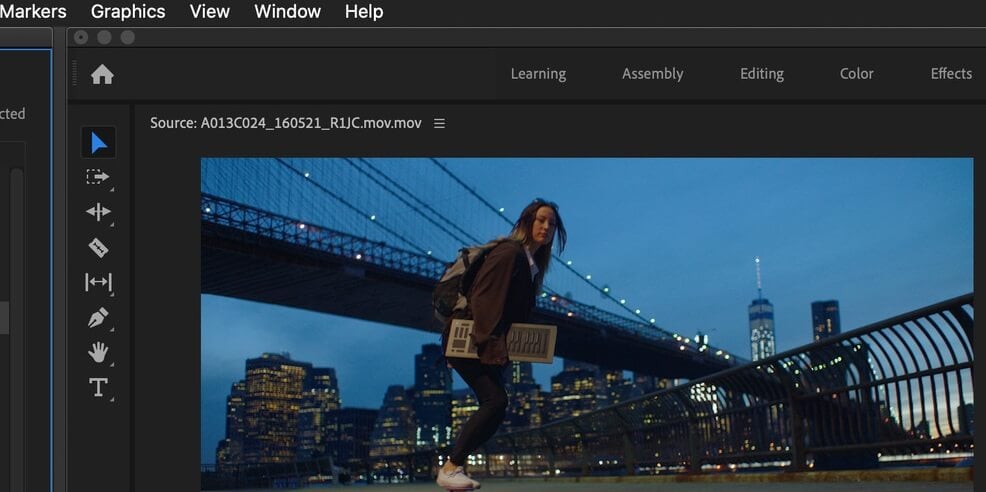
You can use this software to record a Microsoft Teams meeting and save it as an MP4 file on your computer. It’s not only powerful but also easy to learn.
4. Use Loom
Loom is a free screen-recording tool that lets you record any activity on your screen, including Microsoft Teams meetings. The application also has a Chrome extension making it easier to record while using a browser.

It’s easy to use and has many features that make it perfect for recording meetings. The app lets you record audio from your microphone or from the speakers, so you can include the audio from your meeting.
⇒ Get Loom
5. Use Movavi
Movavi is a free screen recorder that lets you record desktop activities, including Microsoft Teams meetings.
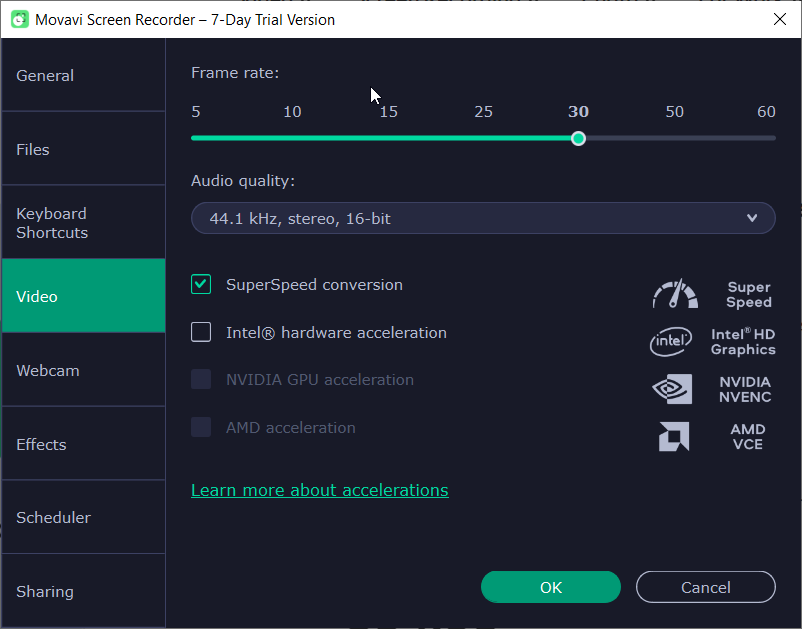
The best part about this software is that it’s very easy to use: all you need to do is select the area of the screen that you want to record and press Start Recording.
Can I record a Teams meeting if I am not the host?
You can record a Teams meeting if you are not the host. But there are some limitations. The meeting host will need to permit you to record the meeting.
You can circumvent this limitation by using screen recorder software.
Why can’t I record my Teams meeting?
Not having the latest version can cause this problem. Cache issues or low memory can lead to this issue as well. If your organization doesn’t allow recording, you’ll also experience this problem.
Why is the recording option disabled in Teams?
This can occur if the recording is disabled by the administrator. If the path to the folder is changed or app cache is corrupted, you can get this problem. Clearing the cache in Teams should fix things.
Where are Microsoft Teams recordings stored?
The Microsoft Teams’ recordings are usually stored on OneDrive or SharePoint, depending on the meeting type. Channel meetings go to SharePoint while others are saved to OneDrive.
In case you want to keep an eye on the recordings stored by Microsoft Teams meetings, check out this guide to know the recording’s location.
We also have a guide on how to download Microsoft Teams recordings from the app, so don’t miss it.
Hopefully, you have found one or more methods that work out for you if you were wondering how to record a Microsoft Teams meeting.
You may also experience an issue where Microsoft Teams keeps restarting, but we have covered various fixes to help you solve the problem.
Should you want to give your app a cool customized look, you can activate the dark mode in Microsoft Teams.
In the comments section below, let us know your preferred method to record a Microsoft Teams meeting.