External drive won’t mount on Windows 10 [Solved]
![]() 5 min. read
5 min. read
![]() Updated on
Updated on
Share this article

Improve this guide
Read our disclosure page to find out how can you help Windows Report sustain the editorial team Read more
Key notes
- Background processes and hardware issues are both main reasons why the external drive fails to mount on Windows 10.
- To correct that right away, try to reboot your system or change some Advanced settings.
- You can try to use an alternative USB port or reinstall the driver using either the Device Manager or dedicated software.
- We also show you how to change the USB power settings, format your drive, and more.

External hard drives (SSDs included) are of great use for various reasons. Having your data with you at all times is normal these days, especially on storage that is easily accessible and has a lot of storage space.
However, Windows 10, the system which should be a top-notch service, has a lot of issues with external drives.
Besides these minor problems, the users had the worst time with mounting, ejecting, or booting from the external drive.
Because of that, we made sure to provide the appropriate solutions for these issues. If you have been looking for a solution that should fix mount/eject/boot errors, look no further than below.
How can I fix external drive issues in Windows 10?
- External drive won’t mount in Windows 10
- Mounted external drive won’t eject in Windows 10
- External drive won’t boot on Windows 10
1. External drive won’t mount in Windows 10
Mounting an external drive should be quite simple. Plug-and-play is there for ages and the system should have an easy time reading any USB-plugged external drive.
However, seemingly, some users experienced a variety of issues which, eventually, lead to the same conclusion. The system can’t recognize the external hard drive whatever they do.
Now, before we outline the possible solutions for this problem, we need you to try and mount your drive on an alternative PC. That way we’ll eliminate possible hardware issues.
Hardware issues are quite common when it comes to hard drives and USB ports. If you’re sure that the external hard drive works on other machines but it just won’t mount on that one Windows 10 PC, you could:
- Try an alternative USB port. If your device is USB 2.0, make sure to sure the proper port.
- Reinstall the driver
- Plug in the external drive.
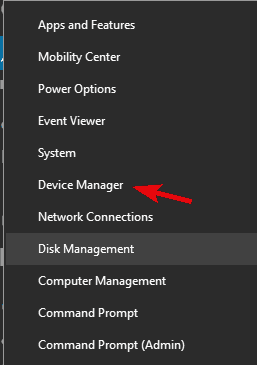
- Right-click Start and open Device Manager.
- In the Main menu, click View and check Show hidden devices.
- Expand the Disk drives section.
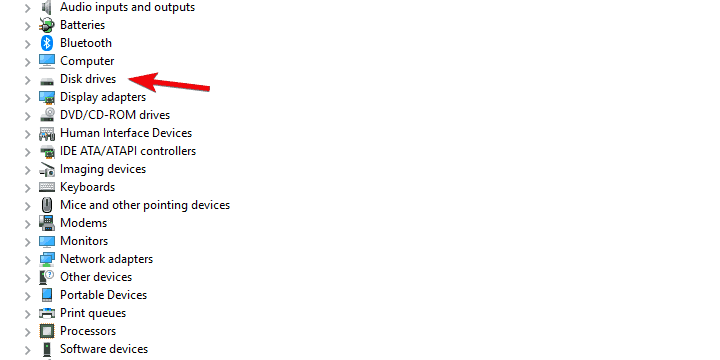
- Right-click on your external drive and Uninstall device.
- Restart your PC and wait until the driver is installed.
- Change USB power settings
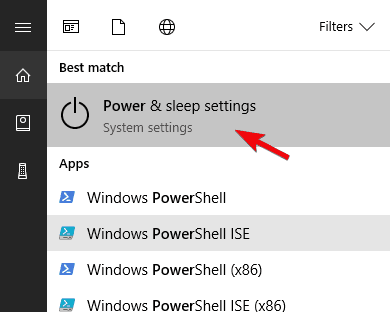
- In the Windows Search bar, type Power and open Power & sleep settings.
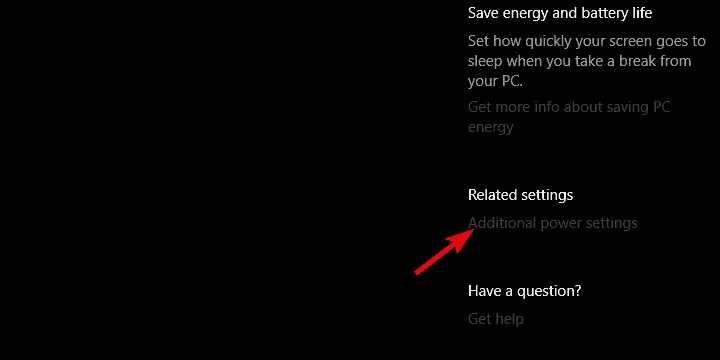
- Click on the Additional power settings.
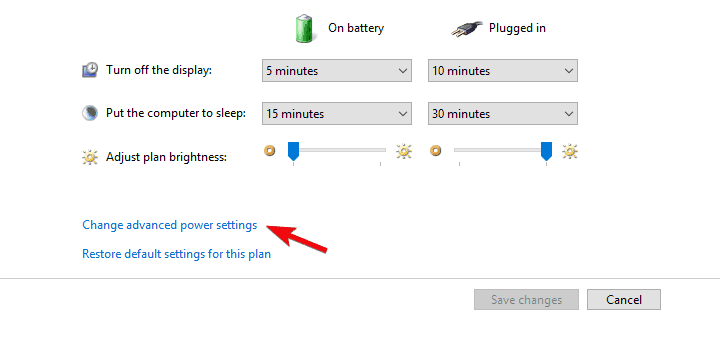
- Click on the Change plan settings option beside the Power plan of your choice.
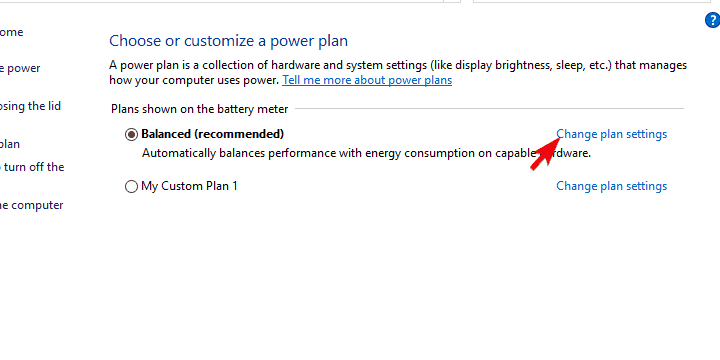
- Choose Change advanced power settings.
- Expand USB settings > USB selective suspend setting.
- Disable this setting and confirm changes.

- In the Windows Search bar, type Power and open Power & sleep settings.
- Create a new volume
- Press Windows key + R to open the Rum elevated command-line.
- Type in diskmgmt.msc and run it.
- You should see a lot of unallocated space.
- Right-click on the Unallocated space and choose to create a New simple volume.
- Choose the size and confirm the changes.
- Unplug the external drive and plug it in again.
- Format your external hard drive (preferably in NTFS format)
2. Mounted external drive won’t eject in Windows 10
Now, this is rather peculiar. Problems with mounting a certain drive are one thing, and the reasons spectrum is broader.
On the other hand, the issues one can experience with the inability to eject certain external hard drives are mostly provoked by the background processes.
Namely, some background process associated with the mounted drive prevents it from ejecting. Of course, you can unplug it/shut it down without the Safely remove feature.
That can, consequently, lead to more complex errors and further issues. What you’ll need to do is to follow the solutions we enlisted below and look for improvements.
Hopefully, you should be able to eject the mounted drive safely, without any risks of data corruption.
-
- Reboot your system
- Make sure there’s no application in use of data stored in the drive. Close all applications you’ve used to open those files and try ejecting the external mass storage again. Also, temporarily disable the antivirus.
- Eject it from the This PC
- Open This PC/My Computer.
- Right-click on the external drive and click Eject.
- If you see the error, just continue.
- Use a third-party safely remove software
- Troubleshoot the drive
- Change advanced settings
- Plug in the external drive.
- Right-click Start and open Device Manager.
- Expand Disk drives.
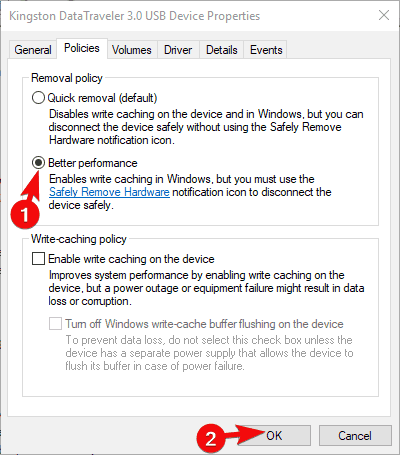
- Right-click on the external drive and open Properties.
- Under the Policies tab, toggle Better performance and confirm changes.
- Format your drive to NTFS format.
3. External drive won’t boot on Windows 10
Finally, one of the advantages of portable data drives is that you can create a bootable system drive and carry your system around.
However, some user reports outlined the boot issues concerning the external drive. They were unable to boot to Windows 10 from the external drive, even though this worked great on the previous Windows iterations.
When you look at it, it’s quite obvious that the BIOS (UEFI) is the one to blame. However, it doesn’t mean that the BIOS is the only culprit. We enlisted all known troubleshooting steps below:
- Don’t even try with USB 3.0. Windows 10 can hardly boot from the USB 3.0/3.1 drive
- Update BIOS
- Disable Legacy USB in BIOS (UEFI) settings
- Format external drive in NTFS and create a new bootable drive
That’s a wrap-up. In case you’re aware of any alternative solutions, feel free to share them with us in the comments section below.
Traditional hard disks are long gone, so don’t hesitate to discover the best Western Digital external HDD to get these days.
Also, bookmark this Peripherals Troubleshooting Hub to help you solve any problem with ease.