How to Install & Use PowerToys on Windows 11
Check out the easy ways to get these tools to customize Windows
![]() 5 min. read
5 min. read
![]() Updated on
Updated on
Share this article

Improve this guide
Read our disclosure page to find out how can you help Windows Report sustain the editorial team Read more
Key notes
- PowerToys is a set of tools, including Color Picker, FancyZones, and Image Resizer, which lets users customize Windows for better productivity.
- This guide covers all the easy methods to install and use the utility on your Windows 11 computer.

If you are looking for a way to install PowerToys on Windows 11, you are at the right place. This guide will discuss how to install PowerToys and use them to customize Windows for greater productivity. Let’s get started!
Does PowerToys work on Windows 11?
Yes, PowerToys work on Windows 11, and it was made available on GitHub in 2019 and Microsoft Store in 2021. You can also download it using the Winget command on Command Prompt.
How can I install PowerToys on Windows 11?
Before installing the utility, you should consider performing the following checks:
- A user account with administrator privileges on your computer.
- Internet access to download the PowerToys installer.
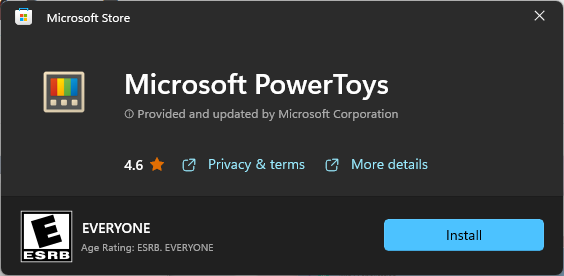
1. Use the Microsoft Store
- Go to the Microsoft PowerToys on the Microsoft Store website.
- Click Get in Store app.
- You will be directed to Microsoft app. Click the Install button.

- Click Yes on the UAC prompt to complete the installation.
2. Use the Winget command
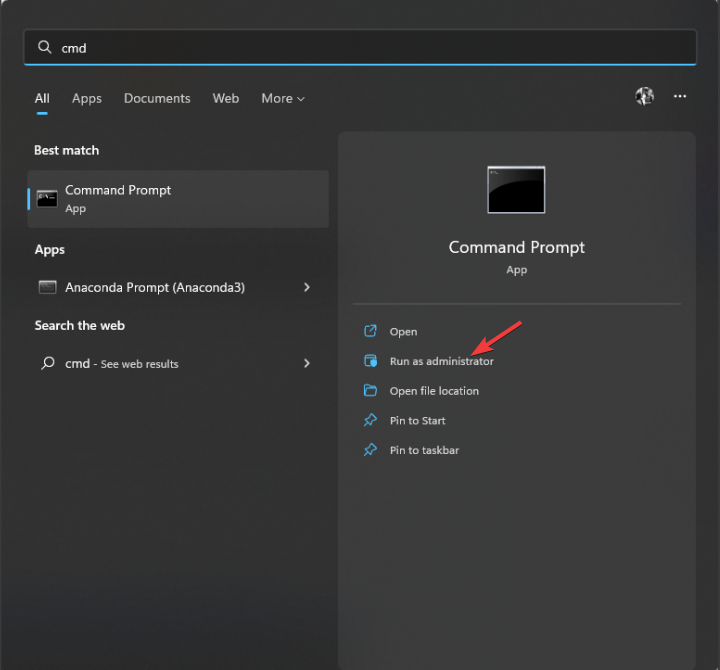
- Press the Windows key, type CMD and click Run as administrator.

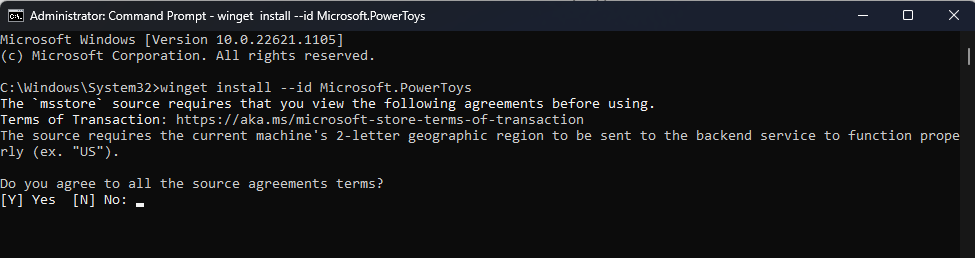
- Copy and paste the following command to install and press Enter:
winget install --id Microsoft.PowerToys
- If you get Do you agree to all the source agreements terms prompt, type Y.
- Wait for a few minutes, and PowerToys will be installed on Windows 11.
3. Use GitHub
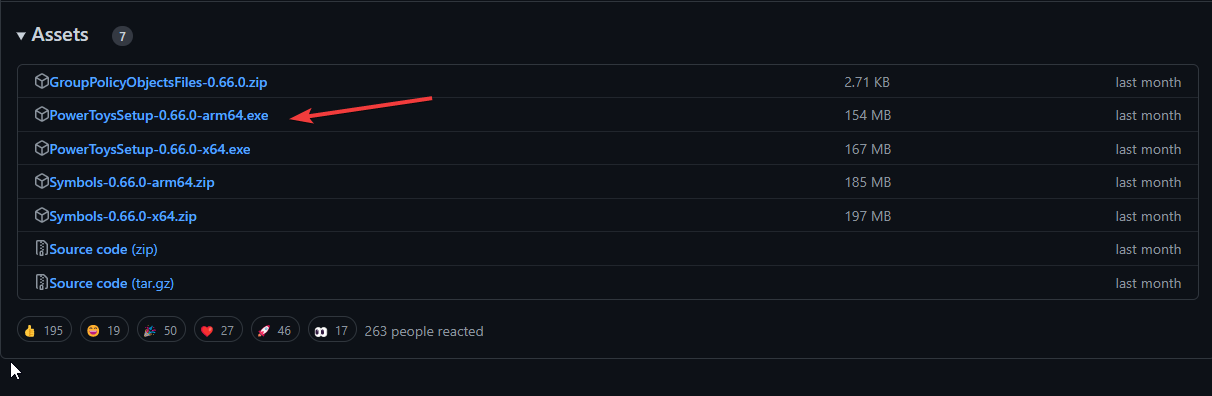
- Open the PowerToys page on the GitHub website.
- Go to the latest section, and click on the PowerToys executable file to download the installer.

- Now double-click the installer file to initiate the installation.
- Click the Install button when prompted.
How can I use PowerToys on Windows 11?
You can launch PowerToys using the Search bar or Windows button. In addition, various tabs are available in the PowerToys utility to customize Windows 11. Let’s discuss them one by one.
1. General
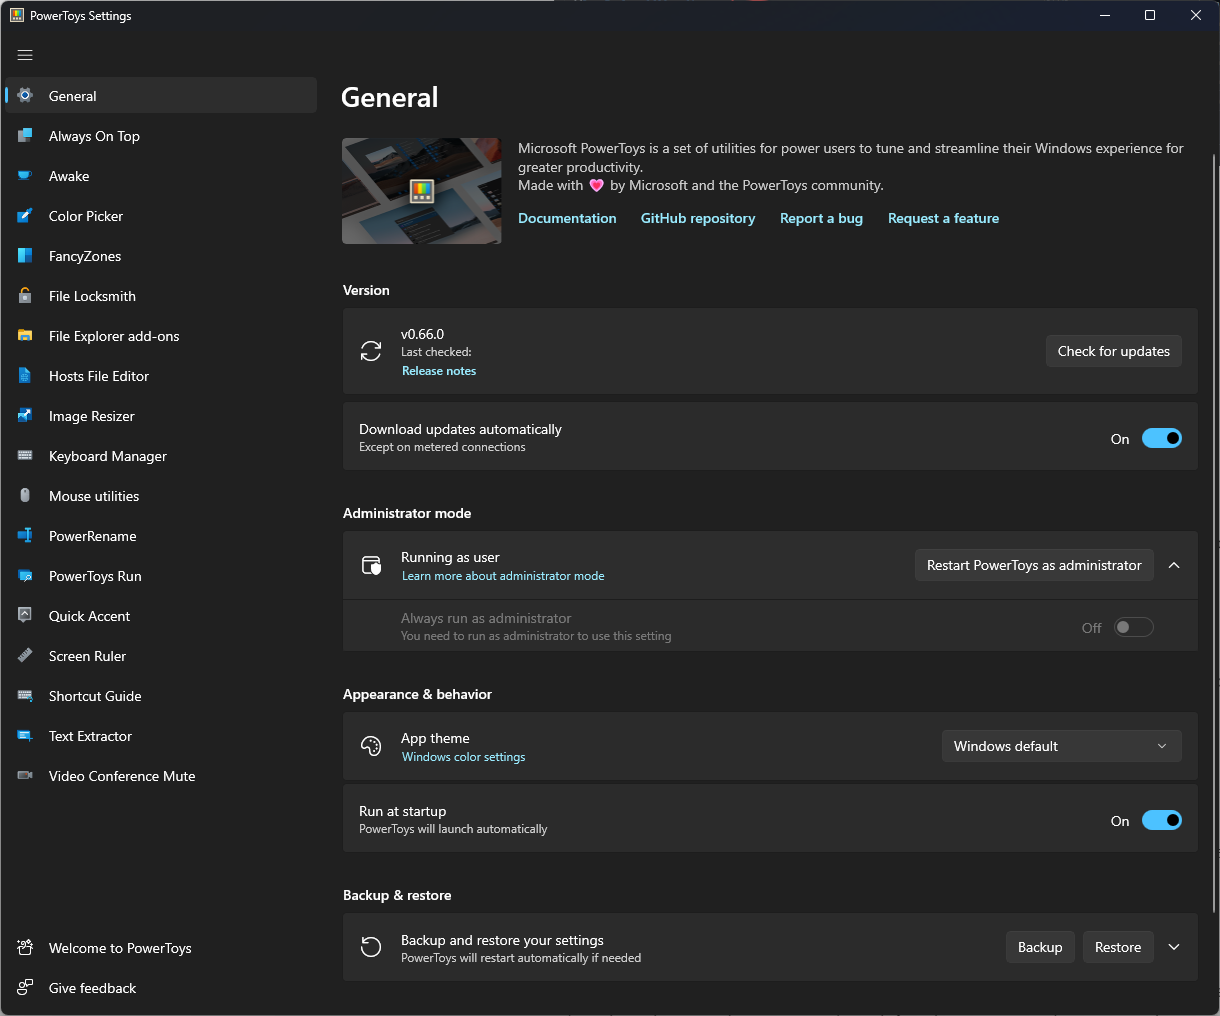
This tab lets you modify settings, such as options to Download updates. Toggle on the switch for Download updates and Always run as administrator option for optimal usage. In addition, this section lets you make changes to the app theme and customize other settings.
2. Always on Top
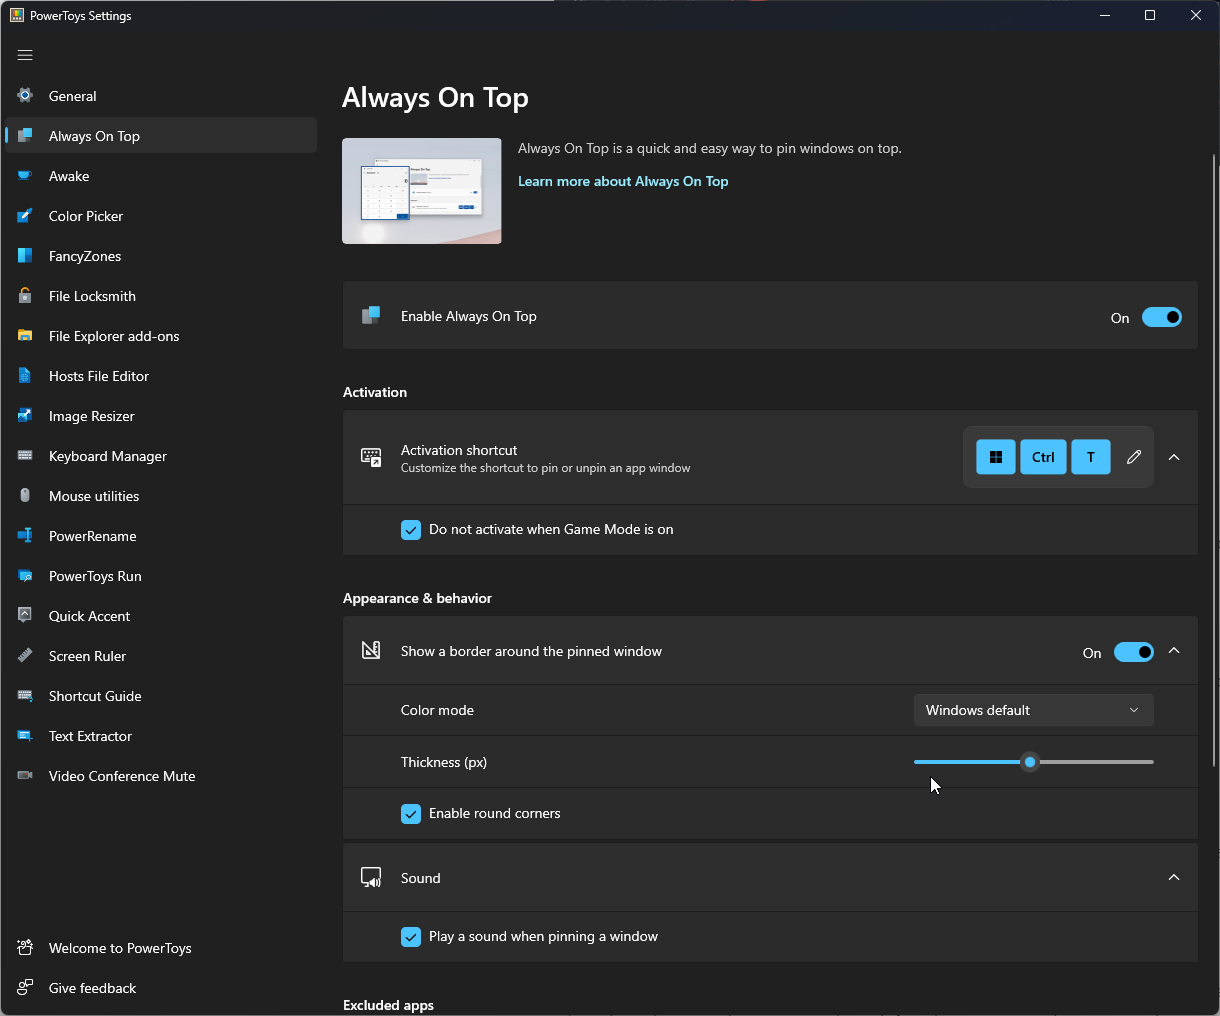
With this tab, you can pin the window you are using to remain visible. You can also customize the border color and thickness of the selected window.
3. Awake
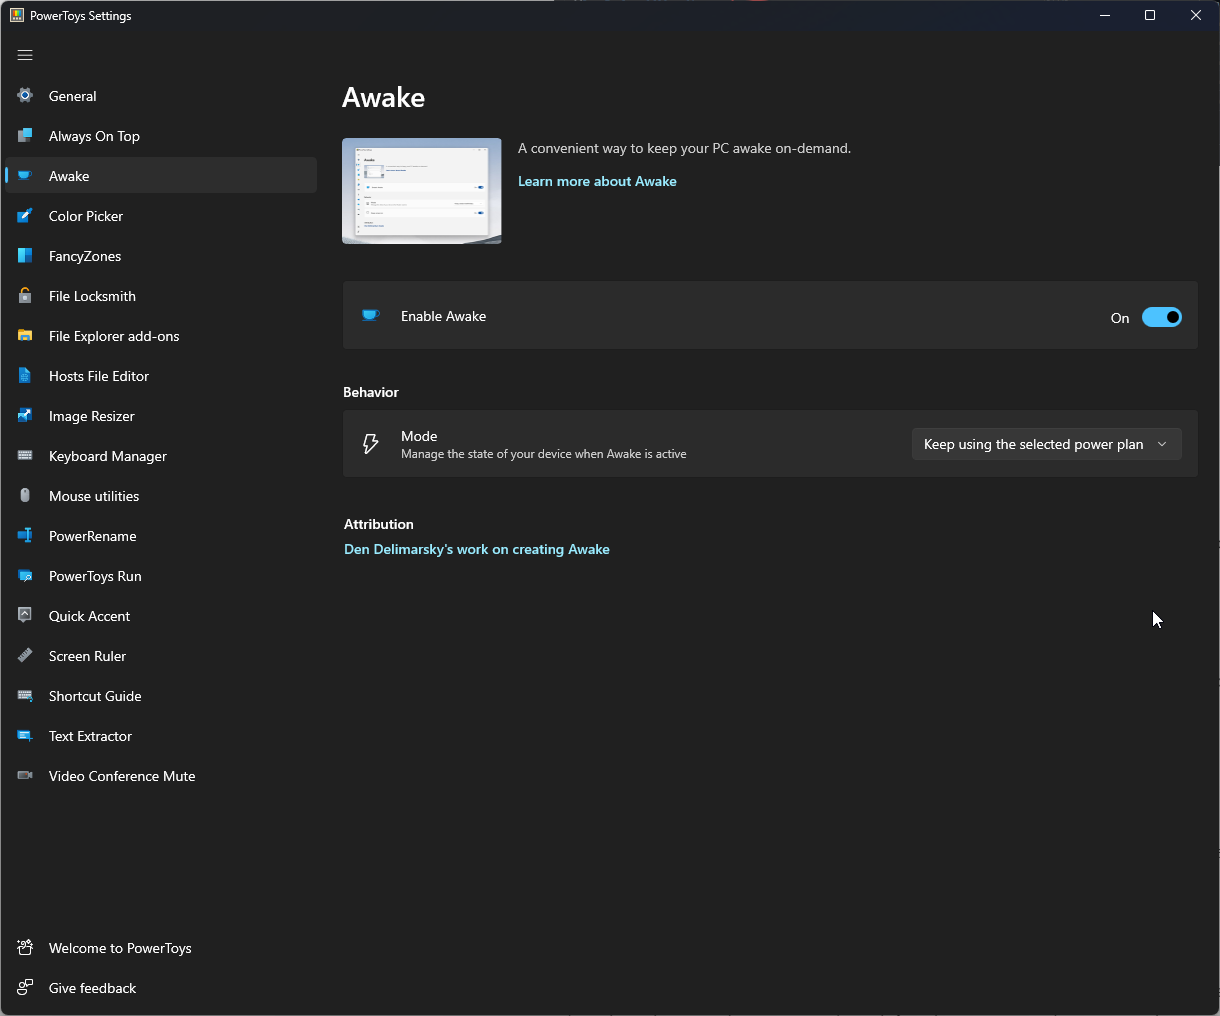
With the Awake tab, you can keep your computer awake on demand. You can select either Keep using the selected power plan, Keep awake indefinitely, or Keep awake temporarily. You can toggle on the switch for Enable Awake to keep the screen on always.
4. Color Picker
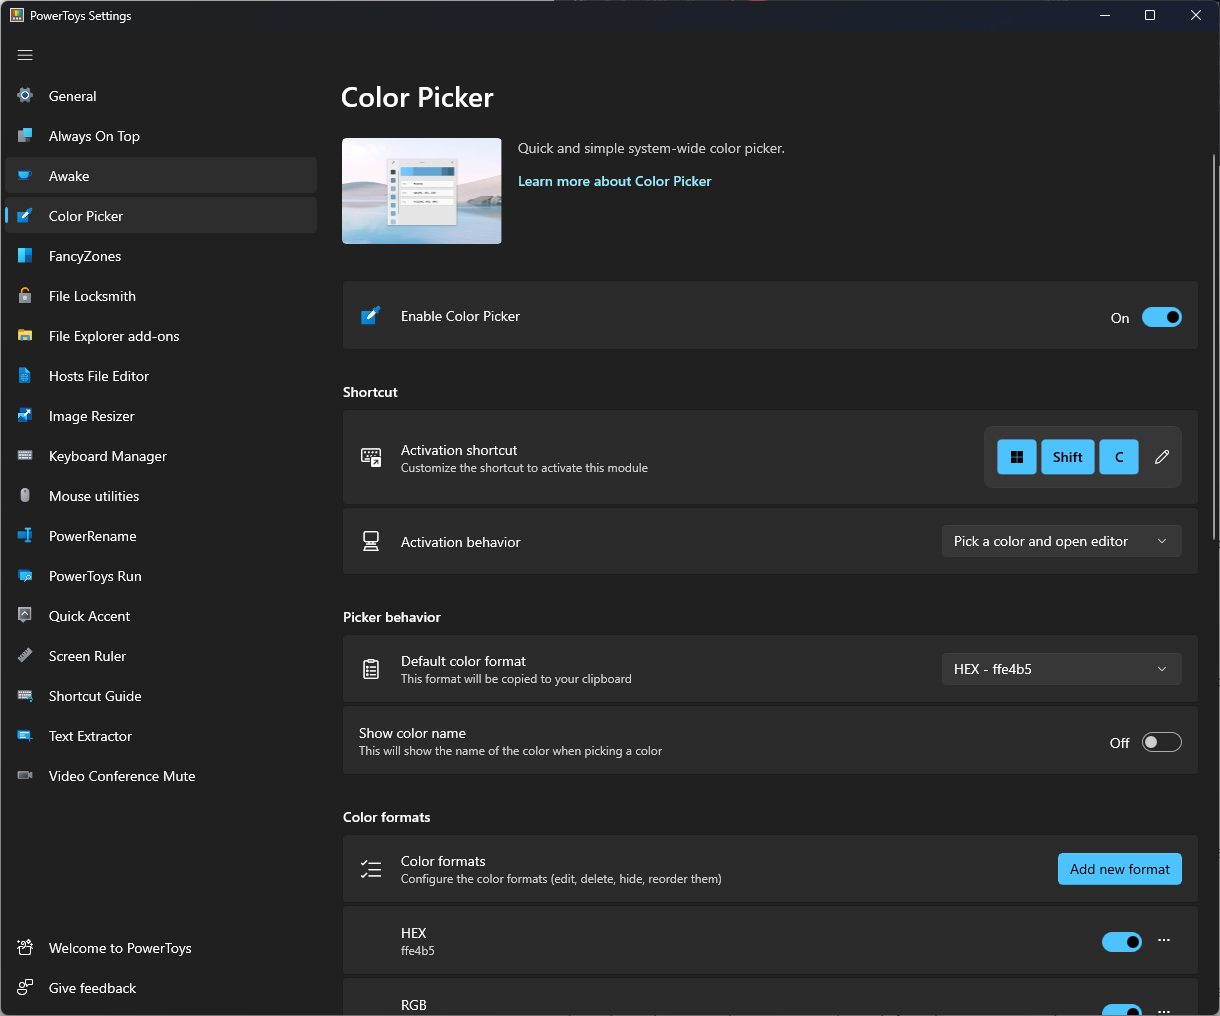
The Color picker allows you to pick out a color from any running app and copy the clipboard. You can also add a new format using this section.
5. FancyZones
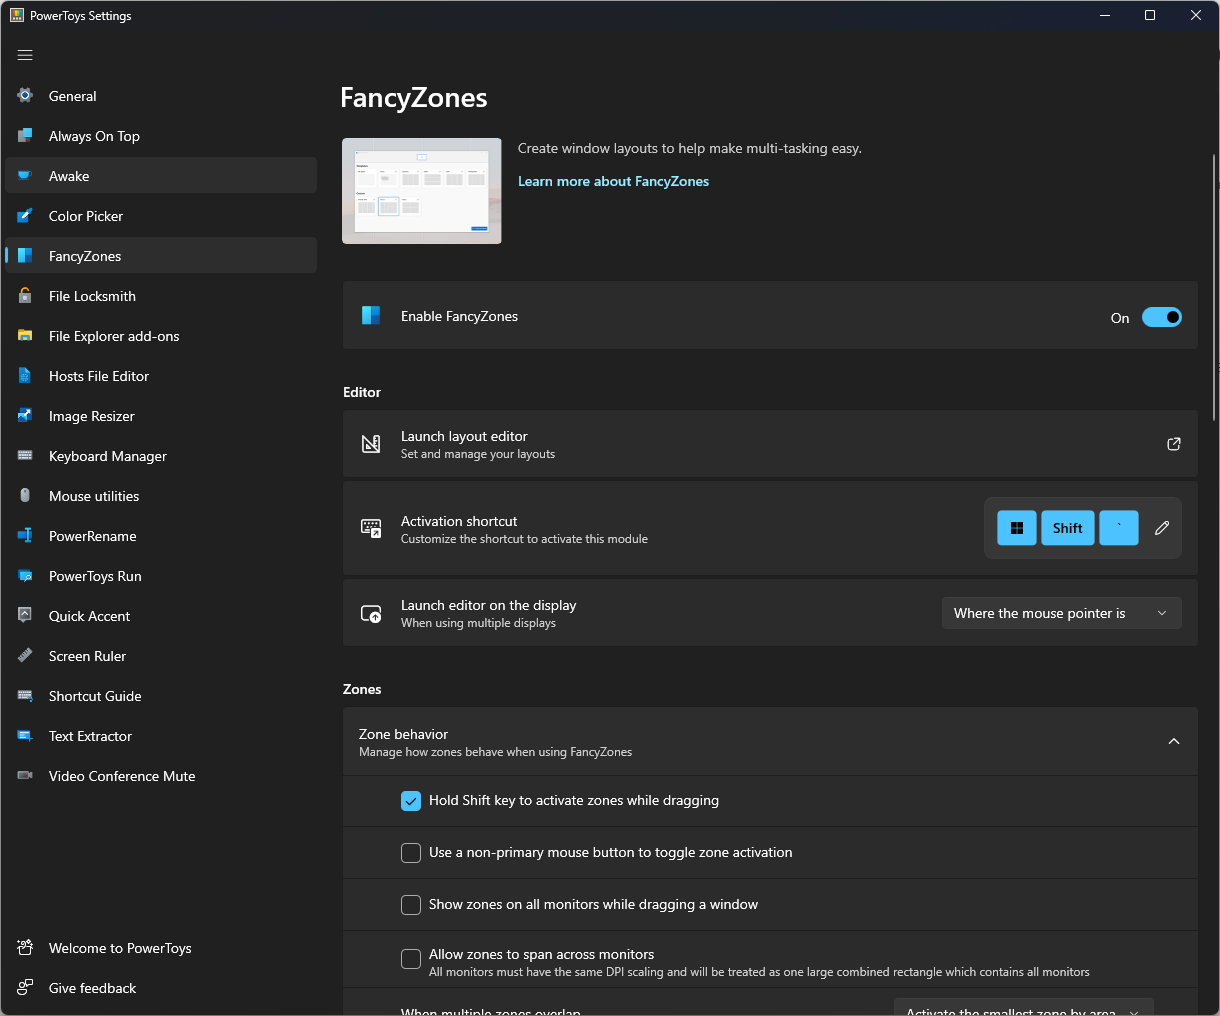
This tab allows you to create an advanced layout for resizing several windows and changing Zone behavior.
6. File Locksmith
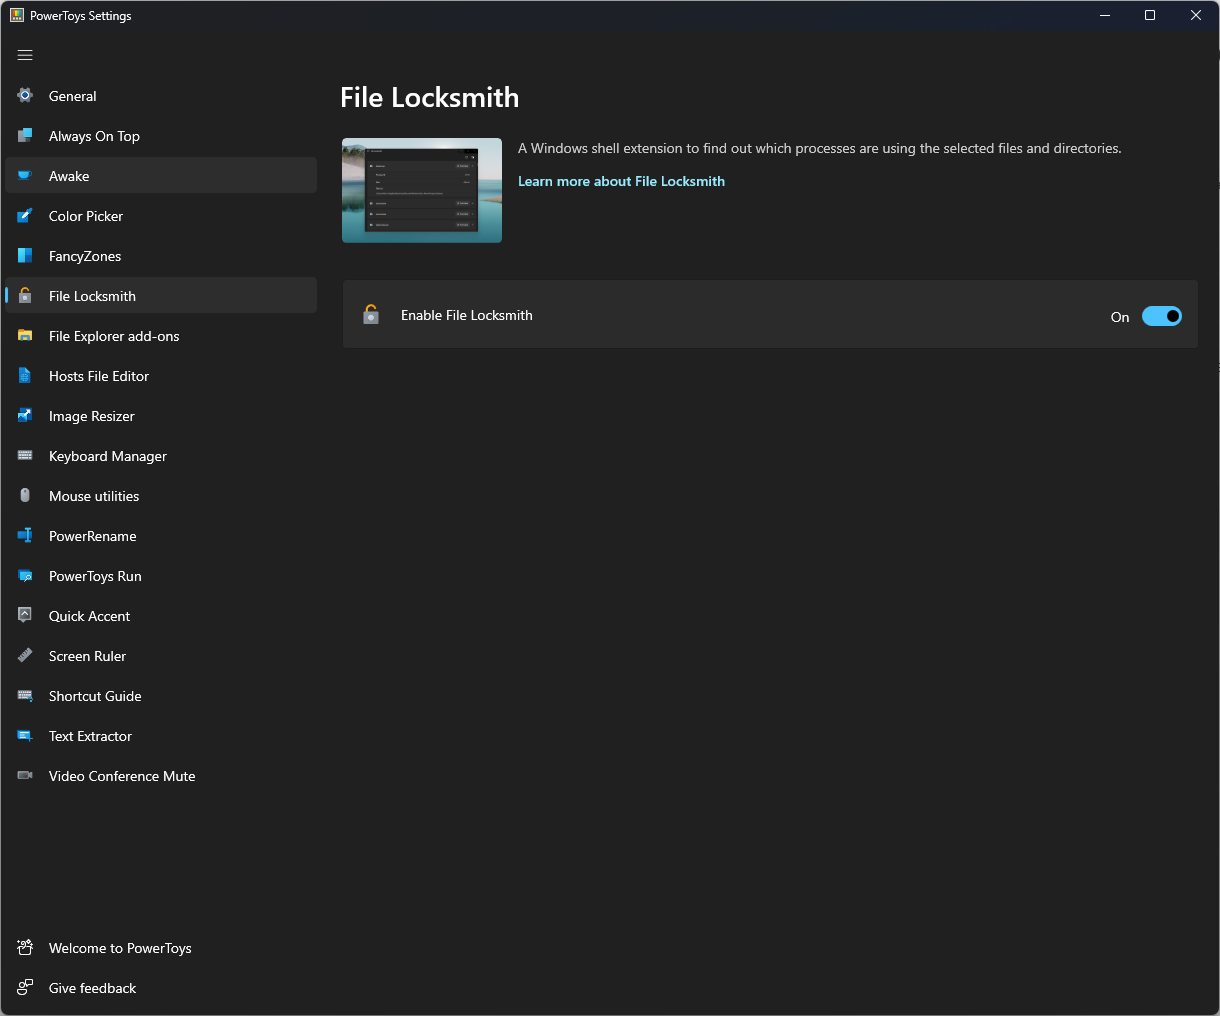
With the help of the Windows shell extension, File Locksmith allows you to check which files and directories are in use and which processes are using them.
7. File Explorer Add-ons
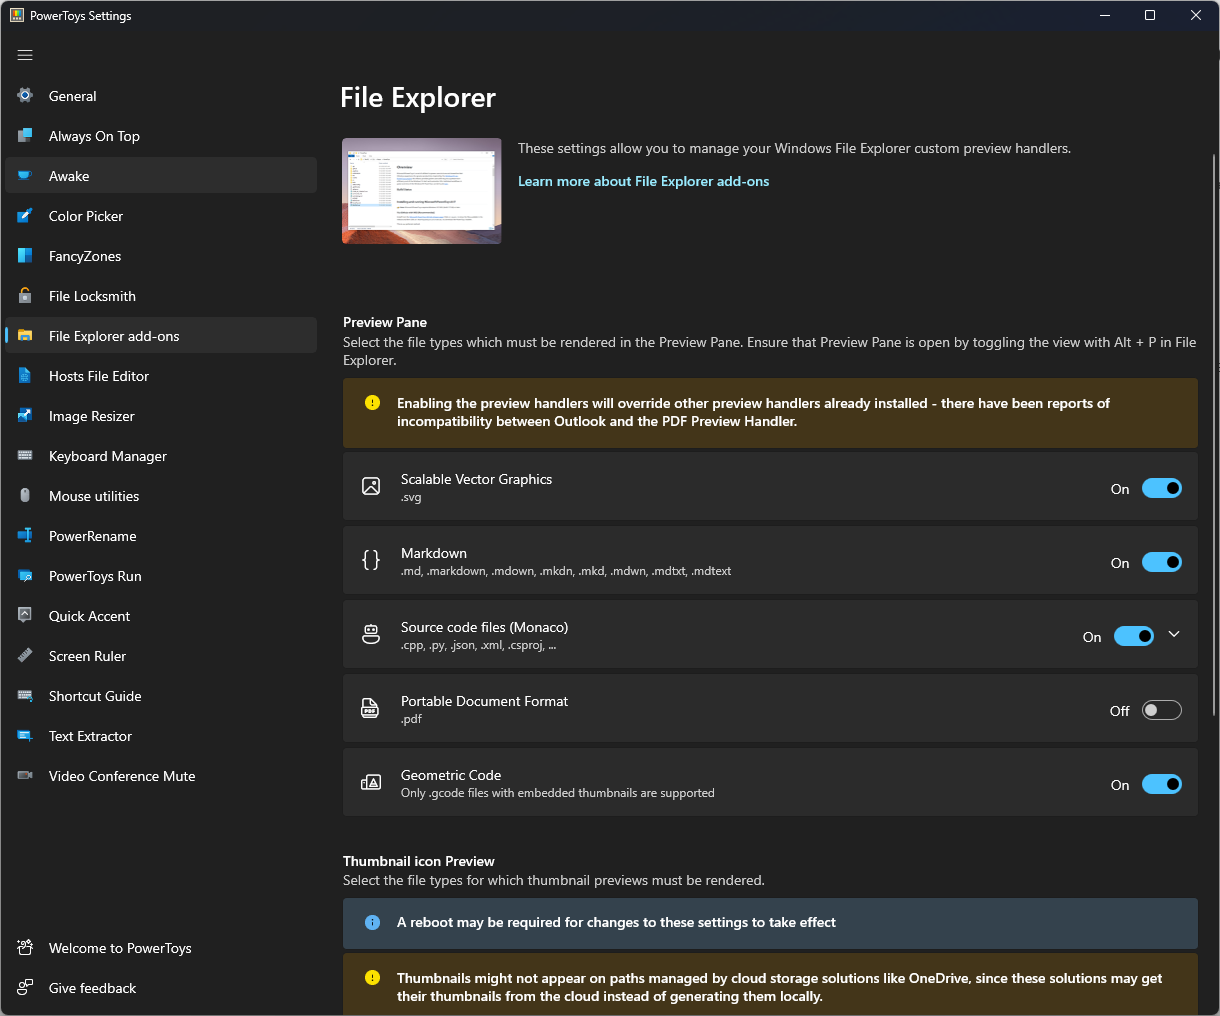
With File Explorer Add-ons, you can get a preview pane enabled for all kinds of files, including MD, SVG, GCODE, and PDF.
8. Hosts File Editor

With this tool, you can quickly edit the hosts’ file, containing a list of IP addresses and matching domain names.
9. Image Resizer

With Image Resizer, you can change the size of the pictures in a batch. All you need to do is select images, right-click and select Resize pictures.
10. Keyboard Manager
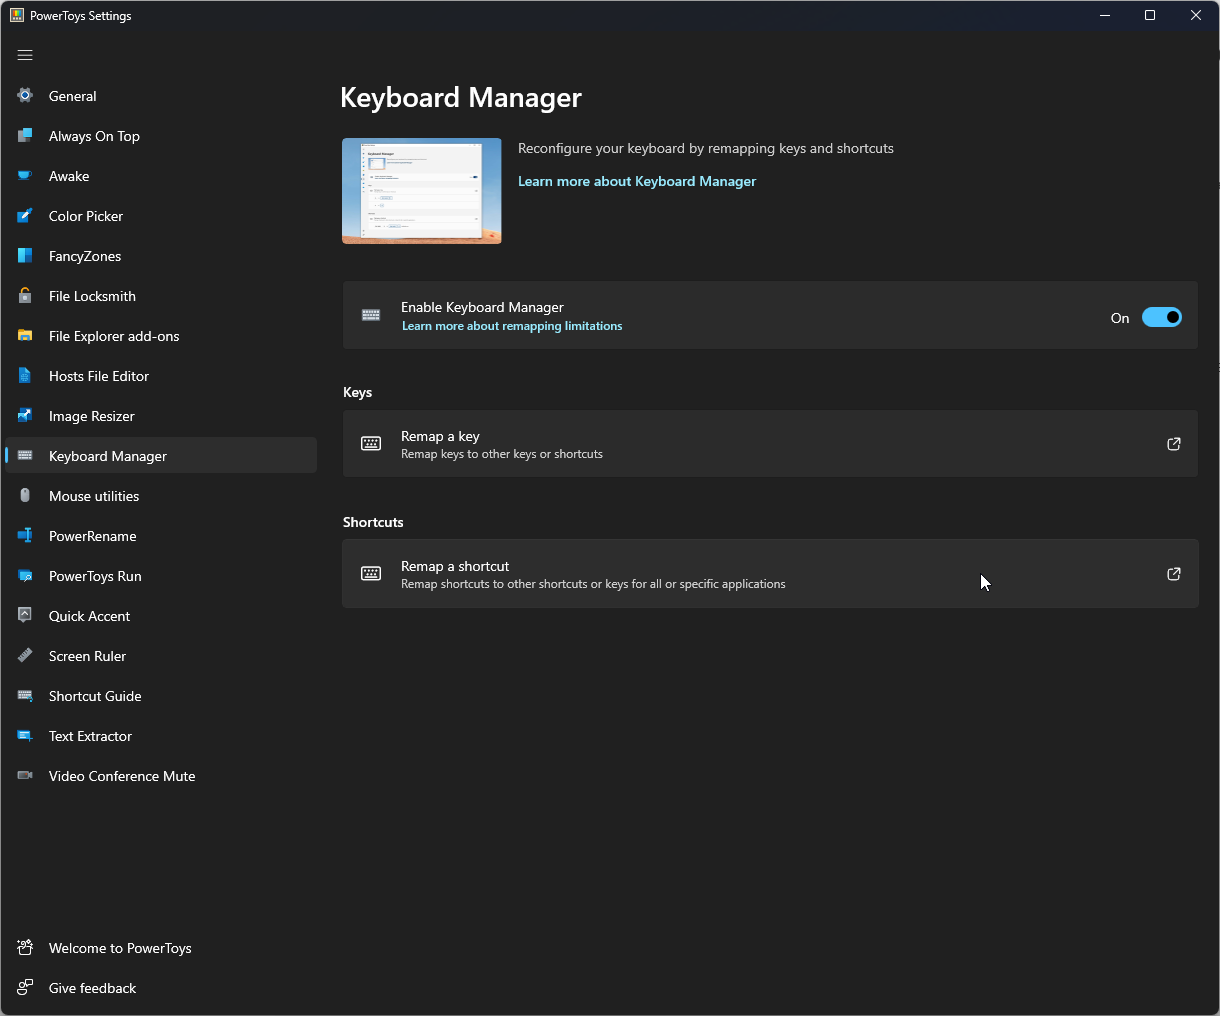
With Keyboard Manager, you can create new keyboard shortcuts and modify the existing ones.
11. Mouse Utilities
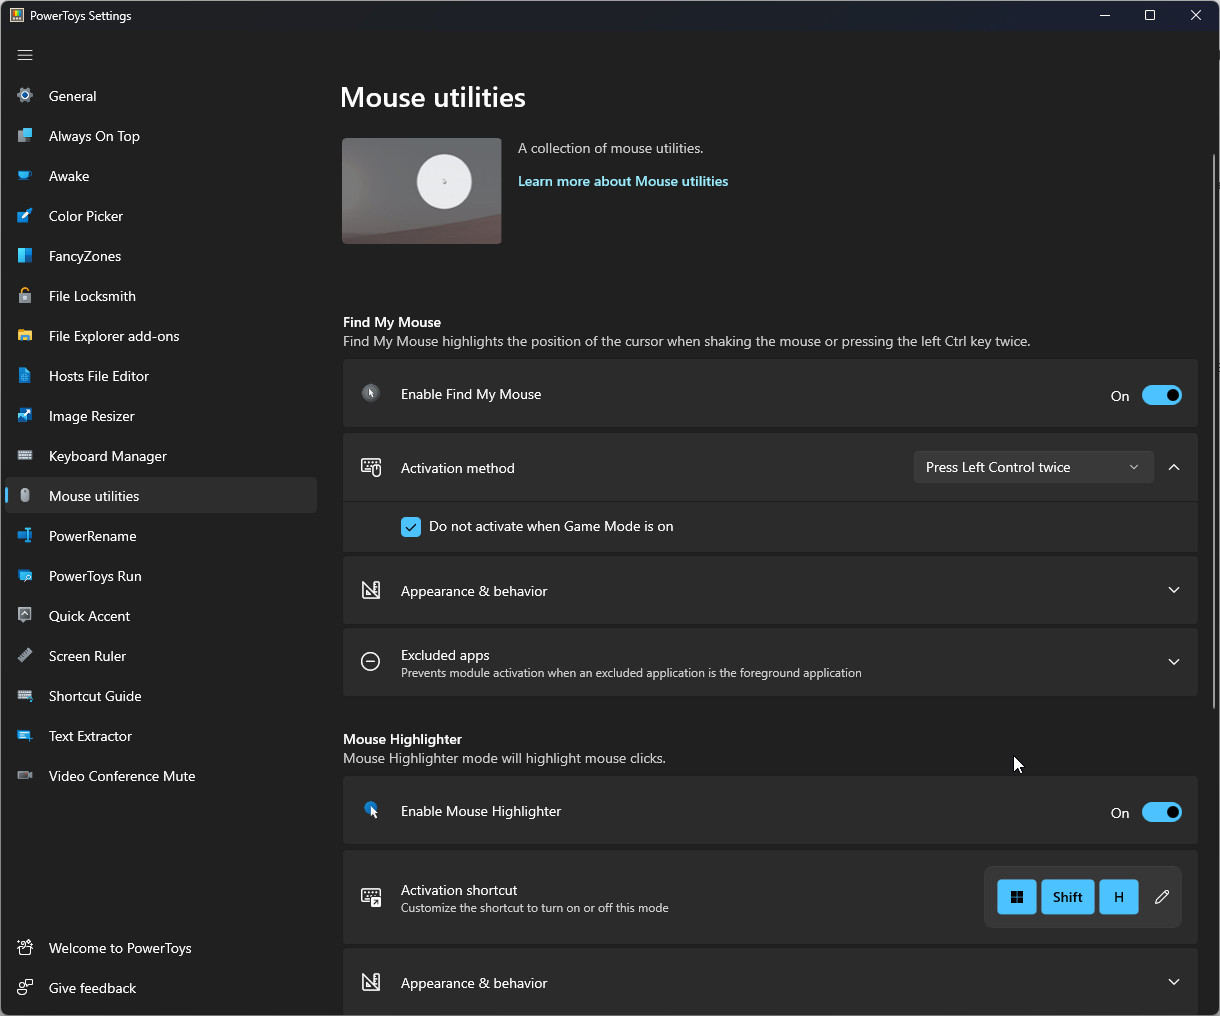
With Mouse Utilities, you can get visual feedback when you click something. You can also locate your mouse pointer when needed.
12. PowerRename
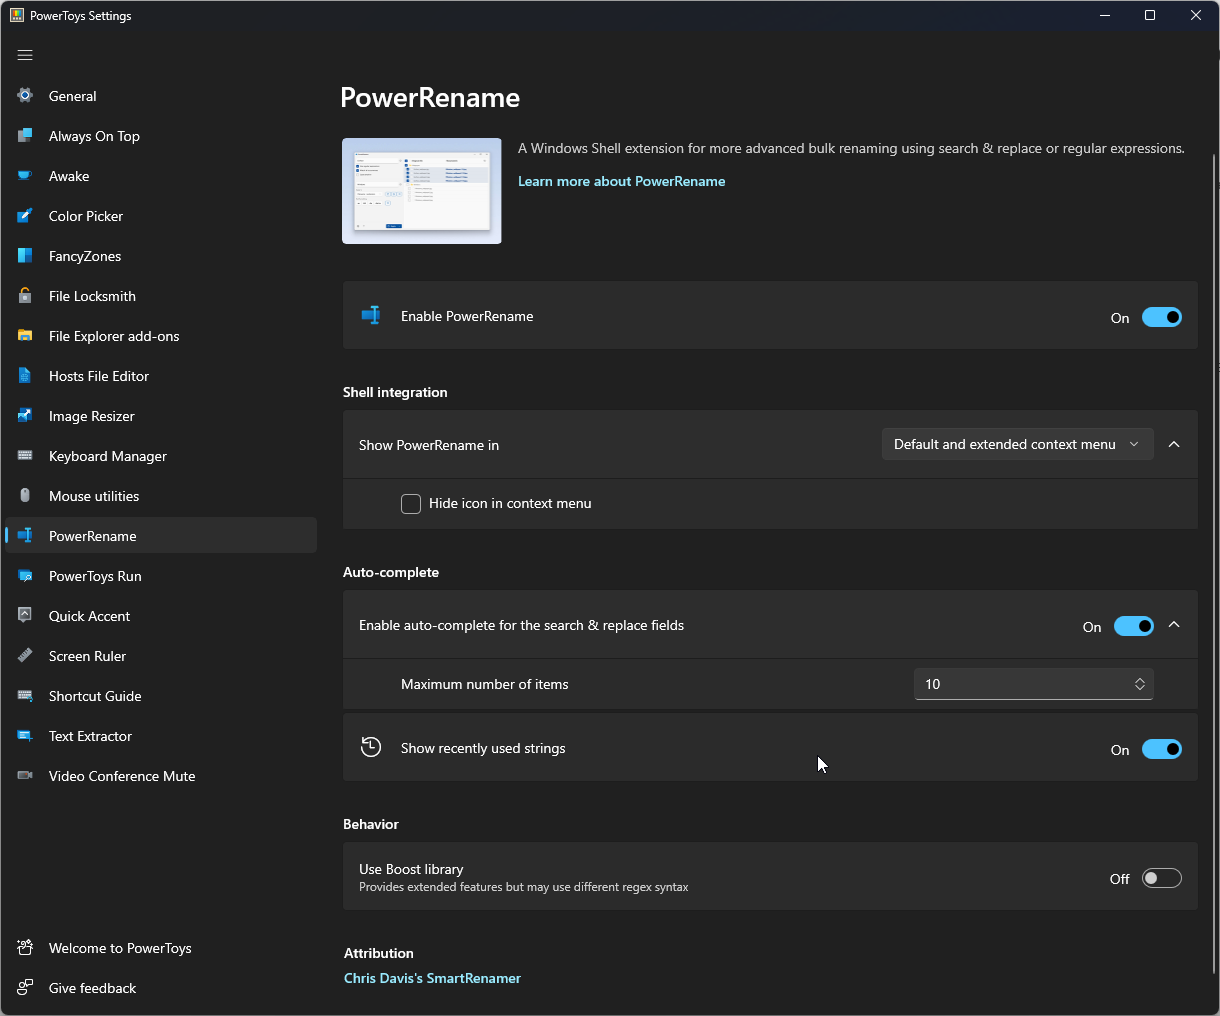
With PowerRename, you can rename files and folders in bulk without using PowerShell. All you need to do is select files and folders, right-click and select PowerRename.
13. PowerToys Run
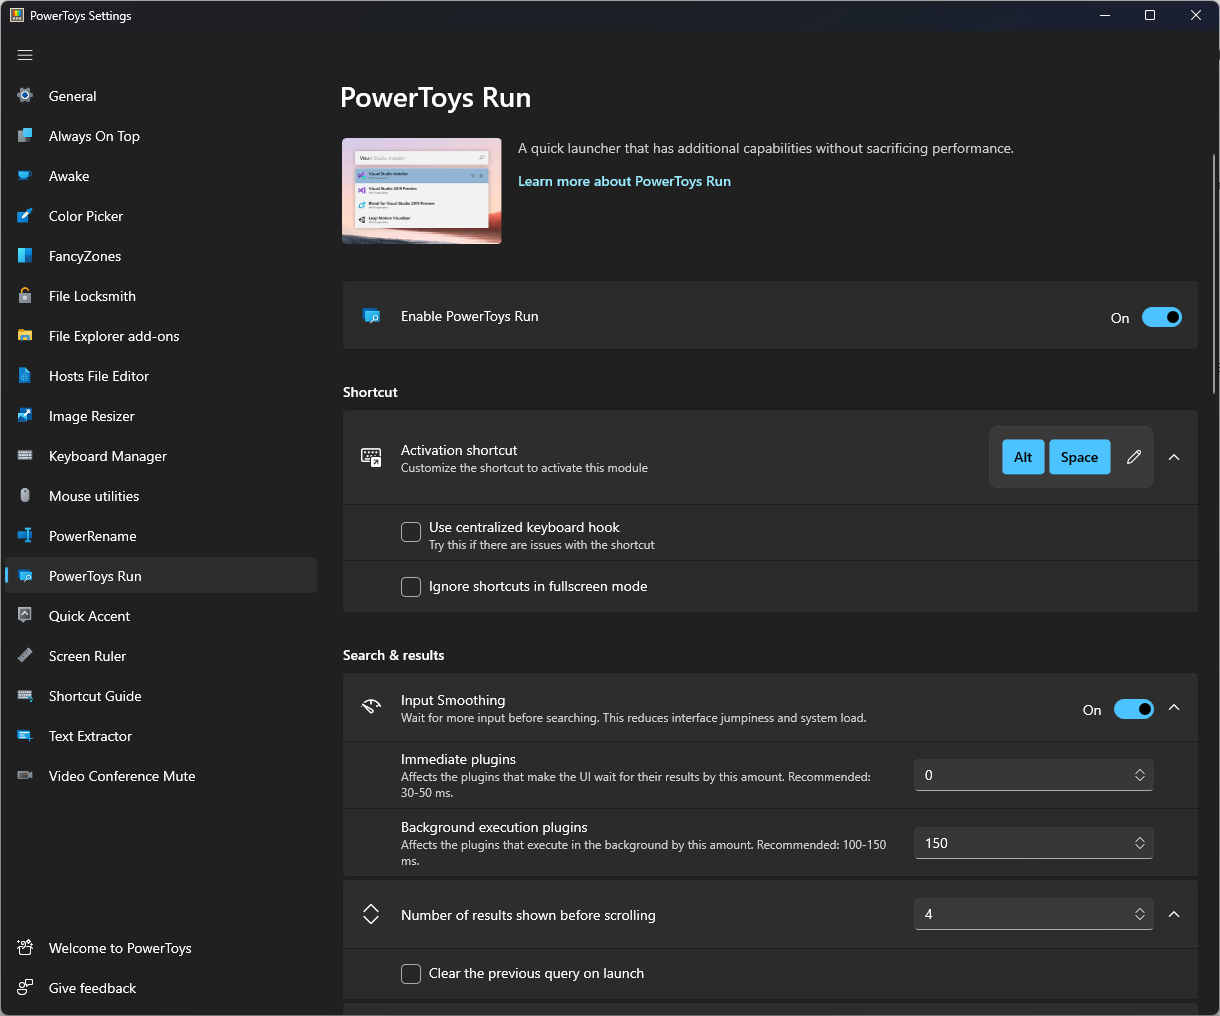
With PowerToys Run, you can quickly search and launch apps, files, and folders. You can also switch between open apps and windows.
14. Quick Accent

You can enable Quick Accent if you don’t have a keyboard with accented characters. To write accented characters, hold the key for the character to which you want to add an accent.
15. Screen Ruler
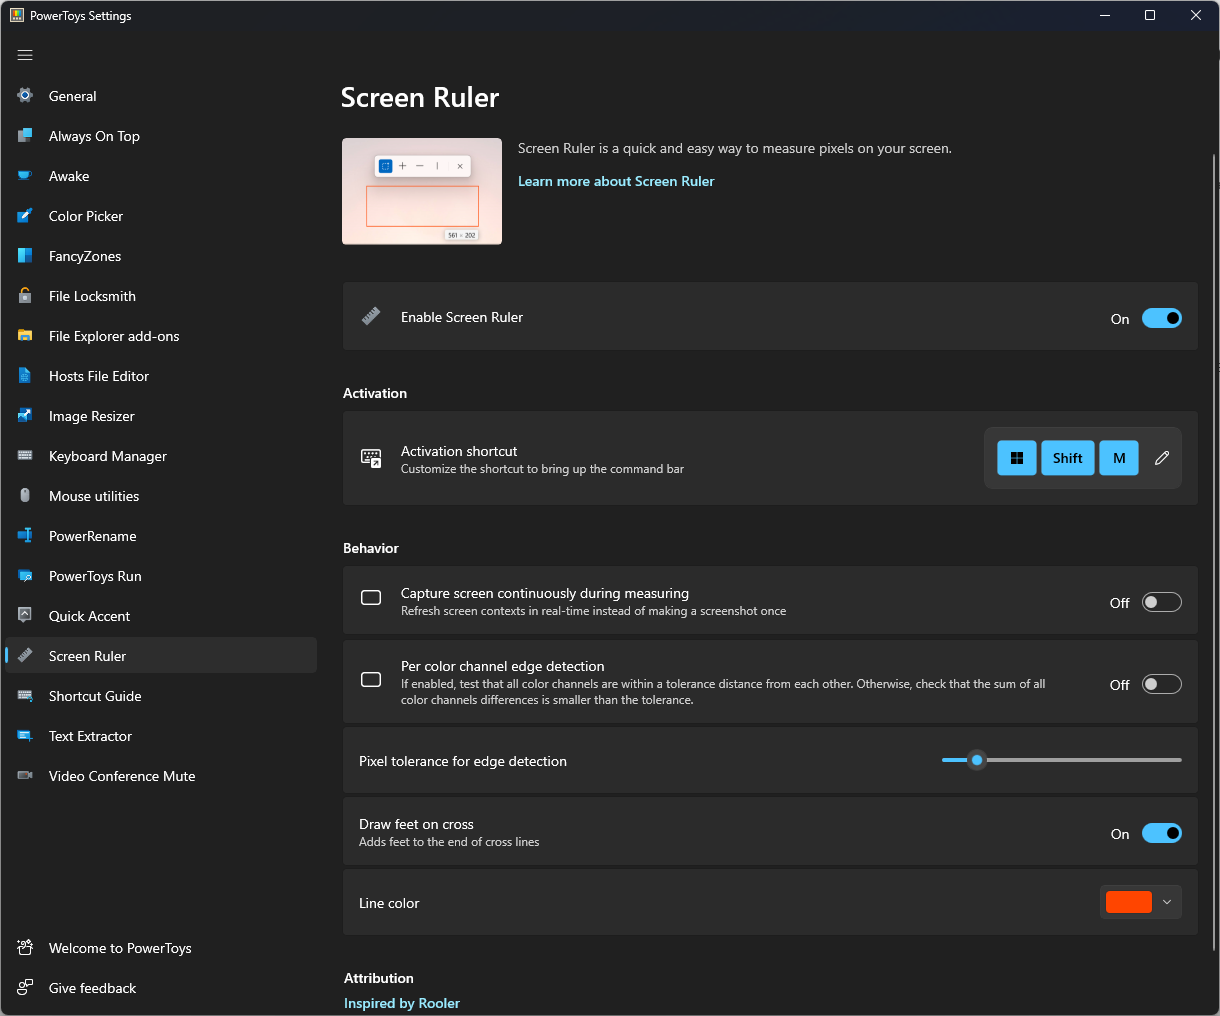
With Screen Ruler, you can easily measure the pixels on your screen based on image edge detection.
16. Shortcut Guide
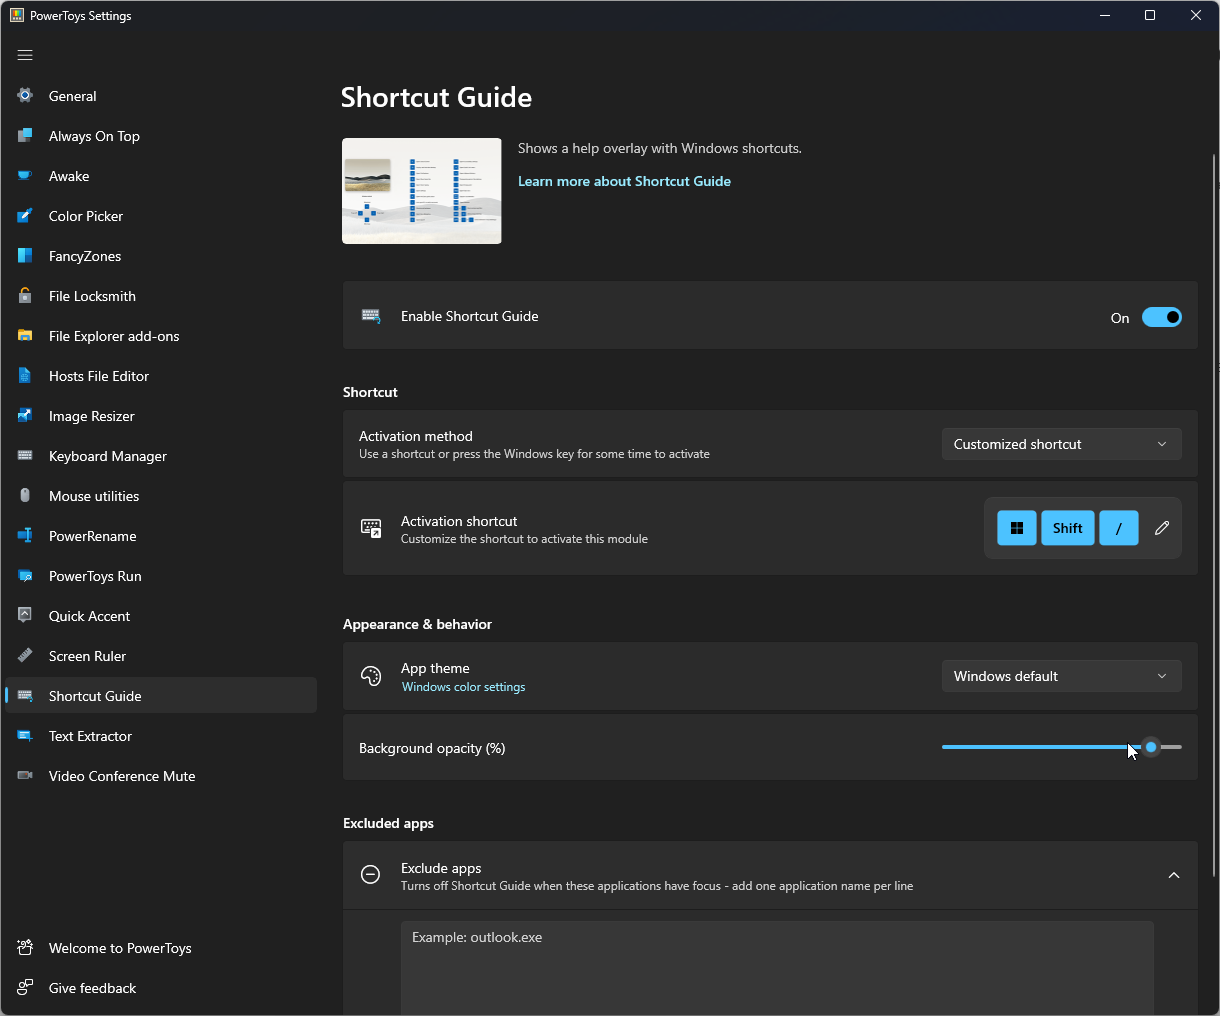
As the name suggests, it gives you a list of shortcuts. All you need to do is press Windows + Shift + I to get it on the screen.
17. Text Extractor
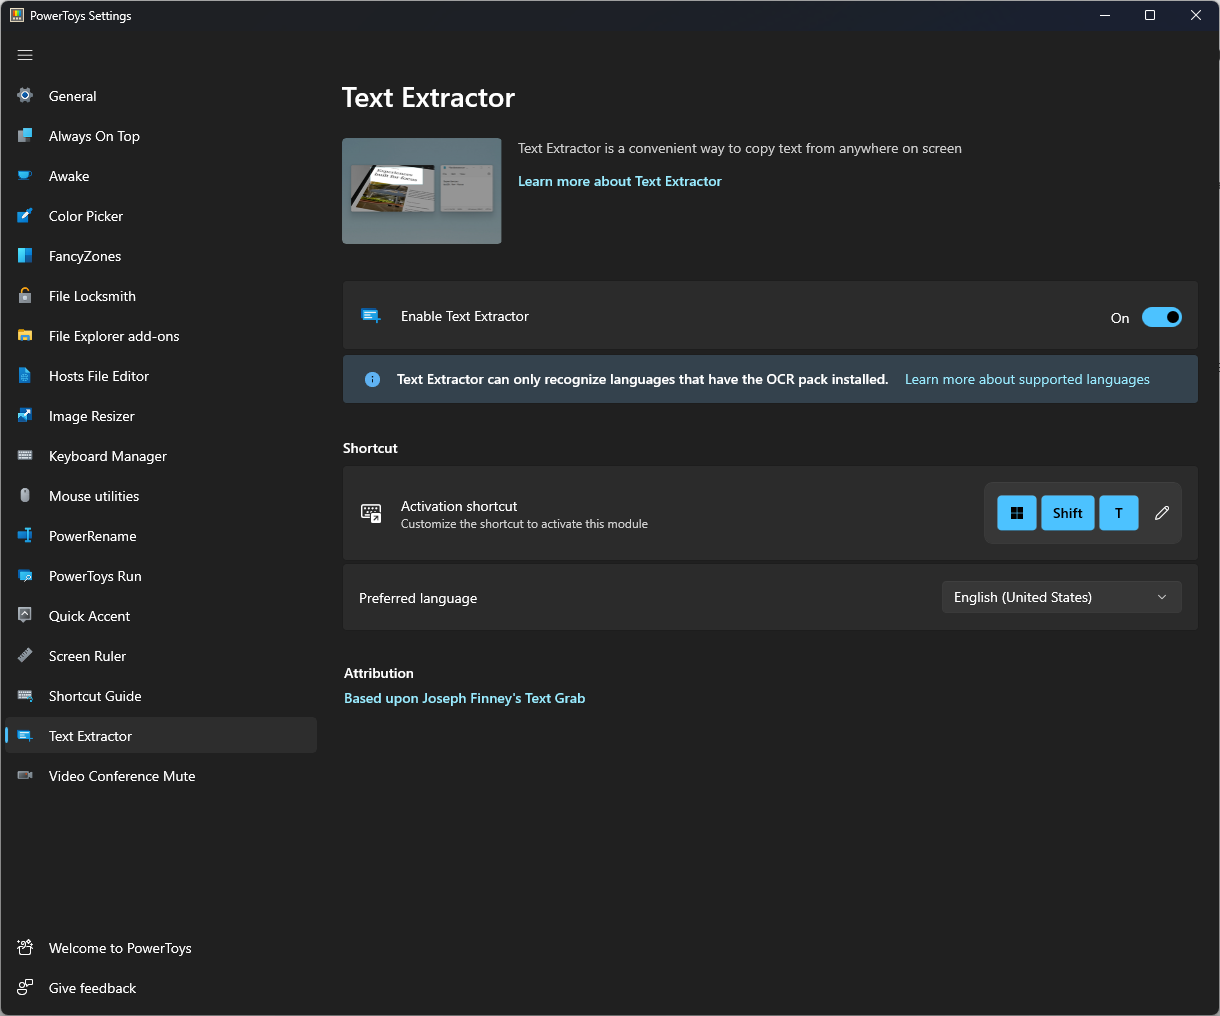
The Text Extractor allows you to copy text from anywhere on your computer screen, even from videos and images.
18. Video Conference Mute
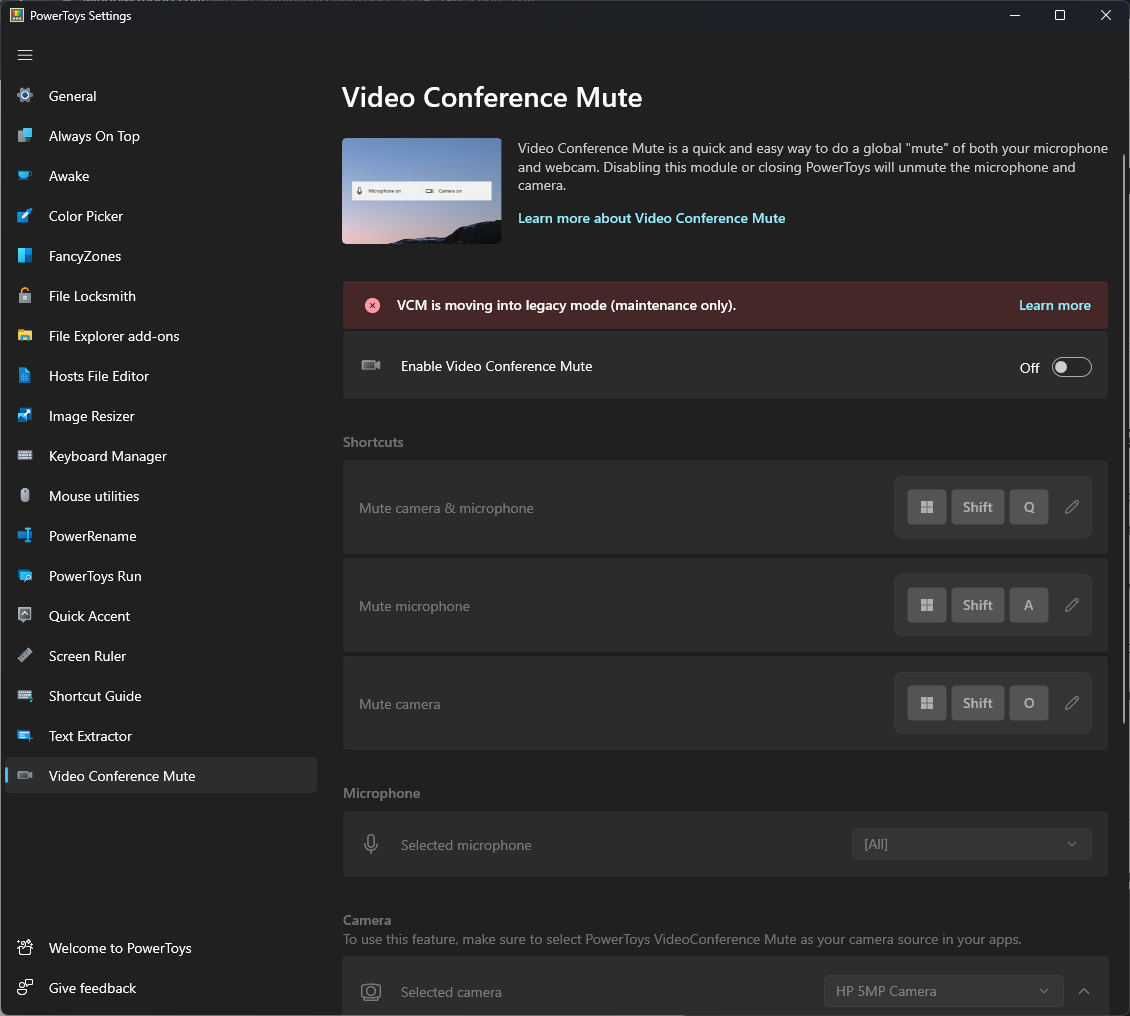
With Video Conference Mute, you can ensure your microphone is always on mute and the camera is off.
So, this is how you can install and use PowerToys on Windows 11. For more information, be sure to visit our guide on the best PowerToys utilities. If you have any questions about PowerToys, please let us know in the comments section below.