You’ve just received a brand new Microsoft Surface underneath your Christmas tree (or at least you’re hoping that’s what happens) and you’re ready to turn it on for the first time. In this guide, we’ll walk you through setting up your new Surface and point out the options you should take time to adjust.
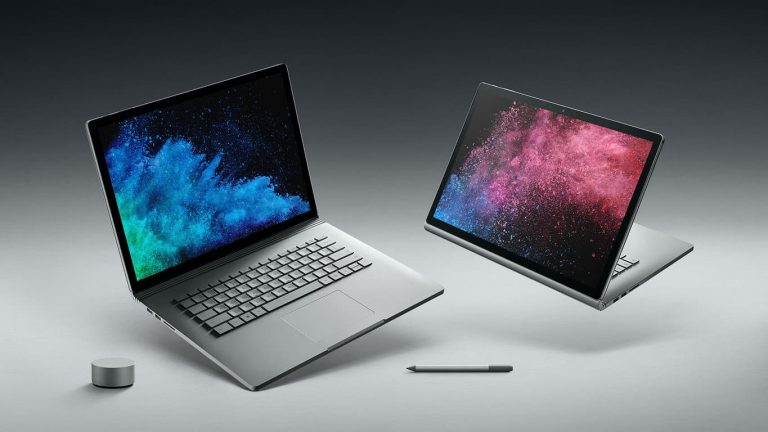
This guide is meant to be device-agnostic, so whether you’ve got a Surface Pro, Surface Laptop or Surface Book, you should find most of this advice remains relevant to you.
With your Surface plugged in and ready to go, let’s get started with your new device.
First steps
You should follow the quick-start guide in the box to get your Surface hardware ready to use. This involves attaching the Type Cover for the Pro, or Clipboard on the Book, and connecting the power connector. Don’t try to run your Surface on battery power just yet – there might not be enough charge from the factory to get you through the setup procedure.
Press the power button to start your Surface. This first boot may take a long time while the setup experience gets ready and your device performs first-run initialisation. After a couple of minutes, you’ll get to the Windows setup experience.
At this point, we recommend jumping to our “Getting started with your new Windows 10 PC” guide which explains the different options presented on the setup screens. Come back here once you’ve finished!
Updates
Once setup is complete, the very first thing you should do is get updated. Microsoft releases Windows updates monthly with important quality and security fixes, so your device’s factory-installed Windows version could be a long way behind the latest release.
Depending on how long ago your device was built, you may also need to update to the latest Windows “feature update.” These are released every six months and, as the name may imply, add additional features, capabilities and improvements to Windows 10.
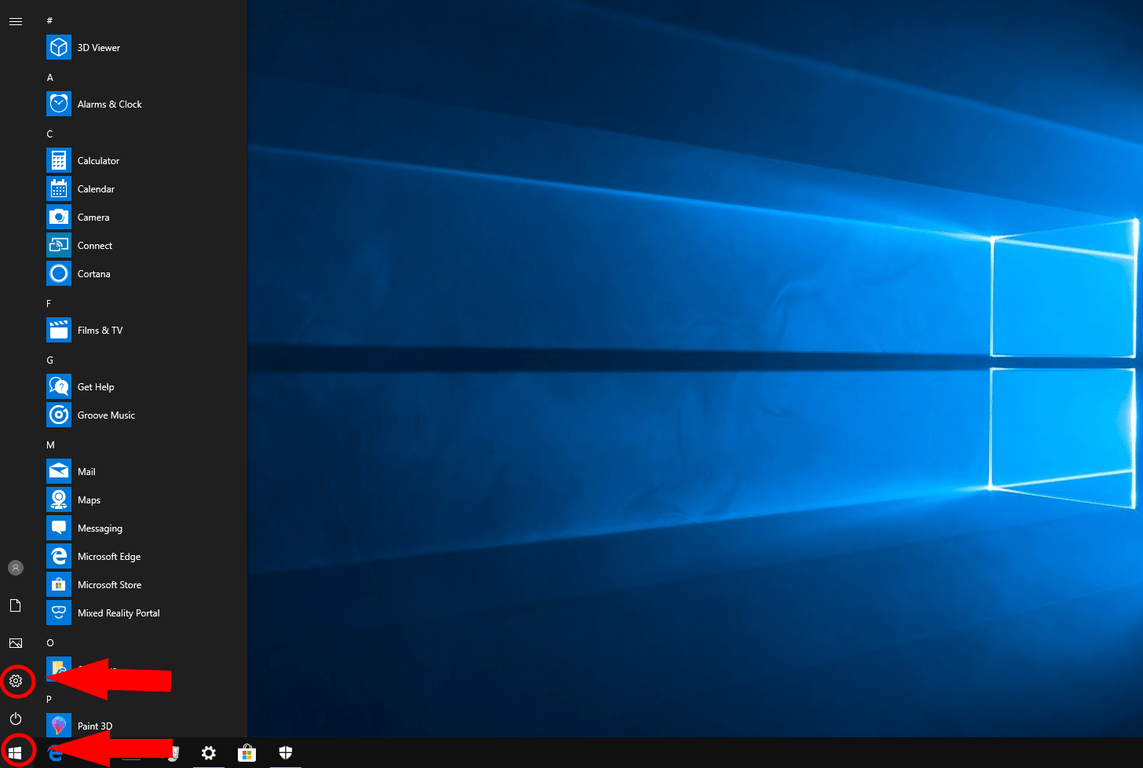
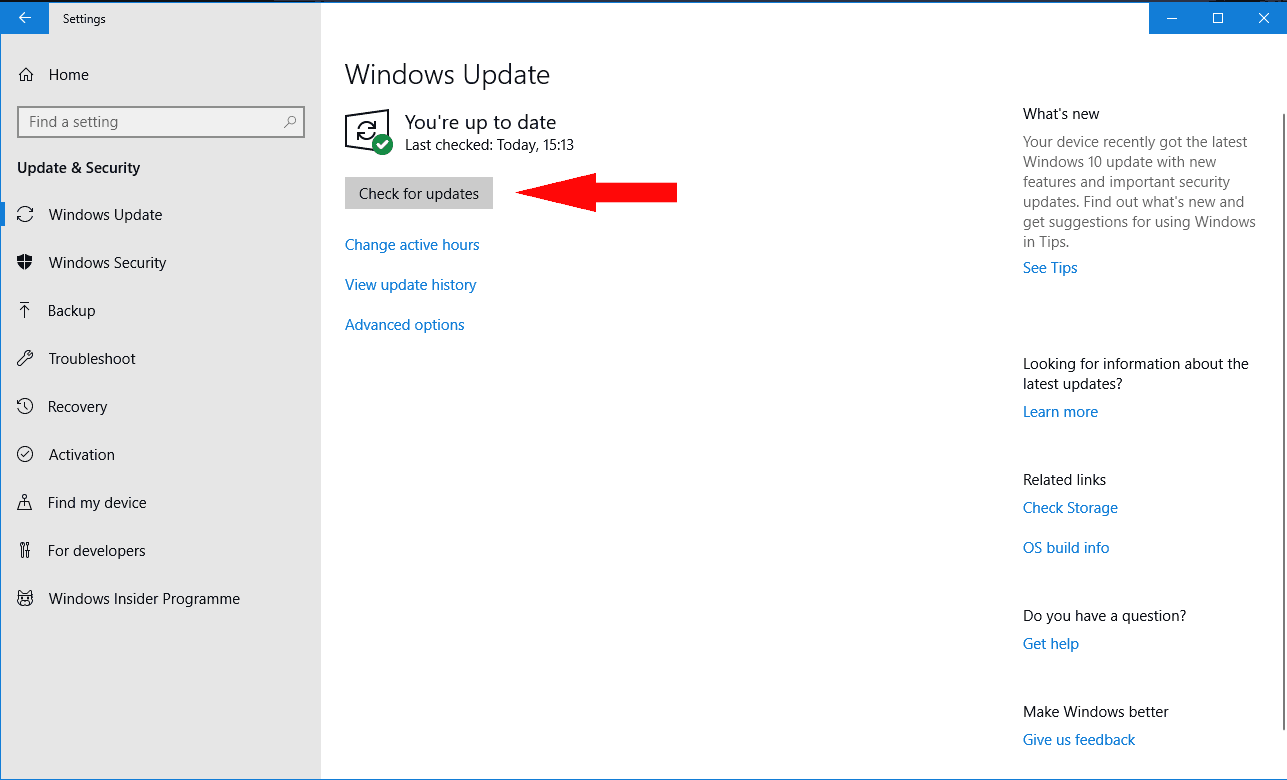
To get updating, open the Start menu by clicking the Windows logo icon in the bottom-left of the display. From here, click the small Settings cog icon on the left of the menu to open the Settings app. On the main menu, choose the “Update & security” category and then press the “Check for updates” button on the page that appears.
Here comes a warning – this process may take a long time to complete. Depending on the number and size of updates available, as well as your internet connection and device specifications, it could take hours to get everything installed. We recommend waiting it out so you’ve got a fully updated clean slate to work from once you start configuring your device.
Firmware updates
The update process described above will also download “firmware” updates specific to your Surface. You don’t need to do anything extra to get these updates, which include fixes for Surface internal hardware components.
After rebooting your Surface, you may see an orange progress bar appear below the white Microsoft logo on the startup screen – this means a firmware update is installing. It should only take a minute or two, but it’s important you don’t turn off your device during the process. Any power loss could cause irreparable damage to the device.
Getting acquainted
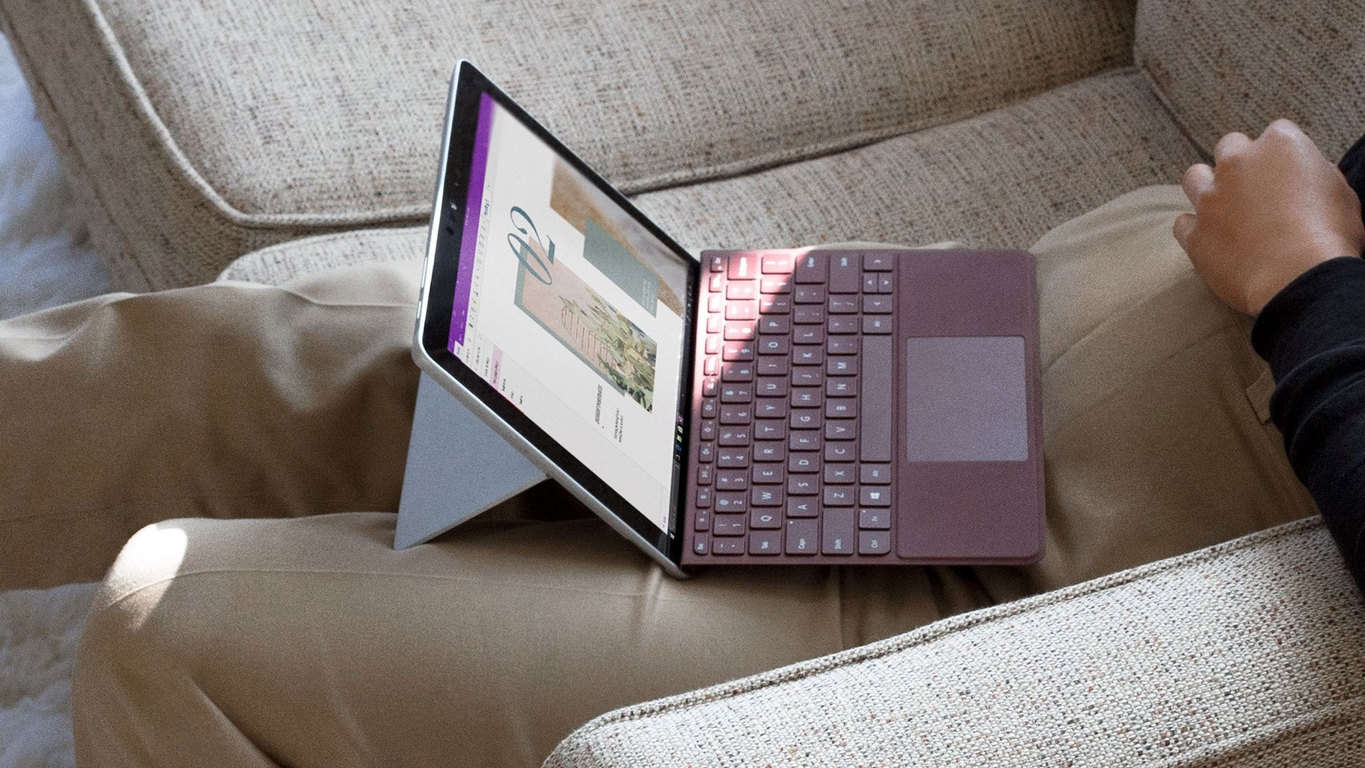
With setup complete and updates installed, you’re ready to start exploring your new Surface. It’s up to you how you interact with the device – you can use mouse and keyboard (via the Type Cover/Clipboard on Pro and Book respectively), or the high-resolution 10-point touchscreen.
With Surface Pro and Clipboard, you’re able to use the device as a tablet by removing the Type Cover/Clipboard. Windows 10 should automatically detect the change, and prompt you to switch to a dedicated Tablet Mode. This gives you a Start screen experience similar to that offered in Windows 8, making it easier to interact using touch alone.
If you’ve got a Surface Pen, you can set it up now (if you didn’t already during setup) by following our separate guide “How to get started with Surface Pen.” It’s a simple one-time process; thereafter, you’ll be able to scribble a digital note by pressing the button on the end of the pen. Windows Ink Workspace will open with a blank canvas for you to add your thoughts and doodles to.
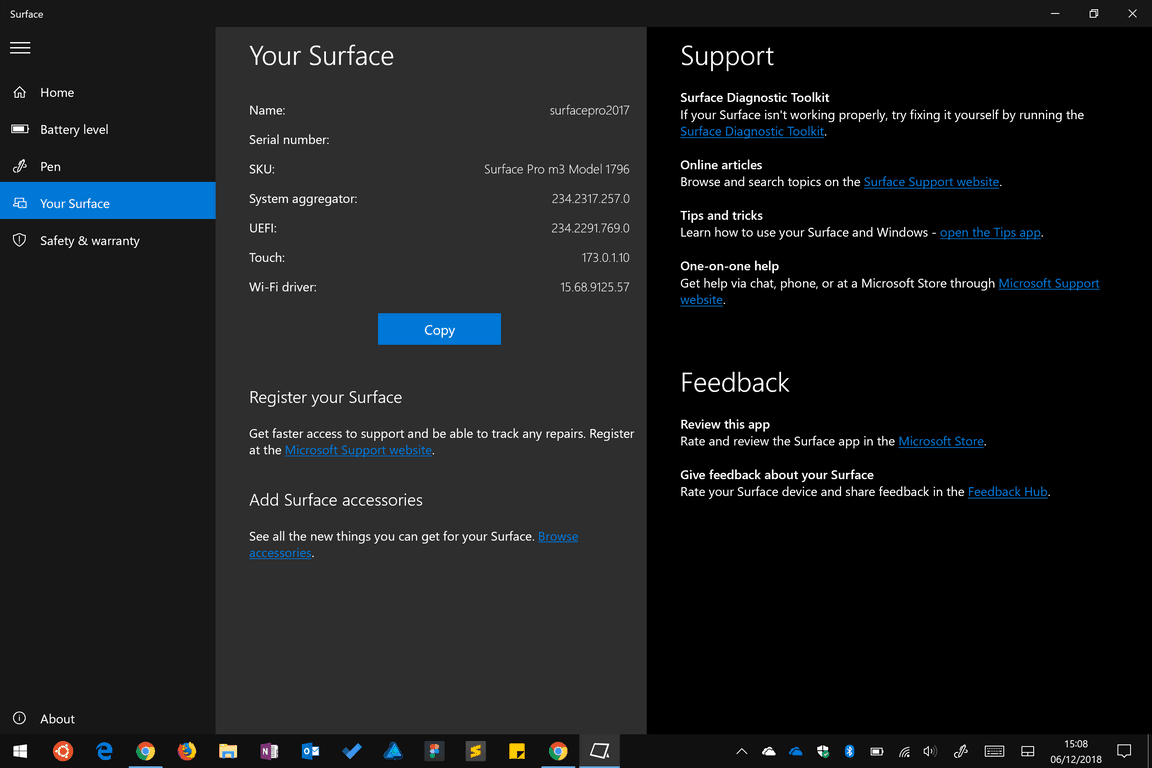
Surface App
You should find the Surface app is preinstalled on your device. You can open it from the Start menu (click the Windows logo in the bottom left) by scrolling down the apps list until you see its name.

This app provides additional getting started guidance for your device, so it should be your first port of call if you need any help or you’re contacting Microsoft support. The app also lets you check the battery level of any connected Surface accessories and provides a testing ground for Surface Pen.
Finally, you can view technical details about your Surface, register your device online and get details of any exclusive offers available to Surface owners in your region.
That’s about it for this guide. As we wrote in the introduction, setting up your Surface is simple, although it may take some time depending on your device and internet connection. You’re now updated, more familiar with your device and ready to start installing apps – use the Start menu to open the Microsoft Store and see what’s available. Ultimately, setting up a Surface is no different to any other Windows 10 PC, despite the unique hardware that the range offers.