How do I Wipe my Hard Drive in Windows 10/11?
Easy steps to remove everything on your hard drive
2 min. read
Updated on
Read our disclosure page to find out how can you help Windows Report sustain the editorial team Read more
Key notes
- Deleting everything on your hard drive does not permanently remove the data.
- To wipe your data permanently, you need to use a data destruction tool.
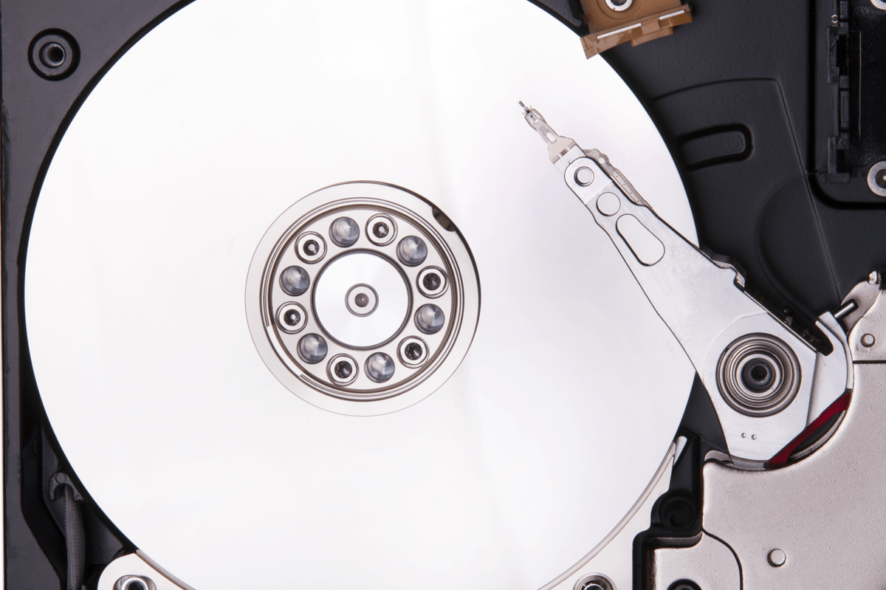
Wiping a hard drive in Windows 10, Windows 8, or Windows 8.1 is not hard, but before doing so, you must be sure that you are aware of the risks that are implied. Do note that a wipe is not similar to a format operation or with a clean install of Windows.
When you delete information from your hard drive and even when you format it, you aren’t permanently removing your data.
The file systems will be removed, but your data will become invisible. With a proper and dedicated software or hardware solution, you, or someone else, can easily restore what you thought was permanently deleted.
That’s why if you want to get rid of programs, info, or personal data for good, you have to perform a wipe.
How do I completely wipe my hard drive?
There are several ways in which you can erase your data. You can, of course, choose to use a degausser to disrupt the magnetic domains on the drive, or you can even choose to destroy the hard drive physically.
But if you want to perform a more elegant operation, then you should use free distributed and dedicated software.
This data destruction software will automatically wipe your hard drive by permanently removing all files that are stored on it.
All you have to do is to download the program, install the same on your Windows 10, 8 devices, and follow the on-screen prompts. We already have a list of the best hard drive eraser software. So, check it out for the top options you can use.
Using dedicated software to wipe your hard drive is better than using other obscure methods that might permanently damage your hard drive.
So, that’s how you can anytime wipe a hard drive on Windows 10, Windows 8, or Windows 8.1. If you have questions or if you need other info related to this topic, don’t hesitate and share your thoughts with our team by using the comments below.

