System Restore is Not Working in Windows 10: How to Fix it
Not able to get the System Restore Point to work? Check out these fixes
![]() 9 min. read
9 min. read
![]() Updated on
Updated on
Share this article

Improve this guide
Read our disclosure page to find out how can you help Windows Report sustain the editorial team Read more
Key notes
- Sometimes, System restore is our only option when dealing with PC problems.
- However, troubleshooting is needed when System Restore is not working in Windows 10.
- This mostly happens when the drive is not in the selected restore point, but there are other causes.
- In this guide, we have listed some practical solutions that will help you resolve the problem.
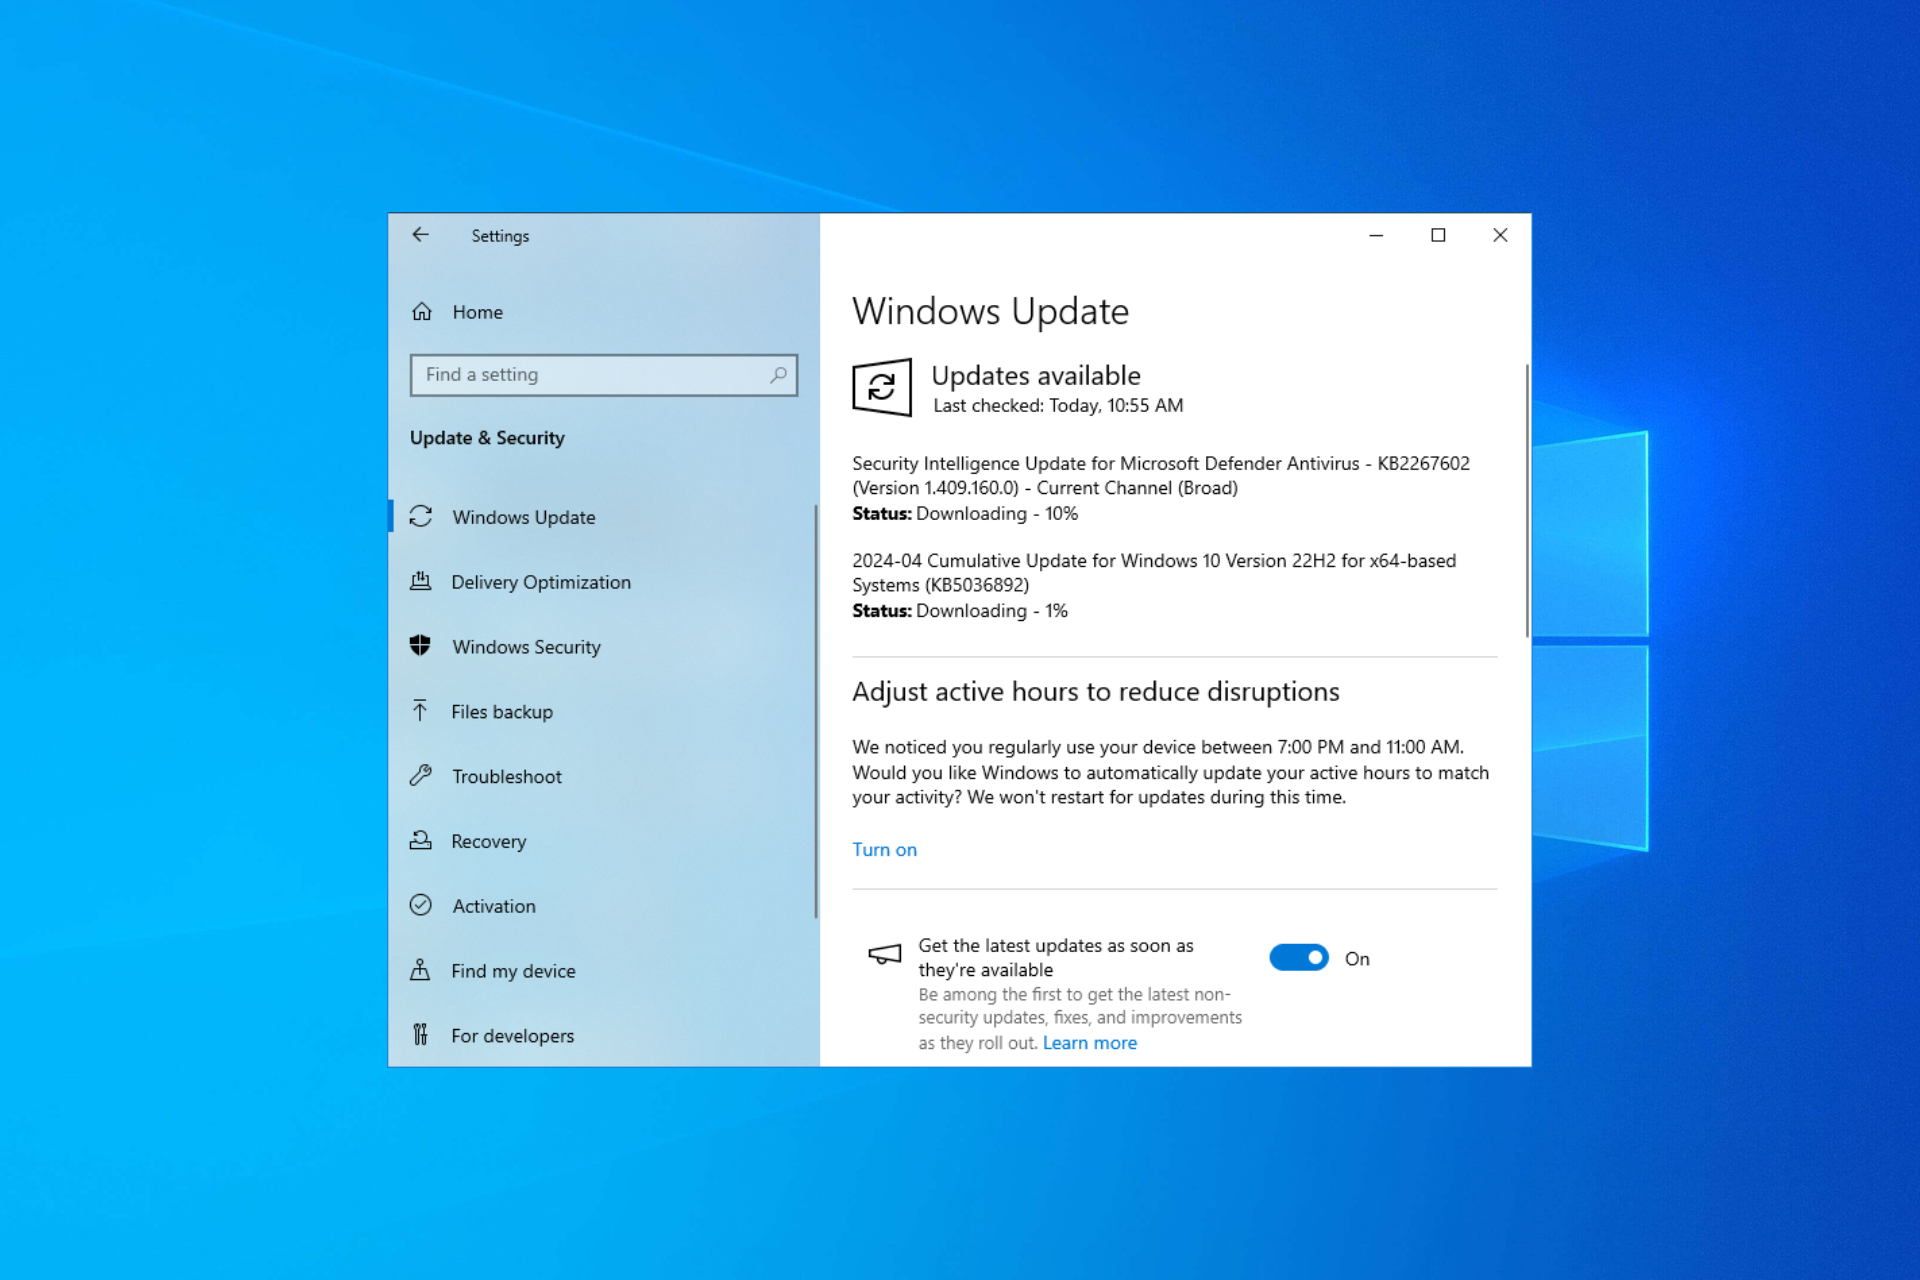
If you run into a significant problem on Windows 10, you should use System Restore to fix the problem by restoring your computer to a specific restore point.
This not only gets your system back to the point where everything was working perfectly fine, but it also saves you time performing a clean install, if you may.
System Restore is quite a helpful feature, but users complained that the restore point is not working on Windows 10, and today we’re going to fix that.
Why is the restore point not working?
While a system restore point helps you get back to the best version of your system, it often fails to perform its job.
Here are some common reasons why the restore point is not working for you.
- There is possibly a corrupt system file that is causing the problem.
- Because of a power failure, the restore point failed to get created.
- Antivirus might be blocking the system restore.
- A program or file might be conflicting with the System Restore Point.
- The system restore points aren’t getting created.
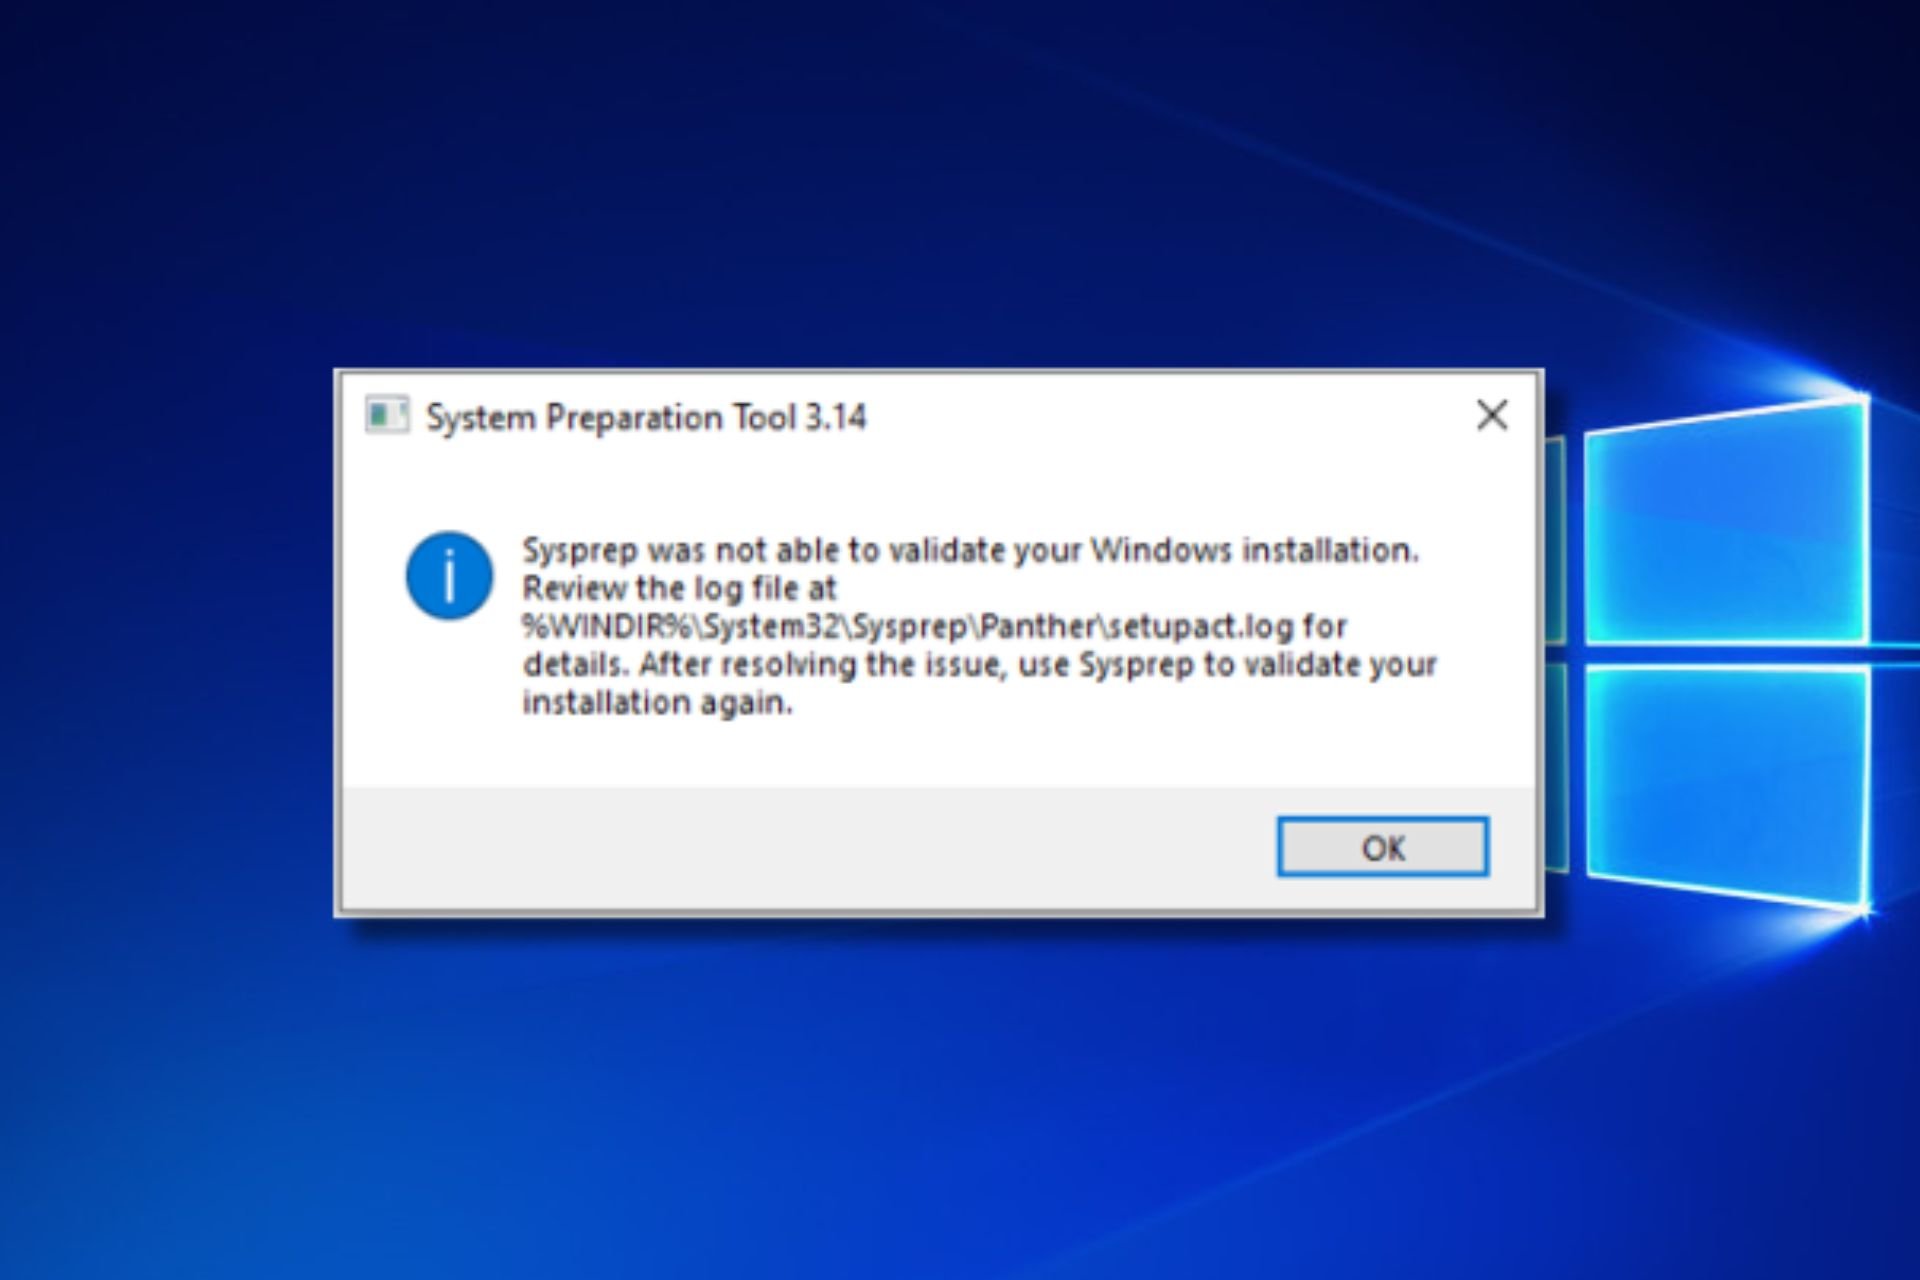
What to do if System Restore fails while restoring the registry?
You might encounter this error if the System Restore isn’t working on your PC. This most likely occurs if the restore point is somehow damaged or corrupted.
If that’s the case, you might get System Restore did not complete successfully message. Also, in some rare cases, your antivirus may be blocking System Restore, so you might have to disable it.
These are just a couple of issues that can occur, but hopefully, this guide will be able to help you fix them.
Here are some more examples of this problem:
- System restore did not complete successfully Windows 10
- If you can’t complete the process of creating a restore point in Windows 10, try some of the solutions listed below.
- Windows 10 System restore stuck
- There’s also a chance for System Restore to get stuck, preventing you from creating a restore point.
- System restore not working Windows 8
- Even though we’re talking about Windows 10 here, you can easily perform most of these solutions in Windows 8, as well.
- System restore failed Windows 7
- The same thing applies to Windows 7.
The solutions below will help you if your system restore is not working in Windows 7 and 10 as well, even though they are primarily written for Windows 11.
How do I get to restore points in Windows 11?
- Check if System Restore is enabled
- Try creating a restore point manually
- Disable your antivirus software
- Run System Restore from Safe Mode
- Check your hard drive for errors
- Perform SFC scan
- Perform the SFC scan before Windows starts
- Make sure at least 300MB is used for System Restore by each partition
- Check if services are running properly
- Run DISM
- Modify the registry
- Use e dedicated restore tool
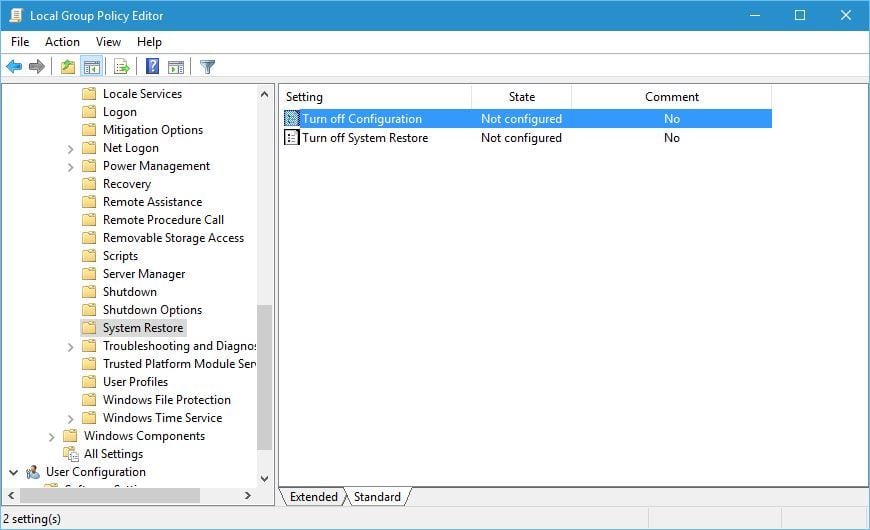
1. Check if System Restore is enabled
- Press Win + R to open the Run dialogue.
- Type gpedit.msc and press OK.

- In the left pane, select Computer Configuration.
- Click on Administrative Templates.
- Select System.
- Click on System Restore.

- Check the state of Turn off Configuration and Turn off System Restore settings on the right side. If they aren’t set to Not configured, double click each setting and put it to Not Configured.

- Click Apply and OK to save changes.

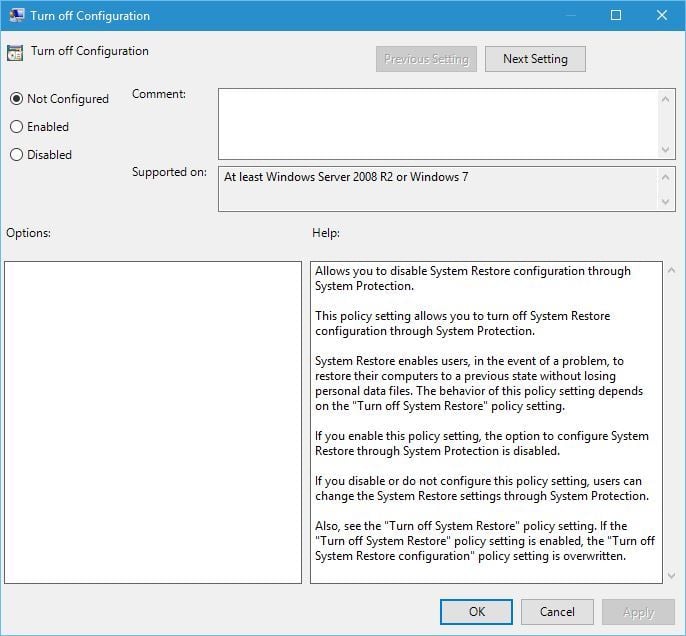
Before we start, make sure that System Restore is enabled on your PC.
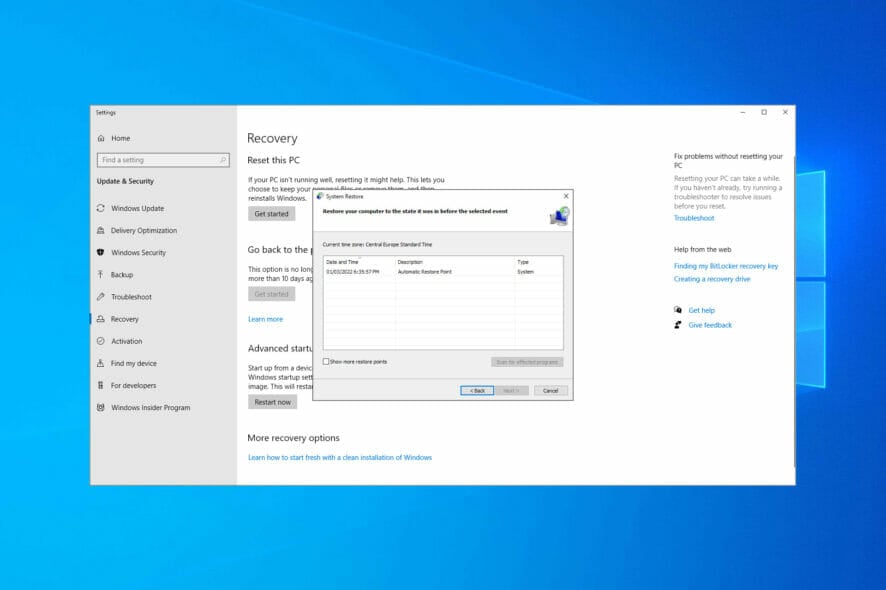
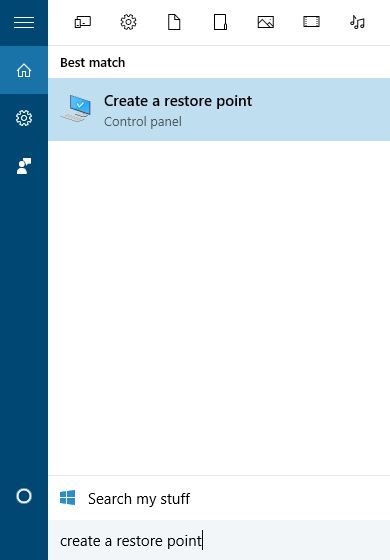
2. Try creating a restore point manually
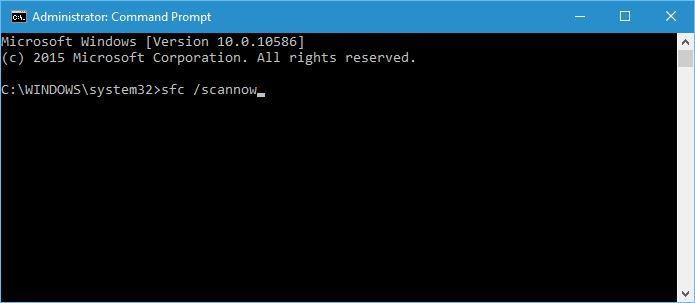
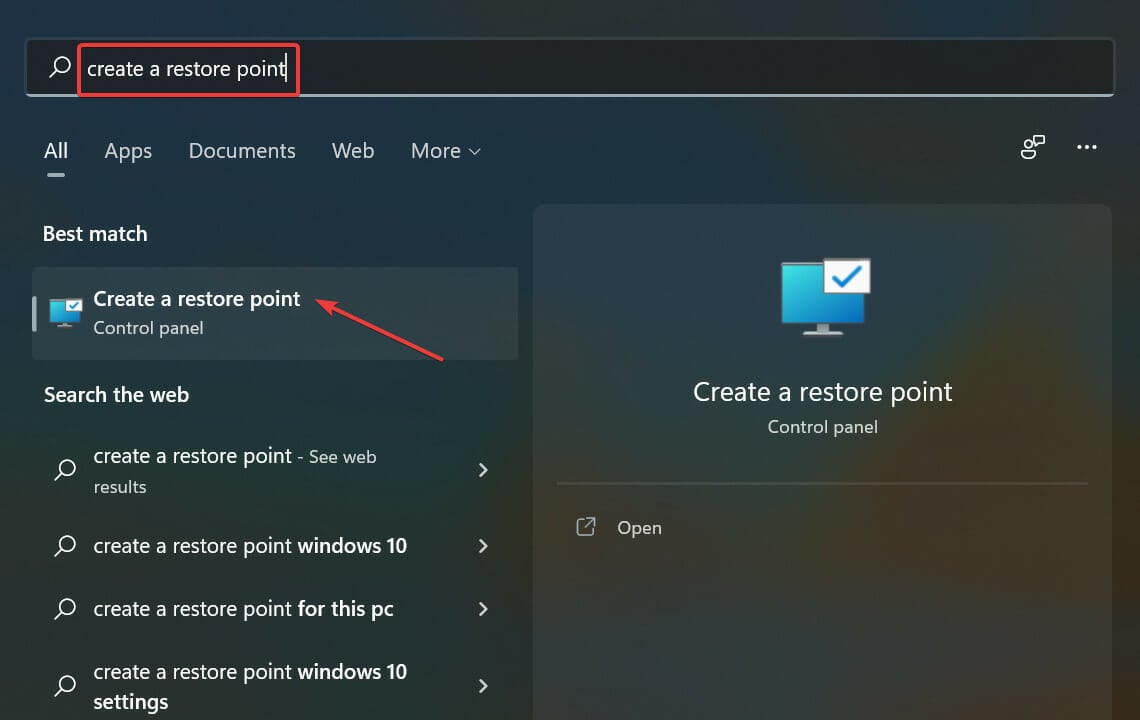
- Open the Start menu.
- Type Create a restore point and open it.

- Click the Create button and enter the name of your new restore point.

- Check if the restore point is created, and if so, use manually completed restore points in the future.
3. Disable your antivirus software
Your antivirus software can sometimes interfere with System Restore, so it’s advised that you disable your antivirus software before trying to create or restore to a specific restore point.
4. Run System Restore from Safe Mode
- Open the Start menu.
- Click on the Power button.
- Hold Shift on your keyboard and click on Restart.

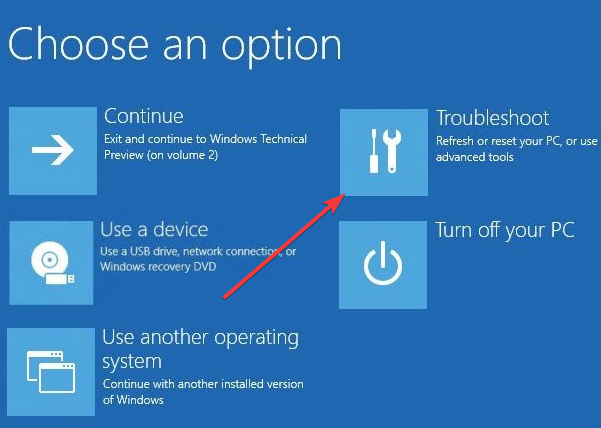
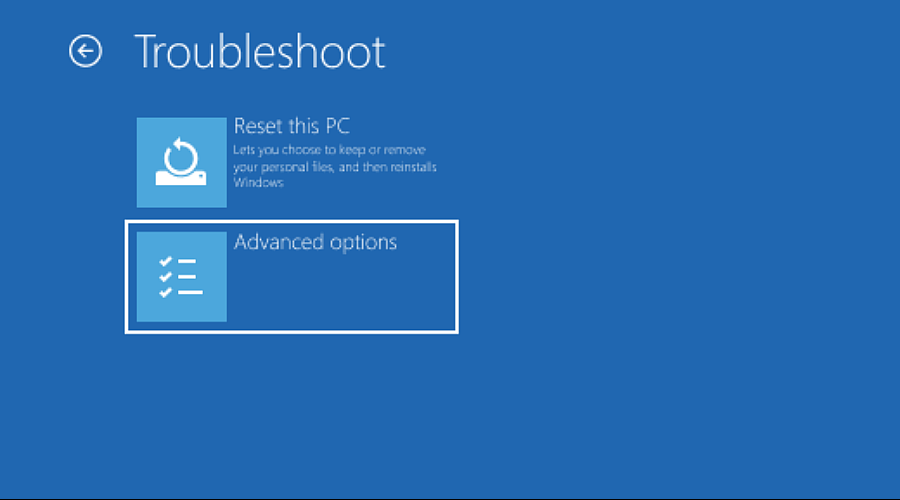
- When your computer restarts, choose Troubleshoot.

- Then click on Advanced options.

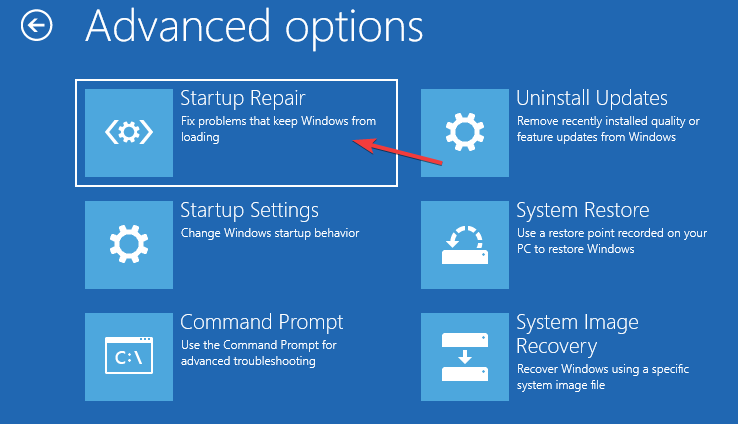
- Select Startup Settings and click Restart.

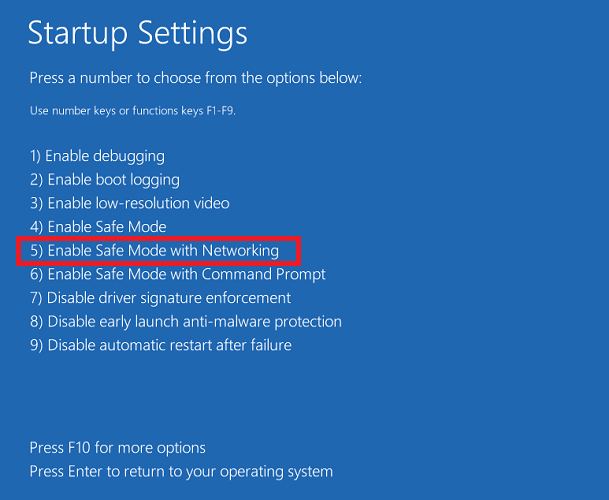
- Press F5 to select Safe Mode with Networking when your computer restarts again.

- After you enter Safe Mode, try to perform System Restore.
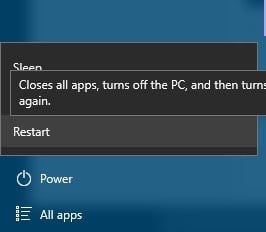
Specific software can sometimes create errors while using System Restore. Therefore, it’s advised that you run System Restore from Safe Mode.
5. Check your hard drive for errors
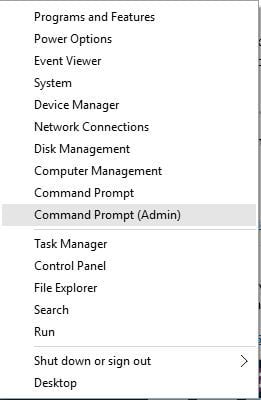
- Press Win + X and choose Command Prompt (Admin) from the menu.

- When Command Prompt opens enter the following and press Enter.
chkdsk /f /r X: Remember to replace X with the correct letter representing a computer’s hard drive partition.
Sometimes restore point might not work due to corrupted files and folders on your drive, and to fix the corrupted files, you might need to check your hard drive.
This process can take a while, so be patient. You might have to restart your computer to complete the disk-checking process.
6. Perform SFC scan
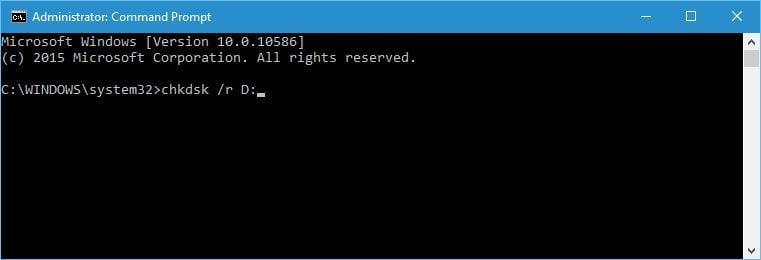
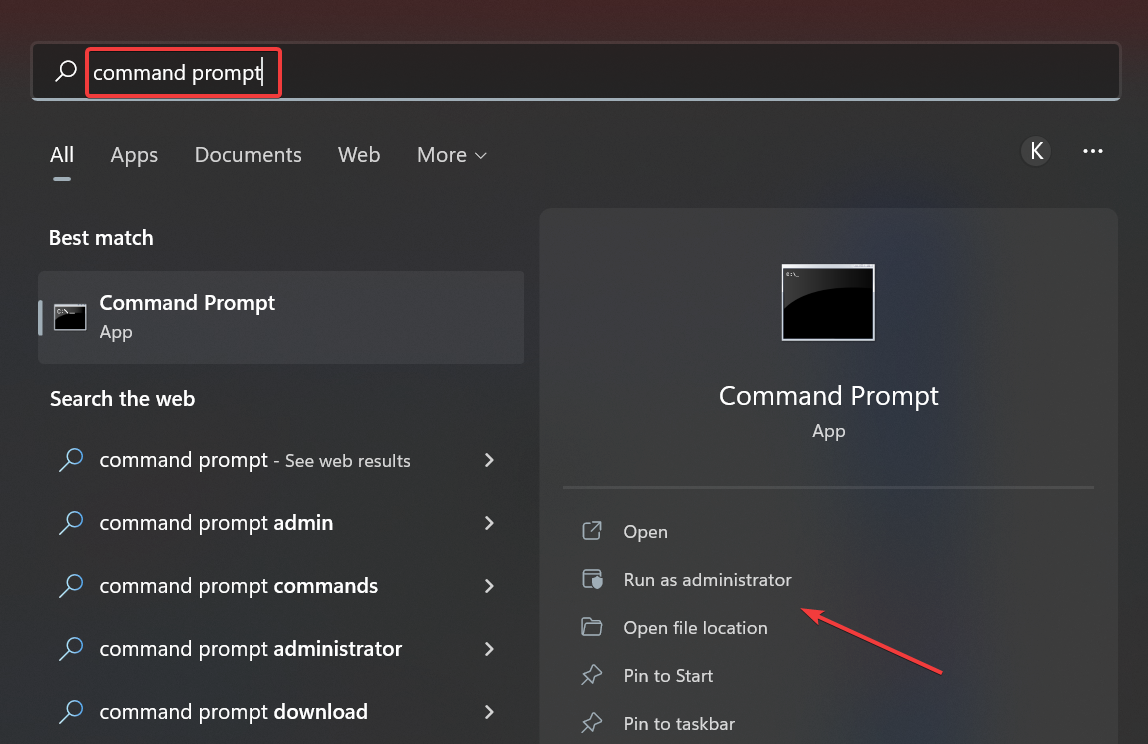
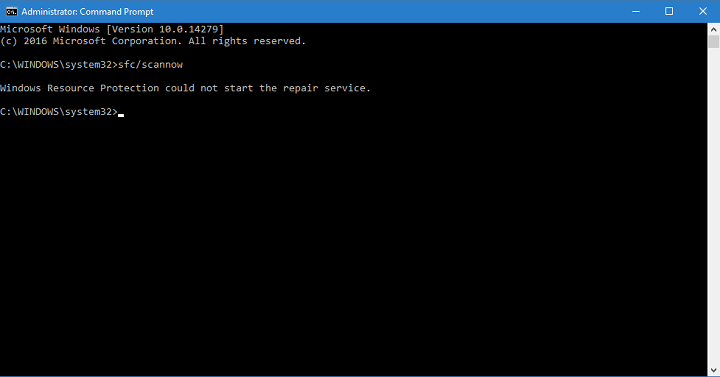
- Open the Start menu.
- Search for Command Prompt and open it as an admin.
- Execute the below command and press Enter to run it:
sfc /scannow
- Follow the instructions and wait for the process to complete.
If your Windows 10 is corrupted, System Restore might not work correctly, and to fix that, you’ll have to run an SFC scan.
7. Perform the SFC scan before Windows starts
- Open the Start menu.
- Click on the Power button.
- Hold Shift on your keyboard and click on Restart.
- When your computer restarts, choose Troubleshoot.
- Then click on Advanced options.
- Choose Command Prompt.
- When your PC restarts, you might be asked to enter your username and password, so be sure to do that.
- Now you need to find the letter of your Windows 10 drive. To do that, enter this command and press Enter to run it.
wmic logicaldisk get deviceid, volumename, description - Pay attention to Volume Name. In most cases, Windows Volume Name will be assigned to the D letter.
- This is perfectly normal if you start Command Prompt before starting Windows, so there is no need to worry about it. In addition to checking the Windows drive, you should also check the System Reserved drive. In most cases, it should be C.
- Now enter this command and press Enter:
sfc /scannow /offbootdir=C: /offwindir=D:Windows- Be sure to use the letters that you got from the previous step. In most cases, you should know what we did in our example, but if you get different letters, you should use them instead.
- The scanning process will now start. Wait while your system files are scanned.
- After the scan is completed, close Command Prompt and start Windows 10 typically.
The scanning process will now start. Wait while your system files are scanned. After the scan is completed, close Command Prompt and activate Windows 10 typically.
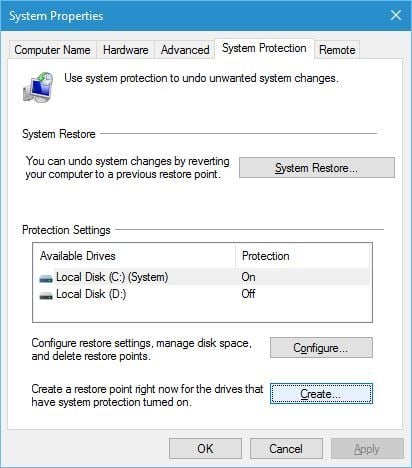
8. Make sure at least 300MB is used for System Restore by each partition
- Open the Start menu.
- Type Create a restore point and open it.

- Select a hard drive partition and click Configure.

- Move the slider to adjust the space that System Restore will use.
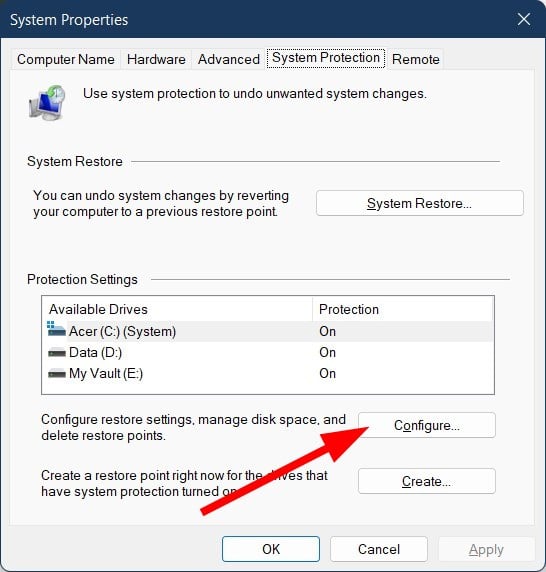
For System Restore to work correctly, each partition that has System Restore enabled requires at least 300MB to work.
9. Check if services are running properly
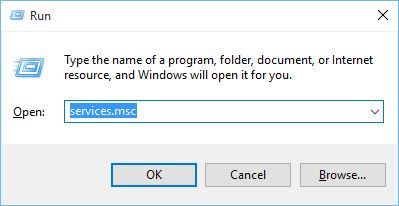
- Press Win + R to open the Run dialogue.
- Type services.msc and open it.
- When the Services window starts, locate the following services:
- Volume Shadow Copy
- Task Scheduler
- Microsoft Software Shadow Copy Provider Service
- System Restore Service.
- Double click each of these services and make sure that Startup type is set to Automatic and that Service status is set to Running.

- Click Apply and OK to save changes, close the Services window, and restart your computer.
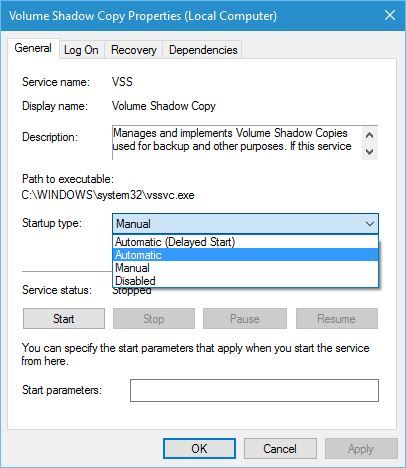
System Restore relies on specific services, and if a particular restore point isn’t working, it might be because certain services aren’t running.
10. Run DISM
- Open the Start menu.
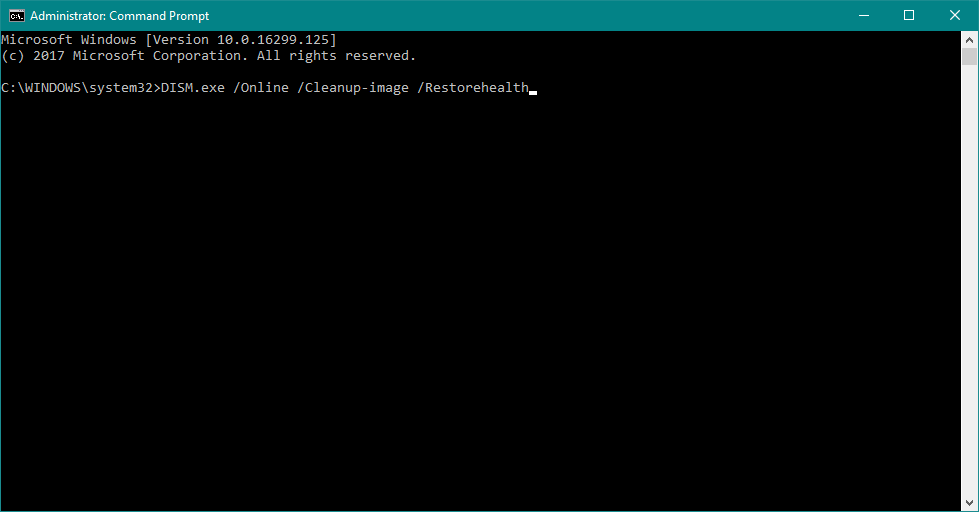
- Type Command Prompt and run it as an administrator.

- In the command line, copy-paste these lines one by one and press Enter after each:
DISM /online /Cleanup-Image / ScanHealth
DISM /Online /Cleanup-Image /RestoreHealth - Wait until the procedure ends (it might take up to 10 minutes).
- Restart your PC.
11. Modify the registry
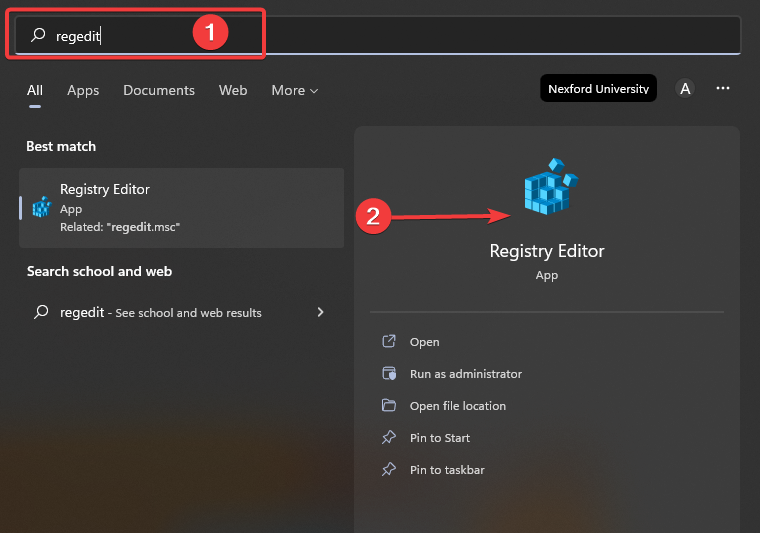
- Open the Start menu.
- Type regedit and open Registry Editor

- Navigate to this registry path:
HKEY_LOCAL_MACHINE/SOFTWARE/Microsoft/Windows NT/CurrentVersion/Schedule/Task/Cache - First, back up the TaskCache registry key. Right-click TaskCache and select Export on its context menu.
- Please enter a title for the backup file, select a folder for it and press the Save button.
- Next, navigate to this key in the Registry Editor.
HKEY_LOCAL_MACHINE/SOFTWARE/Microsoft/Windows NT/CurrentVersion/Schedule/Task/Cache/Tree/Microsoft/Windows - Right-click the Windows key and click Delete on its context menu.
- Press the Yes button to confirm, and then close the Registry Editor.
- Restart your computer.
12. Use a dedicated tool
One downside to using Windows’ own Restore point is that while it creates an exact image of your PC’s files from any given moment, you may make a copy of data that may already be faulty or damaged.
Additionally, creating a restore point needs to be scheduled beforehand or done manually.
The last major downside of traditional restore points is that they are used for restoring registry hives instead of actual files.
Given the downsides, using a reliable third-party tool becomes the better option.
What do I do if Restore Point is not working on Windows 11?
Here are a few additional tips apart from the ones mentioned above that will help you resolve if the restore point isn’t working on Windows 11.
- Use the CHKDSK tool.
- Enable Shadow Copy services.
- Disable your antivirus or antimalware tool.
- Reset your PC.
- Perform a clean install.
Can Restore Point recover deleted files?
When you create a Restore Point on your PC, you take a snapshot of system files, system settings, installed programs, and Windows registry.
This does not include any of your files, such as documents, photos, videos, etc. So, the restore point only restores system-related changes and cannot be used to recover deleted files.
That’s about it. As you can see, System Restore might have specific issues on Windows 10, but we hope you solve these problems by following our solutions. If you have any comments, questions or suggestions, let us know in the comments below.