Windows 10 added a new convenience feature to make it easier to interact with background windows. Named Inactive Window Scrolling, it enables you to scroll the contents of inactive windows by hovering your cursor and using the scroll wheel.
Inactive window scrolling simplifies the Windows desktop experience and addresses a longstanding usability complaint. Previously, scrolling a background window required you to switch to it, perform the scroll, and switch back again, adding two cumbersome steps to your workflow.
Inactive window scrolling resolves this issue but isn’t necessarily for everyone – some users may find it confusing if they have difficulty tracking onscreen content or using a mouse precisely. Turning it off – or on, if it’s disabled and you want to use it – is a simple button click.
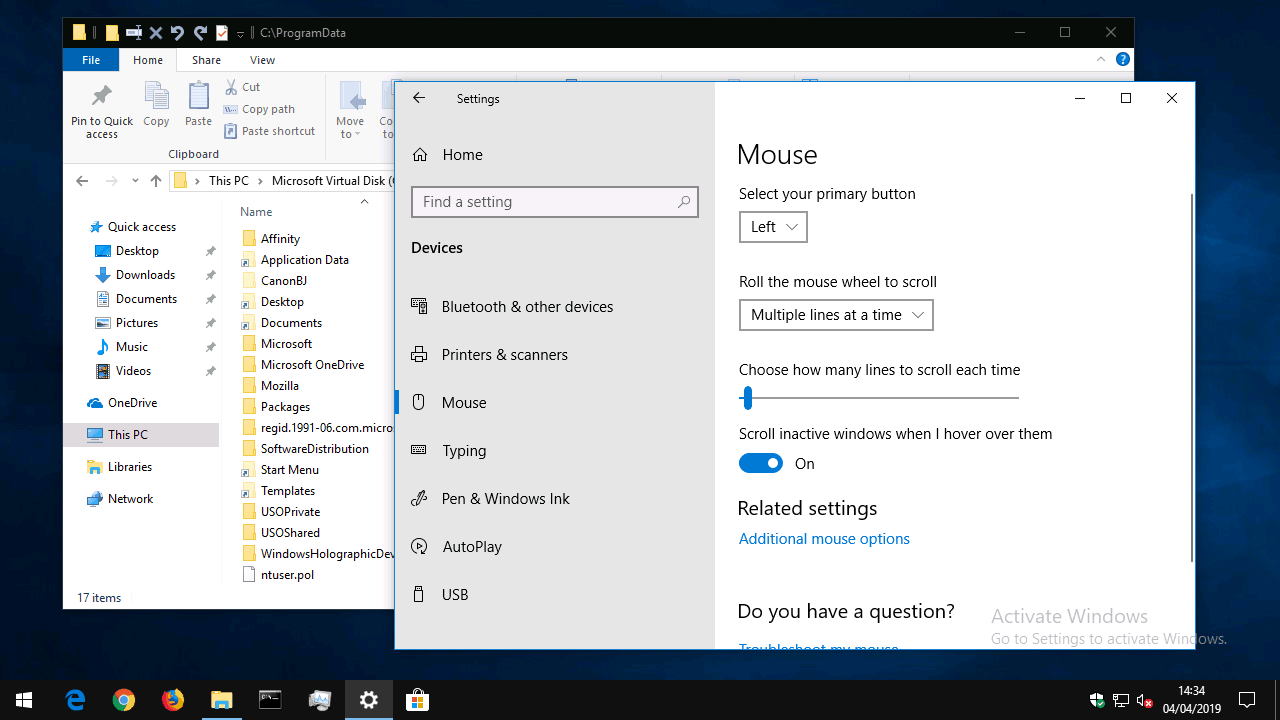
Open the Settings app (Win+I keyboard shortcut) and click the “Devices” category on the homepage. From the sidebar on the left, click or tap the “Mouse” page to view mouse settings.
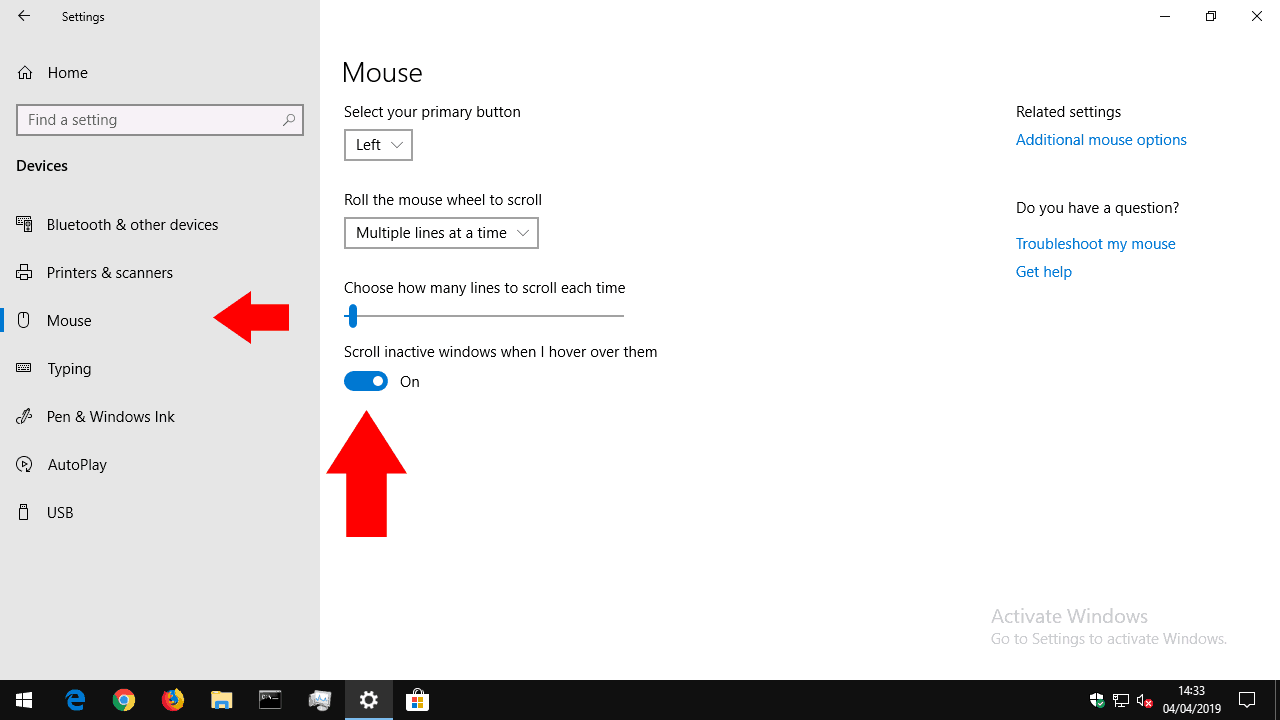
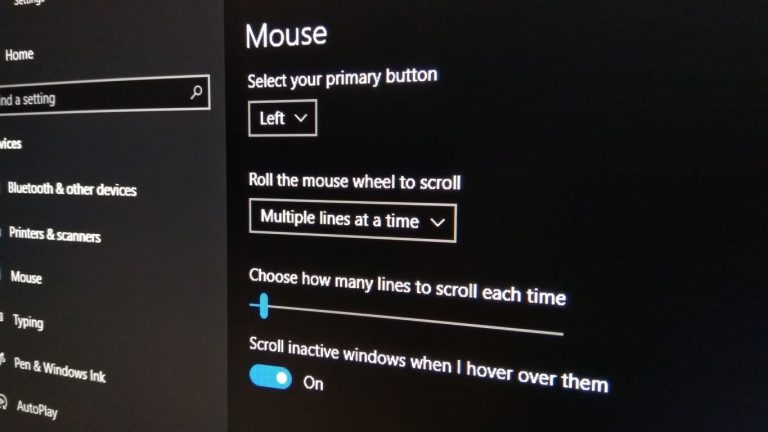
At the bottom of the page, toggle the “Scroll inactive windows when I hover over them” option to “off” to disable the feature. Alternatively, turn it on to use inactive window scrolling.
If you turned the feature off, you’ll find background windows no longer respond to mouse wheel scroling – just like in Windows 8.1 and before. Conversely, if you enabled inactive window scrolling, you can now hover your mouse over a background window and use the mouse wheel to scroll its contents.