How To Setup and Update Signature in Outlook
Note that it's simple to update Outlook signatures on any platform
![]() 5 min. read
5 min. read
![]() Updated on
Updated on
Share this article

Improve this guide
Read our disclosure page to find out how can you help Windows Report sustain the editorial team Read more
Key notes
- To update the signature in Outlook for Windows and the web, simply navigate to the Options menu.
- On a Mac, you should go to Preferences and choose Email under Signatures.
- Signatures can include graphics, sentences, a logo, or a picture of your actual business card.
Your email signature is a simple method to verify who you are and quickly present your business information.
It acts as a virtual business card containing all your relevant information and adds a customized touch to each email you send.
You may also ensure that your emails are always correctly closed by using signatures in Microsoft Outlook.
It is simple to update your Outlook signature on any platform (Windows, Mac, and web), and here’s how to do it.
Quick Tip:
Adobe Acrobat Pro is a cross-platform application that may be used to update or create new signatures. Digital signatures can be created and saved for future use.
Furthermore, if the signature is not valid, you will be notified and given the option to modify or update it as needed. Adobe Acrobat Pro has other utilities that can assist you with digital signatures and other PDF files.
Adobe Acrobat Pro
Modify, create and update digital signatures like a pro.What can signatures contain in Outlook?
You may include text, images, a logo, your electronic business card, or even a picture of your handwritten Signature in your Outlook signature.
The Outlook signature setup may be configured to add signatures to all outgoing messages automatically, or you can design your signature and add it to messages as needed.
How to set up a signature in Outlook?
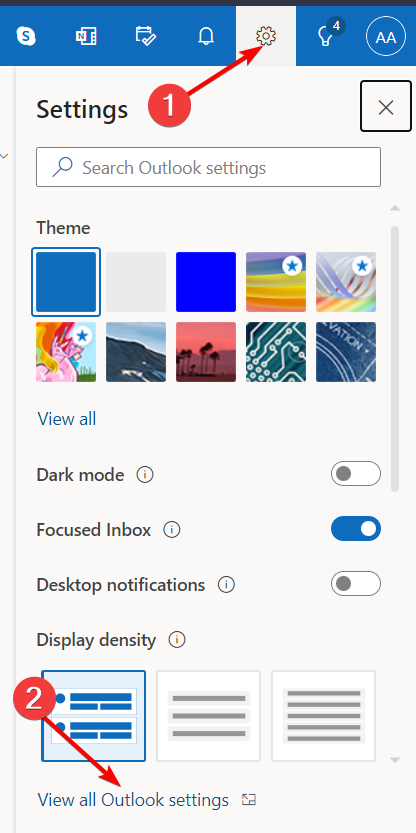
- To add a signature in Outlook, log into your account then go to the Settings menu, then click View all Outlook settings. At the very top of the page, you can see all of Outlook’s options.

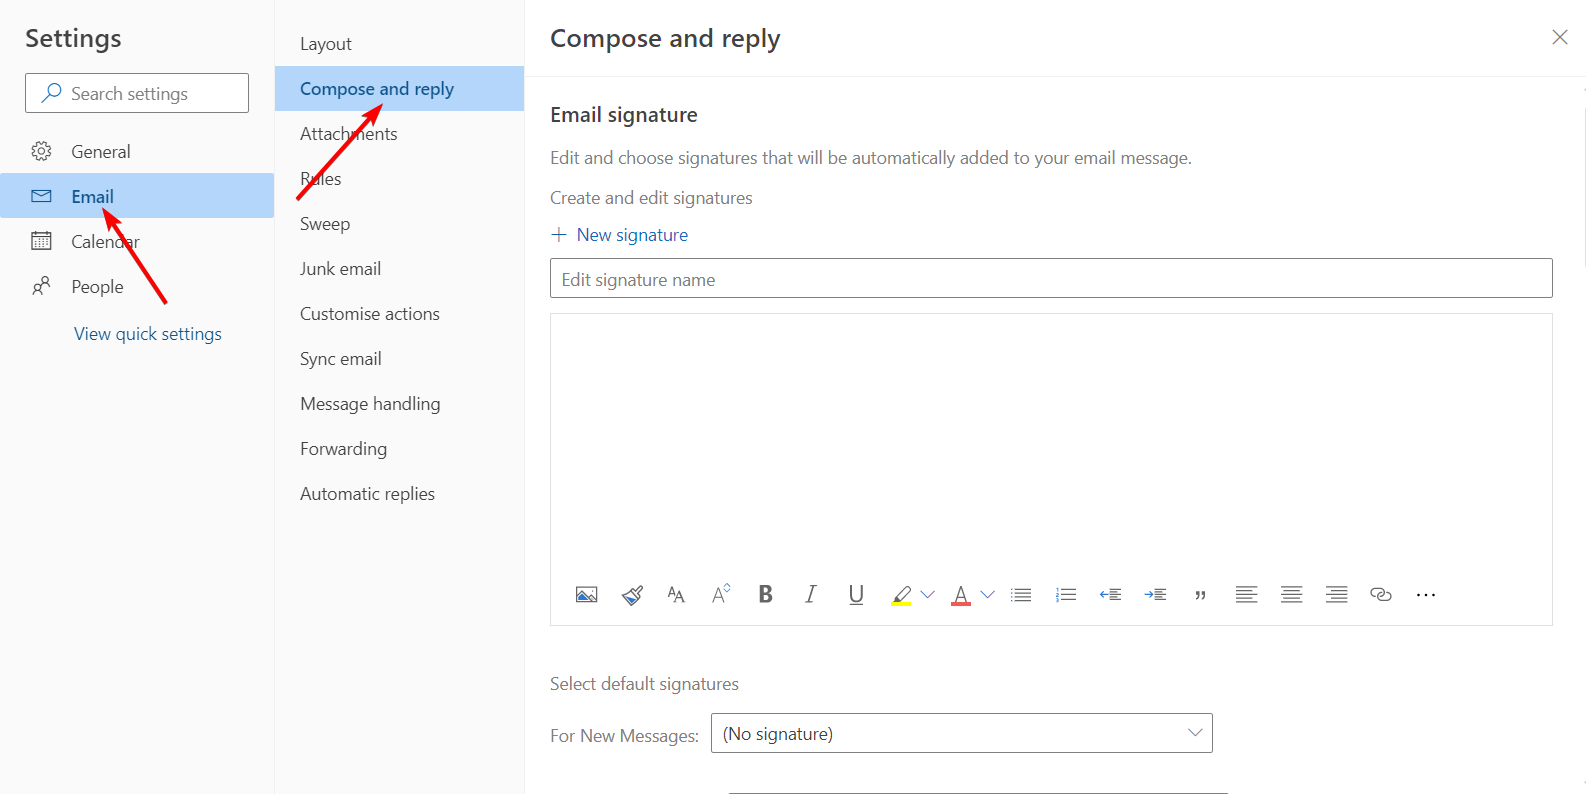
- Choose Mail then Compose to respond to the email.

- Under Email signature, you can change the appearance of your signature by typing in your signature and using the many formatting options that are available.

- When you are finished, select the Save option.

To manually add the signature, do the following:
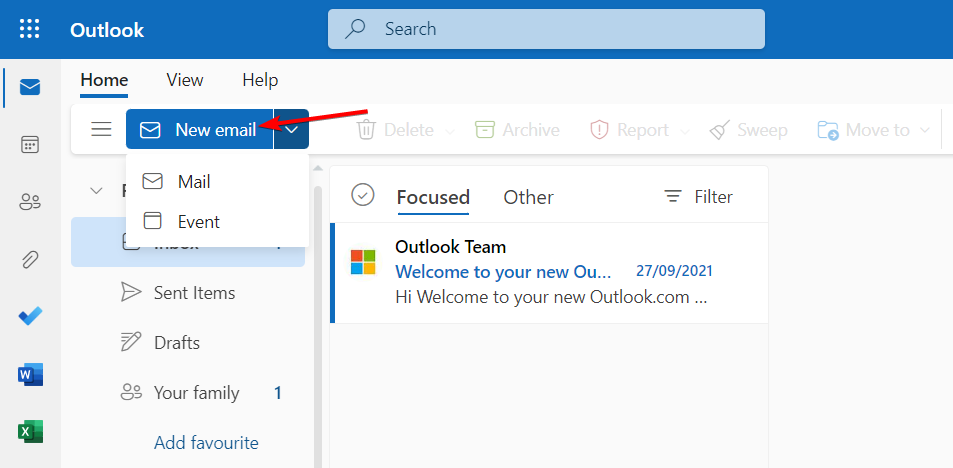
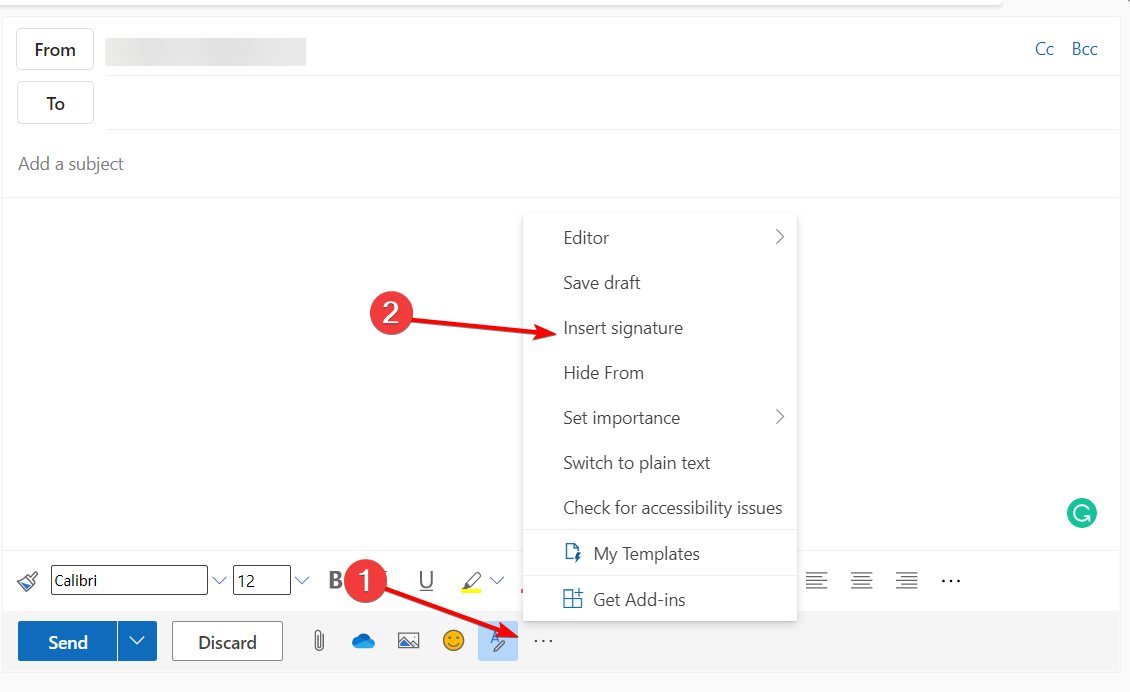
- Go to your inbox and select New message from the menu.

- After you have finished composing your message, scroll to the bottom of the compose window and select the More actions followed by the Insert signature option.

- Select the Send option once your email message is complete.
If Outlook is not inserting your created signature, make sure to check out our comprehensive guide on this issue.
Alternatively, take a look at how to get your signature back if it keeps disappearing in Outlook.
How do I update the Signature in Outlook?
On Windows:
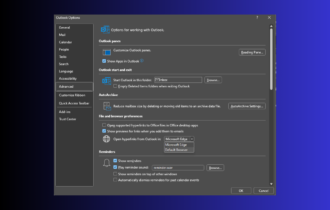
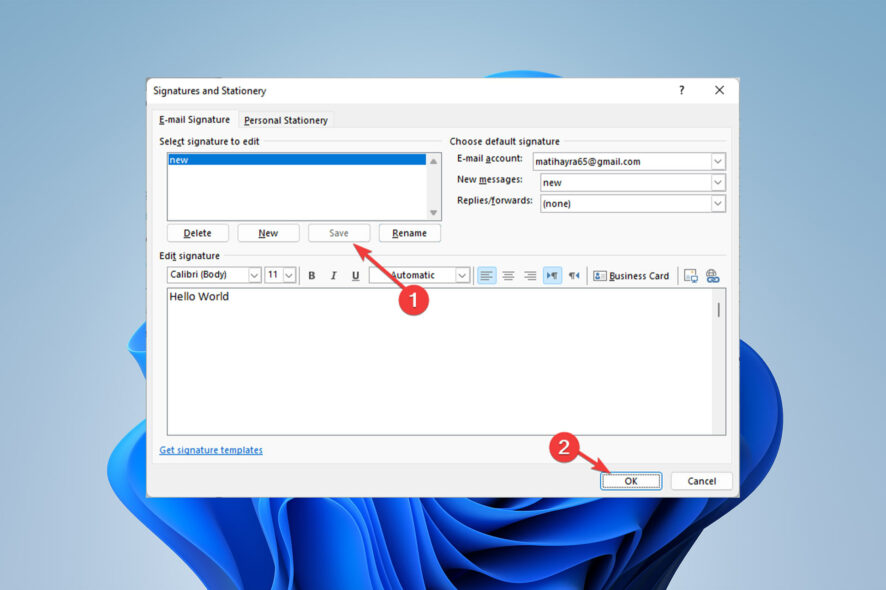
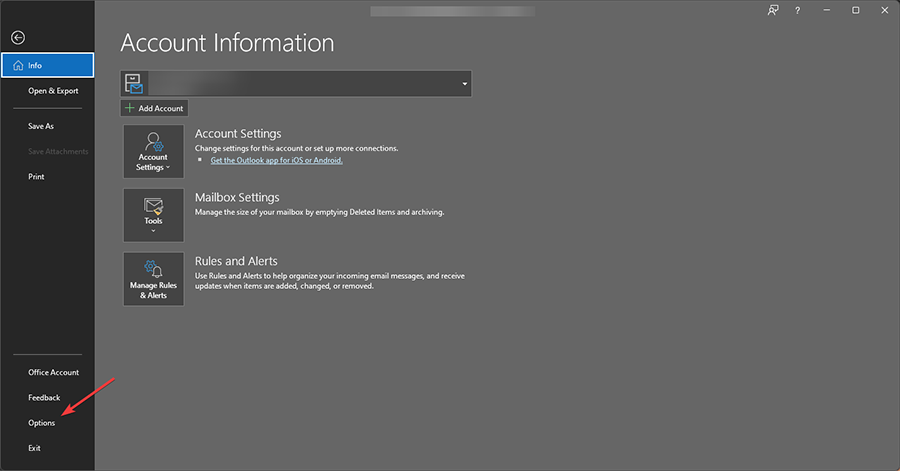
- If you wonder how to change a signature in Outlook, open the app then navigate to File, and then Options.

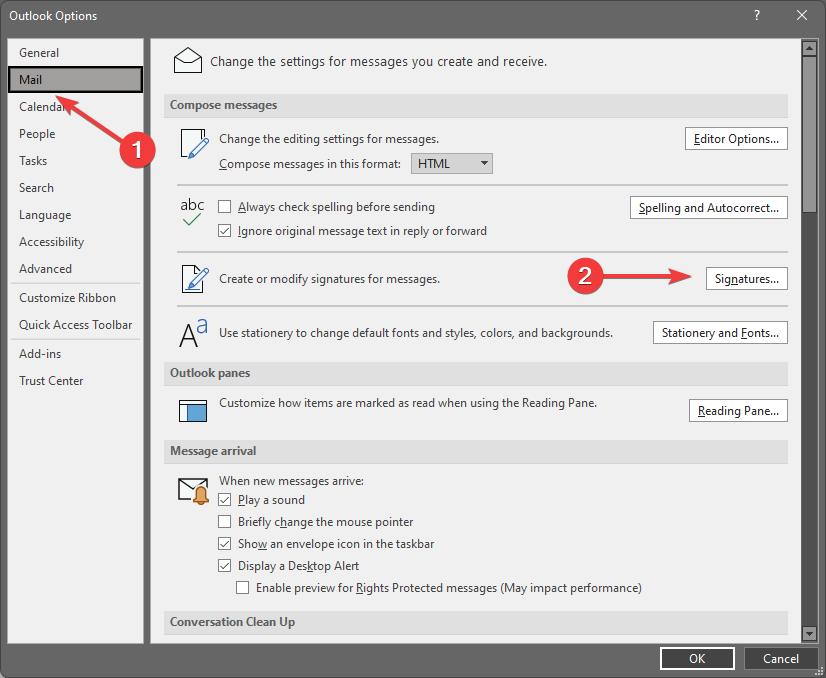
- Click Mail, and then Signatures.

- Select the desired Signature by clicking on it.

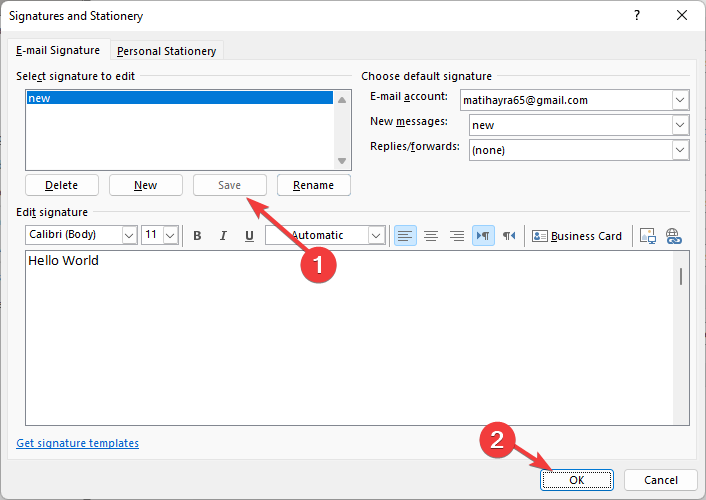
- Use the Edit signature box to make your modifications.
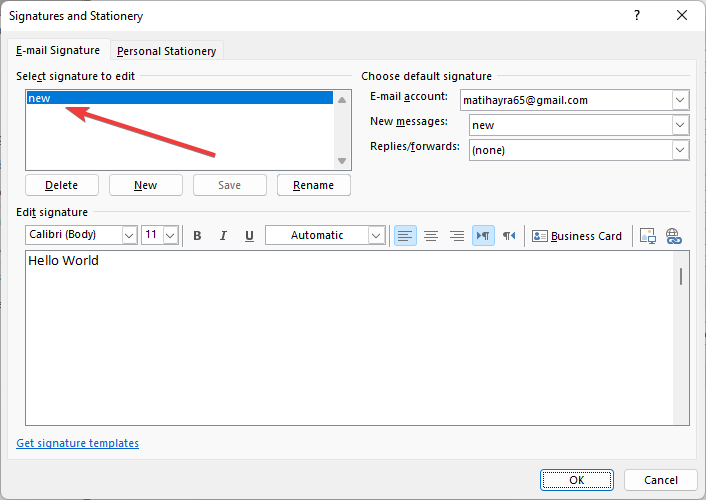
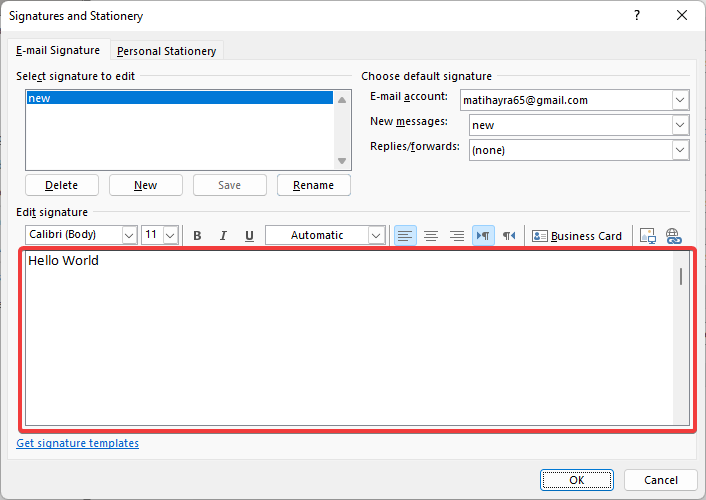
- Click Save and then OK when finished.
You can also follow these steps to add a new signature in the Outlook app. But before selecting a signature in the Signatures section, you must select the New option.
On Mac:
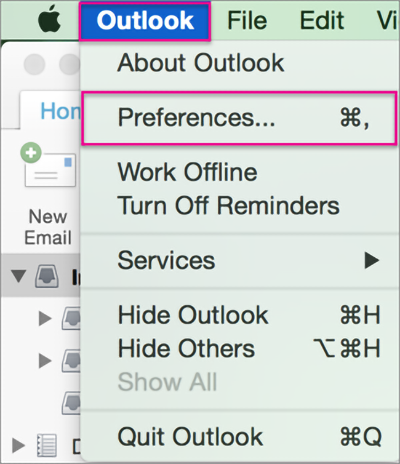
- Start Outlook.
- Select Preferences from the menu in Outlook.

- Select Signatures under Email.

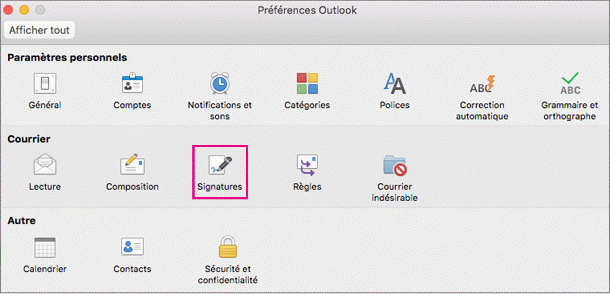
- Choose the Signature you want to change from the list under the Signature name.
- Update your Signature by clicking Edit underneath in the left pane.

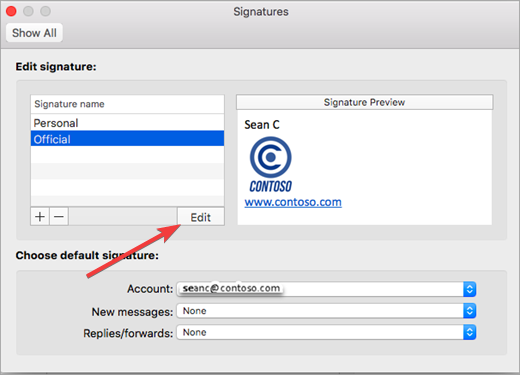
The above steps demonstrate how to change the signature in Outlook Mac or any other device based on macOS.
On Web version:
- Open your Outlook Web account and log in.
- Choose Options after selecting the gear icon in the top-right corner.

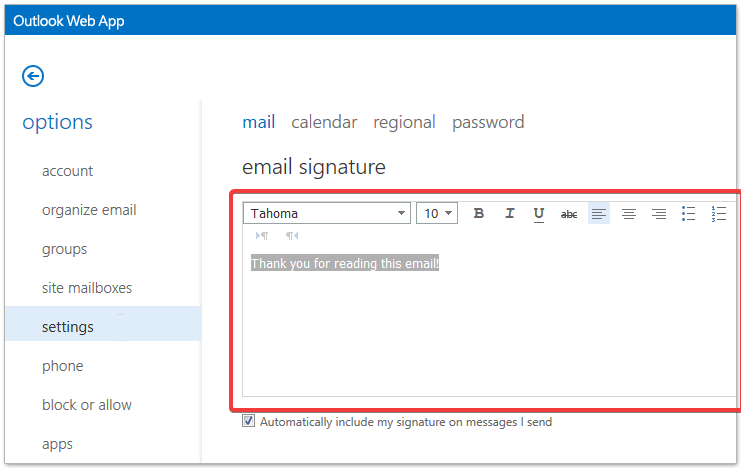
- Choose Settings from the left-hand menu.

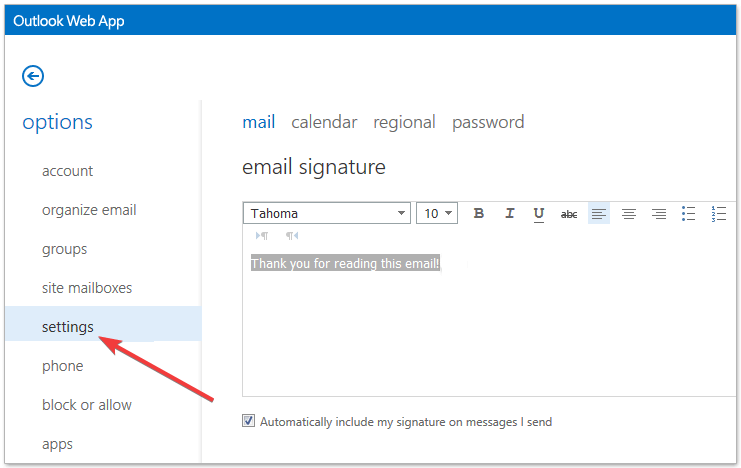
- In the Email Signature field, enter your Signature. If desired, choose the checkbox next to Automatically include my signature on messages I send.
Outlook Web Access (OWA) is a browser-based way to access your Microsoft Outlook email. You can access and change your signature from your browser using this version of Outlook.
Why can’t I change my Outlook signature?
Maybe you can’t add a signature because your existing Outlook profile is corrupted. The easiest fix is to start over with a new profile and see whether you can update the signature in Outlook 365. Verify that the signature option is enabled and working correctly.
Additionally, Outlook’s signature choices let you change the balance and aesthetic of your emails. That is why it is so important to customize it carefully.
When you begin a new, empty email message in Outlook, the signature should immediately display if you set up each email account with a default one.
If you’re looking for the best signature apps for Windows, check out our article, which includes apps like Soda PDF.
To grow your business and stay in touch with the clients, you may put your contact information in your Signature.
Consequently, changing your signature might change how the target is affected. You should thus sometimes change your signature for this reason.