How to Quickly Clear the Computer Cache in Windows 11
Simply clear the computer cache by clearing the temporary files
![]() 6 min. read
6 min. read
![]() Updated on
Updated on
Share this article
This article is translated in

Improve this guide
Read our disclosure page to find out how can you help Windows Report sustain the editorial team Read more
Key notes
- To prevent your device from running out of space and improve processing speeds, you should constantly clear the cache on Windows 11.
- You can quickly perform this action through the OS’s Settings application.
- The system’s Disk Cleanup can also support you to clear the Windows 11 cache.
For those unfamiliar with this term, clearing the cache means emptying it, and this article will show you how to do it in Windows 11 easily.
Considering computers, a cache is a non-permanent file (or files) that may be needed again in the future. Therefore, the cache is kept hidden until that time, thus protecting the content.
Cache files are essential, but they can also take up valuable space. This can be a problem if you have a limited-capacity SSD. However, there is some good news. In most cases, cache files can be safely erased to clear up disk space.
How can I clear the cache memory on Windows 11?
1. Use the Settings menu
1.1 Clear Temporary Files
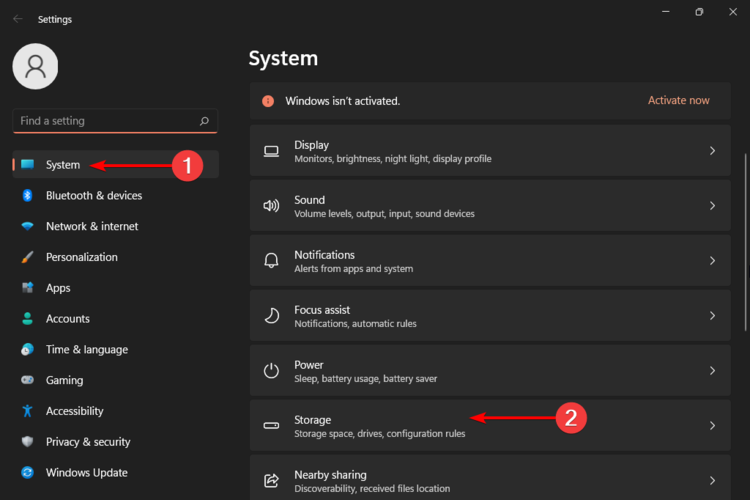
- Hit the Windows key, then click on the Settings menu.

- From the left window pane, select System, then, from the right window side, navigate to Storage.
- Wait for your OS to scan and assess the temporary cache files stored on your system.
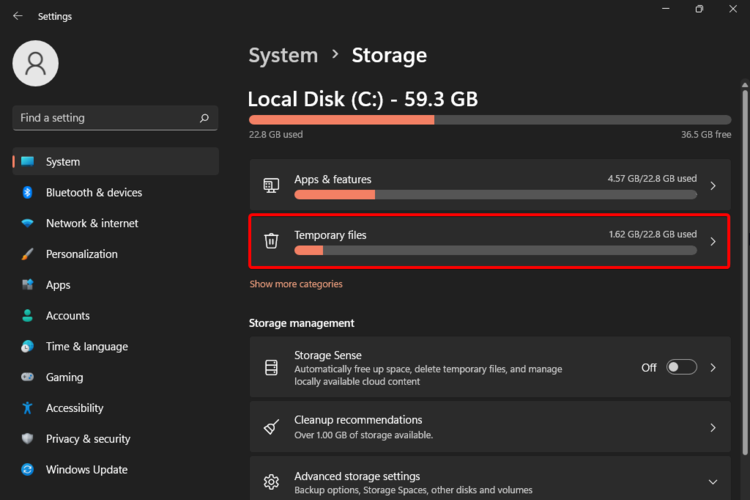
- Click on the Temporary files option.
- The various cache files will now be listed.
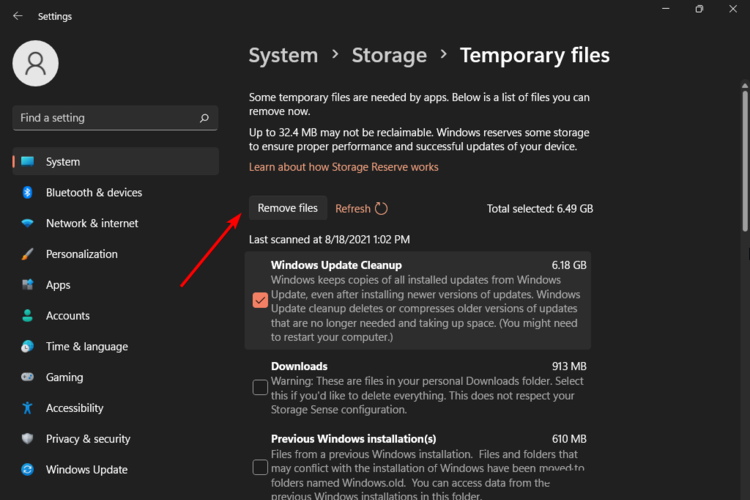
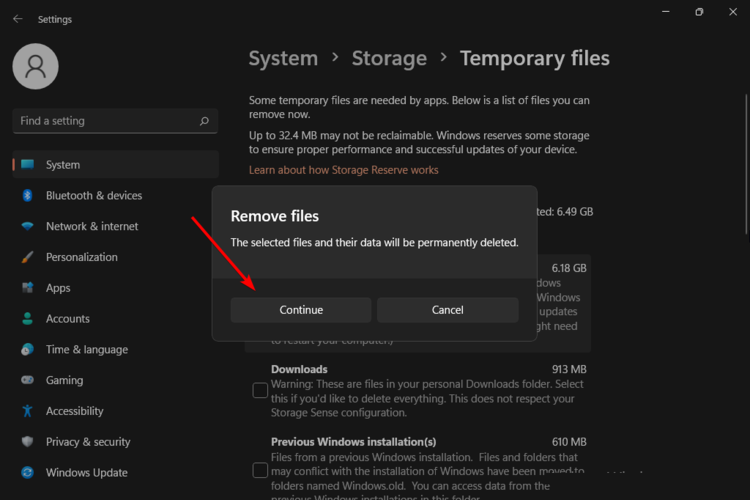
- Scroll down, then select the files that you want to delete, and click on the Remove files button.
- In the pop-up window, click on Continue to complete the process.
- Now your selected files are deleted.

1.2 Clear the Location cache
Important reasons to clear Windows 11 cache
➡ Frees up Disk Space
Your OS accumulates a vast range number of cache files over time. Consequently, they may consume a significant portion of your hard disk.
If your system is running low on memory, clearing the cache would help clear disk space.
➡ Prevents errors
Windows 11 cache files might get corrupted over time, leading to various errors. In extreme cases, some of them may seriously harm your operating system’s performance.
Clearing the cache periodically prevents these errors and keeps your system healthy.
➡ Boosts performance
A low available storage space leads to a slowed-down system. Hence, clearing the cache will boost your OS’s performance.
For more other information on how to make Windows 11 faster, do not hesitate to take a look at our related guide.
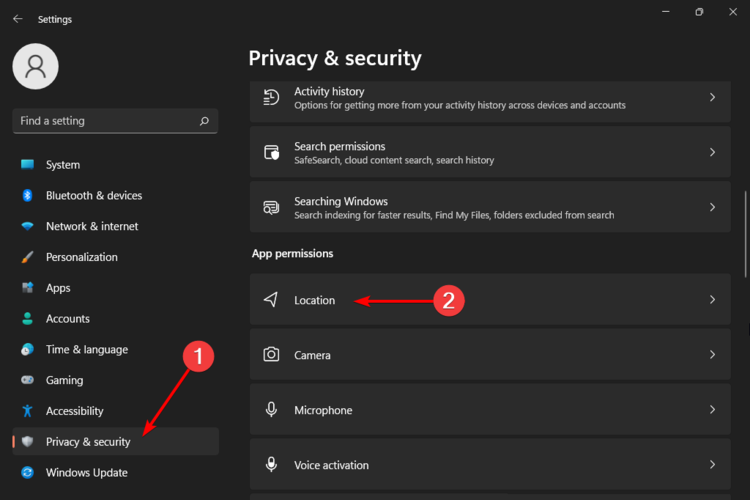
- Navigate again to the Settings menu.
- Now from the left window pane, select Privacy & security, then click on the Location.
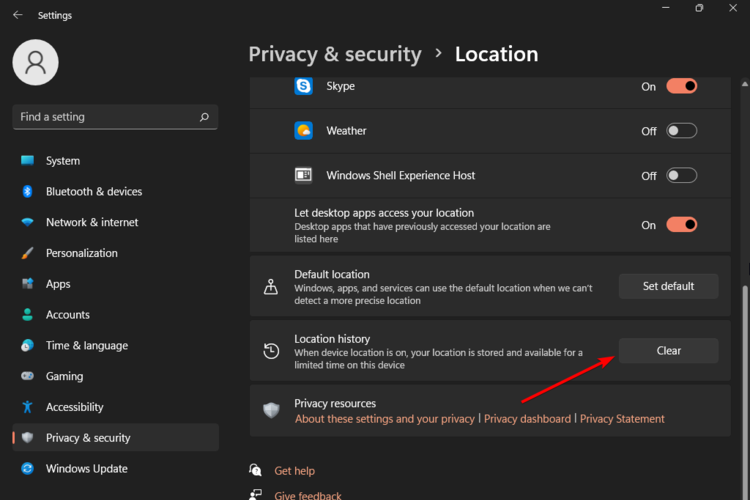
- Search for Location History section, then click on the Clear button.
- Your location activity stored on the system will be deleted.
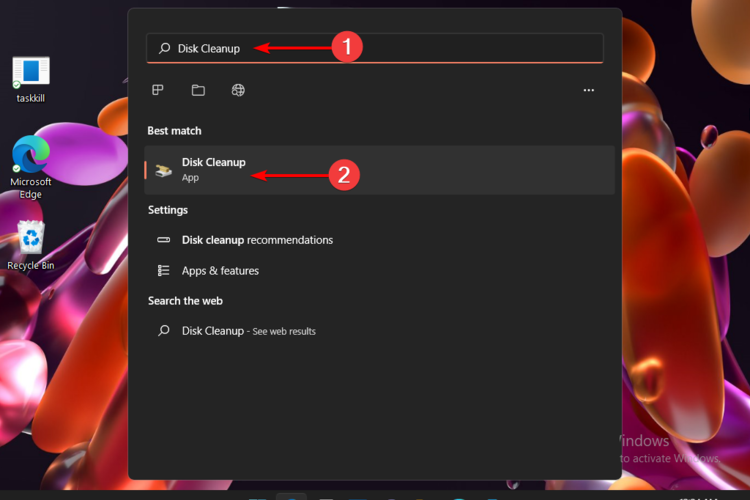
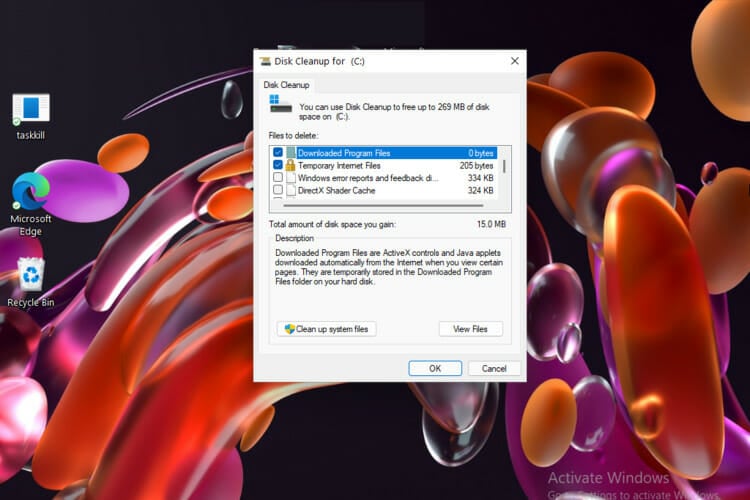
2. Use the Disk Cleanup app
- Press on the Windows key, then type Disk Cleanup, and select it.
- Under the Files to delete section, choose the files that you want to clear, then click on OK.
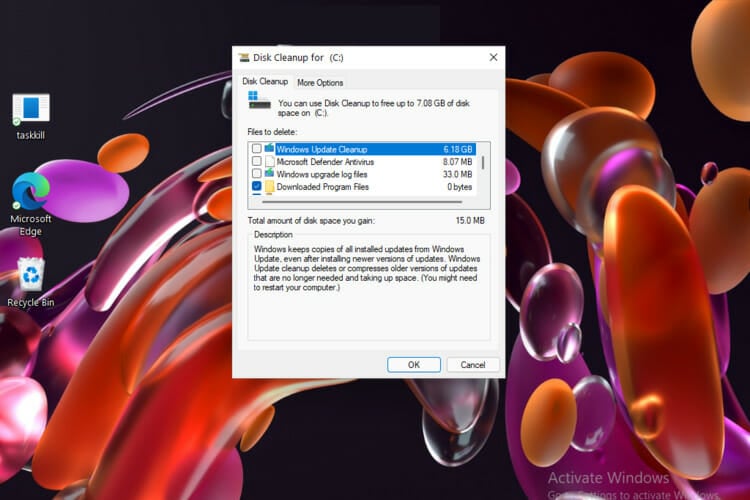
- To clear the system files, you should click on the Clean up system files button.
- Select the drive in which the system files are stored, which will most likely be the C: drive.
- Wait for Disk Cleanup to scan and identify the system files that can be removed.
- Once this is done, select the files that you want to delete from under the Files to delete section and click on OK.

If you’re not satisfied with the results of this built-in app, or you want to simplify this process, you can always use a specialized disk cleanup software.
A regular health check improves speed by removing unnecessary programs, and these tools do an excellent job of decluttering disk space.
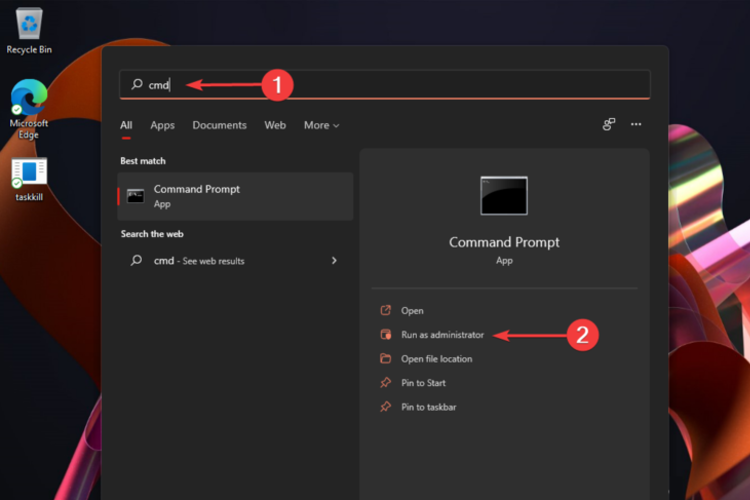
3. Navigate to Command Prompt to clear the DNS cache
- Hit the Windows key, then type cmd, then choose to Run as administrator.
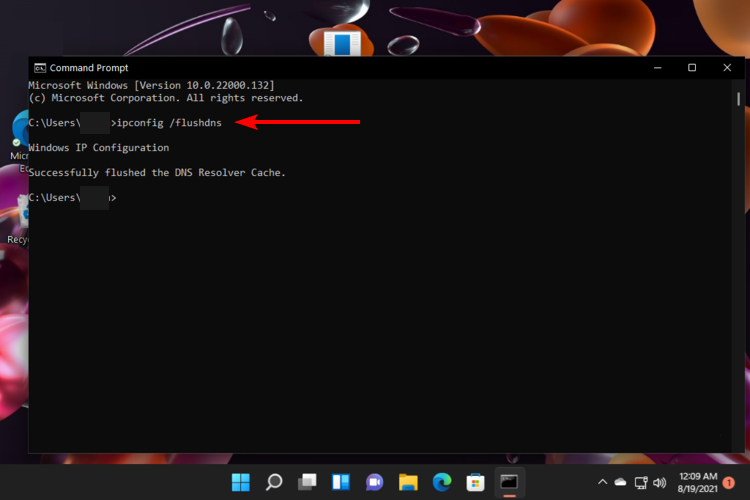
- Type the following command, then press Enter: ipconfig /flushdns
- The Domain Name System cache will now be cleared.
4. Clear the Microsoft Store cache
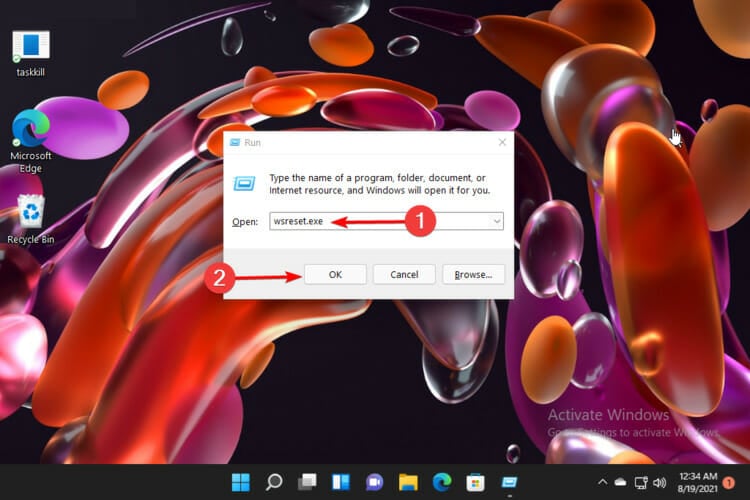
- Press simultaneously on Windows + R keys, then type wsreset.exe, and click on OK.
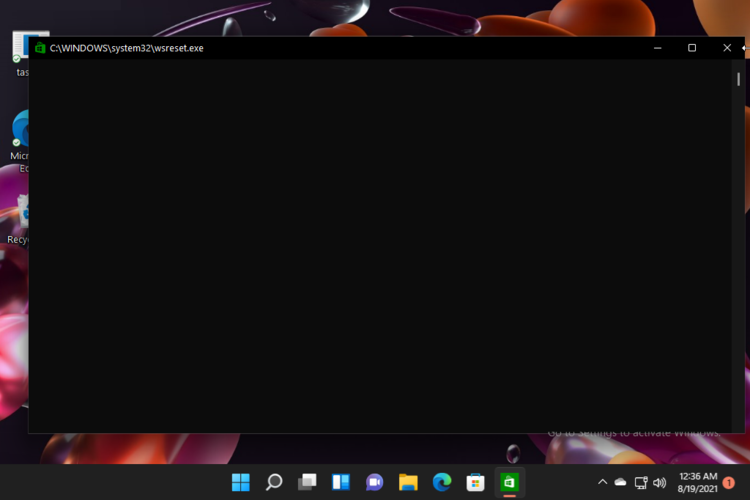
- This will open a black window with no text which will disappear once the cache is cleared.
- After that, Microsoft Store will launch.

5. Clear Microsoft Edge cache in Windows 11
- Open Microsoft Edge.
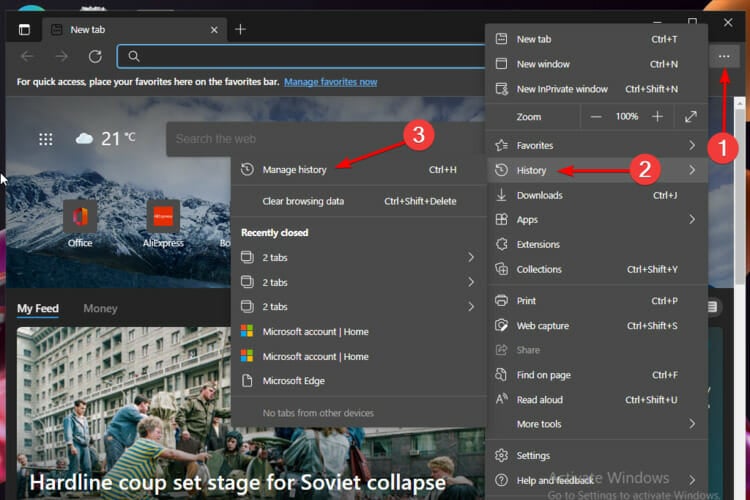
- Click on the Settings menu, marked as three horizontal dots, then hover over History, and choose to Manage History.
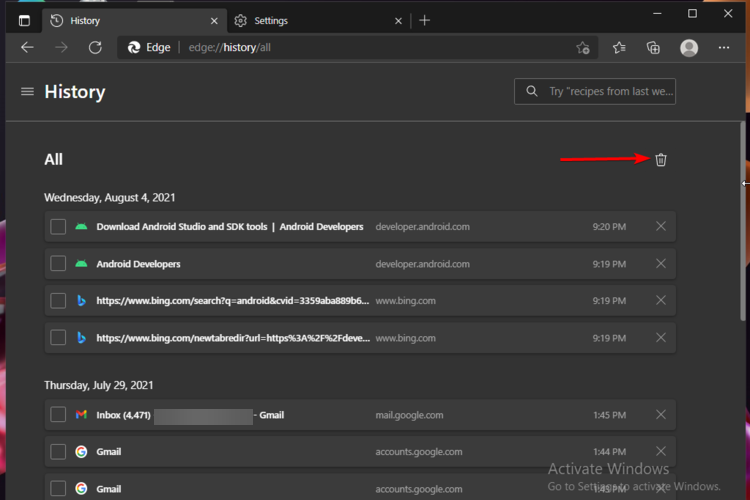
- Look at the top-right corner, then click on Clear browsing data, marked as a Recycle Bin.
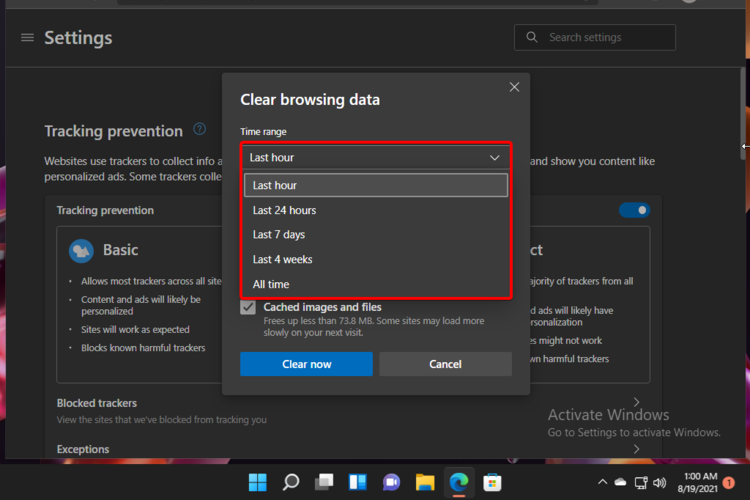
- Click on Time range option, then select the range for which you want to clear the cache.
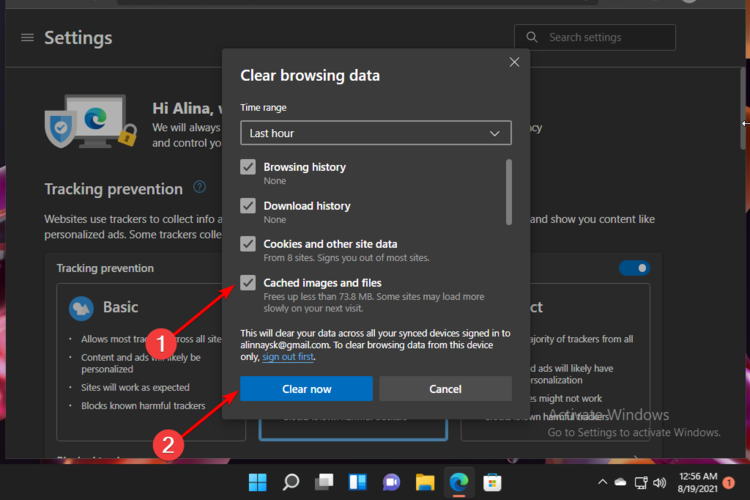
- Now, checkmark the Cached image and files option, then click on Clear now to delete it.
- The Microsoft Edge cache will now be deleted.
Microsoft Edge comes as the default browser. However, if you want to change the default browser in Windows 11, check out our related guide.
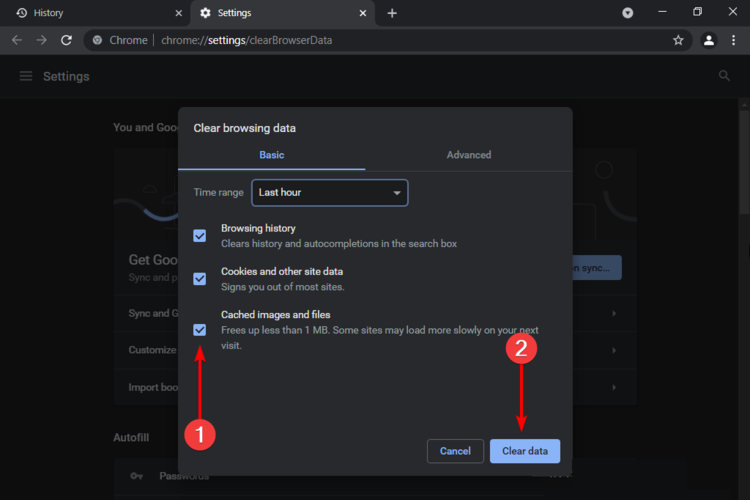
6. Clear Chrome cache in Windows 11
- Open Chrome.
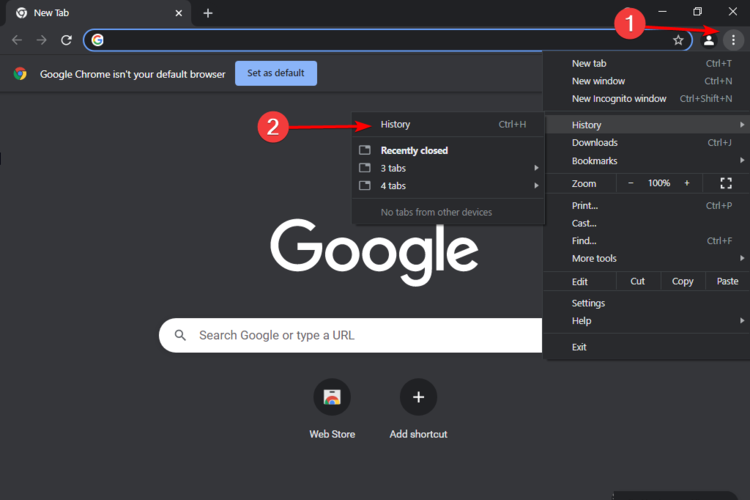
- Click on the Settings menu (which is now marked as three vertical dots), hover on History, then select History from the secondary context menu.
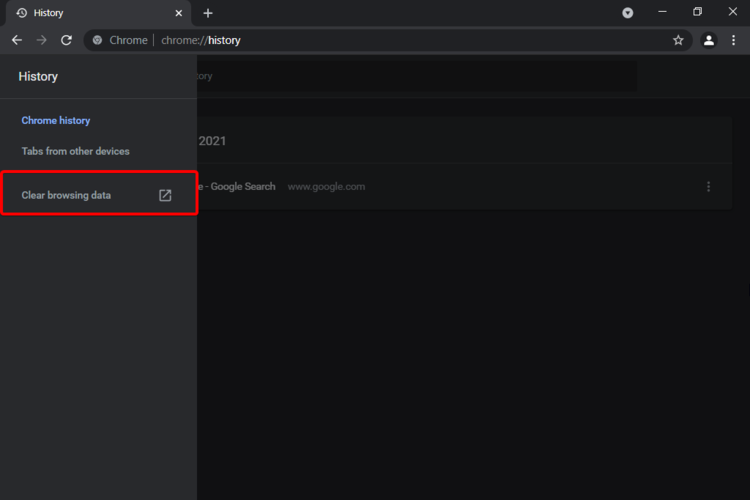
- Look at the left window pane, then click on the Clear browsing data option.
- From the drop-down menu, select a Time range for which you want to clear the cache.
- Checkmark the Cached images and files box, then click on Clear data.

Considering the last two presented options, keep in mind that anytime you open a website, the browser will download certain files such as images and codes, to reduce the loading time on subsequent visits.
However, it isn’t recommended to clear the browser cache unless you’re encountering issues while accessing a particular website.
Also, note that the cache can affect your disk storage, so if you do not delete it occasionally, it may harm your OS. That’s where third-party software comes in handy, so we also recommend checking the best deep clean hard drive software.
Is clearing the cache safe?
If you’re wondering whether or not clearing the Windows 11 cache is safe, the answer is definitely yes.
The cache stores non-essential files. But what exactly does it mean?
We’re talking about files not 100% needed for the correct app operation. In these terms, deleting it should not adversely affect the functionality of your programs or OS.
If you’re interested in improving your operating system’s safeness, check out some interesting security & privacy features in Windows 11.
Our presented options are the most effective in clearing the system cache on Windows 11. If you’re on Windows 10, we have a guide on how to clear cache and cookies on Windows 10 as well.
Struggling with cache problems in Xbox Series X? Our article provides insights on Clearing Cache on Xbox Series X for improved gaming.
If you have any other questions, do not hesitate to contact us in the comment section below.