How to Completely Delete Bing Search History
Quick way to keep your search history under wraps
![]() 3 min. read
3 min. read
![]() Updated on
Updated on
Share this article

Improve this guide
Read our disclosure page to find out how can you help Windows Report sustain the editorial team Read more
Key notes
- By default, Bing keeps a record of your search history among other browsing activities.
- If you prefer to erase this information, you'll have to log into your Microsoft account.
- Stay tuned for a detailed account on how to delete your previous searches.
If you’ve ever used Bing, you might have noticed that it keeps track of your search history. It’s a great feature that allows you to quickly repeat previous searches without remembering them or entering them manually.
However, if you’re uncomfortable with this feature, you can easily disable it and remove all the data from your computer.
Why should I delete my Bing Search History?
- Deleting your Bing search history will help keep that information private from prying eyes.
- To stop advertisers from tracking your activity across multiple platforms.
- Secure your sensitive personal information and improve your browser’s performance.
- Clear space and prevent your browser from filling up with old unwanted files such as cookies.
How do I completely clear Bing’s search history?
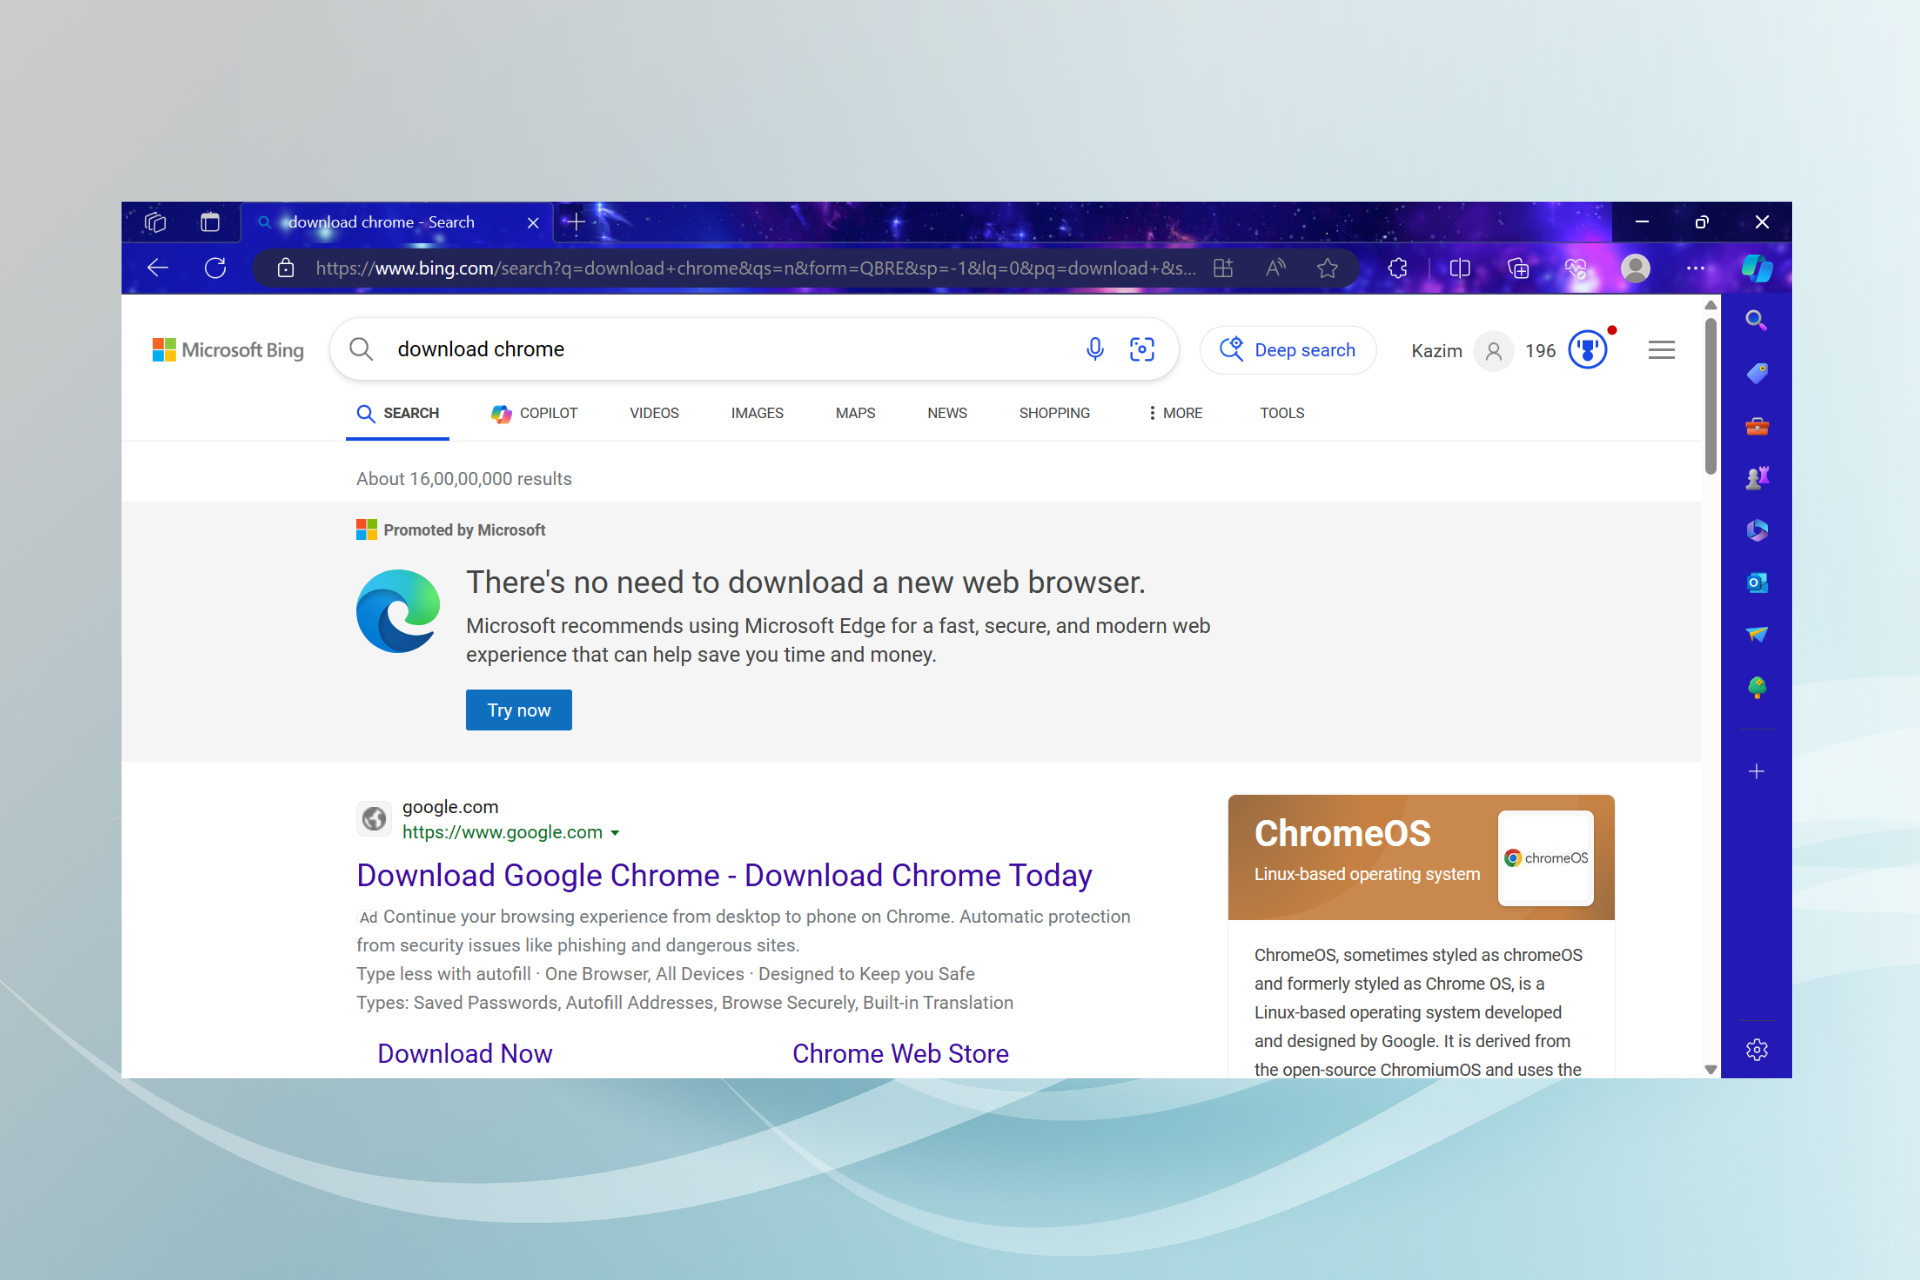
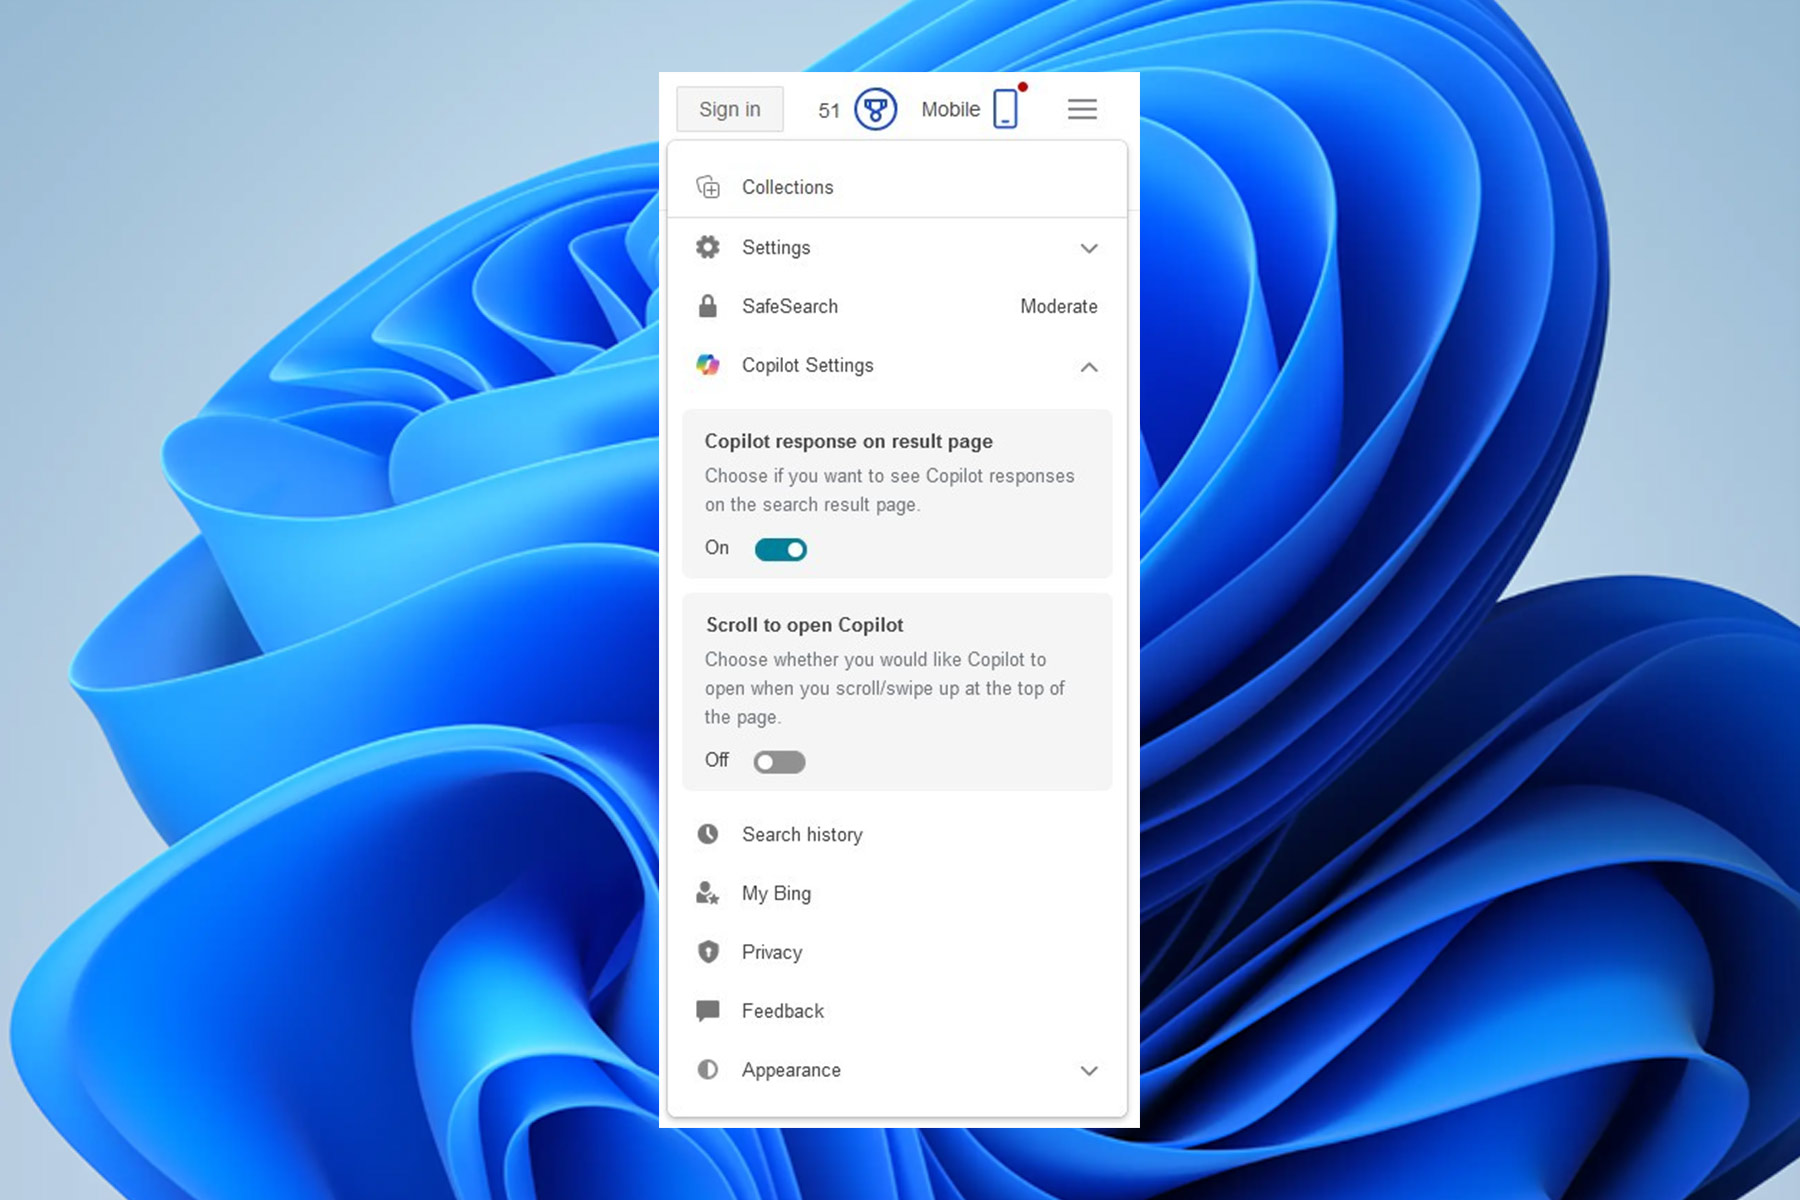
1. By using your Microsoft account
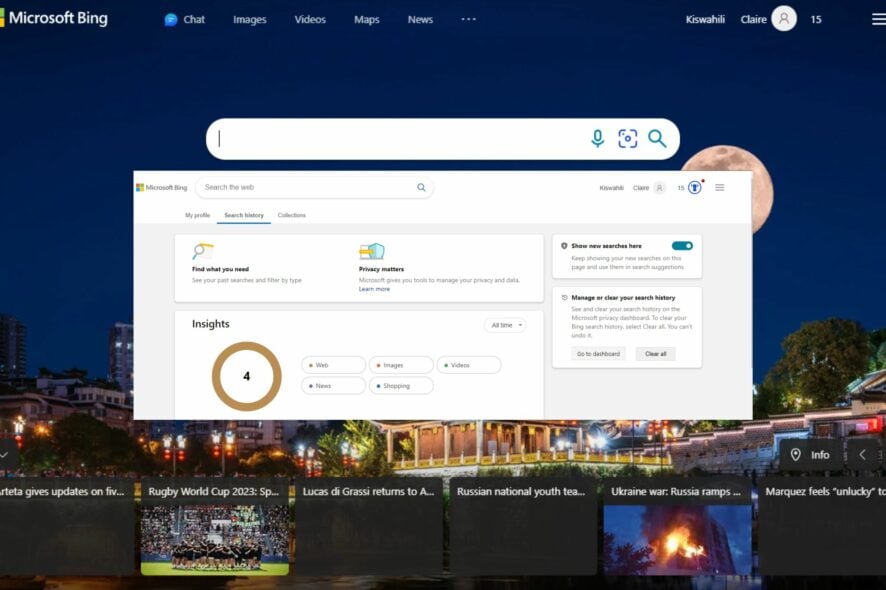
- Log into your Microsoft account or go to Bing’s official website to log in.
- Click on the Menu tile and select Search history.

- Hit the Clear all button.


2. By using your browser settings
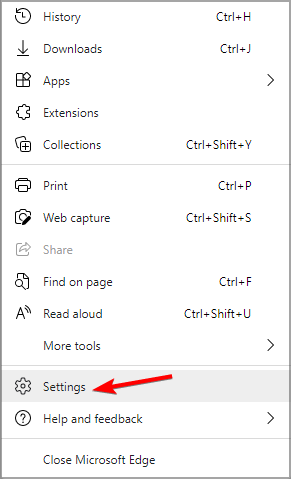
- Open Microsoft Edge, click on the three ellipses in the top right corner, and select Settings from the drop-down menu.

- Under Privacy, search, and services, select Choose what to clear.

- Select a time range and check the boxes for all the available data.
- Click the Clear now button.

If you use Bing as your default search engine, your search history will be included in your browser history settings. By clearing your browser history, you’ll also be clearing your entire search history, including all synced devices.
What can I do if Bing’s search history won’t delete?
- Ensure that your browser and OS are up to date. You may want to restart your computer in Safe Mode for good measure.
- Log out from all your devices, then log back into your Microsoft account.
- Clear your cookies and cache, as sometimes, cookies can interfere with the deletion of your search history.
- Run a system antivirus scan for any corrupt files that may be preventing deletion.
- Your search history is not deleting, probably because of your browser settings, so try and reset it.
Ultimately, it’s important to remember that people will likely be watching wherever you go on the Internet. Your digital footprint will be available as long as you access the Internet, but you can limit what you share.
And if you find that you’re unable to get rid of your browsing history, there are other ways to keep your activity private and your personal information out of the hands of advertisers, such as using private browsers.
This also goes beyond your browsing too. If you’re using a shared PC, we’d recommend you clear recent files to keep your activity under wraps.
Hopefully, this article has shed light on how to delete your Bing search. We’d love your feedback on this and any other tips you use to keep your activities private while browsing. Drop us a comment down below.