35 Best Windows 11 Themes and Skins to Download for Free
Get ready to pick the right skins and themes on your PC
![]() 20 min. read
20 min. read
![]() Updated on
Updated on
Share this article
This article is translated in


Improve this guide
Read our disclosure page to find out how can you help Windows Report sustain the editorial team Read more
Key notes
- Once you get the new OS, you can personalize it with the best Windows 11 themes and skins for your PC.
- Make sure that you find the right wallpaper resolution for your screen, or it won't look right.
If you’re after brand-new Windows 11 themes and skins to further improve its appearance, you have reached the right place because our guide will get you straight to your goal.
Can you get themes for Windows 11? Yes, you can get themes for Windows 11 and below, our WR labs specialists have also prepared a guide on how to get and install them.
What are the best Windows 11 themes and skins?
Newest Microsoft Windows 11 themes – Best themes for Windows 11
Microsoft updated its Windows theme collection for the latest OS, and it has a huge number of them to choose from.
There are hundreds of themes organized into 14 categories from animals, games, movies, automotive to themes with custom sounds and panoramic themes for dual monitor configurations.
It’s hard to go through all of them even in a month so you will most likely find there something interesting.
Of course, a lot of the themes are old ones from Windows 10 and they adapted them for Windows 11 but that’s still a huge selection to consider.
You just need to click the link and the theme pack download will start automatically. The only downside is that you can’t see any previews before downloading.
3D Theme – Best 3D theme

Don’t get yourself fooled by the fact that this appears like a Windows 10 wallpaper source because they also work perfectly fine on Windows 11 too.
You will get 17 HD wallpapers that will blow your mind with 3D mesmerizing graphics. It’s not much, but the back is free to get and use as much as you like.
There’s really not much to say about the wallpaper except for the fact that they are not too brightly colored, but they can still be eye-catching and spectacular.
Dark Fantasy Landscape – Great fantasy theme pack
If you’re a dreamer at heart, this Dark Fantasy Landscape theme pack will transport you right into the realm of non-existent worlds.
The 16 HD wallpapers inside the pack will get you to that dark, gloomy atmosphere of deserted obsolete landscapes.
Nevertheless, their art quality is impeccable and that makes them even more immersive even for a trained eye.
Dark Abstract Theme – Best abstract theme

If you like dark themes, this Dark Abstract Theme is right up your alley, and even more if you enjoy the spacey, mesmerizing designs.
This theme pack contains 17 HD images that feature a mix of different shapes, colors, and textures that will most likely woo your brain and, why not, relax you.
The images are crisp and clear so they will be a delight for your eyes if you especially like this type of art.
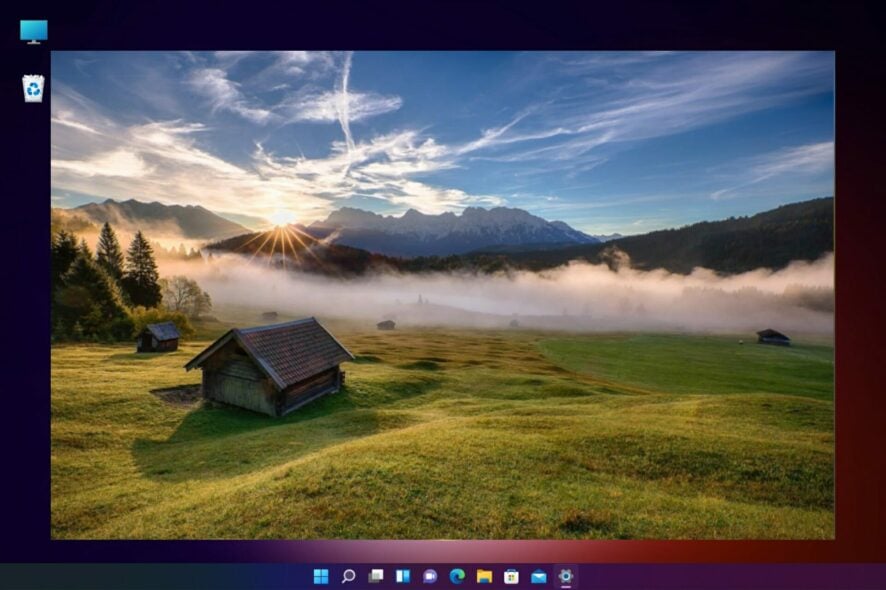
macOS Monterey SkinPack – Best macOS skin pack for Windows
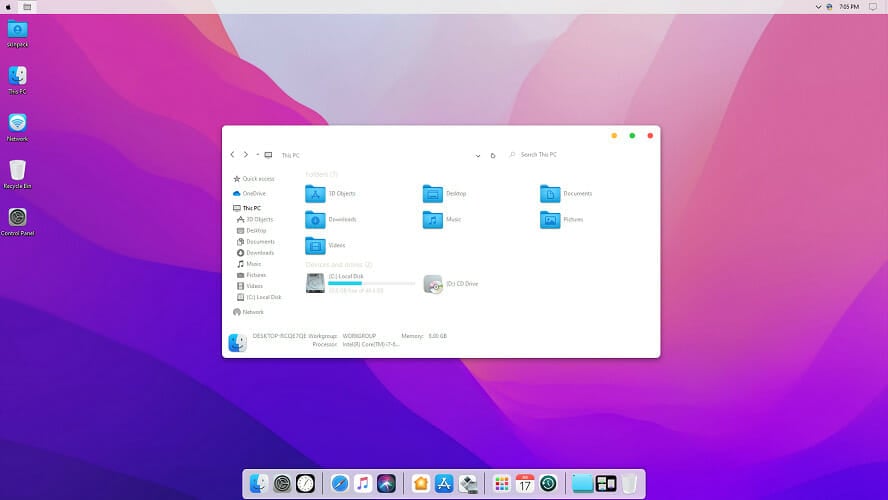
Windows 11 already resembles macOS but if you want to go further with customizing it and make it look like the OS from Apple, the macOS Monterey Pack is exactly spot on.
This is not just a simple background that you just throw on as wallpaper but it’s a Windows 11 modern skin pack that will also change your icons, the taskbar, buttons, and windows.
The publisher recommends that you uninstall any other skin packs before installing this one because they might be conflicting.
Anyway, the skin pack will fool everyone that you have a macOS Monterey installed on your PC. You can try the Lite version for free.
But if you want the real deal, with icons and extras, you will have to pay a reasonably small price for it.
Ubuntu skin pack – Best Unix skin for Windows
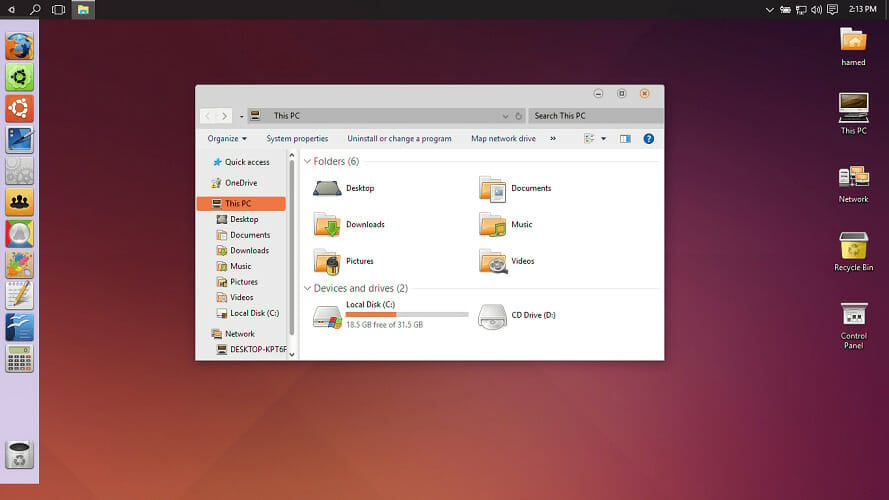
Every Unix-based OS is light and fast although they still lack compatibility with many apps and features available in Windows.
However, you can make your Windows look like the most friendly Unix release, and we’re referring to Ubuntu.
This Ubuntu skin pack will convert the whole interface of your Windows 11, including the taskbar, buttons, menus so that it will feel like having Ubuntu installed on your PC.
The theme comes in a light version that is free but if you want to change the Windows 11 icons and extra features, you will have to pay a small fee for the whole pack.
Windows wallpapers – Most popular Windows 11 wallpapers
If you just want to change the look a bit and get yourself a nice Windows wallpaper, you can get it from WallpaperHub.
There, you will find over 50 high-resolution Windows-themed wallpapers, even a Windows 98 one that spawned lots of nice memories into our heads.
You will also find the official Windows 11 wallpapers that you can gift one of your friends with Windows 10 that didn’t switch to the new OS yet.
The wallpapers are free, colorful, and fit perfectly with any full resolution display. You just need the resolution that fits your display by scrolling down on any of them.
Money Heist (La Casa De Papel) Theme – Best movie theme pack
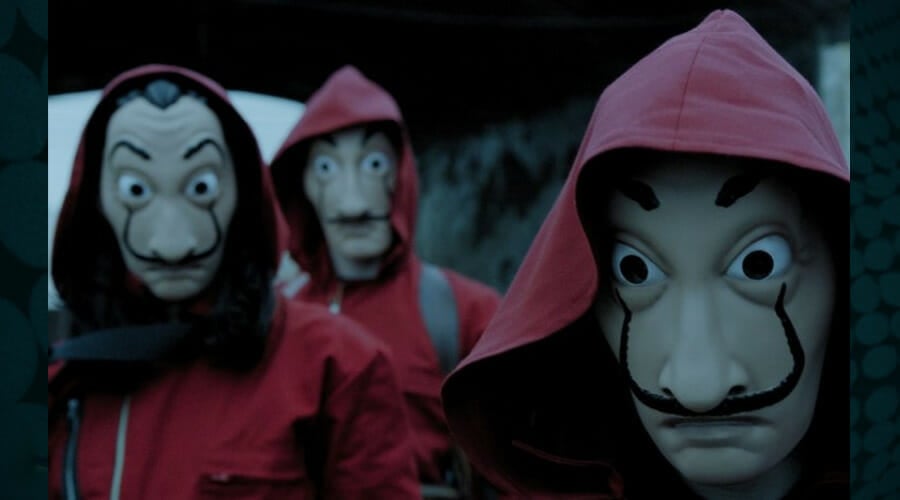
Money Heist aka La Casa de Papel is one of the most popular series out there, with lots of action and interesting characters.
With this free theme pack, you will have no less than 15 HD wallpapers with scenes from the movies that you can set on your Windows 11 desktop.
Yes, you will see some nice shots of Tokyo and Berlin, and we’re not talking about the cities. You will find all the cast in the pack.
The images are top quality and very well chosen so if you’re a fan, you will enjoy them for sure.
Squid Game Theme – Best theme for action movie buffs

Rarely do we see a Korean series with so much hype but Squid Game managed to become a binge-worthy title all over the world.
As you would expect, the Squid Game theme pack contains 15 HD images from the series but don’t worry because there are none depicting the gory scenes.
The images are high quality, showing all the important characters and their development through the episodes.
All the photos can be set as wallpapers on Windows 11 but the theme is also compatible with the older versions of Windows.
Dune Theme – Best S.F. movie theme
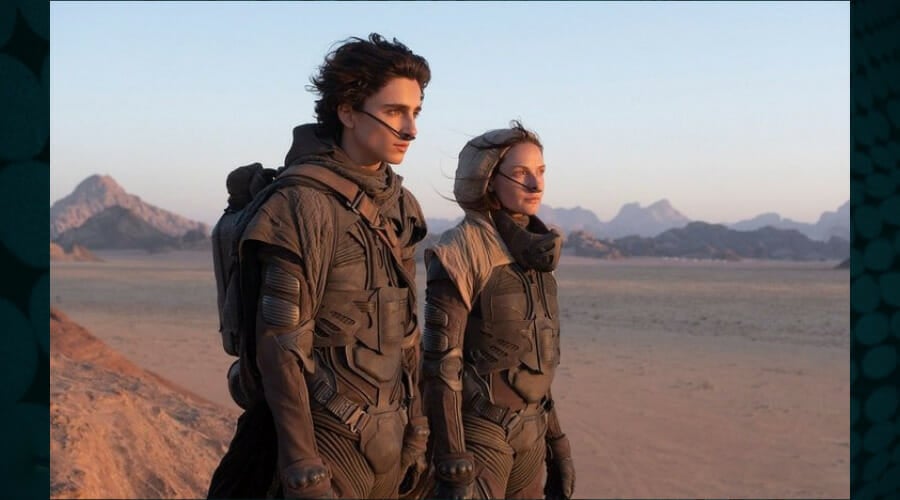
The new iteration of Frank Herbert’s Dune was received extremely well by all science fiction fans all over the world.
As to be expected, if you’ve loved the movie, you want to stay closer to your favorite characters and the awesome scenery.
The amazing 15 HD images from this theme will offer a great quality overview of the film and the strange planet Arrakis.
It is a Windows 11 theme but it’s also compatible with older versions down to Windows 7.
Baby Yoda Theme – Great theme for Mandalorian fans
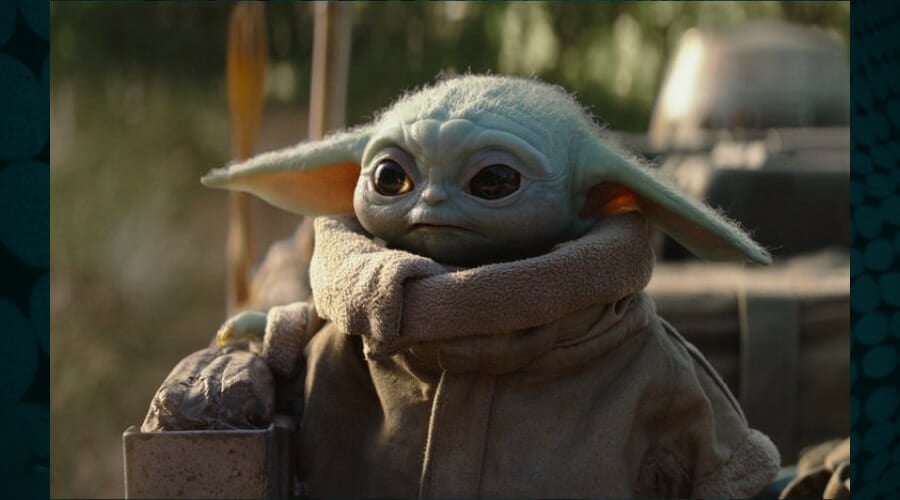
If you’ve watched The Mandalorian series, you’d have to agree that Grogu, who everyone calls baby Yoda, is the cutest possible creature within the Star Wars universe.
Despite his questionable diet, the innocent huge eyes, the silly walk, and apparent fragility make this creature simply adorable.
The theme comes with 11 really cute wallpapers in HD resolution with baby Yoda posing in different instances to bring the ultimate innocence to your desktop.
Star Wars Theme – Great for Star Wars fans
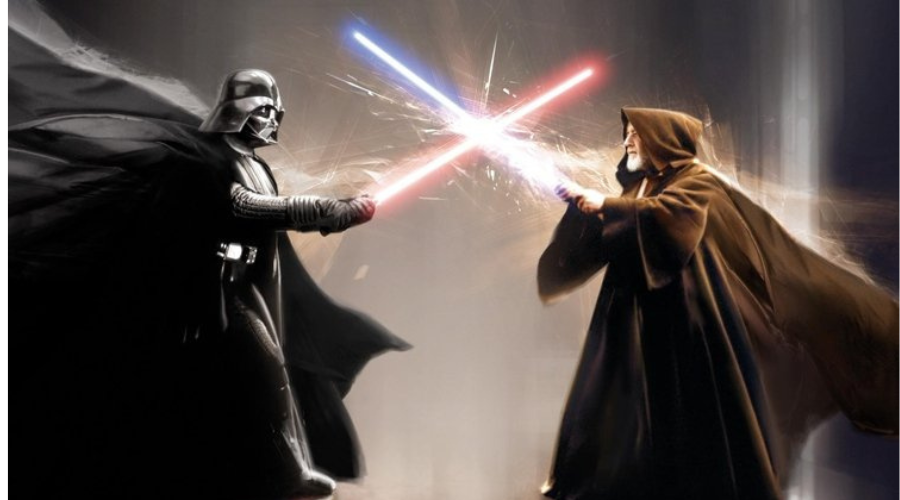
Who can ignore the battle between good and evil in the Star Wars universe? And if you’re one of the millions of fans out there, you will appreciate this theme pack.
It contains no less than 33 HD wallpapers with a lot of artwork and images from the epic saga.
And if you’re a hardcore fan, you will definitely recognize the key characters and moments from the story.
Altered Carbon Theme – Best S.F. series themes

Altered Carbon is a great science-fiction series set in the future where all consciousness is digitized and stored.
As if that’s not scary enough, the story depicts a prisoner who returns to life in a new body and must solve a murder puzzle to win his freedom.
The Altered Carbon theme comes with 13 high-definition wallpapers with images taken from various scenes within the series.
Fortnite Theme – Best free gaming theme

Fortnite is one of the most popular games running the Epic Unreal Engine 4 with fans all around the world.
The developers have added wallpapers and app icons for Windows that bring the survival game experience to your desktop wall.
This theme supports Windows 11 and all older versions up to Windows 7 so you will be able to enjoy it whether or not you upgraded to the newest OS.
It comes with 15 HD wallpapers that depict scenes from the game and all the main characters you can play with.
Initial D Theme – Perfect for anime fans
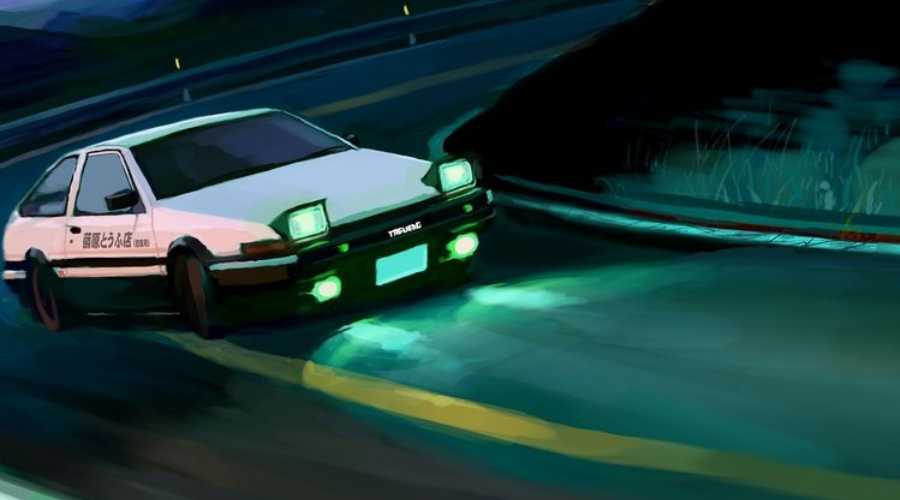
If you’re an anime fan, you are probably more than familiar with the Initial D and the awesome cars within.
Well, at least that’s what the people who created the series think are the best-looking cars in the world.
Nevertheless, the 10 HD wallpapers inside the pack will bring back the atmosphere of the famous sports manga series of Japan.
It is all about illegal street racing in Japan, a pretty interesting theme on its own.
Yui Hirasawa Theme – Perfect for K-ON anime fans
If you’re familiar with the TV show series K-ON, you will be happy to watch Yui Hirasawa laying on the Windows plains again.
Who is she? It’s one of the five main protagonists of the Ho-Kago Tea Time band from the show.
She is a cute 15-year-old teenager that doesn’t know anything about stage fright or anxiety and in this 15 HD wallpaper pack for Windows 11 and 10, she is also the main star.
Deep Rock Galactic Theme – Great sci-fi gaming theme
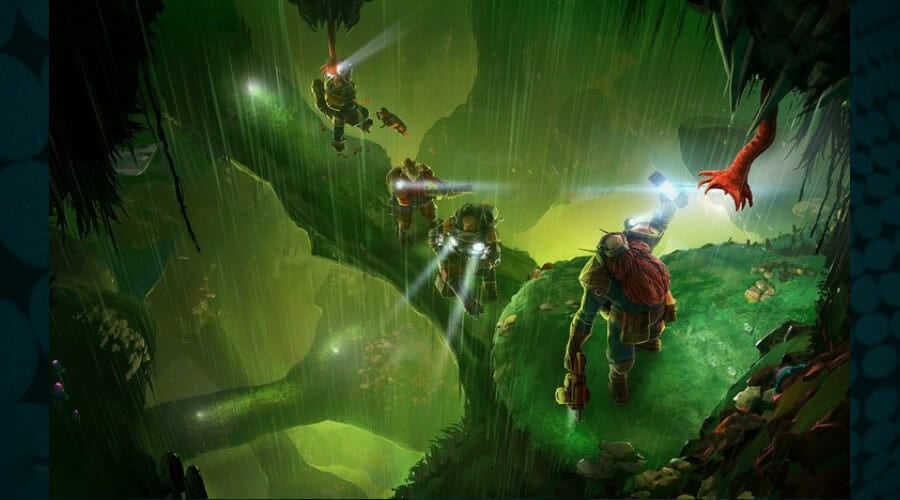
We’re sure you know all about Deep Rock Galactic, a first-person shooter game you can play in single or multiplayer mode with up to four teammates.
And we’re sure you’ve had fun exploring the cave systems and cooperating with your mates to get complete the tasks.
The sci-fi-inspired graphics of the game looks great so if you want to remember the key scenes, you will love the Deep Rock Galactic theme.
This pack contains 9 HD wallpapers with scenes from the game that will get you in the mood for another playing session.
Elder Ring Theme – Best fantasy world theme

Created by Hidetaka Miyazaki, the fantasy world within Elder Ring is simply breathtaking.
The characters, and the world, all are built to perfection and it contributes to the immersion in this fantastic world.
And even if you’re not a gamer or never played Elden Ring, the 15 HD wallpapers included in this theme pack will make you daydream about fantasy worlds.
Watch Dogs Legion Theme – Ideal for action game fans

Legion is the third game from the Watch Dogs series and it follows the action from Watch Dogs 2.
The plot is set in a fictional London where a hacker union called DedSec is framed as a terrorist organization and they struggle to clear their name.
If you’ve enjoyed the game, it’s only natural you will want to get your mouse cursor on this Watch Dogs Legion theme pack and roll its 13 HD wallpapers on your Windows 11 desktop.
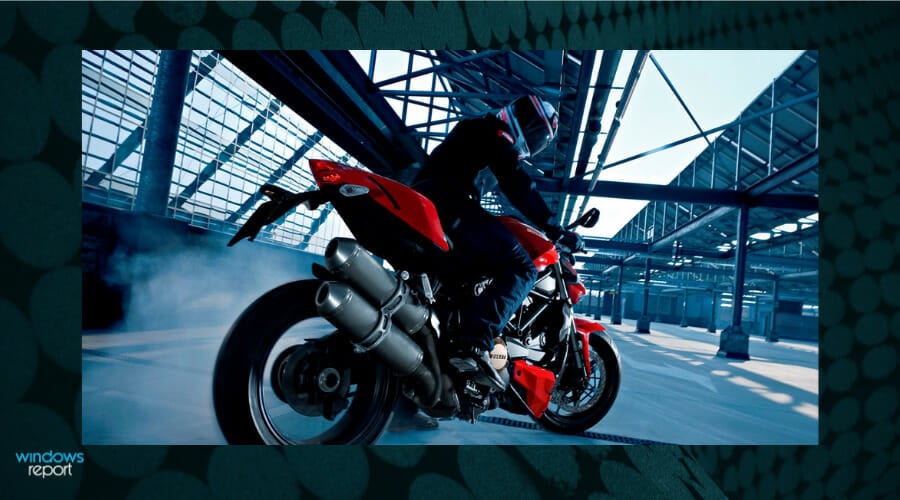
War Thunder Theme – Best war game based theme

Whether you’re a war machines history buff or you’ve enjoyed the War Thunder game, you will love the 15 HD wallpapers included in this pack.
If you don’t know anything about it, it’s a combat multiplayer game with lots of vehicles where combined armies of land, water, and air converge for total war.
History enthusiasts will find lots of war machines from all periods that span from World War I to the present day.
You will be able to control ground vehicles, aircraft, and warships from different countries of the world.
World National Parks – Best nature theme pack

There’s nothing more beautiful than nature’s creation and a glimpse of its wonderful forms and colors can be even therapeutic.
Feast your eyes with an 18-theme set with images from some of the most spectacular national parks around the world.
Your mind will travel to India, New Zealand, Canada, Chile, and many other countries and witness the most incredible sceneries free of charge.
This fabulous trip around the world is free and so is the theme pack that will provide you a visual ride.
Beaches (Dual Monitor) Theme – Best dual-monitor beach theme
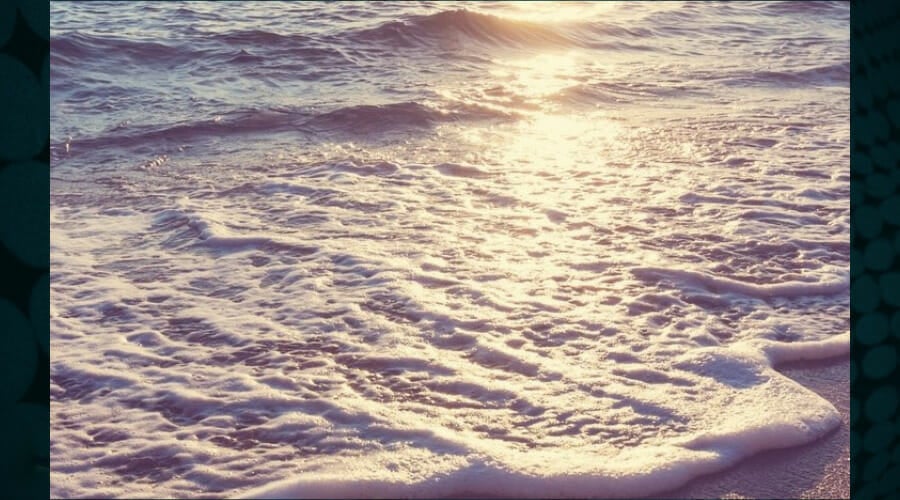
Who wouldn’t want to be on a beach right now with a cool drink in one hand resting? If we get a unanimous YES, check out this theme.
The Beaches Theme was created to be used on a dual-monitor setup so it also doubles the immersion effect.
With the 15 HD wallpapers included, you will get a glimpse of the powder-soft sands and the turquoise water from the most beautiful beaches around the world.
In short, you will simply teleport to a dream holiday just by sitting back on your chair and watching your monitors.
Mountain Dwellings – Best mountain theme
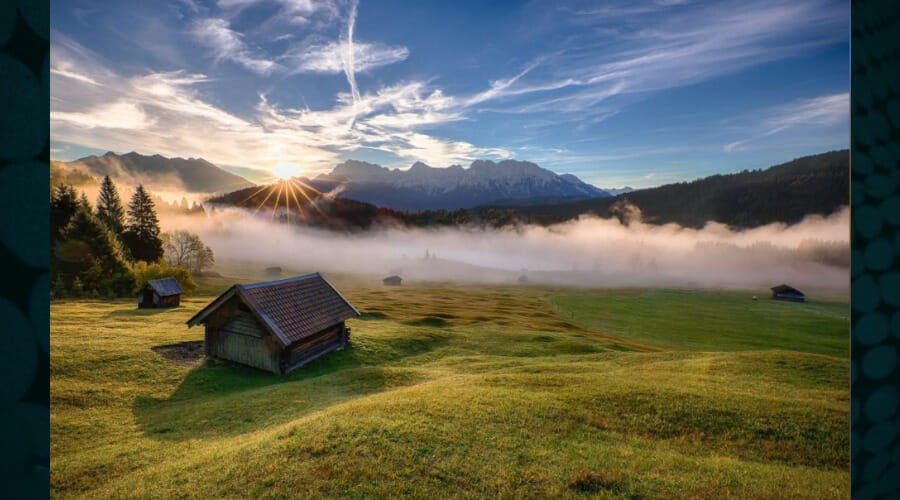
This superb theme is compatible with Windows 10 version 14951.0 and up, which means that is also ready for your Windows 11 PC as well.
Once installed, this theme will provide no less than 12 breathtaking images with huts placed in beautiful sceneries from the mountains.
Keep in mind that it’s free, it only has about 11 MB, and you will be able to use it on up to 10 devices.
The wallpapers recreate that mountain retreat feeling and you will almost feel the warmth of the fireplace inside the cabin.
Summer Landscape Theme – Best Summer theme
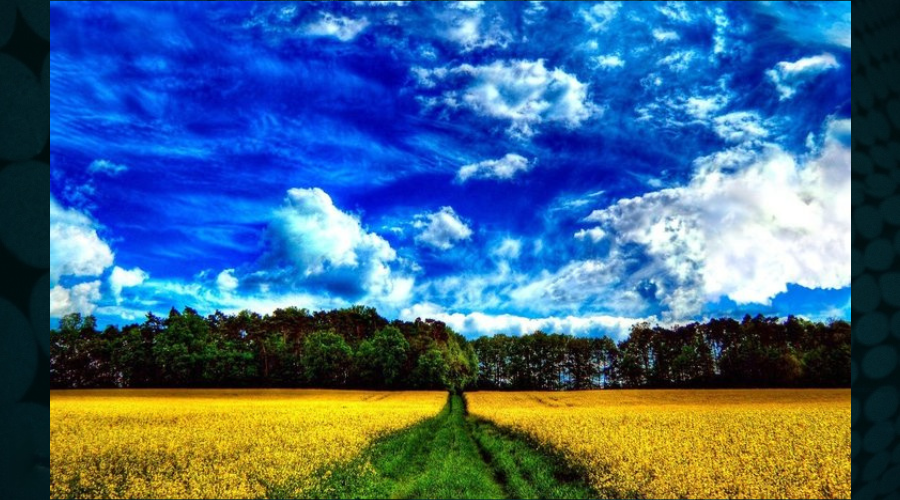
Every season has its own charm and beauty but summer really calls you outdoors with its warm temperature and awesome nature diversity.
Of course, if you live in an area where you experience huge wildfires and scorching heat, it’s hard to come to terms with this season.
However, this Summer theme pack will feast your eyes with 14 high-definition wallpapers that feature bright daytime landscapes of summer in all its splendor.
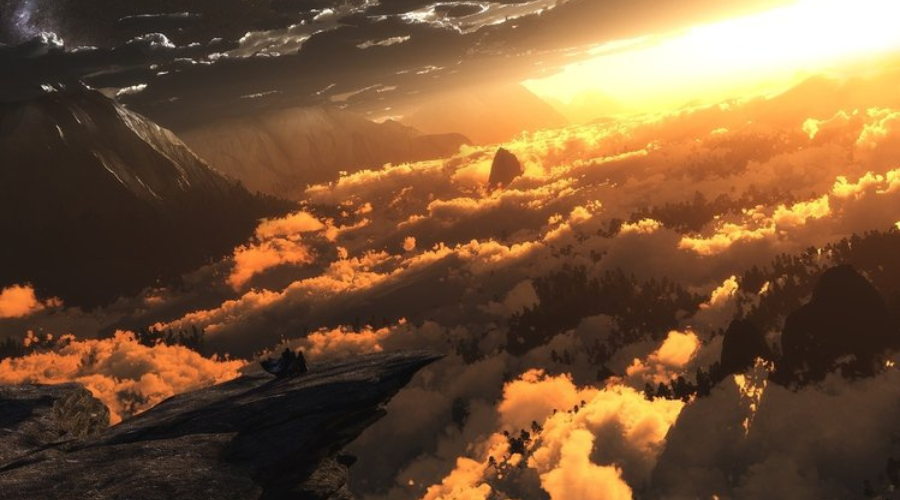
Cosmic Beauty – Best space theme

Is it a bird? Is it a plane? It’s not Superman either and not even a close look at the molecular structure of some material.
In the Cosmic Beauty theme pack, you will find 20 breathtaking photos from outer space taken with the Hubble and terrestrial telescopes.
The vastity of space can really get you to feel a bit small and insignificant or, on the contrary, proud to be a member of the species capable of gazing at such marvels.
Get ready to travel between strange planets, nebula, black holes, quasars, stars, and their untold mysteries.
The images were created for Windows 10 but they also work as wallpapers for Windows 11 and they are free.
Amsterdam Theme – Ideal for traveling fans

A few cities can mix hundreds of years of history with the modern, edgy architecture of today but Amsterdam is a delightful example of that concept.
The capital of the Netherlands is considered an international city because a lot of cultures and languages have mixed to create a real Babel Tower of diversity.
With its artistic heritage, narrow, colorful houses, and amazing canal system, Amsterdam can be mesmerizing for any visitor.
This pack contains 13 beautiful HD images from different places in the city that depict the beauty and loveliness of the city.
Dubai Theme – Best new architecture theme
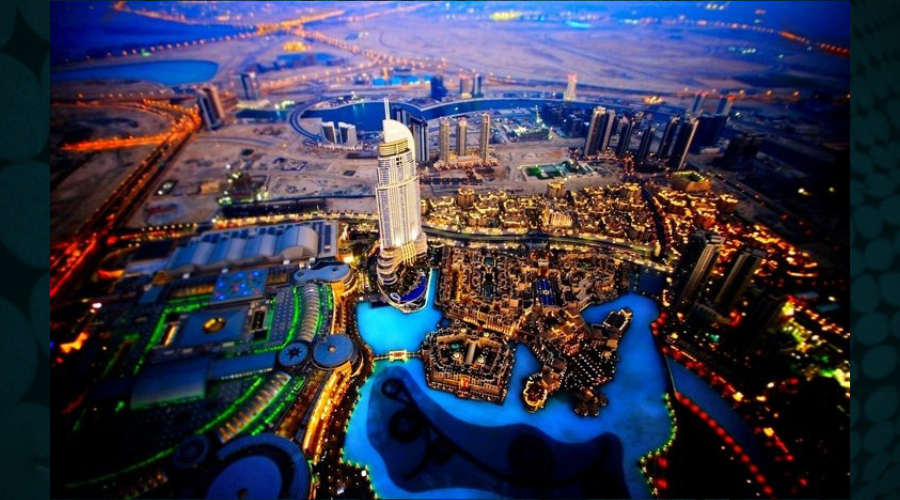
Dubai, the largest city in the United Arab Emirates is also the home of the famous Burj Khalifa, the highest building in the world.
It’s one of the fastest developing cities in the world and it is continuing to astonish visitors with new landmarks that are adding to the Dubai Marina and the only seven-star hotel in the world: Burj al Arab.
The theme brings 18 HD awesome pictures depicting all these wonderful marvels of architecture within the city.
Paris Theme – The most romantic city theme

When you’re talking about Paris, you instantly hear some accordion tunes and that joie de vivre that perspires from every street and corner of the city.
It’s called the most romantic city in the world for good reason and the old part of the city will always transport you into a different kind of reality altogether.
The view of the Eiffel tower on your desktop brought by these 17 HD wallpapers will almost make you taste the croissant and the coffee in the morning.
Forgotten Relics – Best relics theme

It’s up for debate, of course, but there’s something attractive, and mysterious about old wreckage and desolate surroundings.
Although nature blends them into the scenery over the course of time, they remain odd and cling to their purpose as they want to keep telling stories.
The Forgotten Relics package is free and it contains 19 images of old rusty trains, planes, and automobiles, or their remains to be more clear.
They can be used only as wallpapers but if you’re into this kind of imagery, you won’t be disappointed.
And although they were designed for Windows 10, they work very well on the new OS too so give them a shot.
Chicks and bunnies – The cutest theme
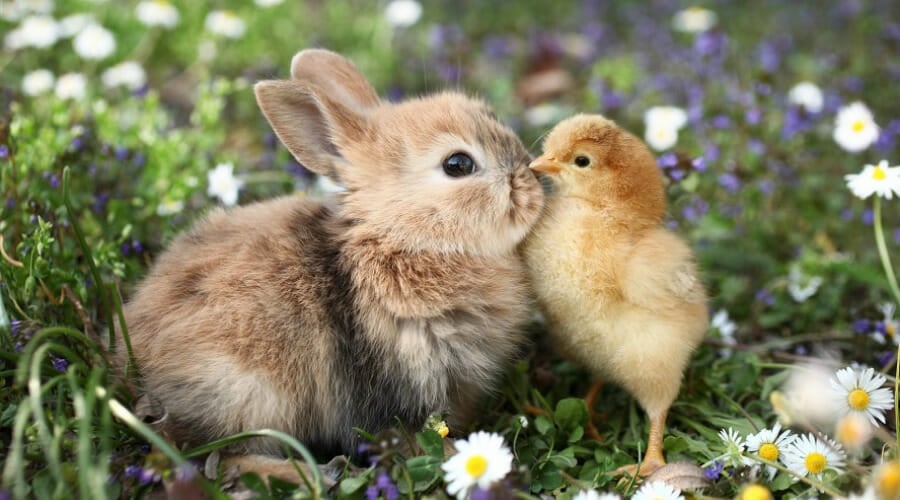
We’re closing to the finish line with a touch of extreme cuteness to present you the Chicks and bunnies theme for Windows 11.
It’s a free package with 14 images that will transform your desktop into the most sugary and cute space that you have ever seen.
Maybe you can’t handle so much fluffiness from the little bunnies or the small yellow-beaked puffy birds but together they might be the best present for your sensitive significant one.
Once you get the Windows 11 theme pack free download from the Microsoft Store, you can click on the three horizontal dots from the right of the Apply button and select Install on my devices.
That way you can install the theme on multiple desktops or tablets that have a Windows system installed.
Cougar Theme – Best wildlife theme
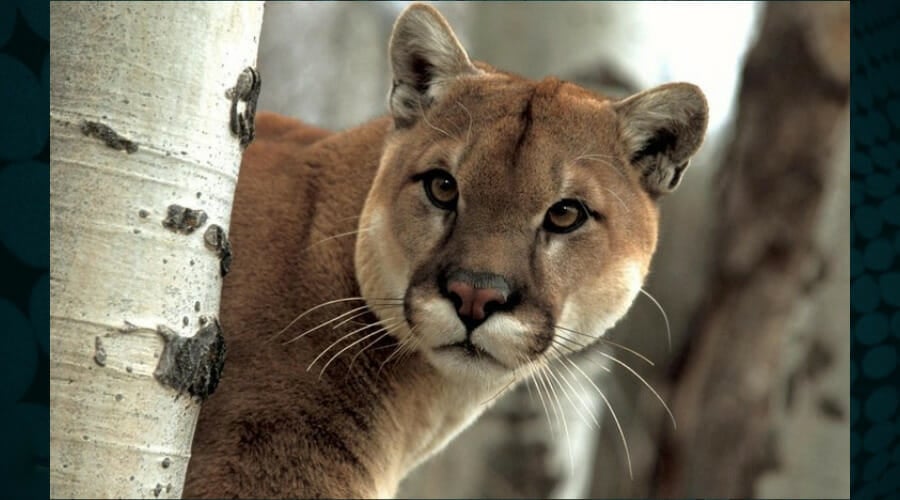
With the beige fur and black spots on the tail, the cougar lives in different ecosystems anywhere they can find shelter and prey.
It looks like a cat but this thing is a mean killing machine that can easily drop a human in just a few seconds.
However, they are still very beautiful to look at and observe in their natural habitat. But as you can’t do that too often, setting up some nice photos on your desktop is the closest thing.
The 15 HD image pack depicts these wonderful creatures in the wildlife, where they live and prey.
Dog Theme – Great for canine lovers
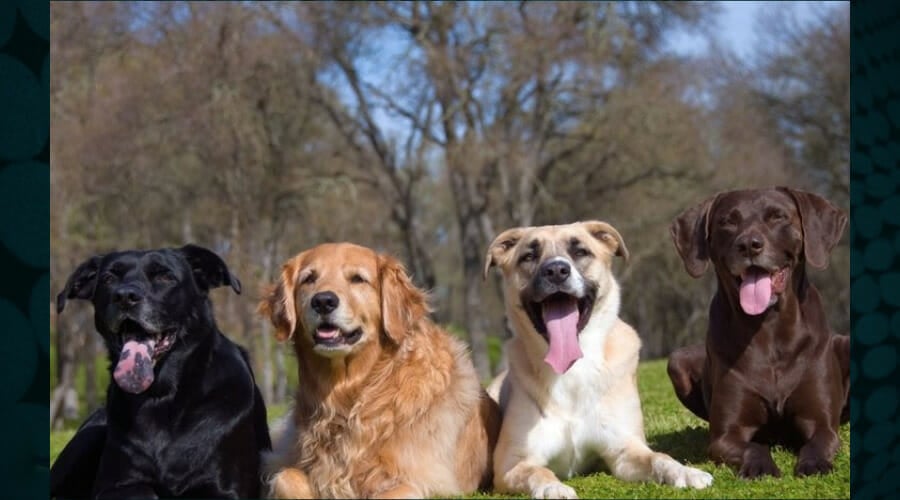
Dogs are our most loyal companions, our best friends because they love us unconditionally under any circumstances.
And, we have to agree with the fact that a lot of them are pretty funny and cute, especially when they do crazy stuff.
That’s why this Dog Theme pack with 15 high-definition wallpapers will cheer you up with nice images of dogs every time you will look at the desktop.
Chihuahua Theme – Great for Chihuahua pet owners

We have to agree that there’s maximum cuteness in the little agile and serious posture of a Chihuahua.
This tiny canine lovable friend is depicted in all the 15 HD wallpapers from this pack in all sorts of hilarious poses and outfits.
And if you have one yourself at home, the images will offer a lot of inspiration for your next photo shoots.
Cats Theme – Best feline theme

Oh, don’t be fooled by the cuteness of your feline friend. Leave a plate or poor Cleo the golden fish unattended and you will notice the consequences soon enough.
Although cats are some of the cutest creatures that have ever spawned from nature’s DNA, good old Felix is still a predator at heart.
Some of them are more loving while others won’t have anything to do with you but nevertheless, all are beautiful.
Mouse Theme – Best rodents theme

Well, we all know that mice and especially their bigger sewer rat cousins are mostly a danger to our goods.
They spread disease, eat our crops and they multiply like crazy despite all our efforts to keep the situation under control.
However, let’s face it, some of them can become the cutest pets because of their small marble eyes, their tiny paws, and long whiskers.
If you like these creatures, this Mouse theme contains 27 HD wallpapers that depict tiny mice in a lot of pretty sceneries.
How can I change the Windows 11 theme?
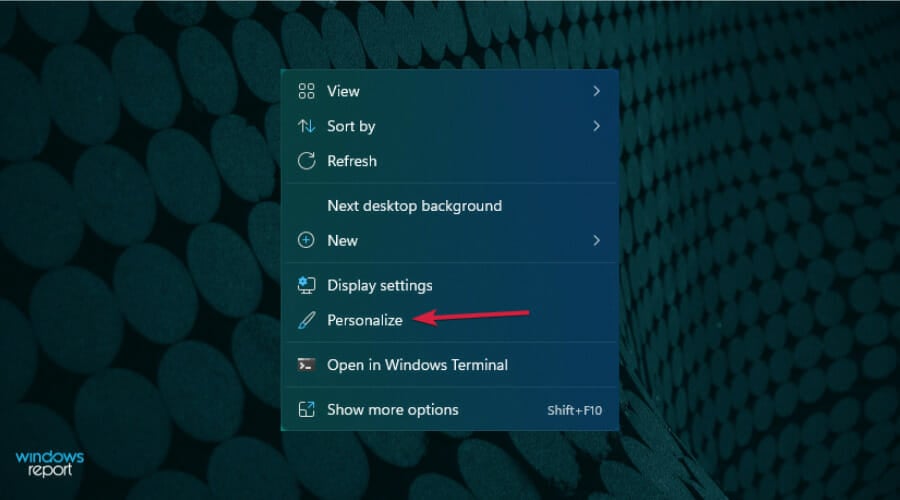
- Right-click on a free space on your desktop and select Personalize from the menu.

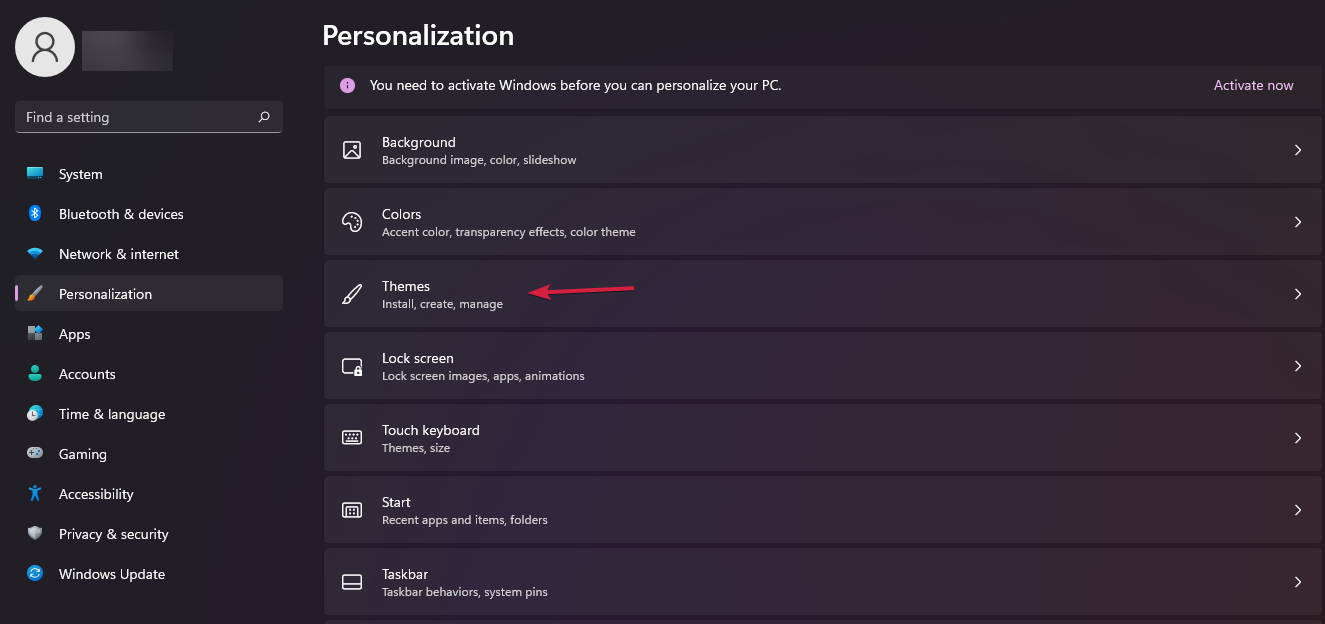
- Now click on Themes.

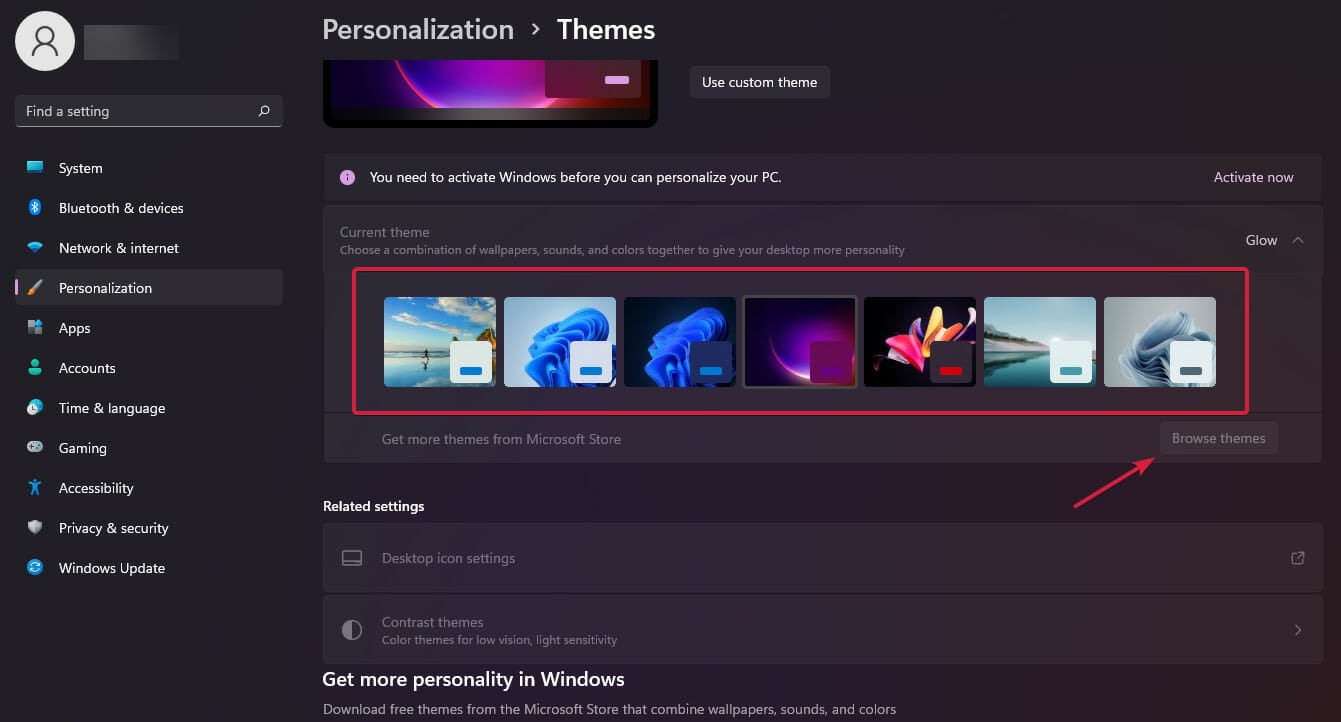
- Next, you only need to select the theme you like or hit the Browse themes button to get more from the Microsoft Store.

Tips on getting the right skins and themes on your PC
You’re here because you either don’t like the new Windows look or you just want to personalize your desktop and make it feel more like home.
We totally get that but before you do anything to your desktop, change icons, or Taskbar, you should consider a few little pieces of advice that might help you.
➡ Create a backup before changing the skin
Themes and wallpapers are not so invasive, but skins will also change the look of the Taskbar, the icons, the menus, and more.
Some of the features might not be 100% optimized for your display and they might conflict. Therefore, you should create a backup of your system before applying the skin.
➡ Choose the right resolution
When picking up themes and especially wallpapers, you might be given the chance to select the right resolution for the screen of your device.
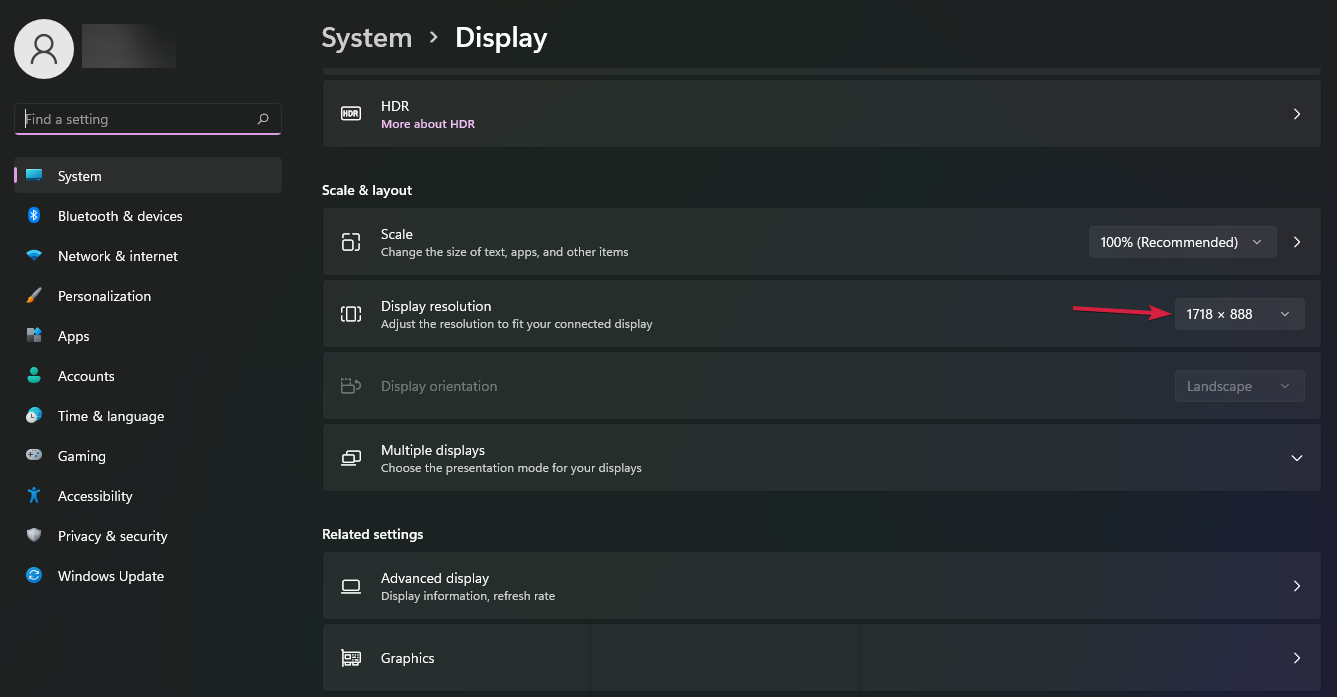
If you don’t know it by heart, right-click anywhere on your desktop and select Display settings to check the display resolution. That’s how you should know exactly what to choose.
➡ Change the desktop wallpaper in seconds
To change the background in Windows 11, you just need to right-click on an empty space on the desktop.
Go to Background, select Picture or Slideshow, and choose the preferred images. Also, learn how to change the wallpapers if you want a more in-depth explanation.
As you can see, it’s very simple to change the theme in Windows 11 but you need to know that the personalization features are not available if you didn’t activate your OS.
That concludes our list of the best skins and themes for your Windows 11 PC. We even have some wallpapers to check out so you can have a broader selection.
If you want to change the OS’s look, we also have a great guide on how to make Windows 11 look like Windows 10 again.
Did you choose one of the themes? If you also have any other ideas, tell us all about them in the comments section below.