Windows 11 High CPU Usage: How to Stop or Reduce it
High CPU usage lowers your PC's performance
![]() 14 min. read
14 min. read
![]() Updated on
Updated on
Share this article

Improve this guide
Read our disclosure page to find out how can you help Windows Report sustain the editorial team Read more
Key notes
- High CPU usage levels on Windows 11 will completely degrade your experience with this OS and its features.
- Even though the exact reasons for this issue occurring are varied, some of the most common are multiple background applications, and malware/adware infection.
- The information presented will cover a wide range of solutions, starting with the least intrusive ones and ending with some more complicated options.
Facing high rates of CPU usage while using Windows 11 can make the entire experience sluggish and annoying and thus will impede your capability to work, browse the web, and even play games.
That said, it can only be considered a problem if your system constantly reaches high CPU usage scores, even when no system-heavy applications are running, like antivirus scans or games.
If you find yourself included in the statement above, an essential factor to consider when dealing with this issue is the Windows 11 system requirements.
Even though compared to the latest improvements in technology the OS requirements by themselves shouldn’t pose an issue, there might be situations in which your system is so close to them that it can’t run optimally.
No matter if you’re close to the minimum system requirements or not, some amazing solutions can help optimize the overall Windows 11 experience to a great degree.
In today’s guide, we will cover every option available, including settings-related changes that will help enable you to get the most out of your system without requiring you to upgrade your PC.
Unfortunately, we can’t all afford to invest in a powerful PC simply to run the latest OS released by Microsoft, and opinions vary among users if it’s even worth it at all to consider that option.
As you can see from the statements above, this guide was created to encompass a wide range of elements that can be changed, tweaked, or simply optimized to resolve this issue once and for all.
Why is my CPU usage so high on Windows 11?
Now that we understood how to find out if the PC has a CPU problem or simply has a harder time dealing with some tasks temporarily, we can cover the most common reasons for this problem occurring.
➡ Lacking system resources
There are a few ways in which you can find out if your system configuration is capable of dealing with the demands of the new OS from Microsoft.
Below, you can see an image of the official system requirements for this OS.
Note that any values that are above these minimum requirements will ensure a smoother experience.
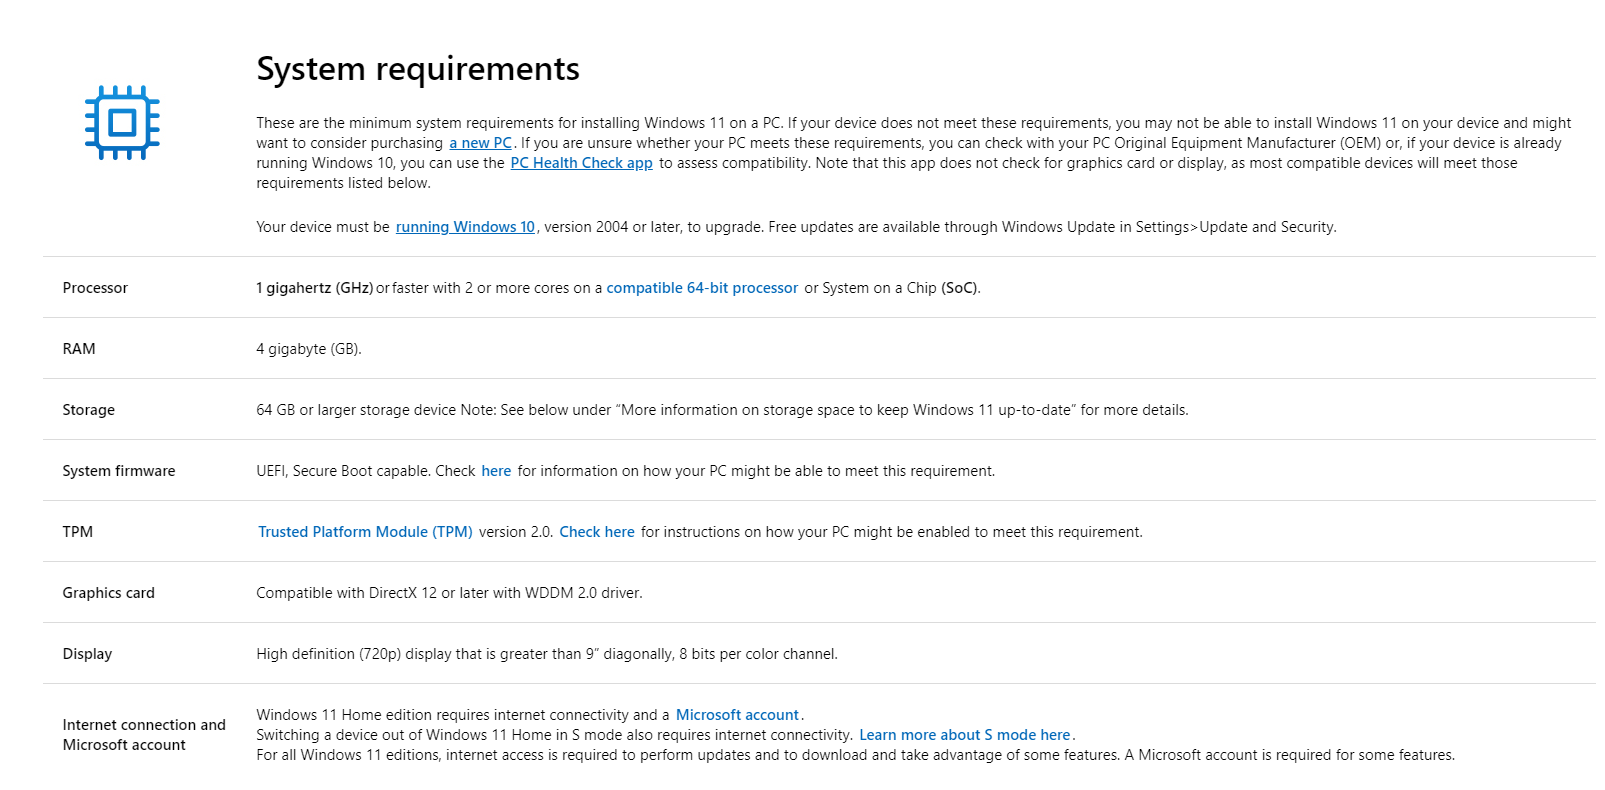
Even though this method will require that you have basic knowledge of what system components are, some of the most important elements to take into consideration are the processor speed and the amount of RAM available.
It is also worth noting that the system requirements mentioned in the image above deal only with that factor, and do not include the Windows 11 feature-specific requirements, which are also worth considering.
➡ Having too many applications running simultaneously
If you forget to close applications you’re not using or simply run apps that take a lot of resources to keep open, your CPU usage will show the results.
Of course, this element will vary from user to user, depending on the system configuration and the burden of the previously mentioned applications.
➡ Extra system services that affect your CPU
In the same way, not all apps require the same amount of resources to run, system services are no different.
Even though it is risky to disable some services, at the same time, we have chosen some of them which should not affect the stability of your system, but will improve the efficiency of your OS.
➡ Infection with adware and/or malware
This is a common occurrence, especially if you’re using free antivirus software that either hasn’t been updated recently or has an outdated virus library and can’t effectively identify the latest threats.
➡ Antivirus processes having a high impact on the CPU usage
As in the case of any software, some antiviruses will have a very high demand on your CPU and thus cause your system to run sub-optimally.
We will discuss some great options that affect your system minimally and provide a great set of security and privacy features.
How can I fix High CPU usage in Windows 11?
1. Restart your PC
Even though this step might seem obvious to some users, restarting your PC can solve this issue instantly.
This works as a restart of your system and also re-initiates all the elements that make your OS run optimally, thus impacting the number of resources required and their level of optimization.
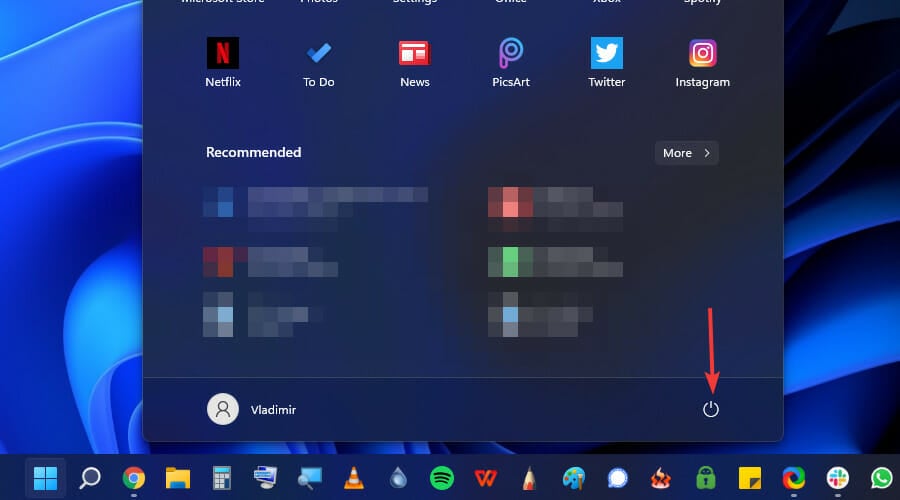
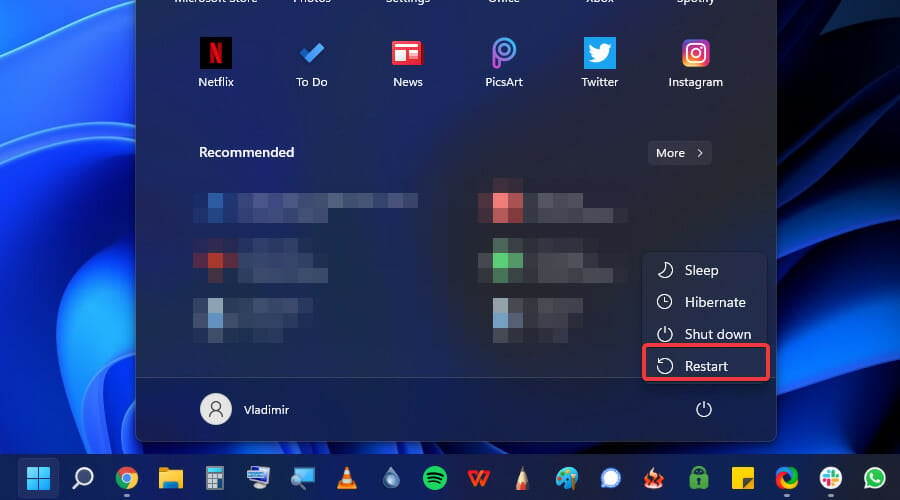
- Click the Start button from the taskbar.

- Select the Power button.
- Choose Restart from the pop-up that appears.
2. Optimize startup applications
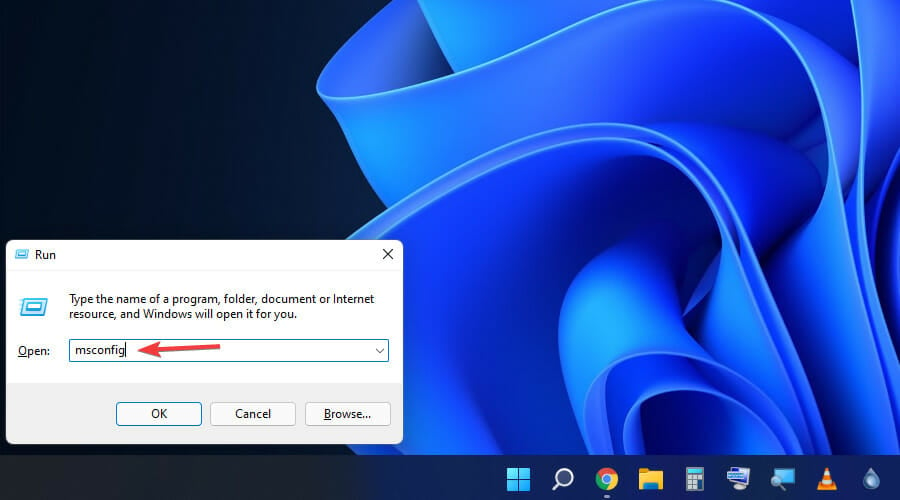
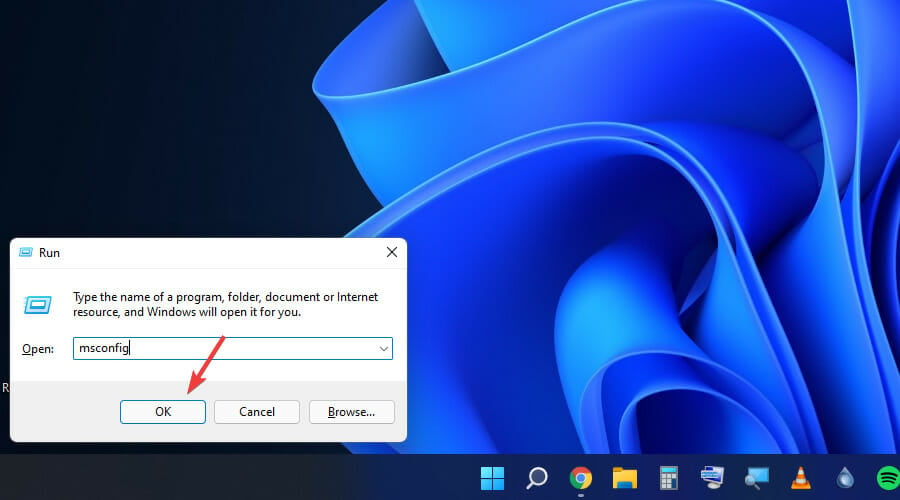
- Press the Win + R keys to open the Run dialog.
- Type msconfig inside the Run dialog box.
- Press Enter or click OK to run the command.
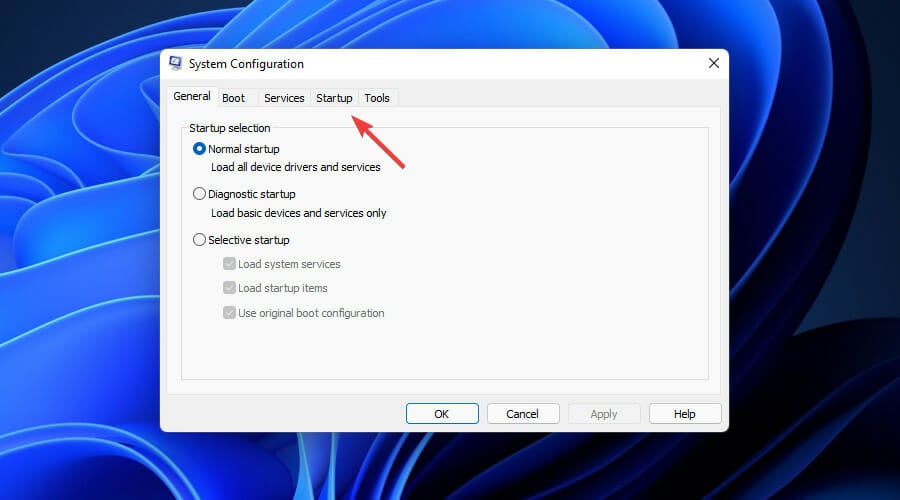
- Click the Startup tab.
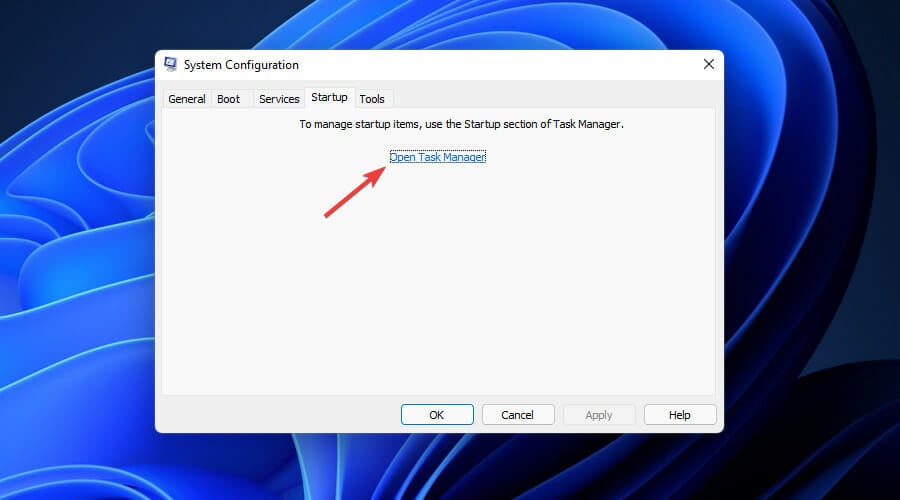
- Click the Open task manager link.
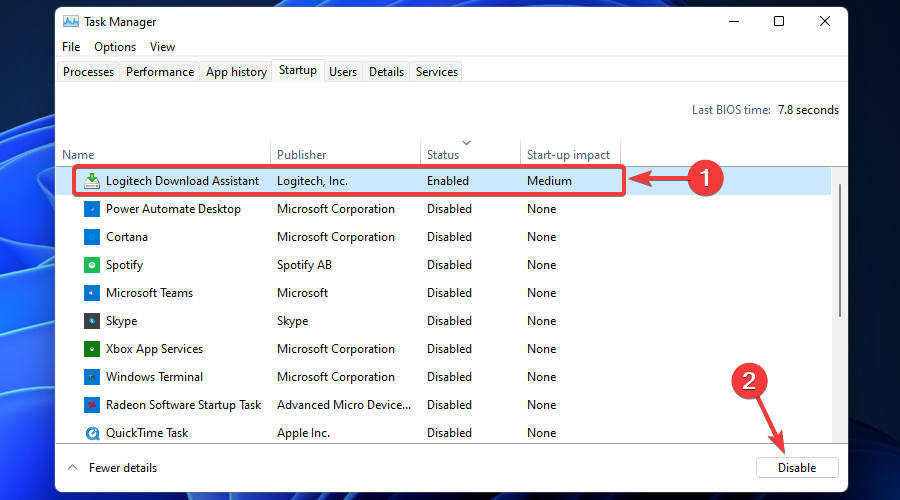
- Click on the Status row title twice to group tasks based on that element.
- Identify any applications with an Enabled value that you don’t want starting at Windows startup, and click Disable.


3. Disable background apps
High CPU usage is likely to be caused by a multitude of apps that run in the background at all times. Thus, disabling unused background apps and programs can greatly improve CPU speed.
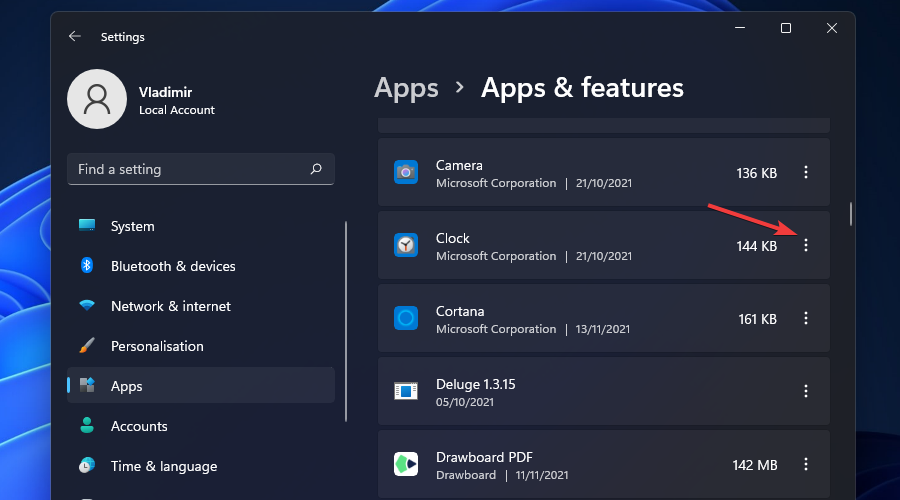
1. Click the Windows icon from the taskbar.
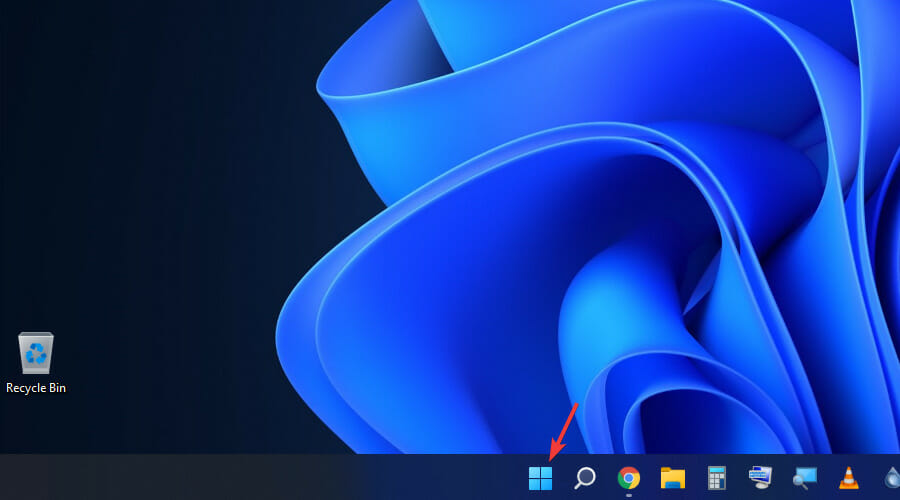
2. Choose the Settings cog wheel from the list.
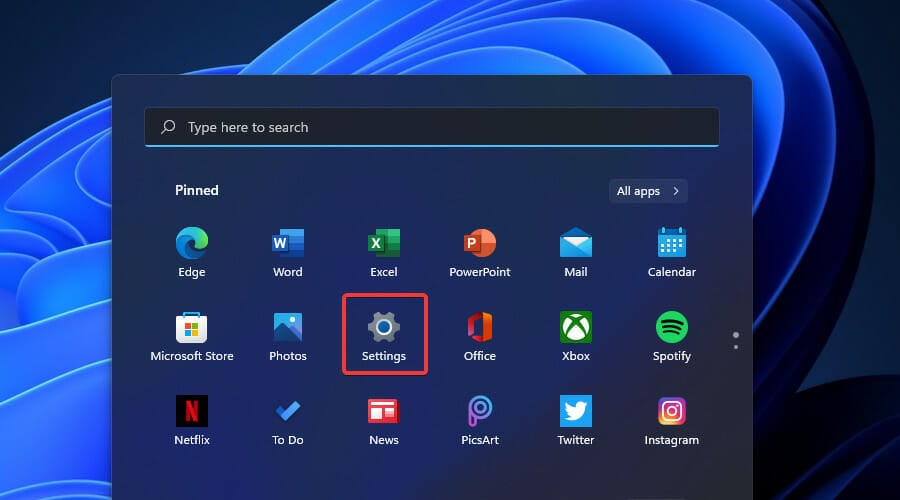
3. Select Apps from the left hand side menu.
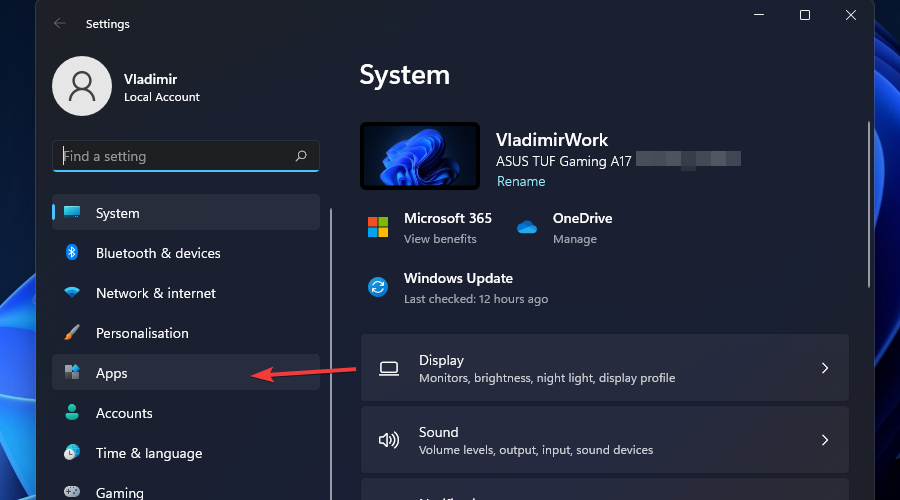
4. Click on Apps & features.
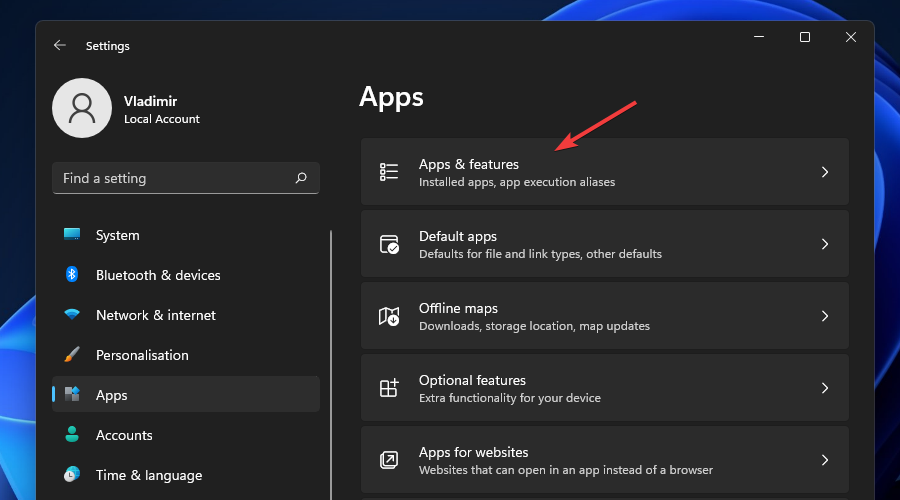
5. Identify any app that you don’t need and click the 3 dots option on it.
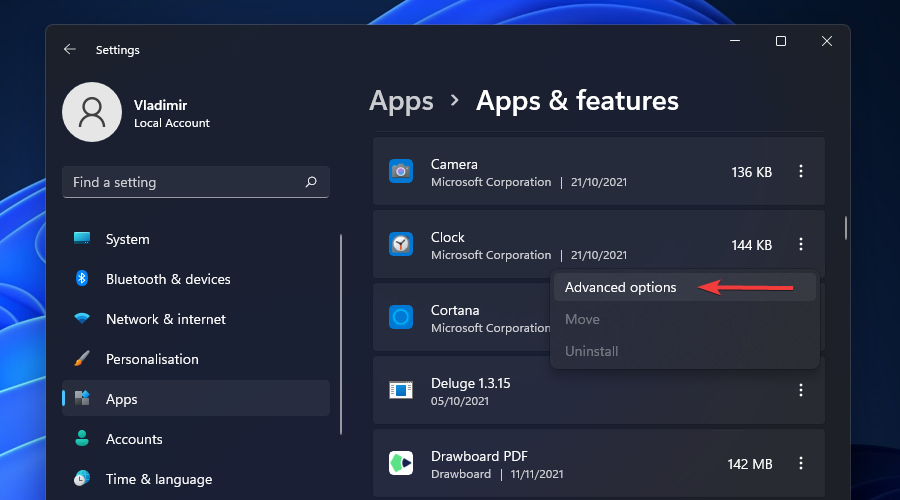
6. Choose Advanced options.
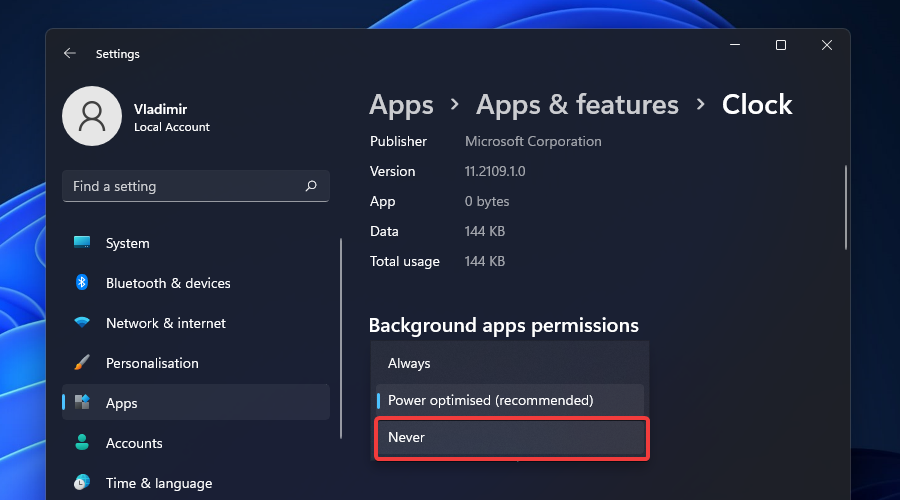
7. Click the drop-down menu for Background app permissions and choose Never.
8. Repeat the same process for all apps you want to disable.
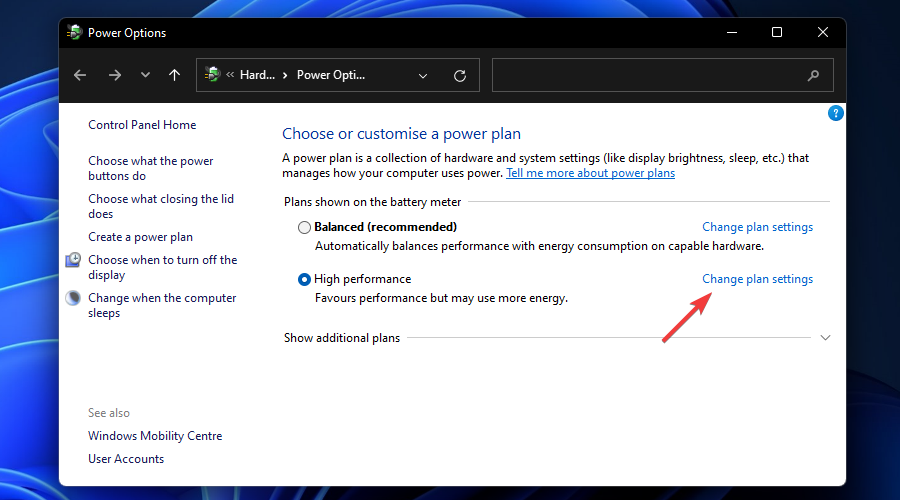
4. Check the Windows 11 power options
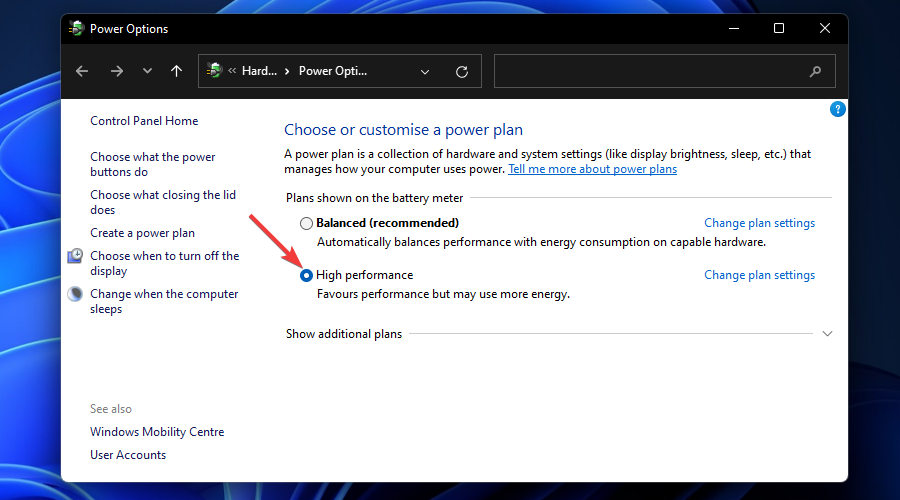
➡ If you’re using the Balanced power plan:
- Click on the Search icon from your taskbar.
- Type power plan and click on the Choose power plan option from the results.
- Tick the High performance option.


➡ If you’re already using the High-performance power plan:
- Click the Change plan settings link next to the option.
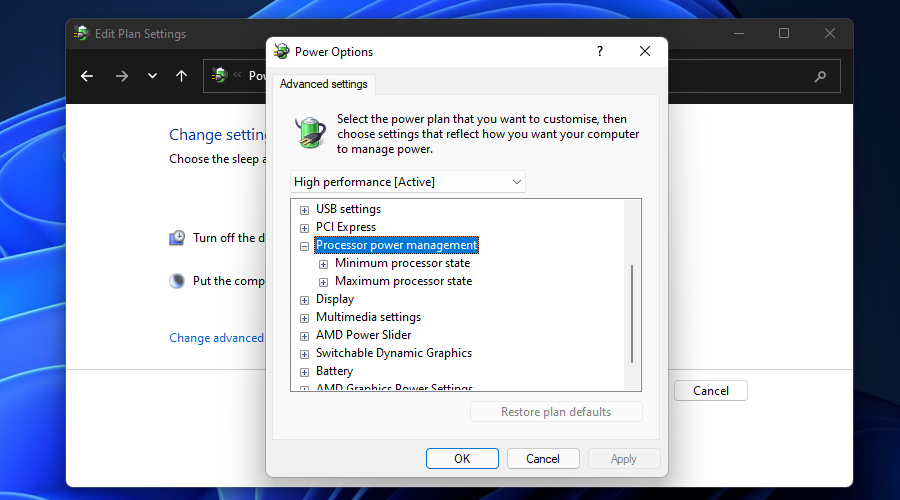
- Select the Change advanced power settings link.
- Double click the Processor power management option from the list.
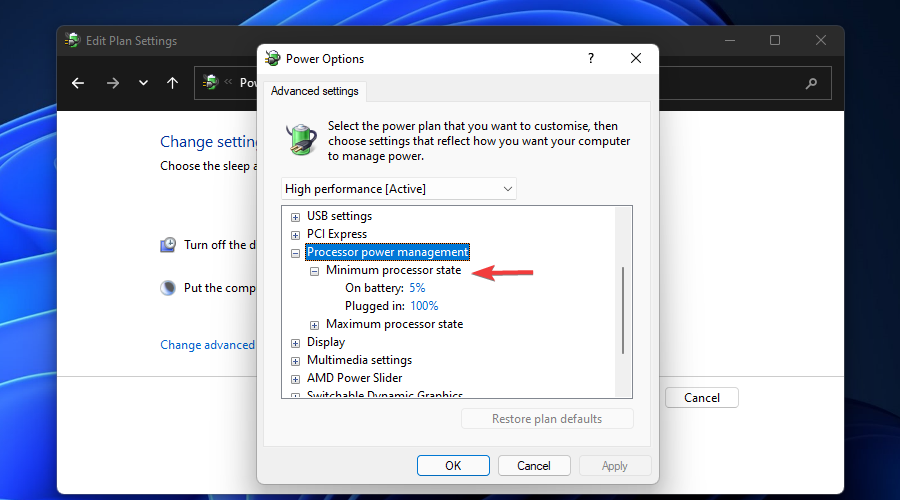
- Open the Minimum processor state option and choose a good value for both elements (battery and plugged in).
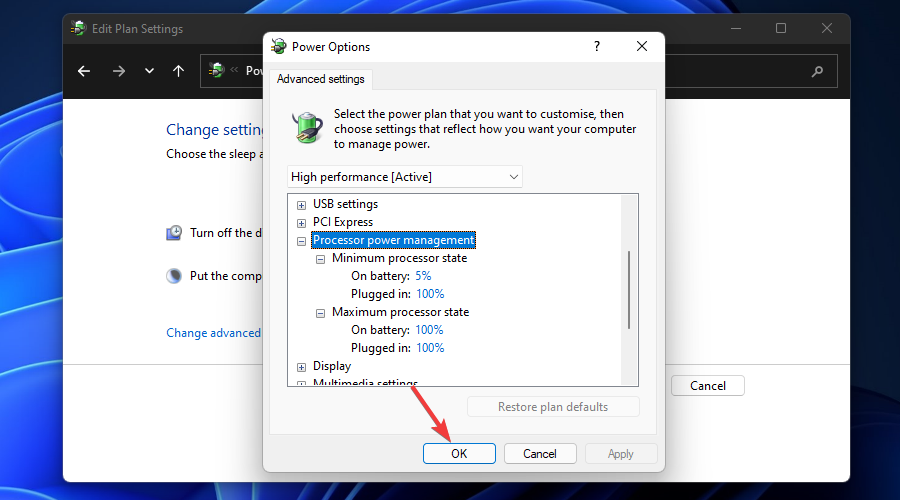
- Choose the Maximum processor state option, and make sure both values are set to 100%.
- Click OK or Apply.


 NOTE
NOTE
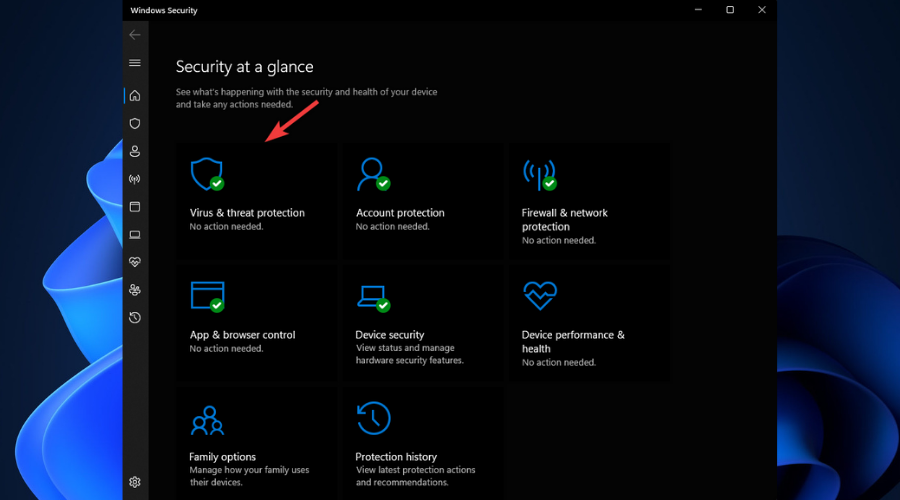
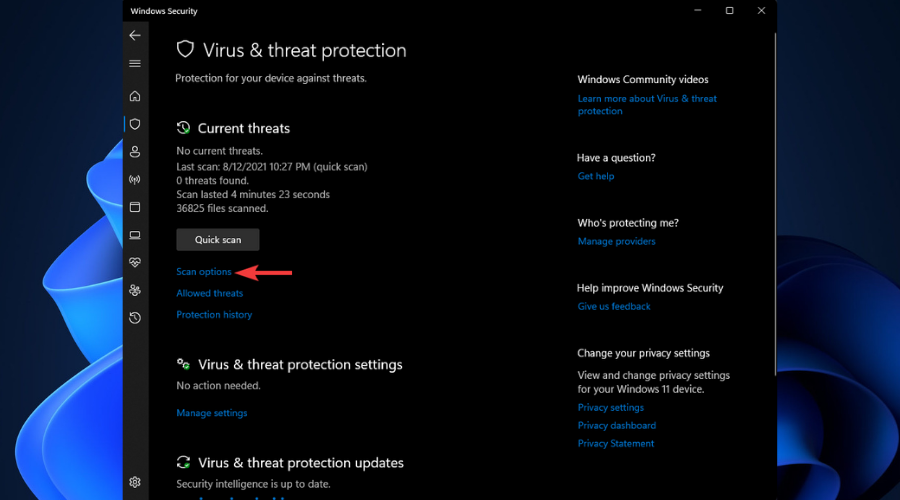
5. Scan your system for malware and adware to fix high CPU usage
- Click on the Start menu button from the taskbar.
- Search for Windows Security, and open it.
- Choose the Virus & threat protection option.
- Click the Scan options link.
- Tick the bubble next to Full scan.
- Click Scan now and wait for the process to complete.


Even though the built-in security system can identify a large number of threats, the scan will most likely not be as efficient as other malware identification software on the market.
If you want to ensure that any malware and adware will be not only identified, but completely removed, a better option would be specialized software like Malwarebytes.
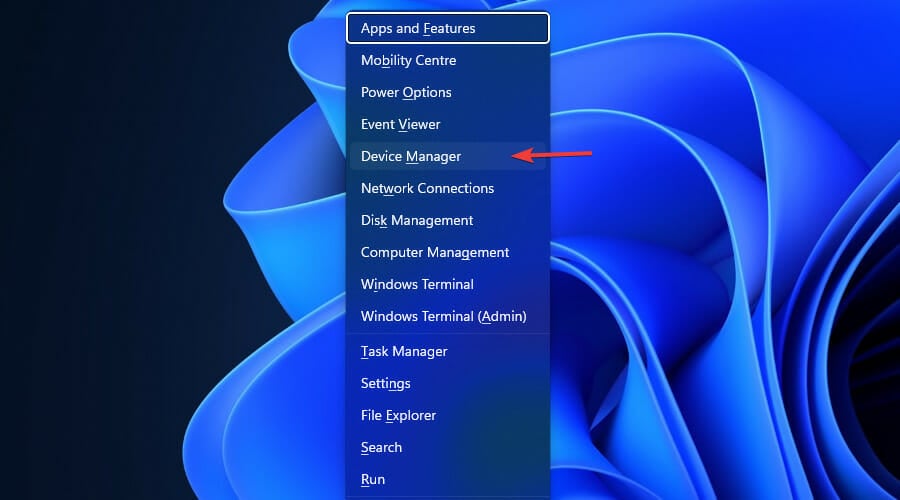
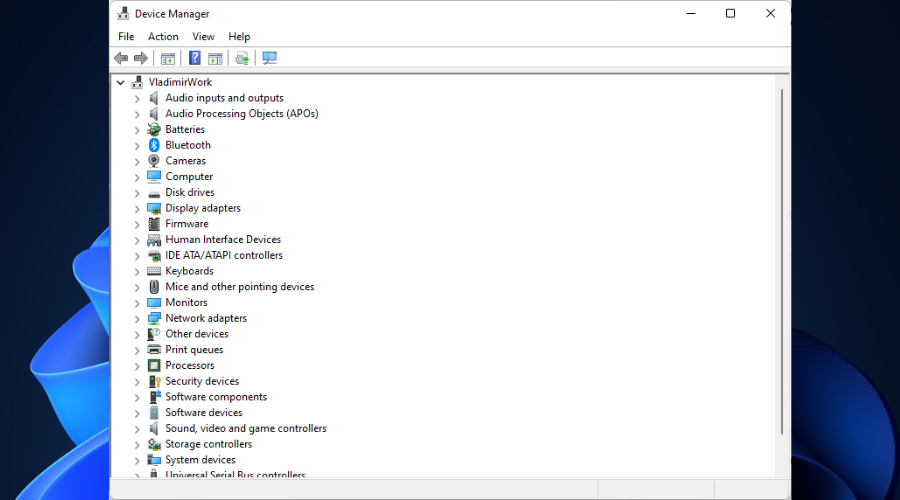
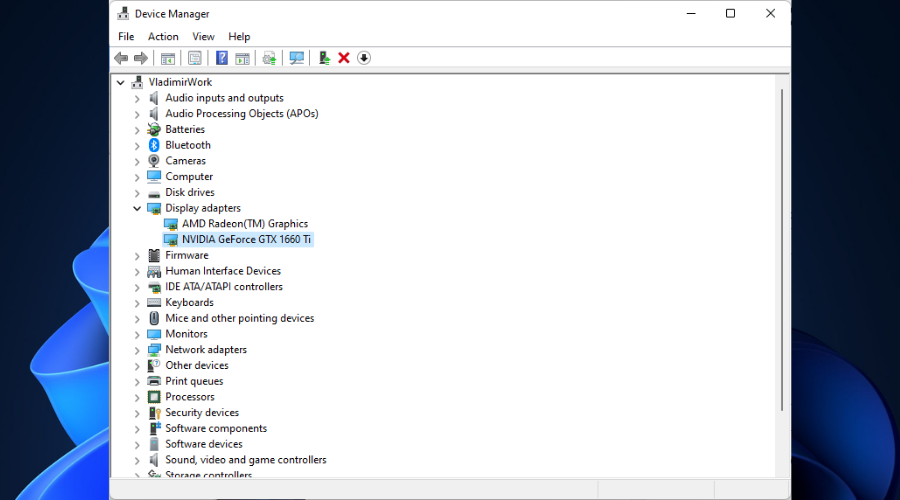
6. Update your PCs drivers to fix high CPU usage on Windows 11
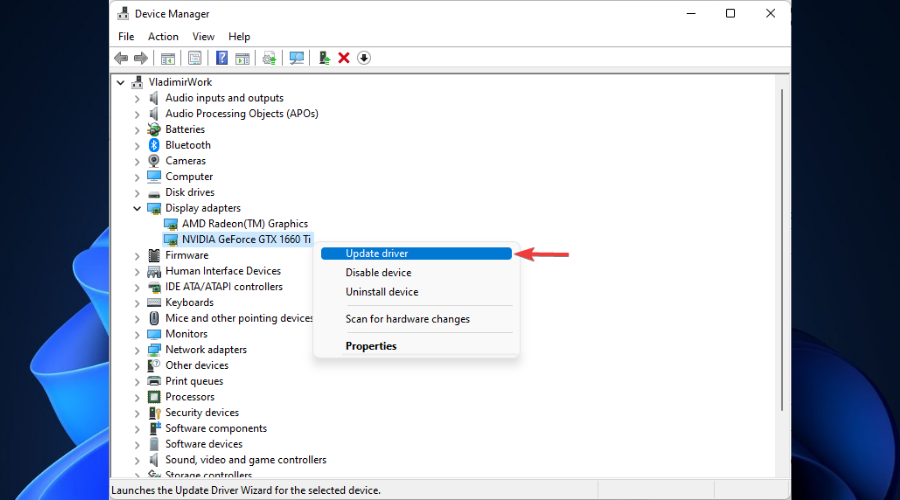
- Press the Win + X key combination and choose Device Manager from the pop-up menu.
- Identify drivers that need to be updated.
- Select the hardware entry you want to update.
- Right-click it, and choose Update Driver.
- Choose Search automatically for drivers.
- Wait for the process to complete and repeat these actions for all drivers.

 NOTE
NOTE
On the other hand, if the device doesn’t have the latest driver release, Windows will install it automatically.
7. Temporarily turn off third-party antivirus and VPN services
Even though this action is not recommended in the long term, temporarily disabling your antivirus and VPN services will allow you to eliminate the possibility of that software interfering with your CPU too much, and thus possibly causing the issue.
 Tip
Tip
If you have another software installed, simply follow the guidance from the respective software’s website guide.
➡ Antivirus
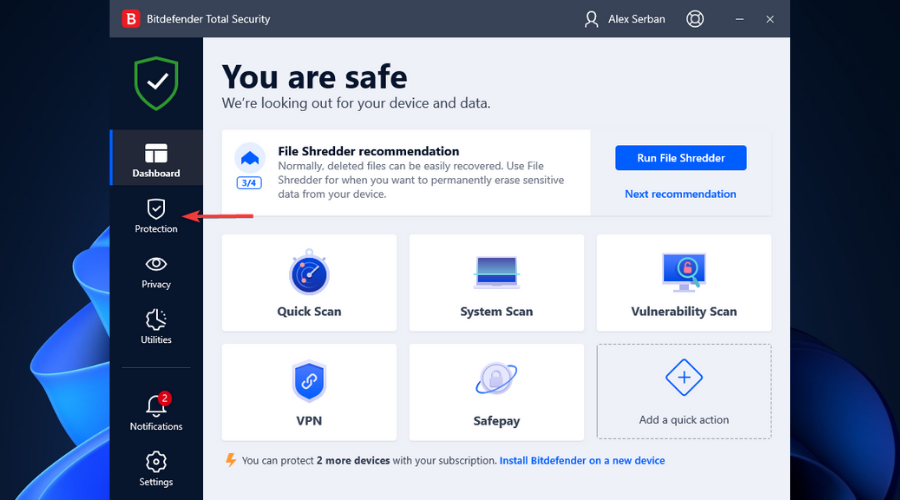
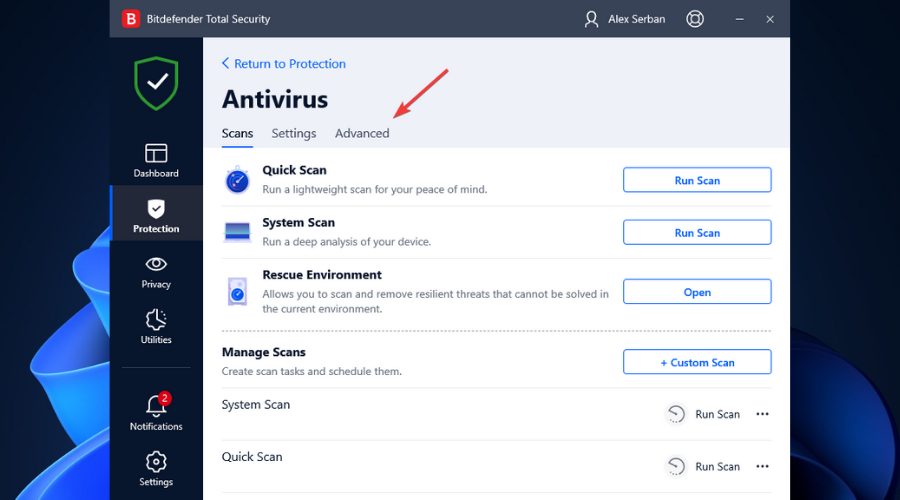
We will first discuss and exemplify the steps required to temporarily disable our antivirus software – Bitdefender Total Security:
- Double-click the antivirus icon from the taskbar to open it.
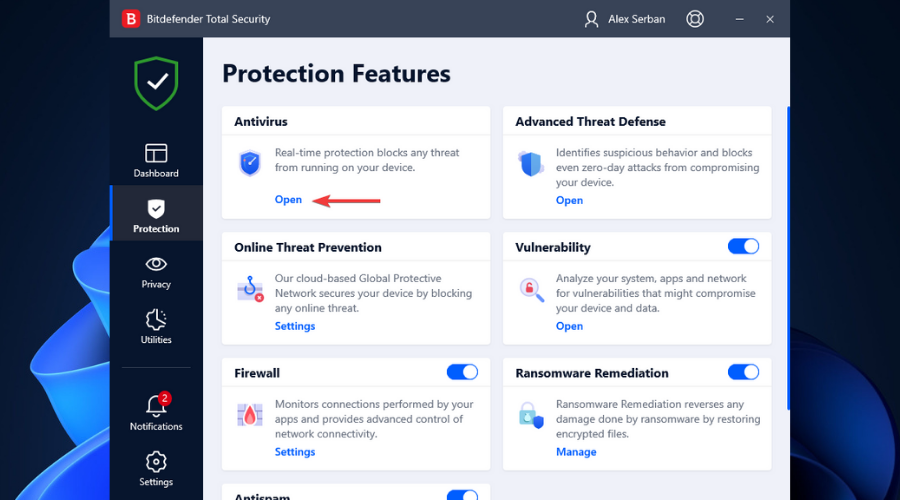
- Click Protection from the left-side menu.
- Select Open from the Antivirus pane.
- Click the Advanced tab.
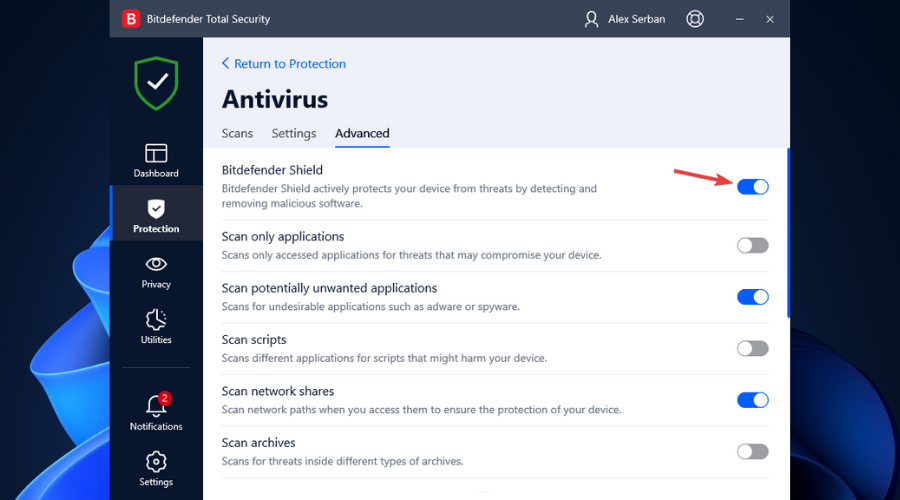
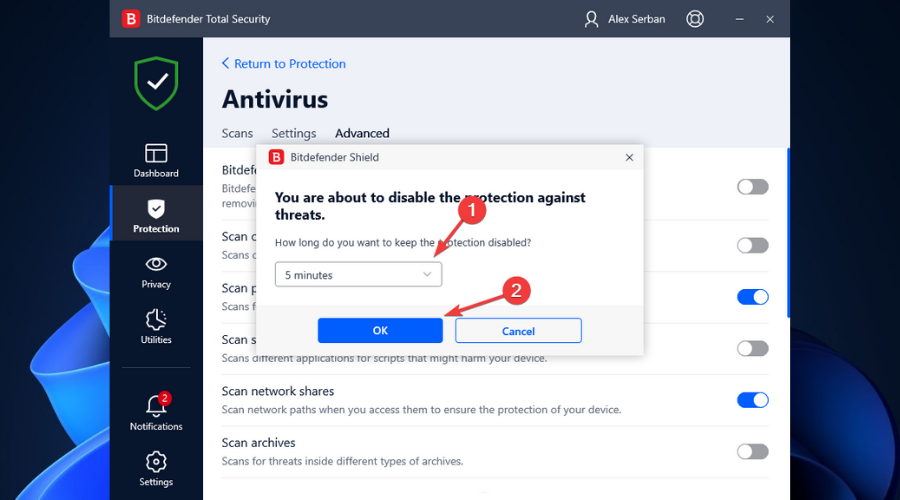
- Use the toggle button to turn off the Bitdefender Shield.
- Click Yes in the User Account Control pop-up.
- Use the drop-down menu to choose the time in which the antivirus will be stopped, and then click OK.
- Try checking your CPU usage and see if there is any significant change.

➡ VPN
When it comes to the VPN service, simply disconnect from any servers and turn off the software.
In our case, these are the steps that need to be followed for Private Internet Access:
- Click the VPN icon from the taskbar to open it.
- Toggle the big power button appearing on the interface.
- The VPN will now be disabled until you choose to re-activate it.


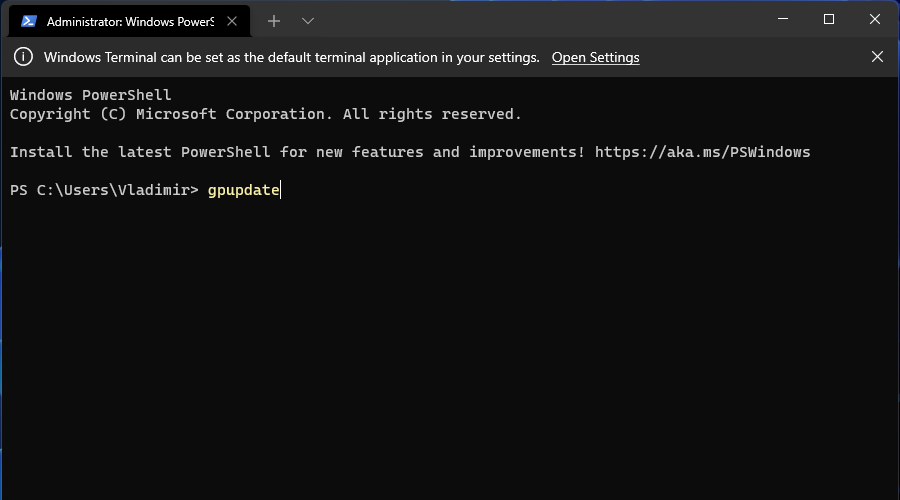
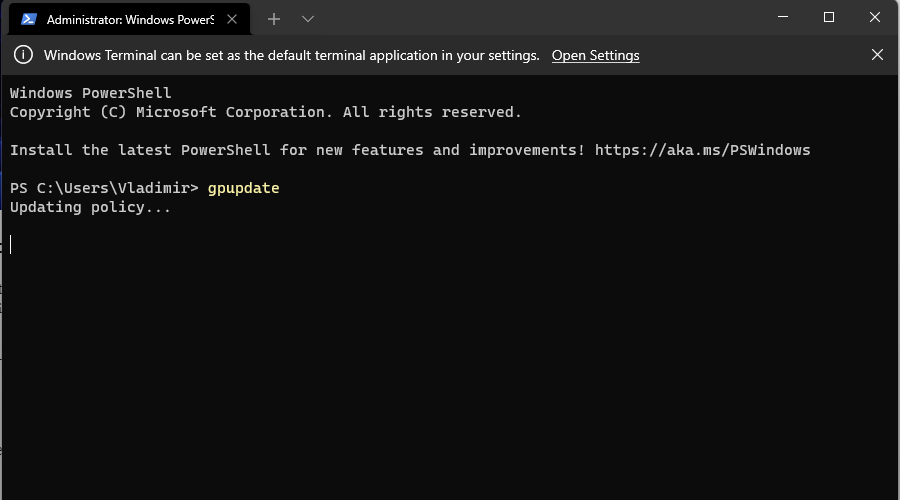
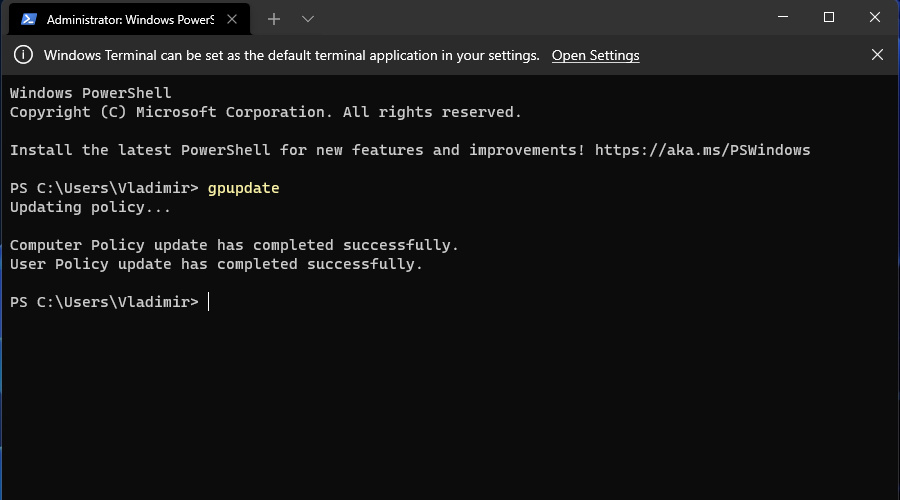
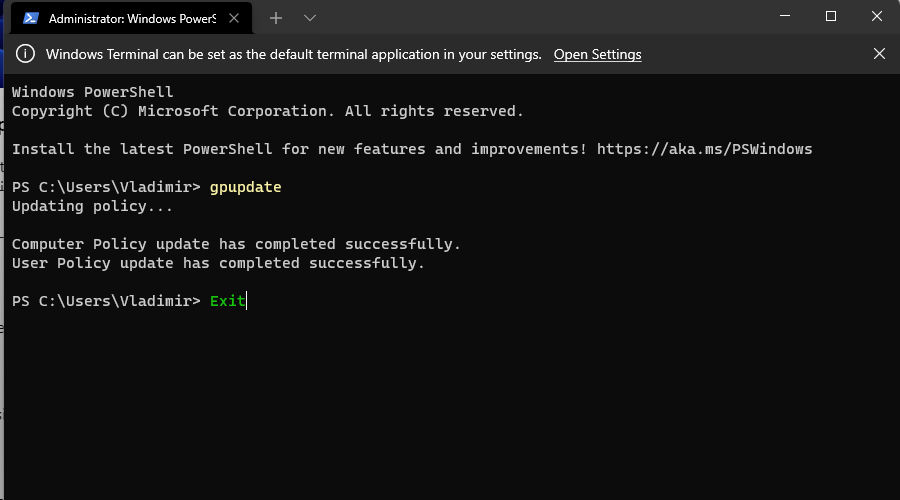
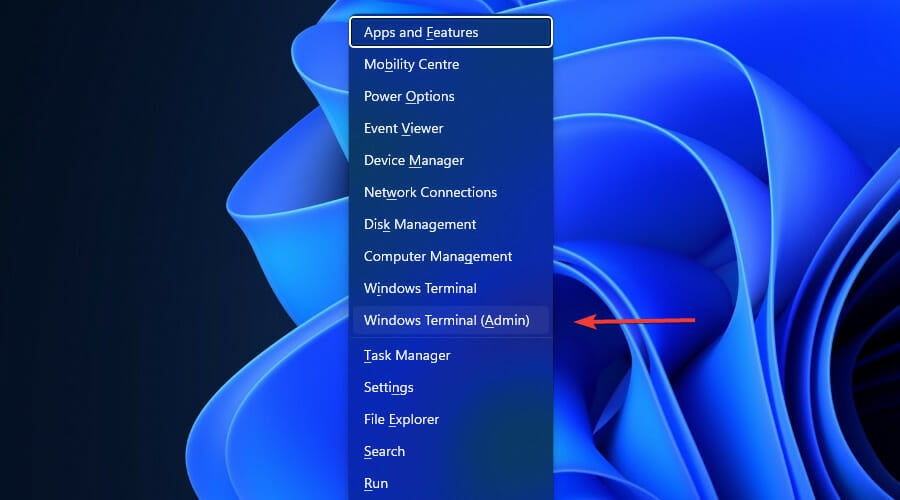
8. Update your computer’s policy to speed up the CPU
Even though your PC’s policy should be updated by default when performing Windows updates, there have been cases in which the CPU over-usage was caused by this small yet important detail.
Here are the steps required to perform this action manually:
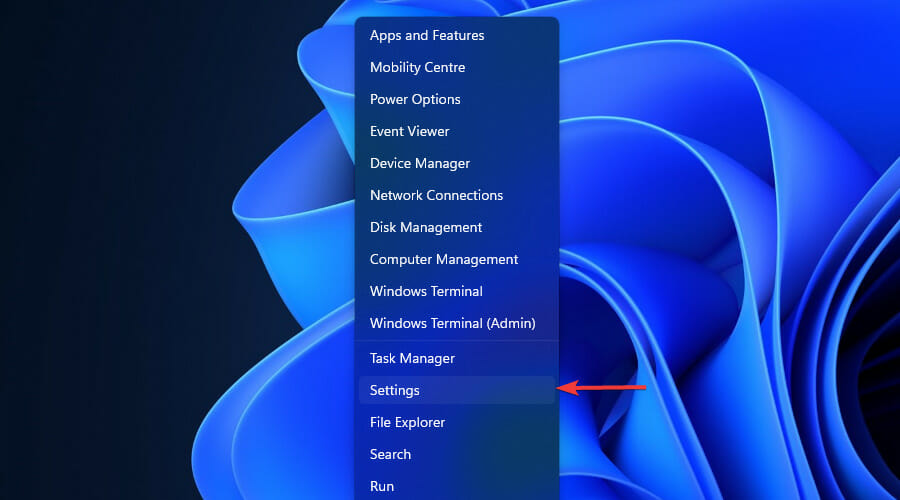
- Press the Win + X keys and choose Windows Terminal (Admin).
- Inside the newly opened window, type the following command:
gpupdate - Press Enter to run it.
- Wait for the process to complete.
- Type Exit and press Enter to close the window.

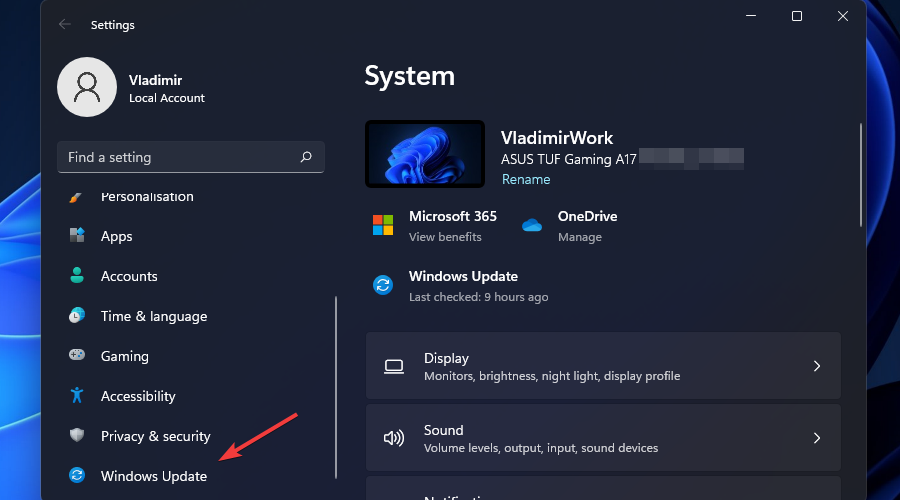
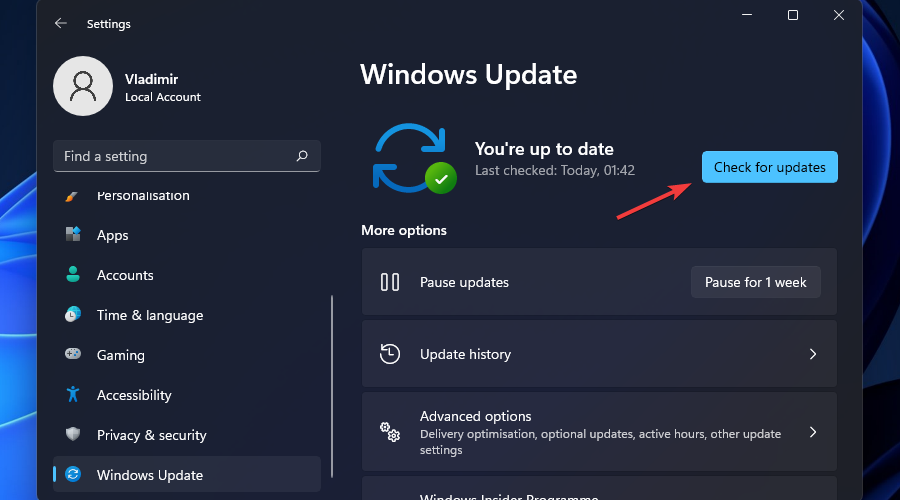
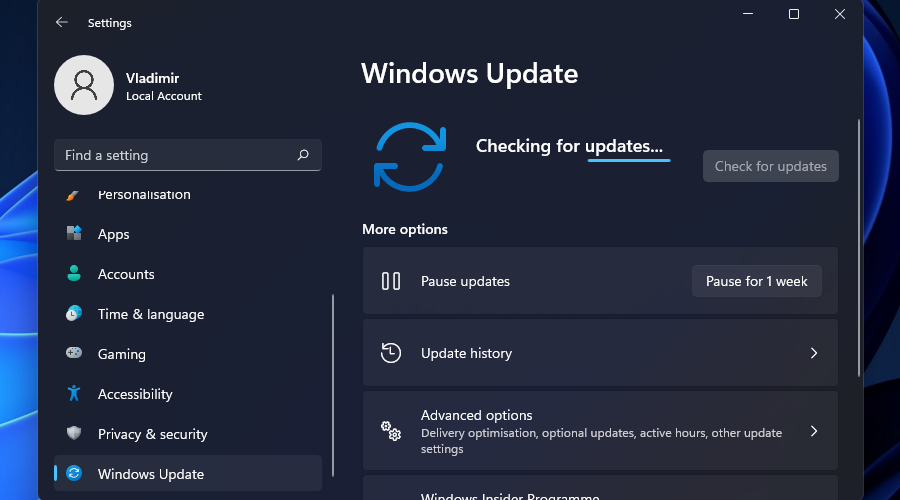
9. Check for Windows updates
- Press the Win + X key combination, and choose Settings.
- Scroll down in the left side panel, and choose Windows Update.
- Click the Check for updates button.
- Wait for Windows to check, and install any available updates.
 Tip
Tip
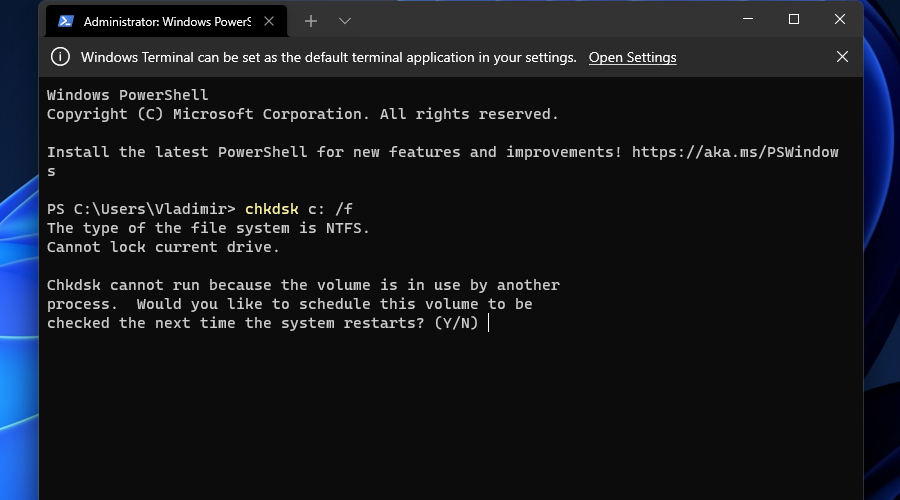
10. Check the Windows 11 installation partition for bad sectors
- Press the Win + X keys and select Windows Terminal (Admin) from the list.
- Inside the command prompt window, type the following command:
chkdsk c: /f - Press Enter to run it.
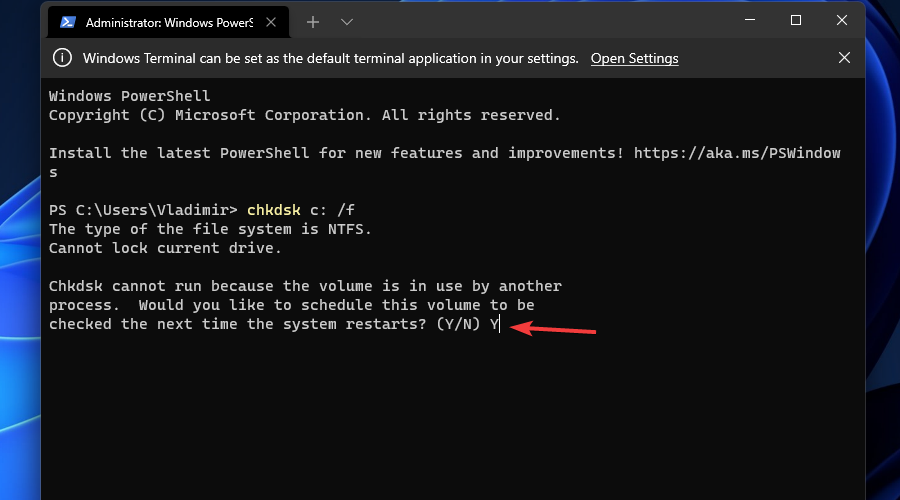
- A message will appear on the screen.
- Type Y and press Enter to accept.
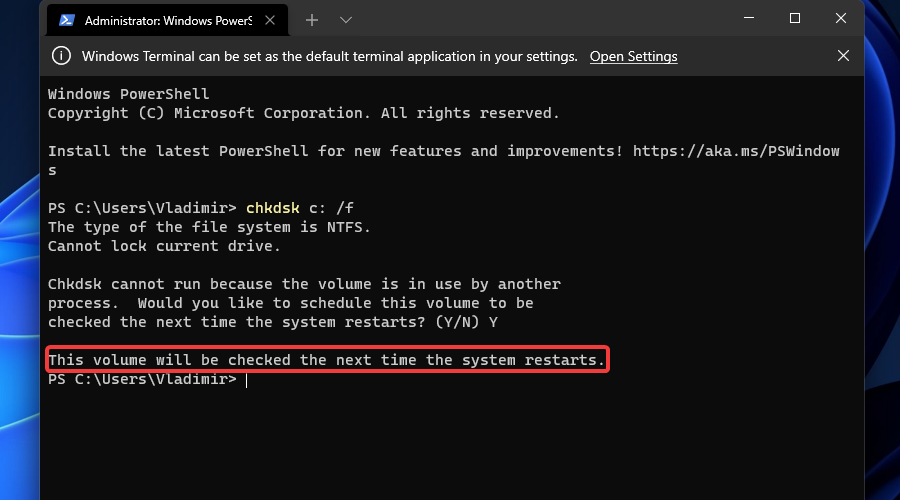
- A message saying that the process will take place at the next restart will appear.
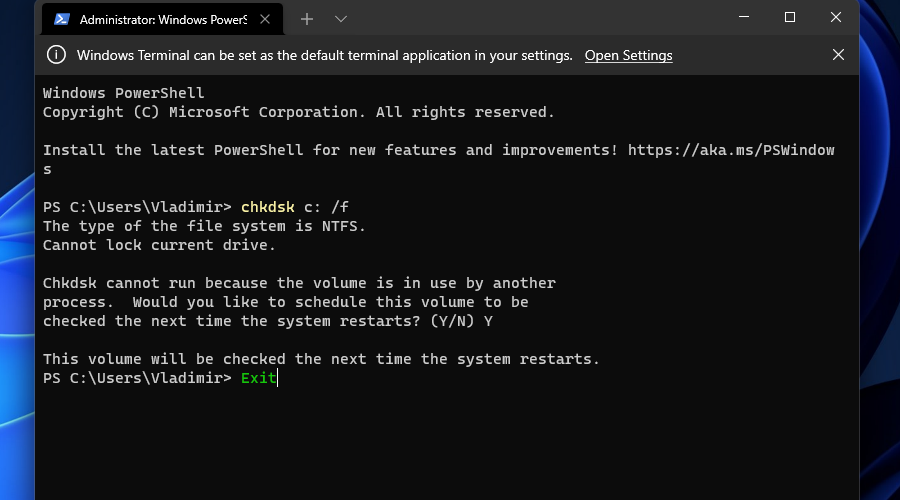
- Type Exit and press Enter to close the window.
- Restart your PC.


 Tip
Tip
11. Fix high CPU usage in Windows 11 by cleaning your PCs components

As dust and dirt can act as an insulator, and thus cause internal temperatures to rise considerably, the insides of your PC must be cleaned regularly.
 Tip
Tip
– A soft brush
– Can of compressed air (optional)
– Tools to open the device (eg. screwdrivers)
– Knowledge of how to open your device without damaging it
Make sure to only attempt this step if you’re sure that you will not cause damage to your system.
If you don’t have experience, we recommend that you take your device to an authorized computer service and ask for a cleanup.
The preponderance of this issue is also closely related to the way your system is built, depending on where the heatsink or fan is placed on the CPU, and if the device is a laptop or a desktop.
- Desktop PC
A tower design will always build up more dust or dirt over time when compared to a design in which the heatsink sits flats on the surface of the CPU.
In either of these cases, using a can of compressed air will clear up any impurities from the fan and thus considerably help you with your CPU issues.
As a bonus, after considering the information presented on the CPU’s manual, try removing the CPU from the motherboard and also clean the connector (CPU interface) using the same compressed air can.
This last step will ensure that nothing is bothering your CPU while trying to cope with tasks, and the connection to the motherboard is optimal.
- Laptop
Even though a lot more portable than a desktop PC, the downside when owning a laptop is that the process of opening it up is a bit more complicated. This happens especially if you have a notebook, as some gaming laptops feature systems that enable you to open them easily.
That being said, make sure to check the producer’s website for any guidance in this matter, and after successfully opening the device up, use a can of compressed air to blow away any dirt or dust from the components.
12. Check the PCs power supply
If your PC is not getting enough power, or if the power fluctuates considerably, then the system will not work optimally, and thus will cause your CPU to reach high values even for everyday tasks.
- Check along the length of the power cable ensuring that not cuts are present.
- Ensure that both ends of the power cable are connected properly (both in the wall socket, and the end that connects to the PC).
- If you can’t find any obvious issues, and suspect that this might be causing problems, we recommend you seek professional help (local PC repair shop).
If you’re not sure that the power supply is the issue, you can also try out the next solutions from this guide before taking it to an authorized computer repair shop.
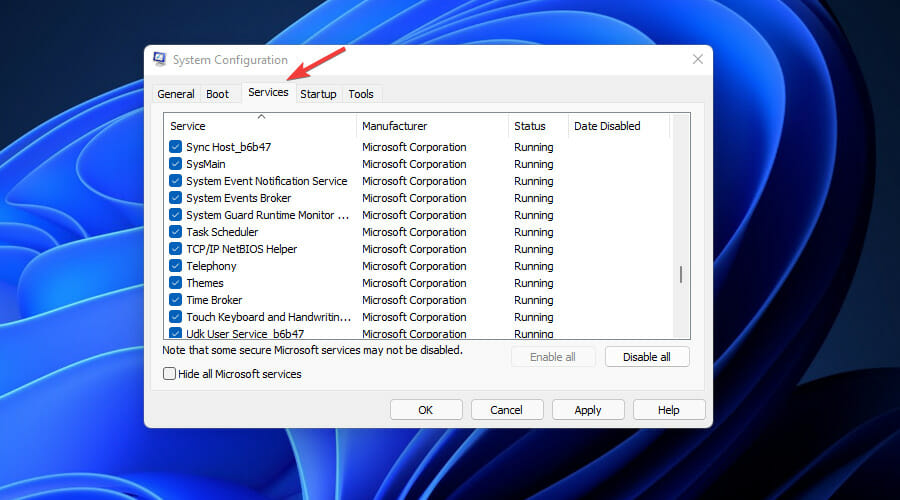
13. Disable non-Microsoft services with MSConfig
Tip
Even though no Microsoft services will be turned off, disabling services can cause system instability.
- Press the Win + R keys on your keyboard.
- Type MSconfig in the Run dialog box, and press Enter.
- Open the Services tab.
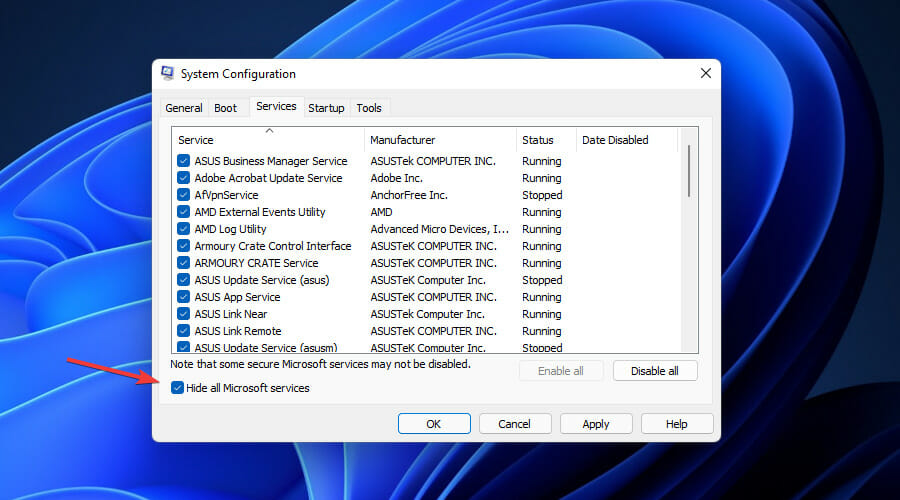
- Tick the box next to Hide all Microsoft services.
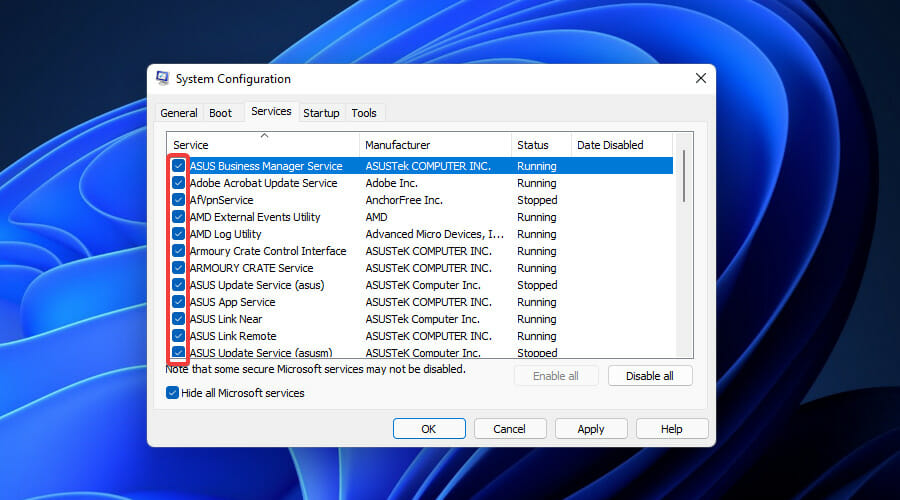
- Go through the list and un-tick the boxes next to the services that you don’t need.
- After disabling a service, restart your PC and check if the CPU situation has improved.
- Repeat steps 4, 5, and 6 until you find the service/services causing issues.
- After identifying the service/services that cause your CPU to work extra, enable all the other services one by one.

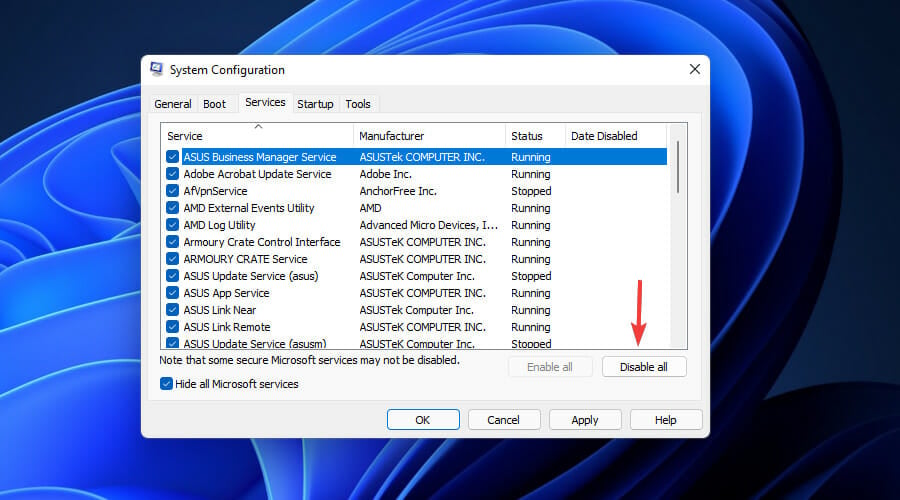
If you want to disable all the non-Microsoft services, simply click the Disable all button after ticking the box mentioned above.
After you’re done testing which services are causing your CPU to work extensively, restart your system for the update to take effect.
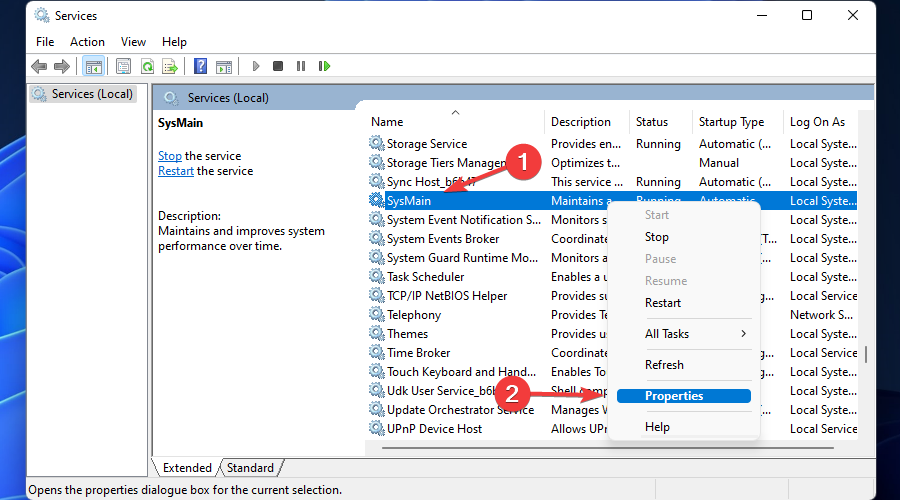
14. Stop/disable specific Microsoft system services (last resort) to fix high CPU usage
Tip
Even though only some selected Microsoft services will be turned off, disabling services can cause system instability.
As running system services your PC doesn’t need to operate will cause the CPU to work overtime without any useful results, deactivating some Microsoft services will prove helpful.
The services which can be disabled without risking system instability are the following:
- SysMain – preloads RAM usage for apps
- Windows Search – indexes data stored on your system for fast search results
- Windows Update – service that automatically scans for Windows updates
You should first try stopping these services and testing out the results.
If the CPU works better after disabling one or more of these services, you can consider disabling them entirely.
Stopping services:
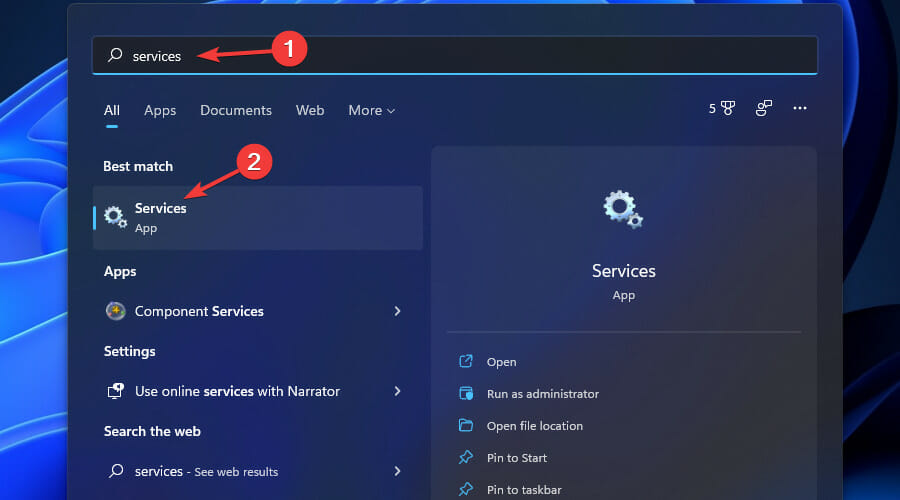
- Click on the Search button from the taskbar.
- Type service and click on the Services option presented in the results.
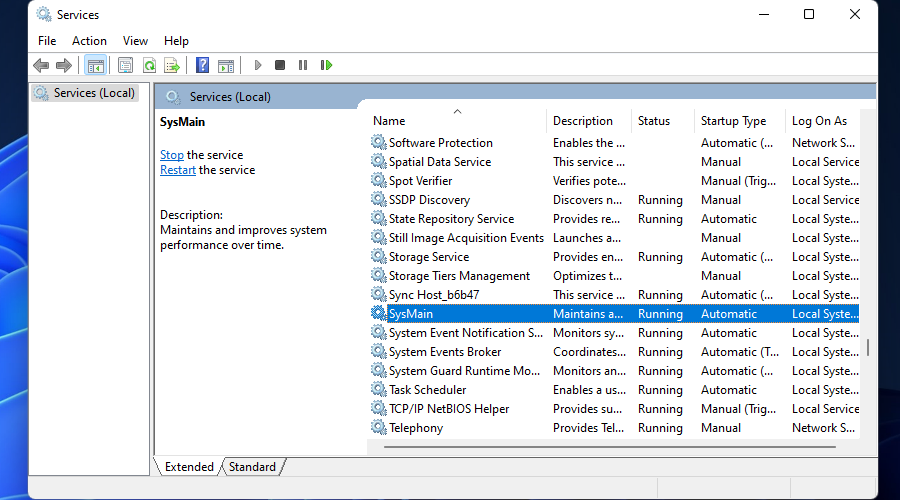
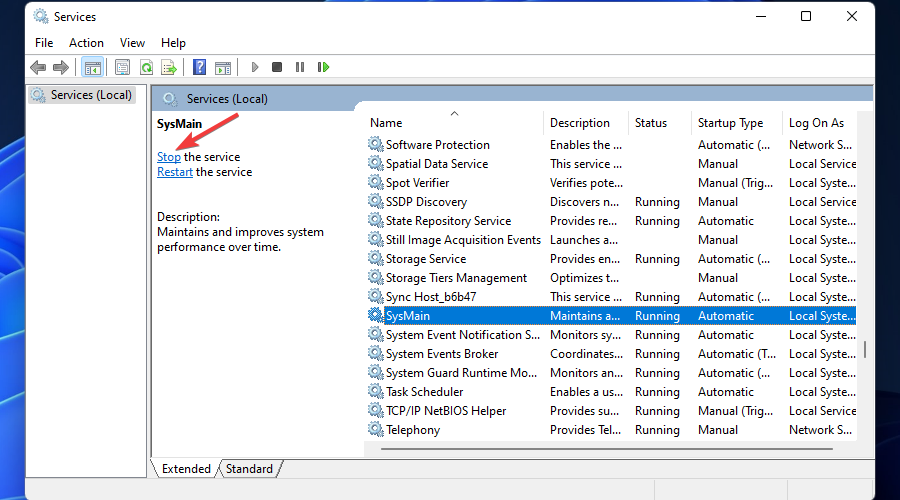
- Search the services list for SysMain, Windows Search, and Windows Update.
- After selecting each of these services, click the Stop link from the side panel.
- Test out your CPU usage and how stopping the services has impacted your Windows 11 experience.
- If you find that CPU usage is better, and also don’t mind not having the services enabled, follow the next method to disable them.
Disabling services:
- Follow step 1, 2, and 3 to open the Services app and search for the respective entries.
- Right-click each of the 3 services mentioned above and choose Properties.
- Click the drop-down list under the Startup type section.
- Choose Disabled.
- Click Apply.
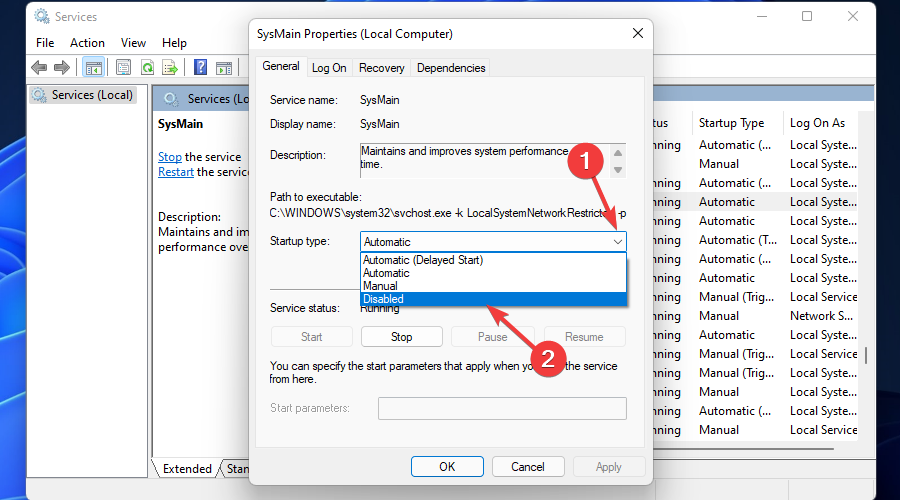

If at any point you want to re-activate these services, simply follow the same steps presented here, but choose Enabled from the drop-down menu inside the Properties window.
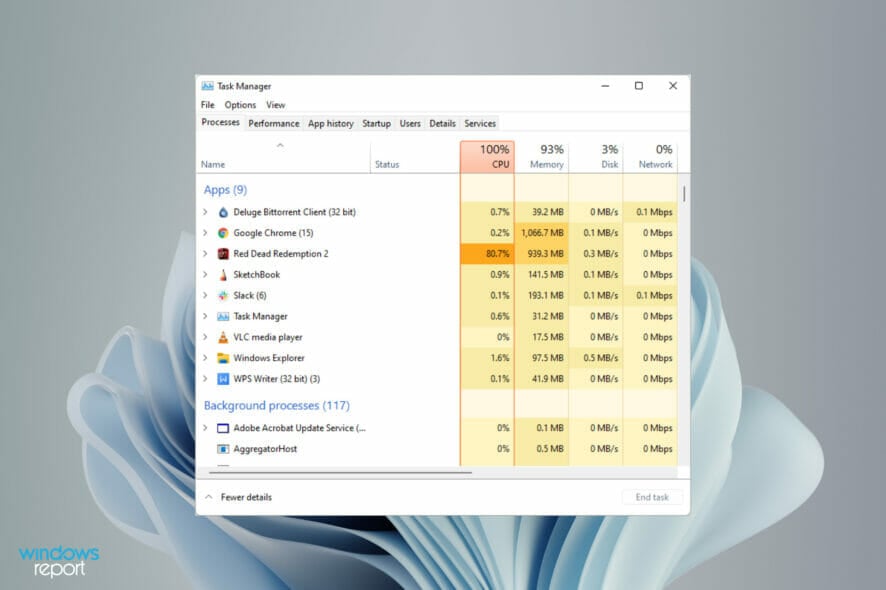
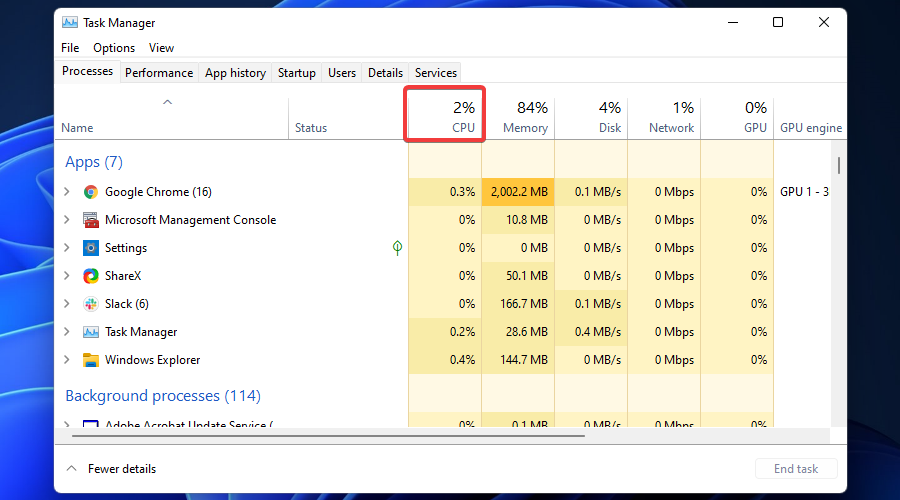
How can I check for high CPU usage?
Even though some third-party task managers can be used to achieve the same results, the most accessible option will be the built-in Windows 11 Task Manager feature.
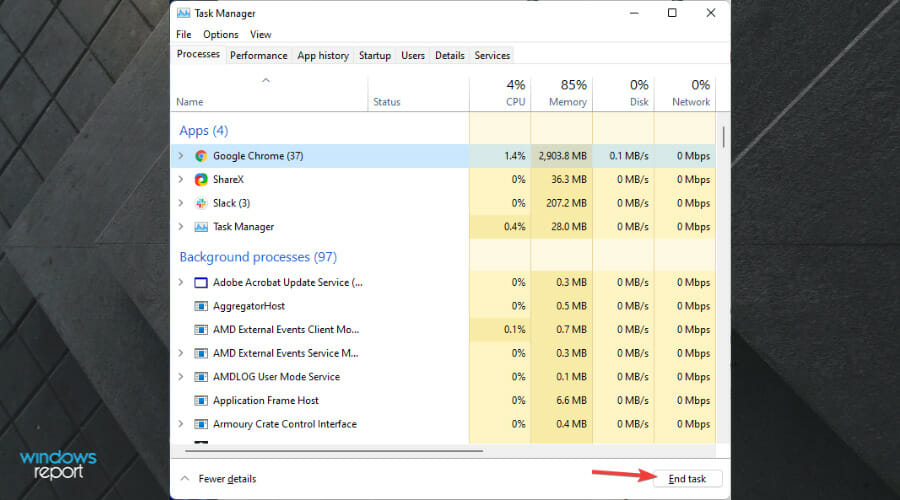
- Press the Ctrl + Shift + Esc key combination.
- Click the Processes tab.
- Close any resource-intensive apps like games and image processing apps by selecting it-them and hitting the End task button.
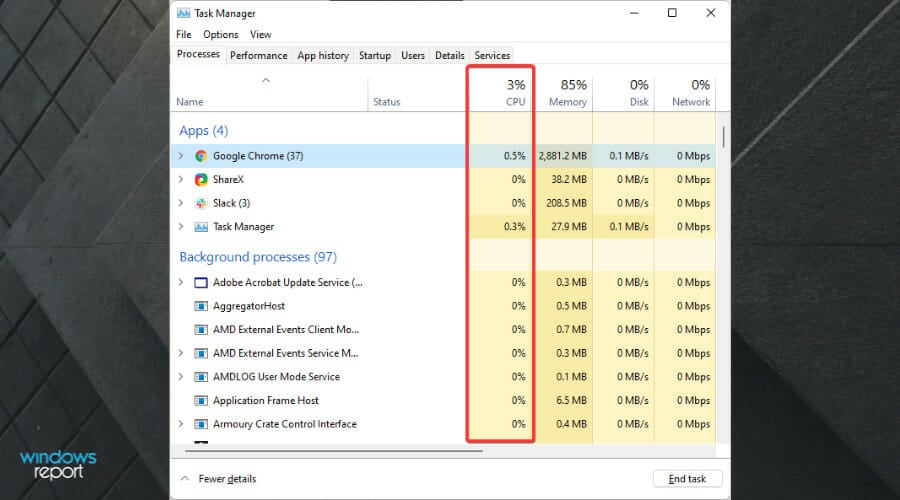
- Check the % of CPU usage in the respective section.
- Monitor this value across a few hours to check if it constantly reaches high levels while using your PC normally.

 NOTE
NOTE
In case your system reaches 100% CPU usage only occasionally (depending on the apps that you’re running), then we can conclude that your system doesn’t have a real problem but would benefit from a components upgrade and the following tricks nonetheless.
As you can see, there are a variety of ways in which you can resolve issues with your CPU values going overboard.
If you are facing high CPU usage due to processes like Microsoft Common Language Runtime Native Compiler High CPU Usage, we recommend you check this guide for solutions.
We presented you with options starting from the least intrusive to the ones that could pose a risk to your system, so make sure to try them out in the order that they were presented.
If you find yourself in the camp that thinks that investing in a new PC is a doable option, you can explore our thorough list of the best Windows 11 desktop PCs.
If you’re more inclined to appreciate the portability of your new PC, then investing in a great laptop that can run this OS is the best choice.
Added to that, we will also discuss how to make Windows 11 more responsive by ensuring that every aspect of your system is ready to confront the tasks you throw at it.
Other applications can cause this issue as well, and we wrote about WavesSvc64.exe high CPU usage and COM Surrogate High CPU and Memory Usage in our other guides.
Feel free to share what solution worked for you in the comments section below this guide.