How to Properly Dual-Boot Windows 10 With Another OS
![]() 6 min. read
6 min. read
![]() Updated on
Updated on
Share this article

Improve this guide
Read our disclosure page to find out how can you help Windows Report sustain the editorial team Read more
Key notes
- Many OSes have various pros and cons, and that is why many users choose a dual-boot system.
- That being said, the article below will teach you exactly how to dual-boot Windows 10.
- For more information on how to use this amazing OS, visit our specialized Windows 10 section.
- Like learning new and interesting things? Check out the tutorials from our How-To section!
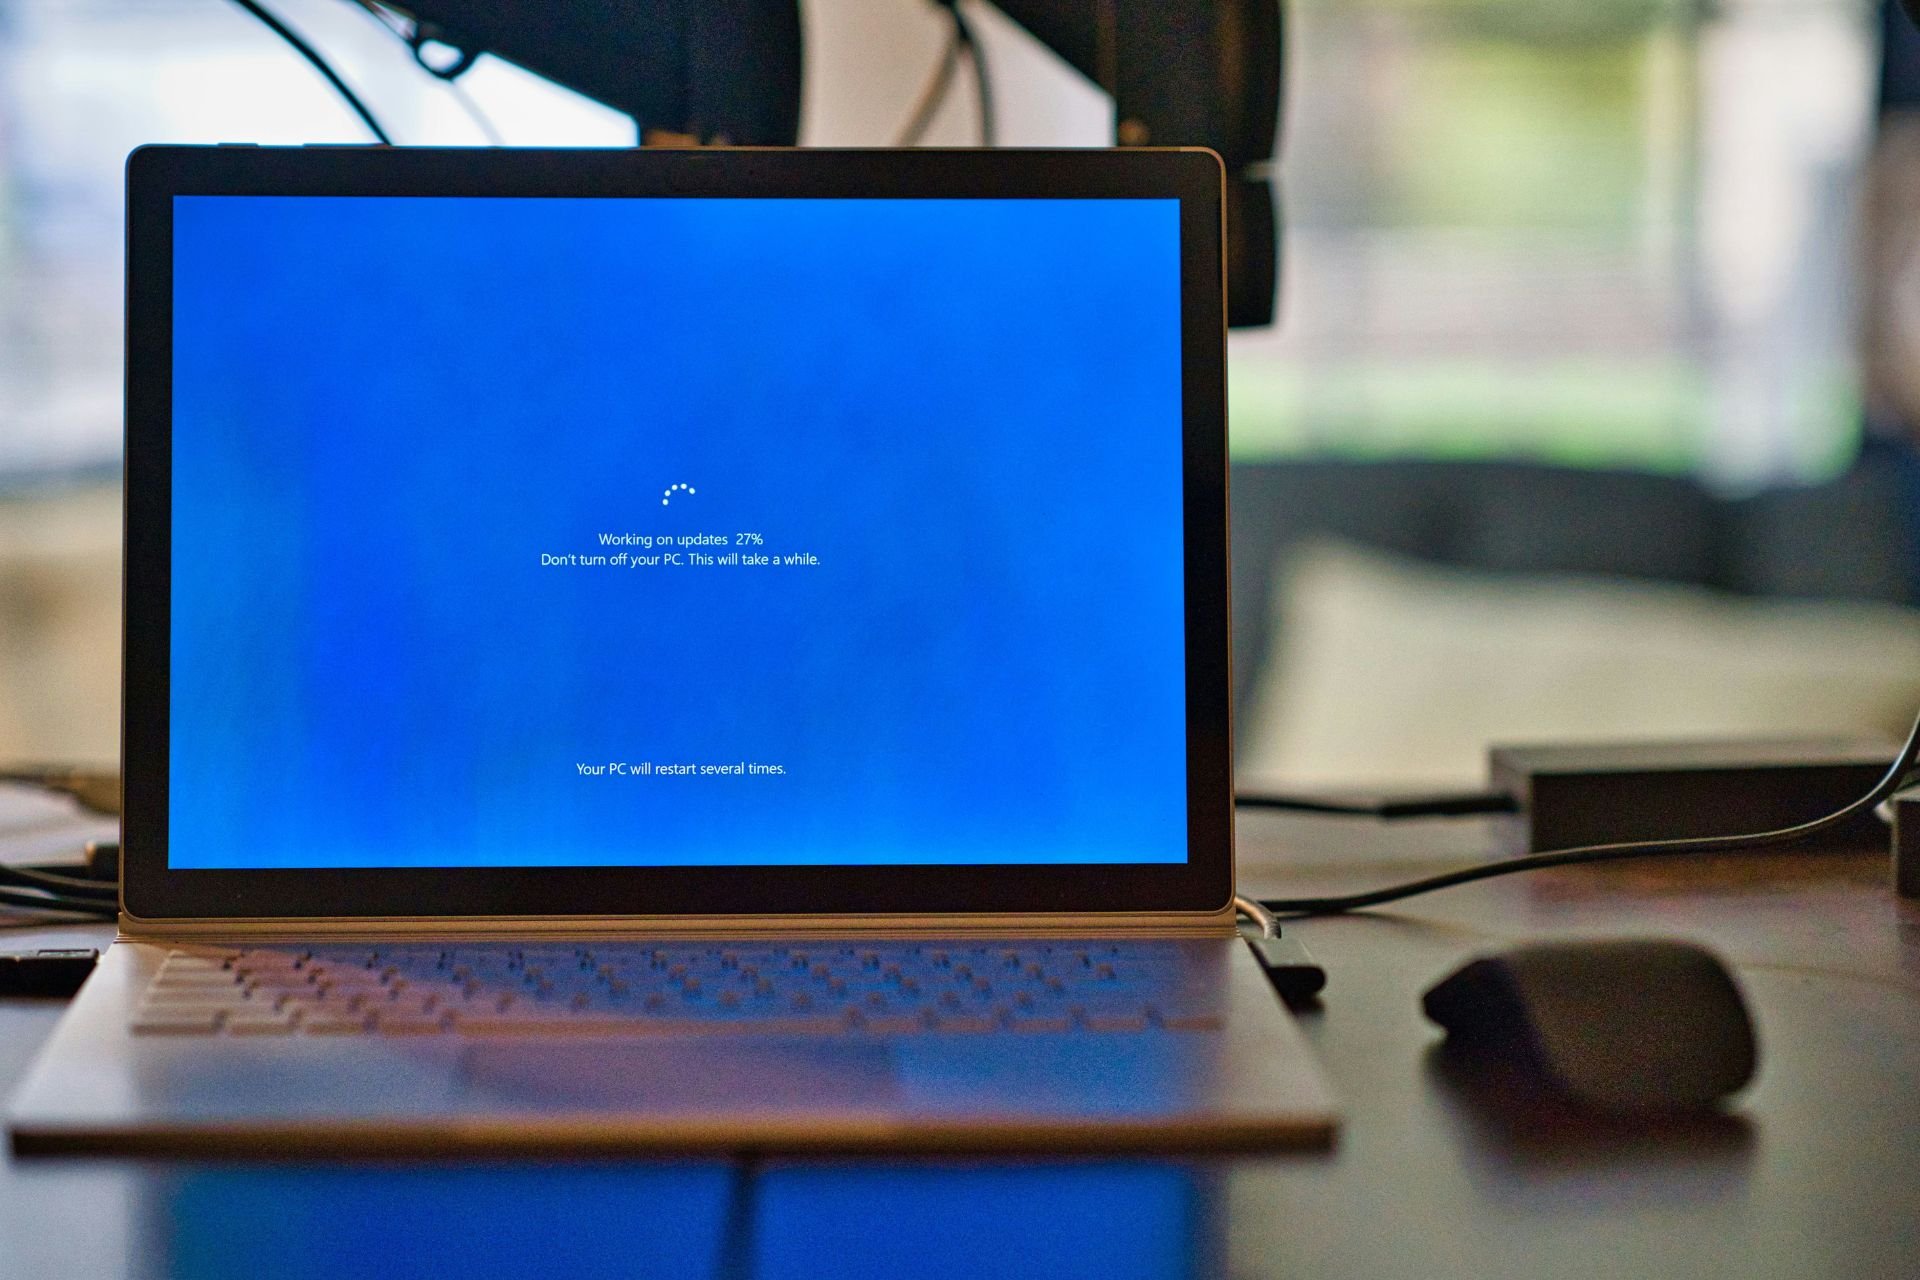
You probably already heard that it is not recommended to install Windows 10 as your primary operating system, but if you really want to use it there are a couple of methods which will allow you to use it, along with your current system. And one of these methods is dual-boot.
Performing a dual-boot is not a complicated task. Here’s what you need to do to complete it successfully:
- Shrink your System Partition to make enough space
- Download the Windows 10 ISO file
- Install Windows 10 alongside your current system
- Choose which Operating System you want to boot
How do I dual boot Windows 10 and another OS?
The present article will guide you through the dual-boot process. For more information on specific operating systems you choose to team up on your computer, also check these articles:
- Dual Boot Windows 10 and Ubuntu – follow along with the instructions below. Since Windows 10 has settings that are not optimal for dual boot setups, you might encounter some issues. Here is a specific guide to fix Ubuntu Windows 10 dual boot.
- dual boot Windows 10 and Linux – many of them had issues with this one. If you’re stuck installing Linux on Windows 10 PC in a dual-boot mode, make sure to check this tutorial.
- dual boot Windows 7 and Windows 10 – you can easily dual boot Windows 7, or any other version of Windows, and Windows 10 Preview build by following this guide.
- dual boot Windows 10 and Windows server – in our dedicated article, you can see a good example of how to install Windows Server 2012 R2 as the second OS on a machine. The same steps also apply to the Windows Server 2016 or the older 2008 R2 which was based on the same kernel as Windows 7.
- dual boot Windows 10 and Endless OS – find the guide in this article.
Shrink your System Partition to make enough space
First, you’ll need to make space for Windows 10 on your hard drive. If you have two different hard drives in your computer and one of them is empty, you can skip this part. But you’ll probably want to install Windows 10 alongside Windows 7 or 8 on the same hard drive.
Before you install another operating system on your computer, you’ll need to free up some space for it. If you have two different disk drivers in your machine, and one of them is empty, you don’t need to do anything. But, you probably want to install Windows 10 on the same partition as your current system.
To free up some space for your new operating system, you’re going to use the Disk Management Utility, which is built-in feature in Windows 7 or 8.
To run Disk Management Utility follow these steps:
- Hit the Windows Key and R, then type diskmgmt.msc into the Run dialog box
- press Enter to launch it
- Locate your system partition, which is probably C:
- Right click on it and choose Shrink Volume.
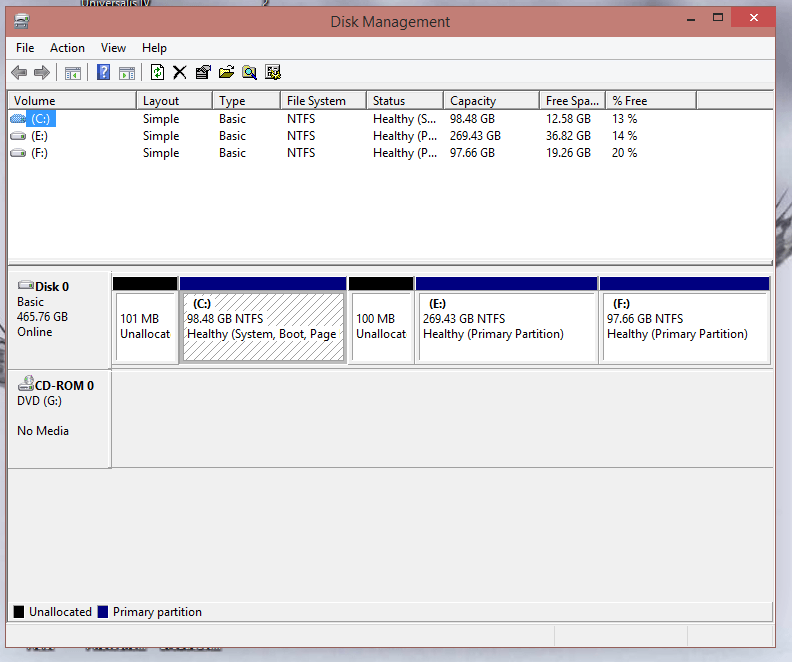
This feature will free up some necessary space, and you’re good to install the new operating system on the same partition as your current OS. System requirements of Windows 10 Technical Preview say that you’ll need at least 20 GB of free space, same as for Windows 8 or Windows 8.1, but you’ll probably want to have more free space than that.
After the shrinking is done, you can download Windows 10 from Microsoft’s website, and continue the process.

This can also be one via third-party partition managers which can do the job faster, in a much safer manner, and you don’t need so many steps either.
One great example is Aomei Partition Assistant Professional, a tool that can allow anyone with basic knowledge of English to do whatever they want to their partitions, including shrinking them.
Simply launch the program, select the partition in question, and then select from the toolbar what is it that you want to do with it.

AOMEI Partition Assistant Professional
Shrink your system partition down to size without compromising your OS with the help of this fantastic partition manager!”Also, don’t forget to backup your data before you install a new operating system. Although it shouldn’t delete any of your existing files, you should perform a backup, just in case.
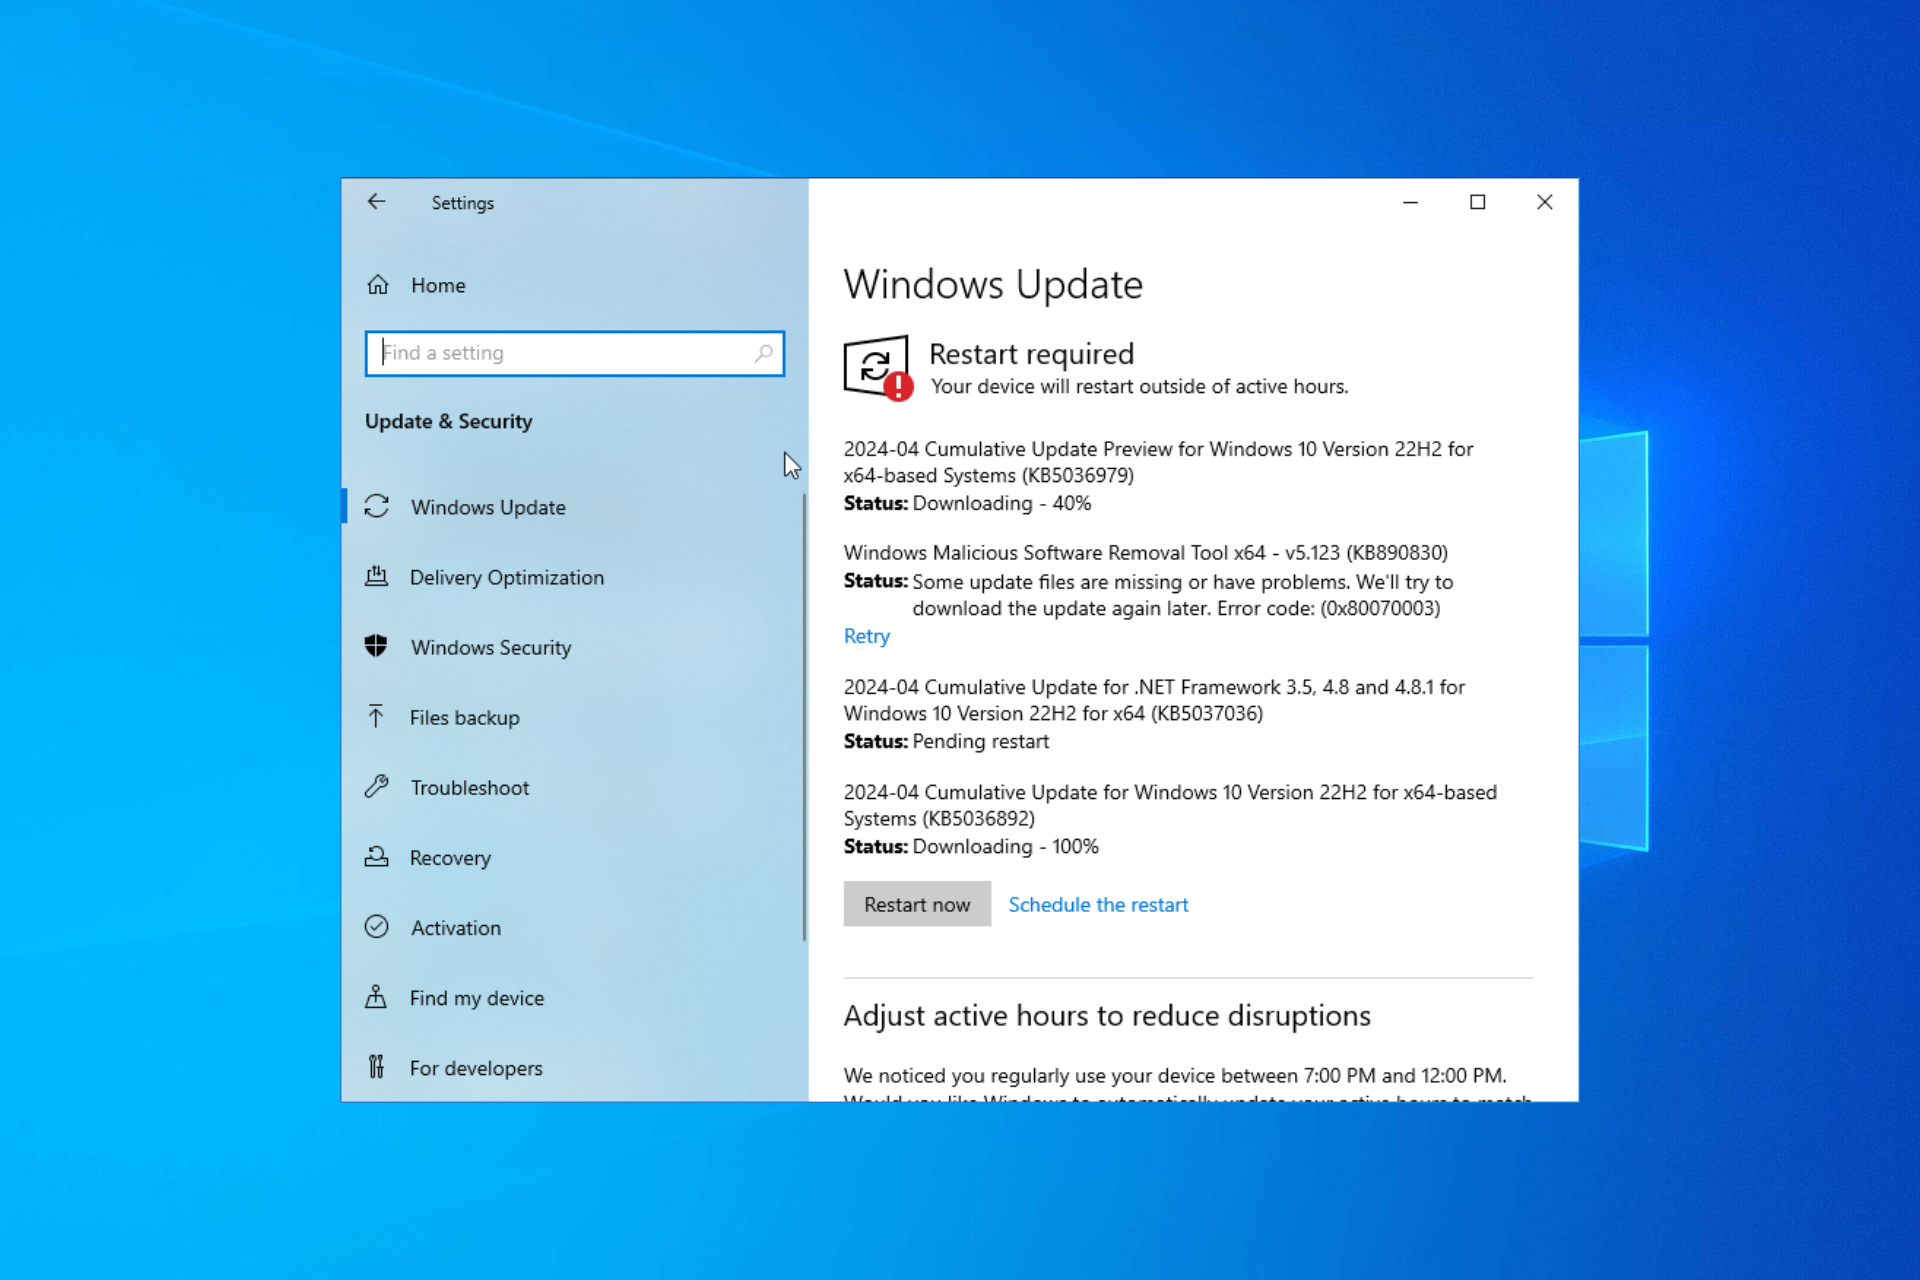
Download the Windows 10 ISO File

After you prepared your hard disk drive for installation of the new operating system, you should download it from Microsoft’s site. Download a Windows 10 ISO file and either burn it onto a DVD or make a bootable USB flash drive.
After you do that, leave your DVD or USB Flash in your computer, and restart it. It should automatically start the installation, but if it doesn’t, change the boot priority in BIOS.
Install Windows 10 alongside your current system
Now, install Windows 10 Technical Preview normally.
Select your language and keyboard layout and proceed to Install now.
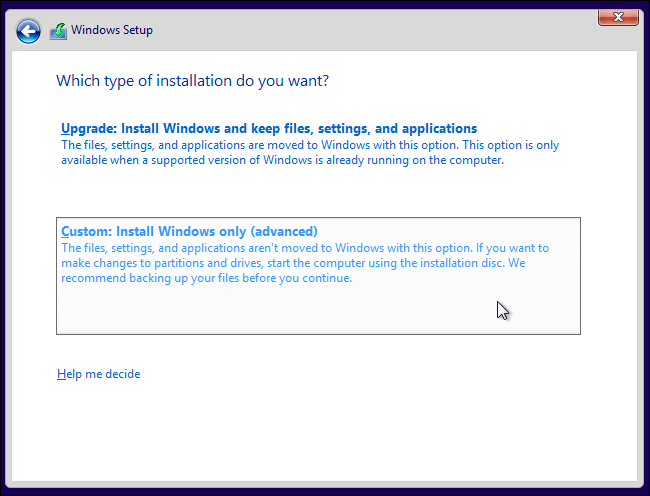
After agreeing on the license agreement, choose Custom: Install Windows only (advanced), because it will install the fresh copy of windows on your desired partition.
If you choose Upgrade option, it will upgrade your current operating system to Windows 10.
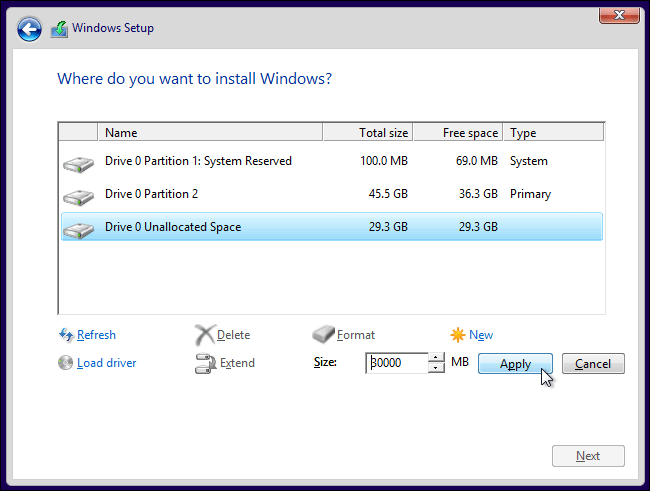
The Where do you want to install Windows? will window appear. You’ll notice an Unallocated Space option, this is the space you shrank earlier. Choose Unallocated Space and New, to create a new partition in the empty space.
A Size box will appear asking you how big you want your new partition to be. You should use all the free space (which is also a default option), and just click Apply to create a new partition.
After that, just follow further on-screen instructions, and finish the installation.
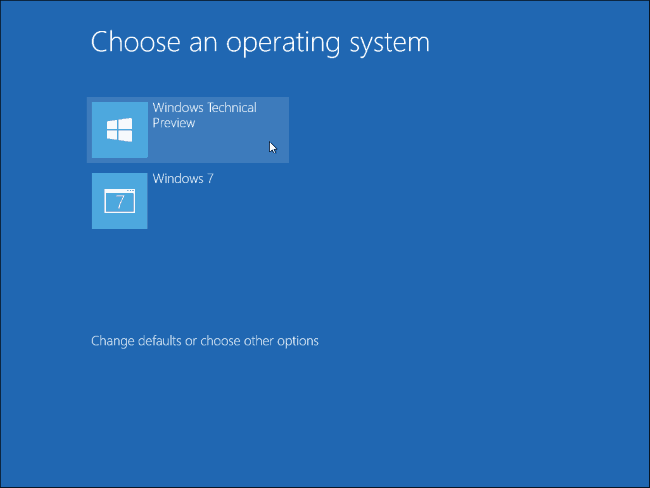
Choose which Operating System you want to boot
From now on, you’ll be able to choose which system you want to use on your computer. To switch between Windows 7/8/8.1 and Windows 10, just restart your computer and choose again.
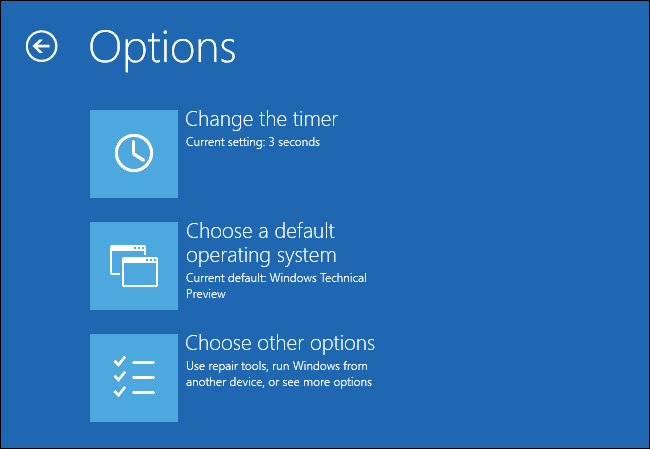
Go to Change a default operating system or Choose other options in order to choose which operating system you want to boot by default, and how much time will pass before the computer automatically boots the default one.
Both versions of the system use the NTFS file system, so you’ll be able to easily access your files from both operating systems.
Let us know if this guide was helpful by leaving us your feedback in the comments section below.