4 Ways to Delete a User Profile on Windows 10
You will need administrative privileges to delete a user profile
![]() 3 min. read
3 min. read
![]() Updated on
Updated on
Share this article

Improve this guide
Read our disclosure page to find out how can you help Windows Report sustain the editorial team Read more
Key notes
- User profiles can take out a lot of space so you should delete an unused user profile on Windows 10.
- We have highlighted four methods of removing a user profile, but you will still need administrator permissions to do so.
If you have a corrupt user profile on your Windows 10 it’s safer to delete it and create a new one. Whatever your reason, in this article, we will show you how to delete a user profile on Windows 10 safely and quickly.
Why can’t I delete a user profile in Windows 10?
If you have already tried to remove a user profile from Windows 10 and didn’t succeed, here are some of the reasons for not being able to do that:
- No rights – You can’t delete a profile without administrative rights. We have a guide on how to make yourself an administrator on Windows 10. After doing so, come back here to delete the user profile.
- The user account is still present – Before deleting a user profile, its corresponding account should be deleted first. In some cases, the user account keeps reappearing even after you deleted it.
- The account is linked – If you are trying to delete the profile of a Microsoft Account linked with the Access Work or School accounts, you might not be able to remove the account.
So, you will have to get these issues out of the way before deleting the account and the user profile.
How do I delete a user profile from Windows 10?
1. Use the System Properties
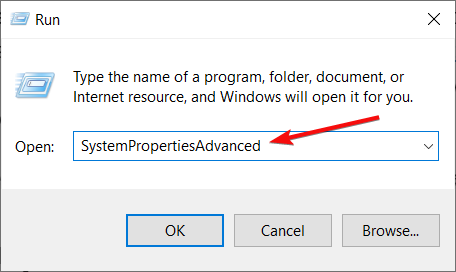
- Press the Windows + R key combination to open the Run console.
- Type or paste SystemPropertiesAdvanced into the box and hit Enter.

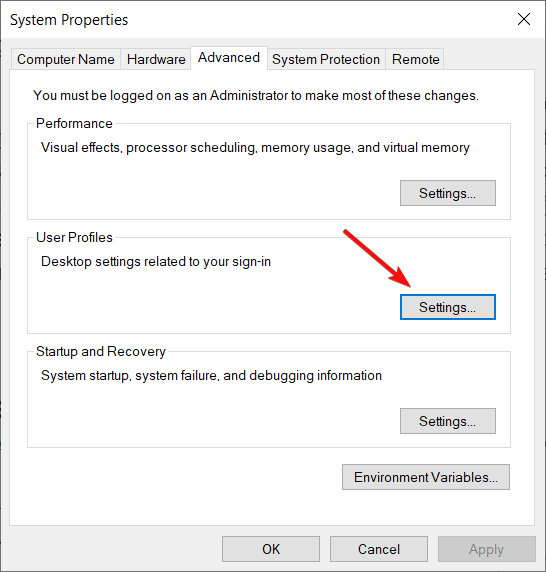
- In the Advanced section, go to the User profiles menu, and click on Settings button.

- Now, select the user profile you want to delete and click the Delete button.

- Click the Yes button to confirm the deletion.

This is the most effective solution because it also removes the user account in the process.
2. Use the Settings app
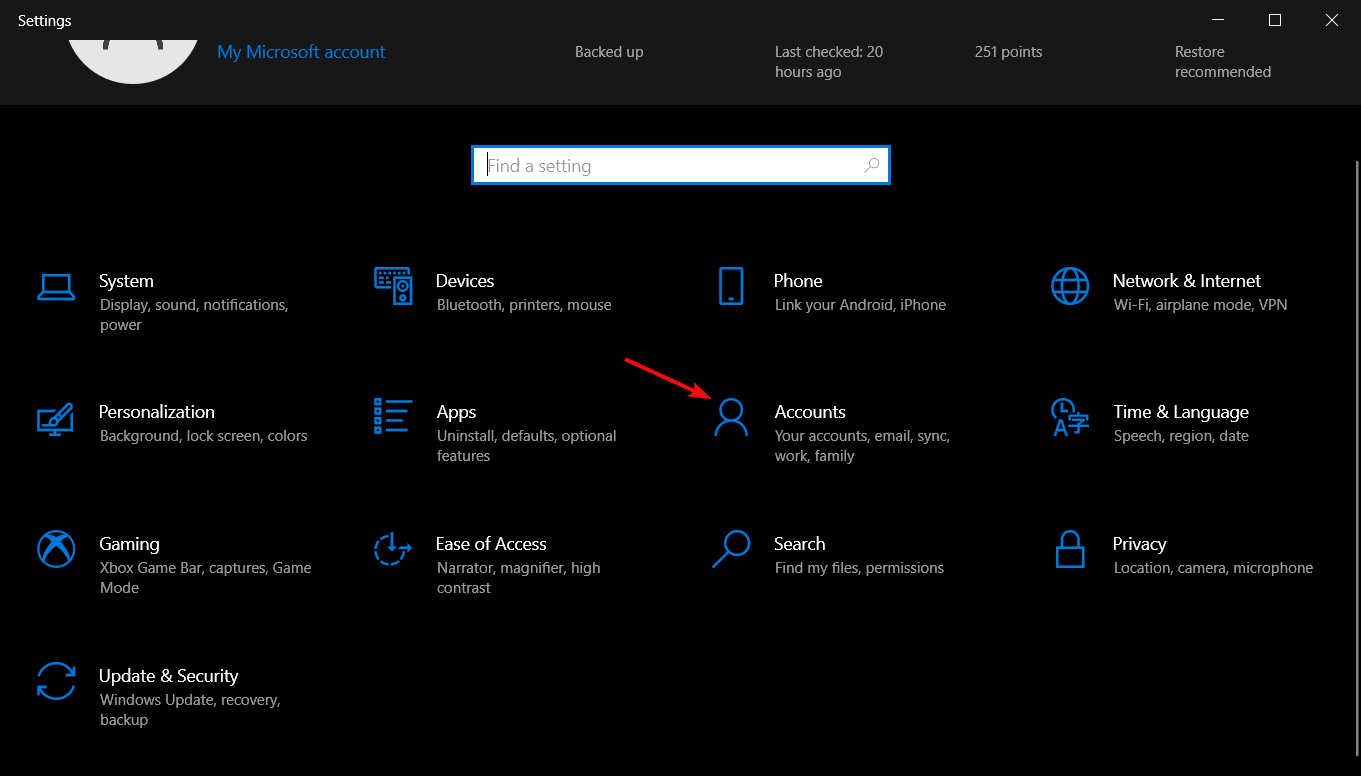
- Click the Start button and select Settings.
- Now, click on Accounts.

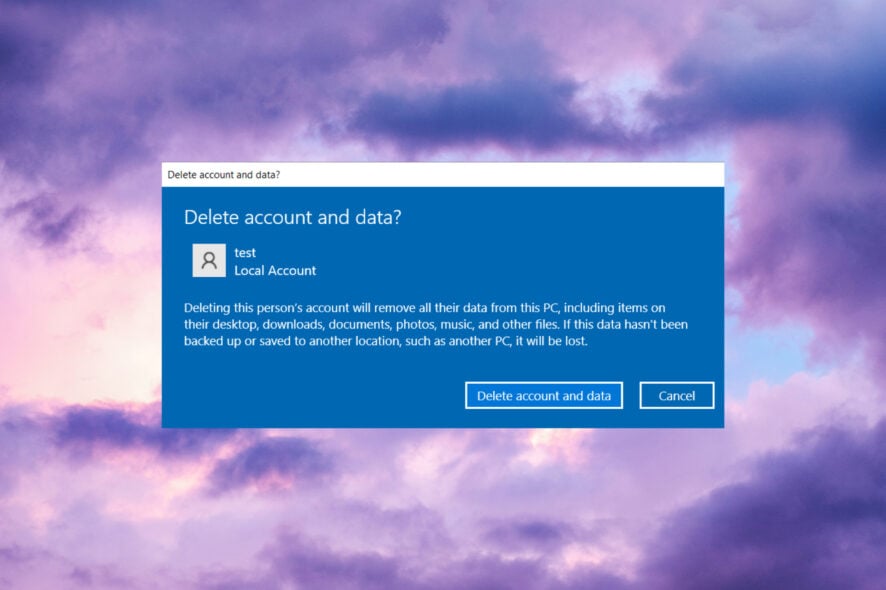
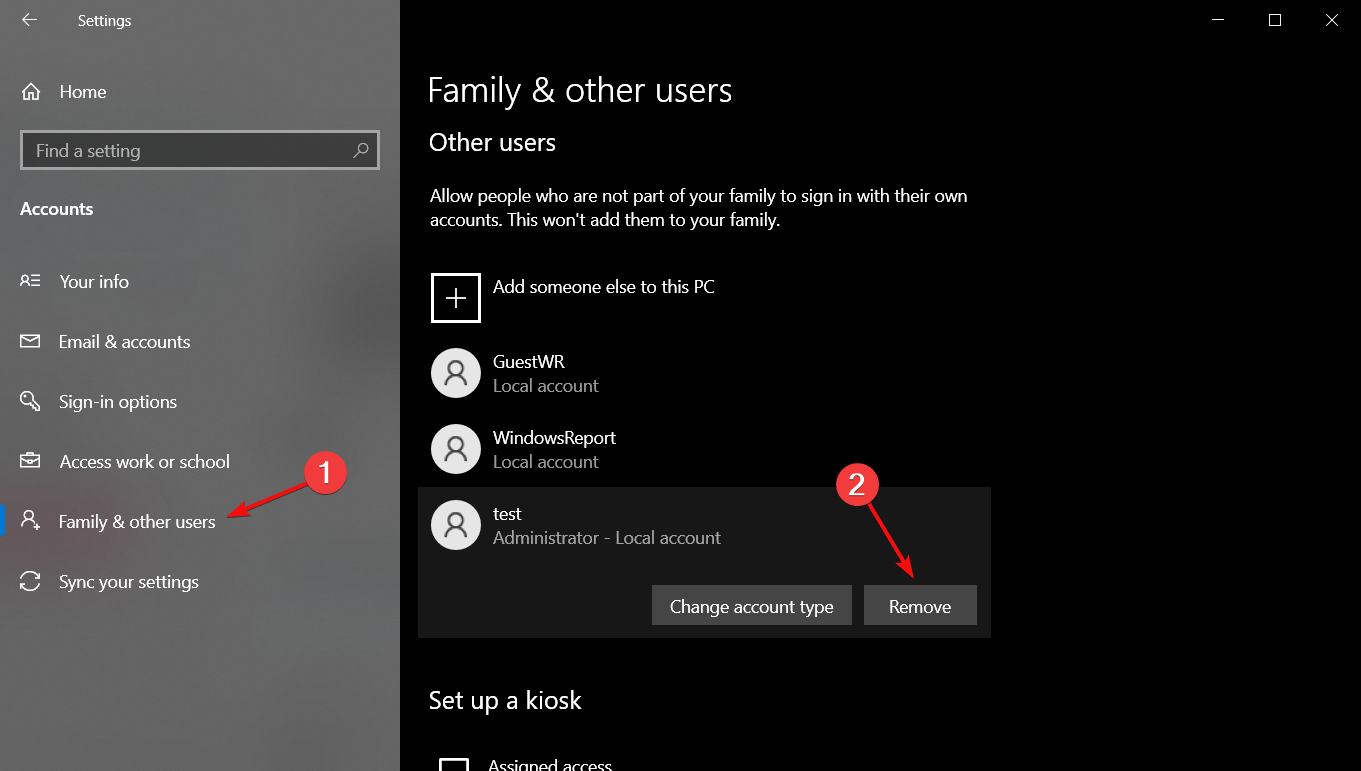
- Click on Family & other users from the left pane, then scroll down on the right until you get to Other users. Select the user account you want to delete and select Remove.

- Now, click on Delete account and data.
With this procedure, you will also delete the account and the user profile.
3. Use the Registry Editor
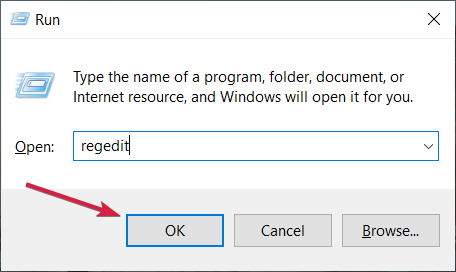
- Press the Windows key + R to start Run, type regedit, and press Enter or click OK.
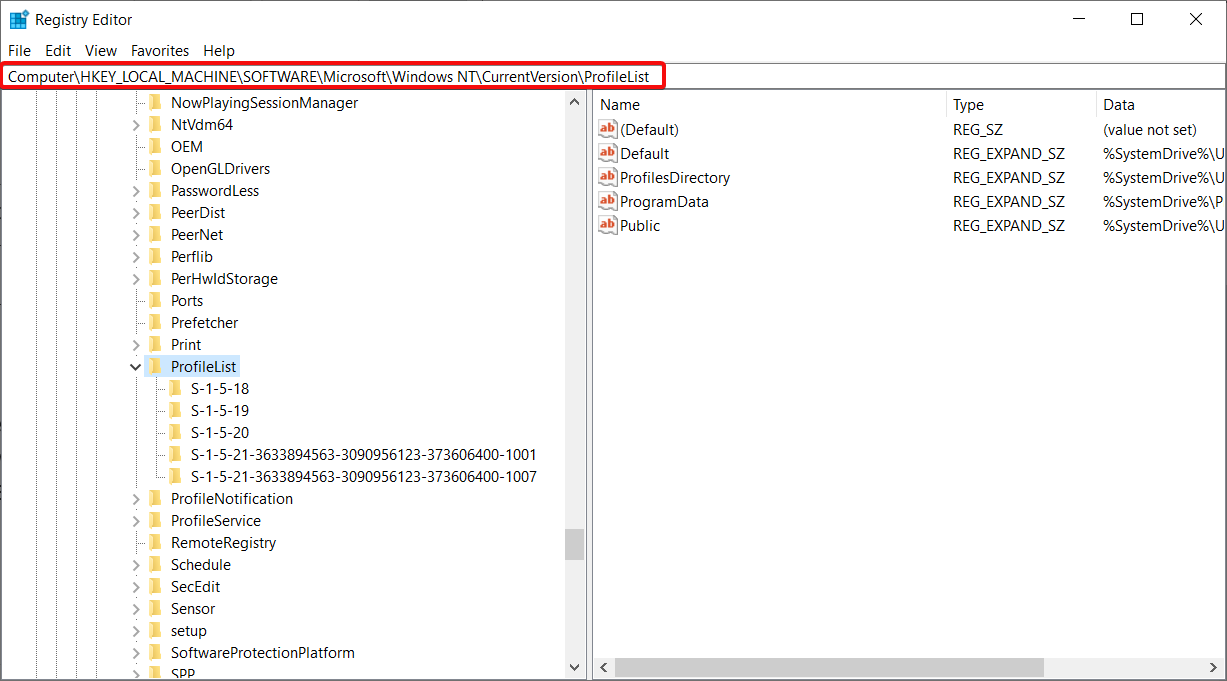
- Navigate to the following path in Registry Editor:
HKEY_LOCAL_MACHINE\SOFTWARE\Microsoft\Windows NT\CurrentVersion\ProfileList
- Now, go through all the profile subkeys on the left and look at the ProfileImagePath on the right to identify the right profile. Once you have found the one you want to delete, right-click its subkey from the left and delete it.


4. Delete the user profile data
- Press the Windows key + E to start File Explorer.
- Got to the following path:
C:/Users
- Select the profile you want to delete and hit the Delete button to remove it. Make sure you have administrative privileges to delete the profile folder.

That’s it! We hope our solutions helped you delete the user profile on Windows 10 and all the associated data.
If you need extra info, check our article on what to do if the profile was not deleted completely on Windows 10.
For any other questions or solutions, use the comments section below; we will get back to you as soon as possible.