Fix: Windows 10 & 11 Computer Goes to Sleep Too Fast [Tested]
![]() 7 min. read
7 min. read
![]() Updated on
Updated on
Share this article

Improve this guide
Read our disclosure page to find out how can you help Windows Report sustain the editorial team Read more

If your Windows 10 computer goes to sleep too fast, it could be happening for several reasons, among them the lockout feature that ensures your computer is locked or sleeps when unattended, or your screensaver settings, and other issues like outdated drivers.
Your computer goes into sleep mode based on the power management, which caters both for your security and saving power, but sometimes sleep mode also causes issues as you work.
This post will guide you through a series of solutions and troubleshooting fixes that will help you when Windows 10 goes to sleep too fast.
What to do if computer goes to sleep too quickly?
- Run the Power troubleshooter
- Create your own custom power plans
- Update your graphics card drivers
- Control sleep/lockout mode
- Use the power button to go to instant sleep
- Check Screensaver Settings
- Change System unattended sleep timeout
- Perform a clean boot
- Change Power options settings
- Change the time when the display turns off when your PC is locked
- Change the Lock screen timeout using Command Prompt
1. Run the Power troubleshooter
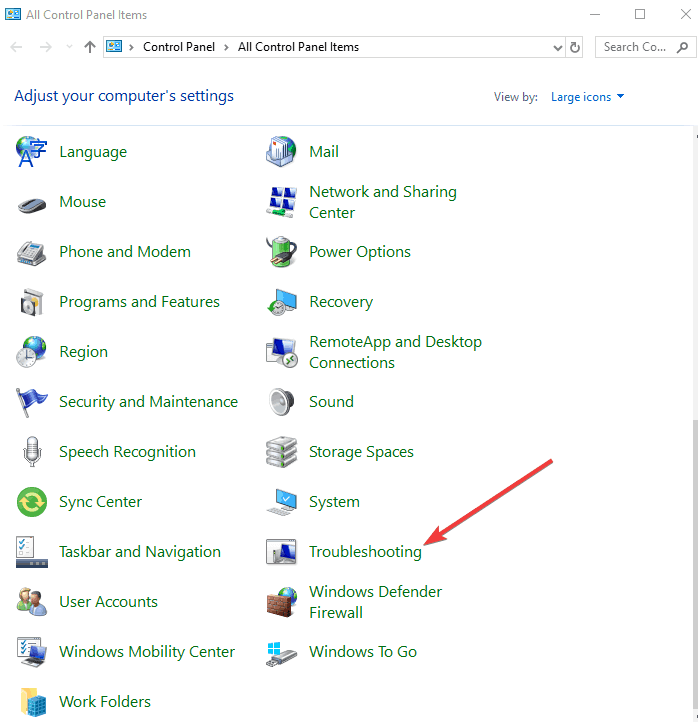
- Click Start and select Control Panel

- Click View by and change to Large Icons

- Double click Troubleshooting

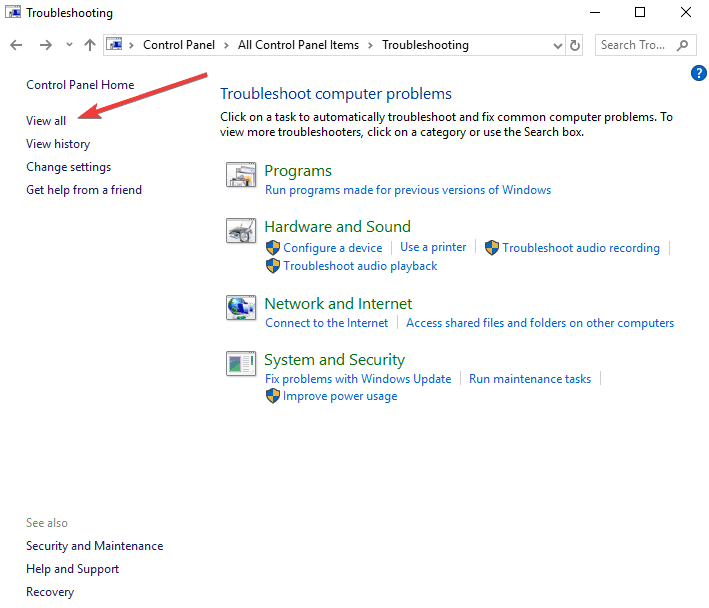
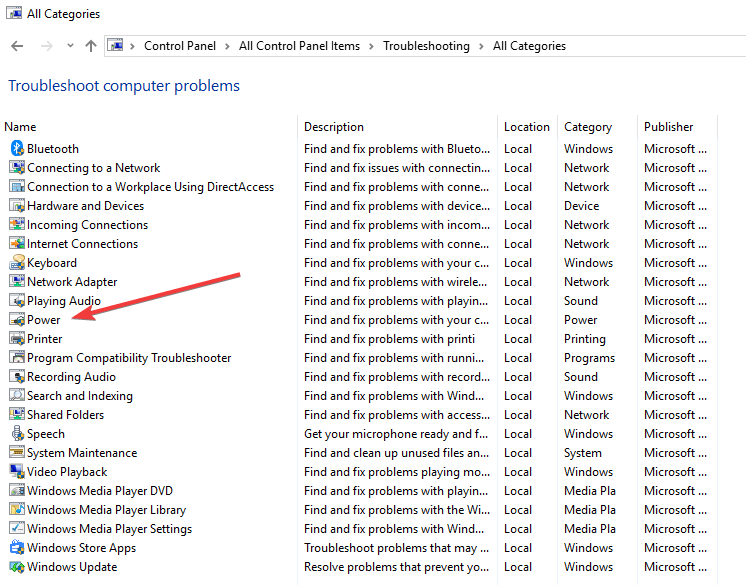
- Click View all on the left pane

- Click Power and select Next to run the troubleshooter

- Follow on-screen instructions to complete the process, then restart your computer

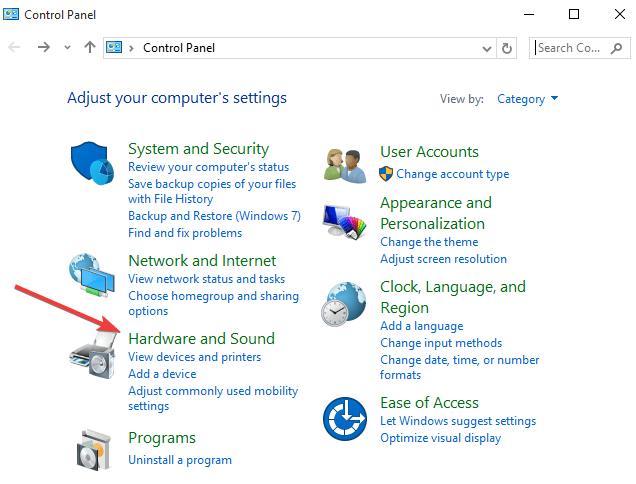
2. Create your own custom power plans
- Click Start and select Control Panel
- Click Hardware and Sound

- Click Power options

- Click Create a power plan
- Go to Plan Name and give a name to your custom power plan then click Next to configure the time settings.
3. Update your graphics card drivers
Driver updates for Windows 10 are automatically downloaded and installed through Windows Update. To do this:
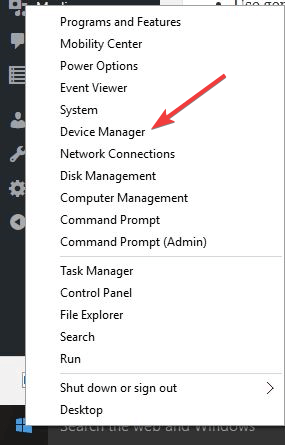
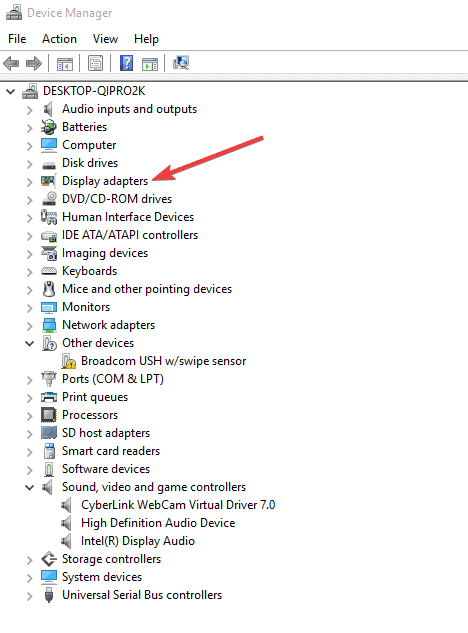
- Right click Start and select Device Manager

- Expand Display adapters category

- Right-click and select Update Driver
- Select Search automatically for updated driver software. If Windows doesn’t find a new driver, you can try looking for one on the device manufacturer’s website and follow their instructions.
 NOTE
NOTE
In addition, it exists another method to update your graphic drivers more efficiently, and namely using dedicated software like Outbyte Driver Updater.
With this third-party solution, you can update the right drivers automatically without harming your system even more.
4. Control sleep/lockout mode
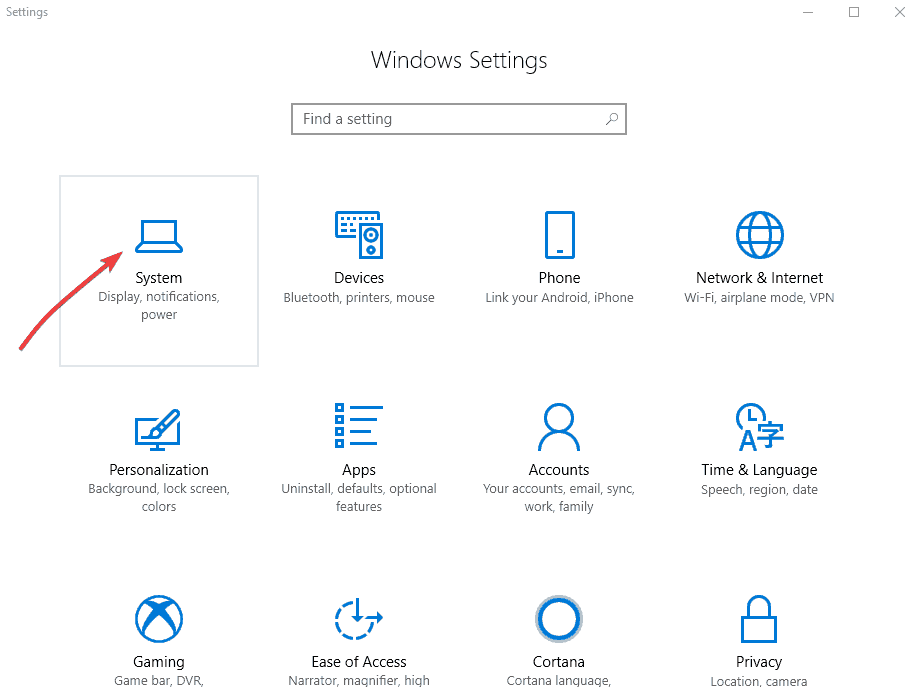
- Click Start and select Settings
- Click System

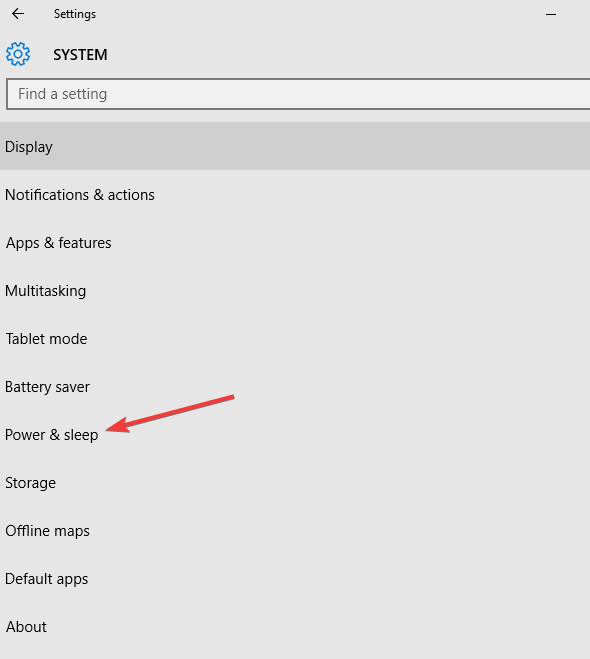
- Click Power & Sleep
- Configure the time out for your screen as well as sleep timing. Usually, the default is set to 10 minutes for screen timeout and 30 minutes for sleep mode.
5. Use the power button to go to instant sleep
If you don’t want your computer to go to sleep on its own but want to do it manually, you can change the settings to ensure the power button is used for sleep mode. To do this:
- Click Start and select Settings
- Click System
- Select Power and Sleep

- Click Related Settings
- Click Additional Power Settings
- Click Choose What the Power button does
- Select Sleep instead of Shutdown
This helps you save more power otherwise your computer waits for 10 minutes to turn off the screen, and another 30 minutes to go to sleep. Sleep mode uses very little power, and your computer will start up faster, so you can instantly resume your work from you left off. If you have a low battery, Windows will save all your work, and turn off the machine.
6. Check Screensaver Settings
- Click Start and select Settings
- Search for Screensaver
- Find the search result that reads: Turn screen saver on or off
NOTE
7. Change System unattended sleep timeout
If the screensaver settings solution doesn’t work when Windows 10 goes to sleep too fast, check the System’s unattended sleep timeout settings. To do this:
- Ensure you have admin permissions for this as you’ll also be editing registry settings
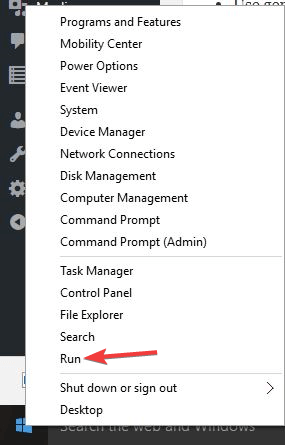
- Right click Start and select Run
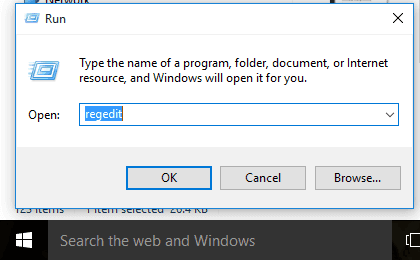
- Type regedit and press Enter
- Go to this registry key: HKEY_LOCAL_MACHINE\SYSTEM\CurrentControlSet\Control\Power\PowerSettings\238C9FA8-0AAD-41ED-83F4-97BE242C8F20\7bc4a2f9-d8fc-4469-b07b-33eb785aaca0
- Double click Attributes
- Enter the value as 2
- Exit the Registry Editor
- Click Start and select Settings
- Search for Power Plan
- Select Edit Power plan from the search results

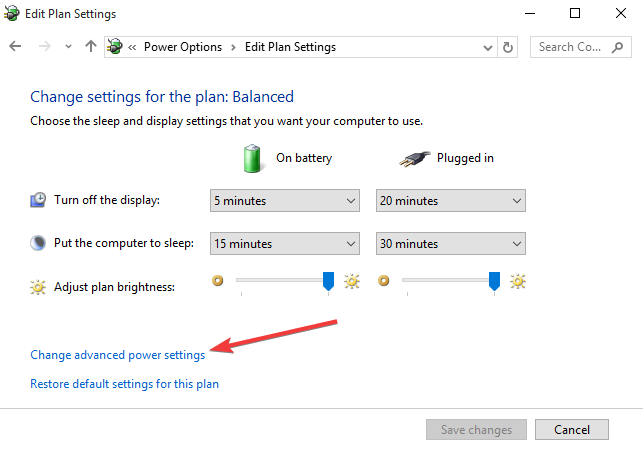
- Open the Change advanced power settings link

- Go to Sleep
- Select System Unattended sleep timeout and change to 10 minutes

8. Perform a clean boot
If Windows 10 goes to sleep too fast even after trying the above solutions, perform a clean boot to eliminate software conflicts that happen when you install a program or update or run a program in Windows. To do this:
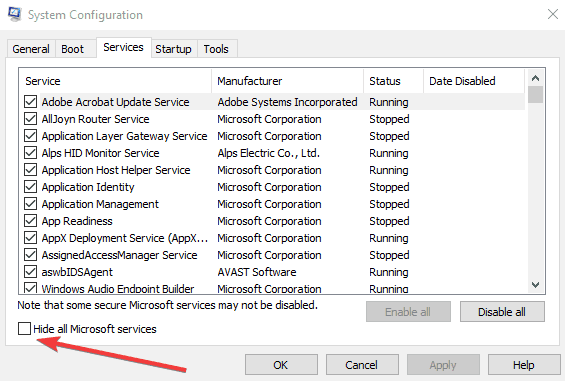
- Click start and type msconfig then select System Configuration from the search results.
- On the Services tab of the System Configuration dialog box, tap or click to select the Hide all Microsoft services check box and click Disable all.

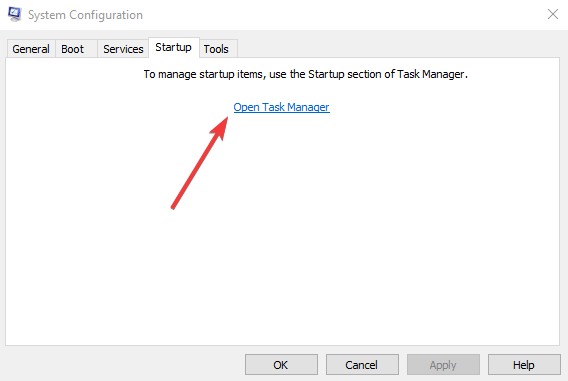
- On the Startup tab of the System Configuration dialog box, tap or click Open Task Manager

- On the Startup tab in Task Manager, for each startup item, select the item and then click Disable.
- Close Task Manager.
- On the Startup tab of the System Configuration dialog box, click OK, and then restart the computer.
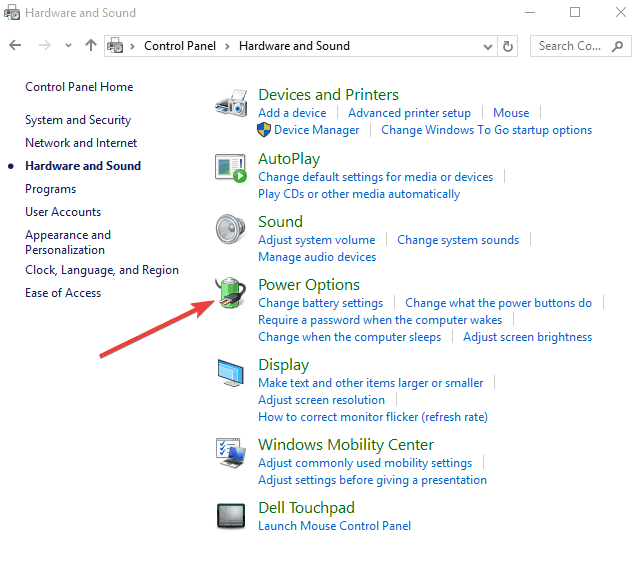
9. Change Power options settings
- Click Start and select control panel
- Click Hardware and sound
- Select Power options
- Go to Screen and Sleep section
- Click Never for When plugged in, turn off after (instead of a fixed time)
- In the battery power section under Screen and Sleep, 5 to 10 minutes is ideal for most people
10. Change the time when the display turns off when your PC is locked
- Right click Start and select Run
- Type regedit and press enter
- Go to this path: HKEY_LOCAL_MACHINE\SYSTEM\CurrentControlSet\Control\Power\PowerSettings\7516b95f-f776-4464-8c53-06167f40cc99\8EC4B3A5-6868-48c2-BE75-4F3044BE88A7
- On the right side, double-click the Attributes DWORD.
- Change the value from 1 to 2.
- Click OK.
Note: These steps enable the Console lock display off timeout. To customize this option at any time, do this:
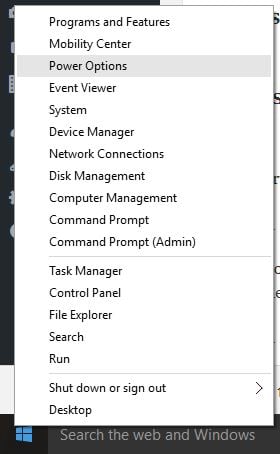
- Right click Start and select Power Options.

- Click the Change plan settings link for the selected plan.
- Click the Change advanced power settings link.
- On Advanced settings, scroll down and expand the Display settings.
- You should now see the Console lock display off timeout option, double-click to expand.
- Change the default time of 1 minute to the time you want, in minutes.
- Click Apply.
- Click OK to complete the task.
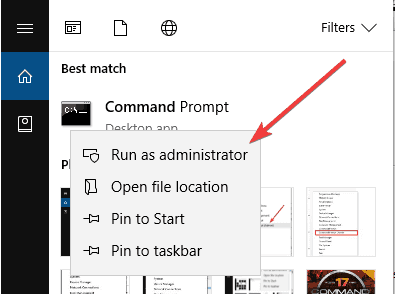
11. Change the Lock screen timeout using Command Prompt
- Type CMD in the search box, then right click Command Prompt and select Run as administrator

- Type the following command and press enter: powercfg.exe /SETACVALUEINDEX SCHEME_CURRENT SUB_VIDEO VIDEOCONLOCK 60
Note: You must change “60” in the command line with the timeout time you want to use, in seconds. For example, if you want the screen to turn on for 5 minutes, use 300 at the end of the command.
- Type the following command and press enter: powercfg.exe /SETACTIVE SCHEME_CURRENT
- Use the Windows key + L keyboard shortcut to lock your PC and see if the new settings work.
The command in the second step will work when your computer is using AC power. Replace /SETACVALUEINDEX for /SETDCVALUEINDEX if you want to change the timeout setting on your laptop or tablet running on battery.
Let us know if any of these solutions worked by leaving a comment in the section below.