
Updated: Dec 8, 2022
How you express yourself through your writing shows a lot, whether it is an assignment you are preparing for school or a cover letter you are sending to a potential employer. It is important to ensure that what you write is grammatically correct and mistake-free.
While reading over your texts usually does the trick and helps you identify some of these errors, it is possible that you may overlook some and end up sending a document that is rife with mistakes. Here’s where the Grammarly tool comes in.
Grammarly is a free application that helps you keep track of your spelling and grammar. Interestingly enough, you don’t have to keep transferring your work from Word to Grammarly to check for these errors. The tool provides users with a free add-in that lets them use its services directly within Microsoft Word or Microsoft Outlook.
How to get the Grammarly add-in in Microsoft Word
To add the Grammarly extension to Microsoft Office, follow the steps below:
- Launch your browser and go to Grammarly’s official website to download the add-in.
- Click on the option to Get It for Windows It’s Free.
- Once the download is complete at the bottom next to the file name, click on the Options button, then select Open.
- When you open the file select the Run option.
- The installer will then open, click on Get started.

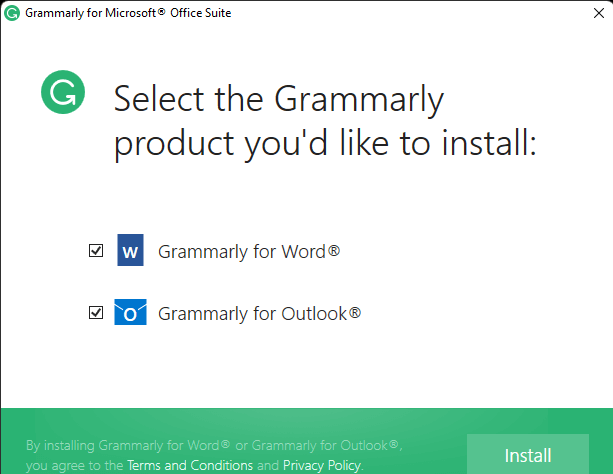
- A prompt will then appear requesting you to select the Microsoft Application you would like the Grammarly add-in installed to.
- Check the boxes of the Applications you would like to have the add-in, then click on Install. Check the Microsoft Outlook and Word boxes.
- Wait for the application to complete installation, then close the window.

The Grammarly extension will now be available on all the Microsoft Office applications that you selected during the installation process. You can also switch to dark mode on Microsoft Word to enhance visibility, especially at night, thus making it easier to spot errors.
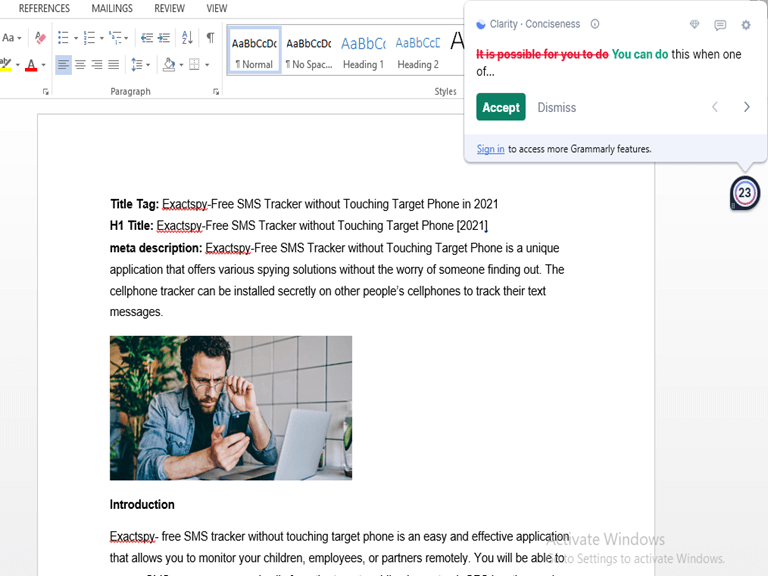
Once you install the add-in, it will help you detect errors as you type and also provide you with helpful suggestions that will help improve your writing. It is also available as a browser extension for Chrome, Firefox, Safari, Internet Explorer and more.
How to reinstall Grammarly to Microsoft Word
Here’s how you can reinstall the Grammarly add-in to Microsoft Word in case you already had it but it isn’t functioning properly. Follow the steps below:
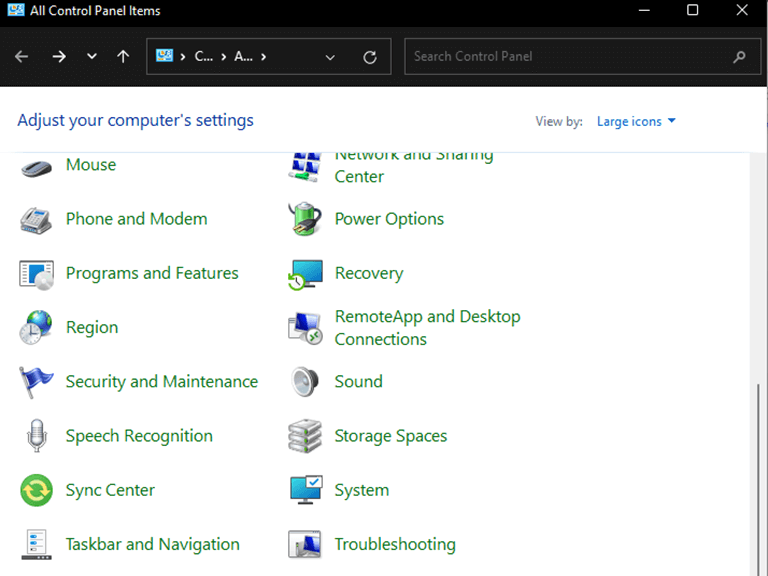
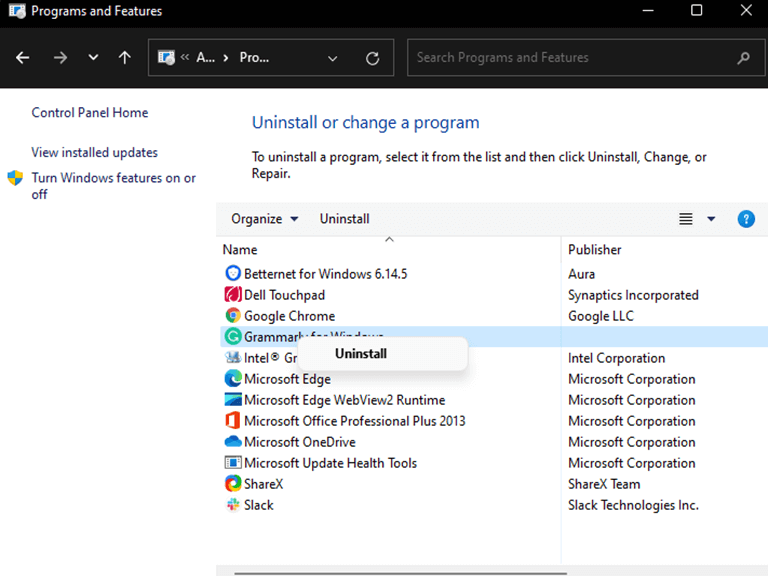
- Uninstall your current version of the Grammarly add-in. Navigate through the following path: Control Panel > Programs and Features.

- Then, right-click on Grammarly for Microsoft Office Suite and select Uninstall.
- Launch your browser and head to Grammarly’s official website to download the latest version of the extension, then follow the instructions on that page to install it.
- Open any document in Microsoft Word, locate the Grammarly tab in the toolbar, then click Open Grammarly.
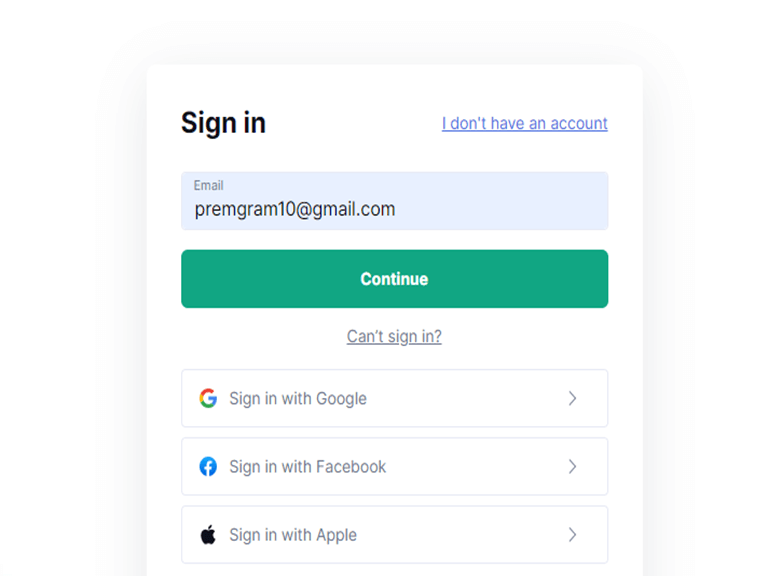
- Enter your Grammarly login information when requested.
- Finally, the Grammarly sidebar will appear on the right. At this point, you should be able to make use of the app’s offerings.
 Launch your browser and head to Grammarly’s official website to
Elevate your writing in Word with the Grammarly add-in
The tool offers a wide variety of features that make it easier to detect errors and consciously edit your writing on Microsoft Word. Moreover, you can also use the Google Docs add-in, the desktop app, the browser extension, or the keyboard app for editing your document on your mobile phone.
Also, be sure to check out our separate post that details how you can use Grammarly on a Windows PC. Hopefully, the above methods helped you get the Grammarly add-in on Microsoft Office. Share your experience with us in the comment section below.