Top 5 tips and tricks to get the most out of your Surface Pen
![]() 9 min. read
9 min. read
![]() Published on
Published on
Share this article

Read our disclosure page to find out how can you help Windows Report sustain the editorial team Read more

If you’ve just purchased a Surface, then a Surface Pen is a must-buy add-on for your new tablet or laptop. Not only can you use it to bring out your creative side in drawing apps like Fresh Paint, but Surface Pen can also be used to navigate Windows 10, launch apps, and a lot more. That’s why we’ve put together this guide, showcasing our top 5 tips and tricks for Surface Pen.
A guide to Surface Pens
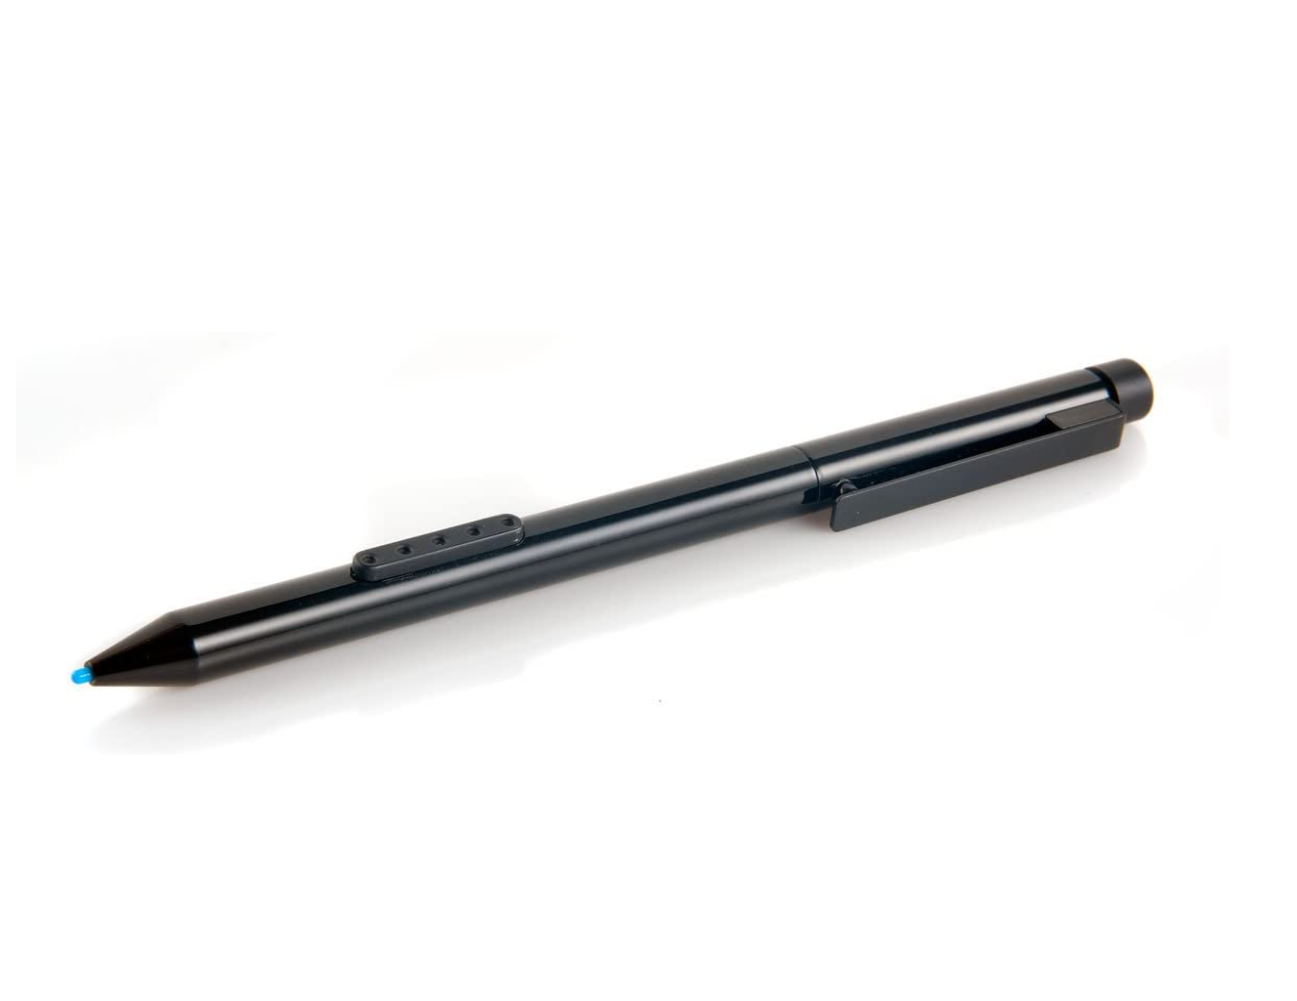
The original Surface Pen (Gen 1)
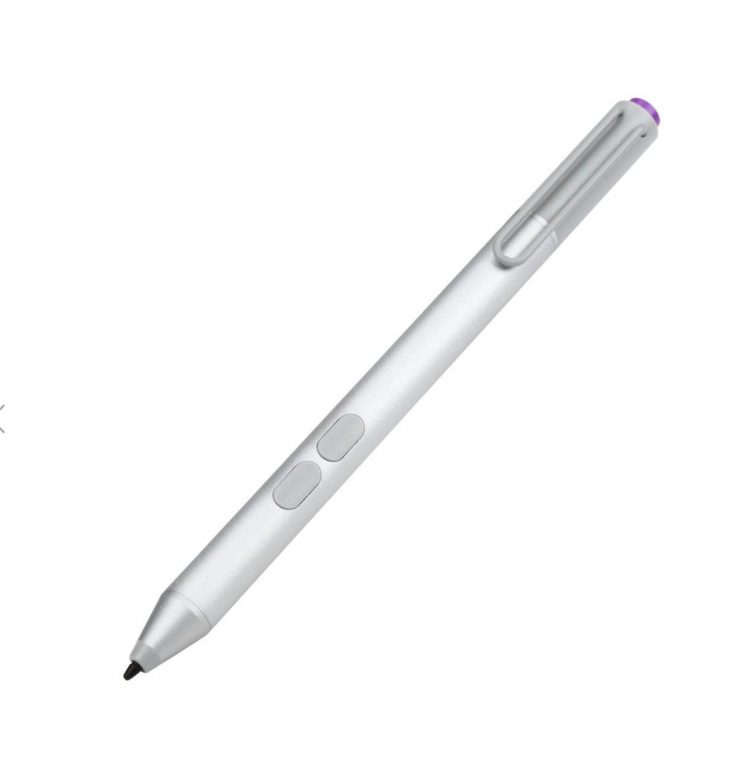
The Gen 2 Surface Pen

Gen 3 Surface Pen
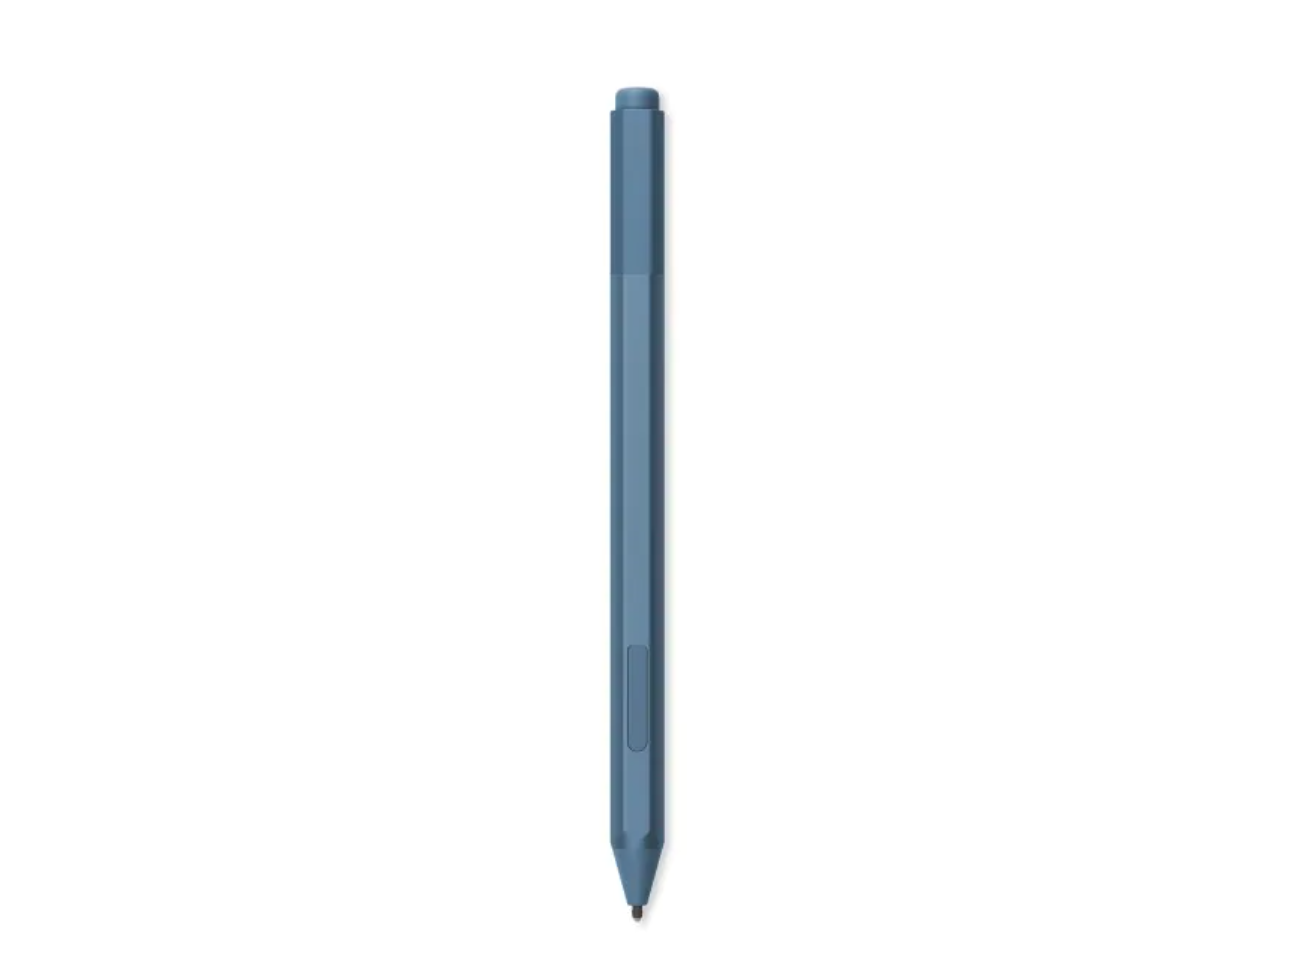
The modern Surface Pen
Before getting into anything, we want to give you a bit of a history lesson. It’s important for us to mention this because not all Surface Pens are created equal. There are different Surface Pen models, designed for the very first Surface in 2012 up until the most recent Surface Pro X in 2020.
Each pen has different features, too. Here’s a quick summary if you’re considering buying a used or new Surface pen for your device.
- First Gen Surface Pen: This pen is powered by Wacom technology. It is no longer supported on most modern Surface devices (Surface Pro 3 and newer) for that reason. It’ll only work on Surface Pro 1 and Surface Pro 2. You can tell this pen apart from others because it has a giant physical button on the right side and has a black plastic-like design.
- Second Gen Surface Pen: This pen uses N-trig technology. The N-trig technology is used in all modern Surface devices. For this reason, a second generation Surface Pen works on the Surface Pro 3 and onwards. The second gen Surface Pen supports 1,024 pressure points, and has Bluetooth connectivity with Surface. It also slid into a pen loop on the Surface Cover, and it has two buttons on the side barrel of the pen. It needs to be powered by a single AAAA battery and has a plastic eraser button, though it can’t be used as an actual eraser.
- Third Gen Surface Pen: Also using N-Trig technology, this pen was introduced along with the Surface Pro 4. It works on all modern Surface devices. You can tell it apart from the others thanks to its single button on the side. This pen also brought back a top-mounted physical rubbery-like eraser, and could be mounted to the side of the Surface magnetically. It also needs AAAA battery, too.
- Fourth Gen Surface Pen: Another pen powered by N-trig technology, this pen was introduced with Surface Pro 5th generation, and has since been the default pen on the Surface Pro 5, 6, and 7. This pen is Microsoft’s most sophisticated, and the one we suggest buying. It comes with 4,096 levels of pressure points. You can tell this pen apart from the others as it now comes in multiple colors, and it doesn’t have a pen clip on the side. It’s still powered by an AAAA battery.
We’ll end this section by mentioning the Surface Slim Pen. This pen is the most modern from Microsoft. It changes up the design from previous pens as it is flatter like a carpenter’s pencil. It also removes the need for AAAA batteries, as it comes with its own USB-C charging holster, or can recharge via the Type Cover in the Surface Pro X. Pressure sensitivity is the same, though. We’ll be using this pen in our guide.
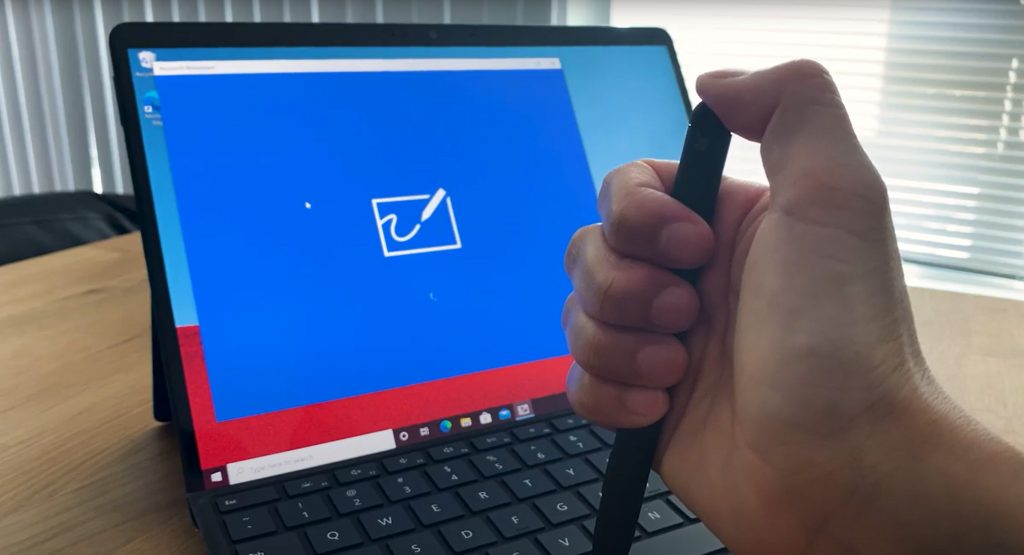
Tip 1: Use your pen to navigate Windows 10
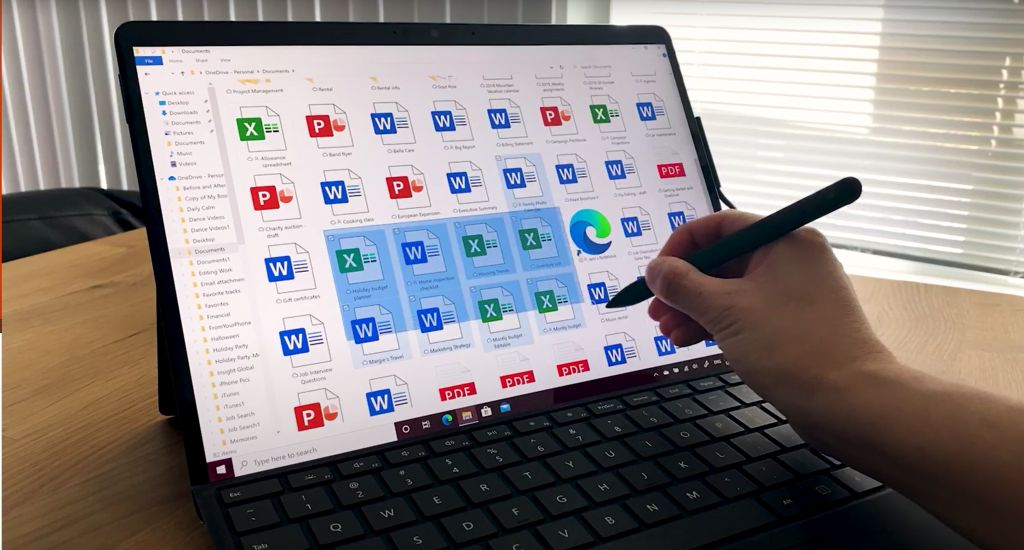
Typically, you might use your mouse to get your way around Windows 10, but if you have a Surface Pen, it also can be used for navigation. It also might be more convenient, especially since you’re already likely holding the Surface Pen in your hands.
There’s a couple of different ways Surface Pen can be used in place of your mouse in Windows. First off, you can tap your pen on the screen on an item to click or select it. Then, you can press and hold on the side button on the pen to right-click, or simply hold your pen down on the screen, too.
You also can drag and drop by placing your pen on an item, holding it until you see a circle, and then moving it around. Or, simply draw a box around the item and drag the item with the pen itself. Finally, you can select multiple items by pressing and holding the side button and dragging the pen over the items you want.
Tip 2: Use the eraser button to do things in Windows 10
On Surface Pen Gen 3 and 4, the top of the pen has an eraser that can be used to remove inking in drawing apps, but did you know the eraser button can also be clicked down to open select apps in Windows 10? By default, there’s a couple of different functions configured for the eraser button in Windows. These can be seen below. Keep in mind, you’ll need to have Bluetooth turned on, and have paired your pen to your Surface for this to work.
- Click the top button once: Opens Microsoft Whiteboard
- Double click the top button: Open Snip & Sketch
- Open Sticky Notes: Press and hold the top button
You can always change these defaults by pairing your Surface Pen to your Surface and then going to Pen & Windows Ink in System Settings. We’ll have more on those in our next tip.
Tip 3: Change your Surface Pen settings
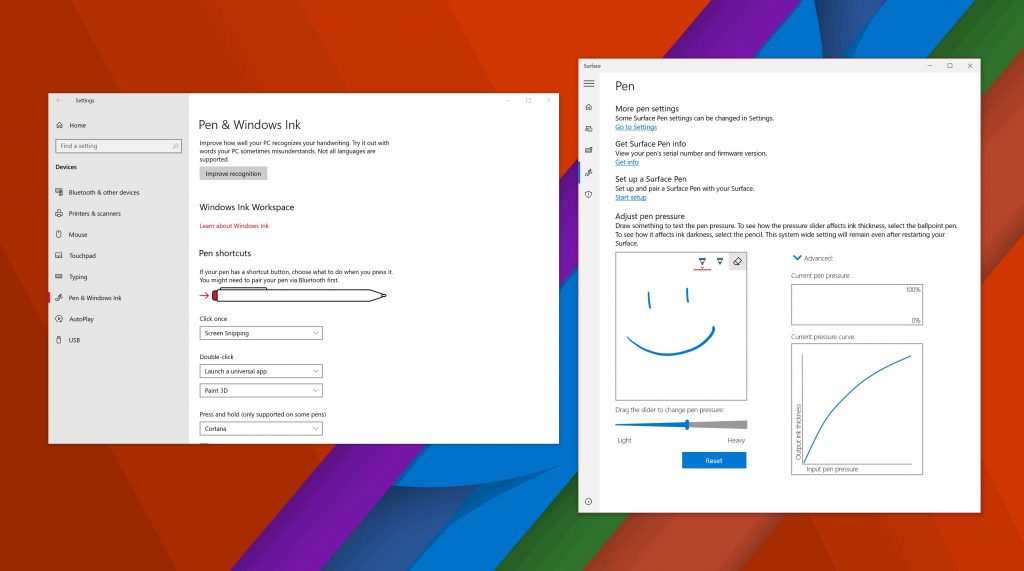
Our third tip isn’t about the pen itself, but rather the way it works in Windows 10. If you visit Settings and then click Devices there will be a category for Pen & Windows Ink. Click this, and then you can change your Surface Pen settings. You can switch which hand you use the pen with, change visual effects, fonts when writing, and when handwriting boxes will appear. You also can change what the eraser button does, or assign to launch a specific app.
Finally, there’s a note on changing the pressure sensitivity of the Surface Pen. If you open the Surface app in Windows 10, and then click the pen icon in the left bar on the screen, you can use the slider to adjust the sensitivity of the pen so it fits your own needs. You can always reset it to default, too.
Tip 4: Change your pen nibs!
If you’re using a Surface Pen with no clip or a surface pen with a single button on a flat edge, then we have a cool tip for you. Microsoft actually has different pen “nibs” for these generation Surface Pens. The nibs come in a little box, in the 2H, H, HB, B sizes. There are different sized “nibs” for different tasks. Nibs should work with the third-gen or fourth-gen Surface pens only.
You can use a medium tip to get the feel of a pencil or swap it out with a low-friction tip similar to a fine-point pen. Nibs can be removed by using the tweezer in the box, squeezing the nib out, and pushing it back in. Note that these nibs only work with third-gen pens, though. You can learn more at Microsoft here, and buy the nibs for $20 through the Microsoft Store.
Tip 5: Attach your pen to your Surface to keep it safe
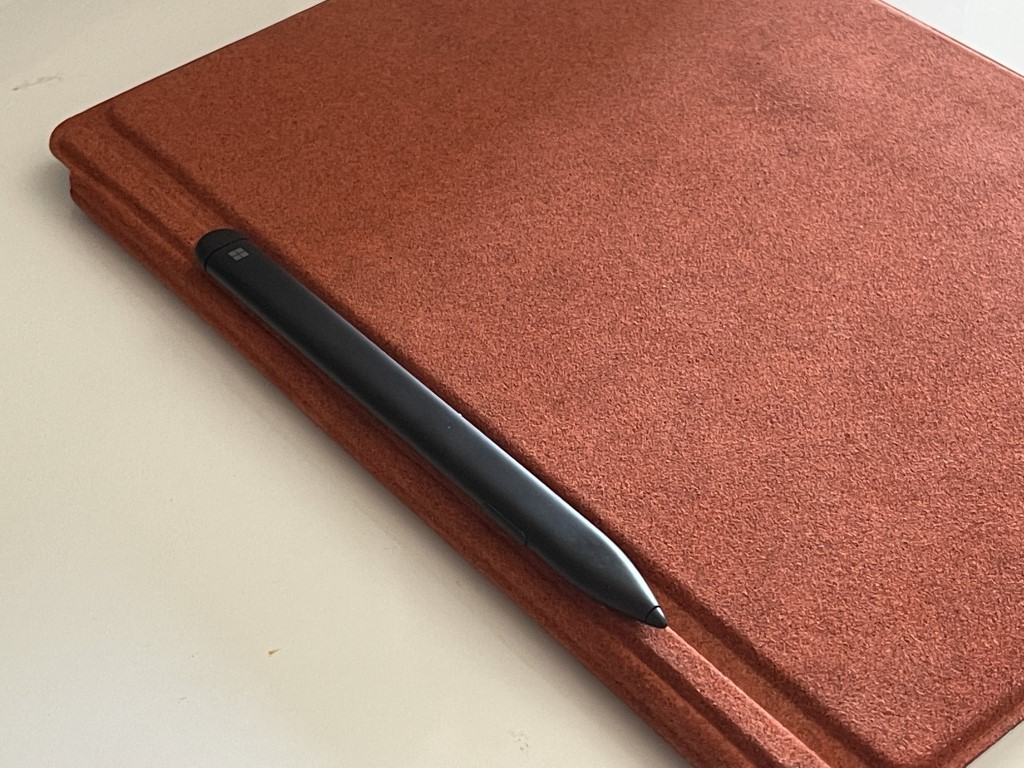
As long as you have a third-gen of a fourth-gen Surface Pen, then your Surface Pen will attach magnetically to the side of your Surface. It’s best to attach it to the left side of the device, so it frees up your charging port. Surface Slim Pen will also slot to this side of Surface, too, though it doesn’t have the best hold. If this doesn’t work for you, then you can slot the Surface Pen to the left side of Type Cover when it is closed. This is a great way to travel with the Surface Slim Pen when it’s not in use as we have above.
How are you using Surface Pen?
That was a look at some of our Surface Pen tips and tricks. Do you have any of your own Surface Pen tips? Feel free to let us know in the comments below. And, be sure to check out our Surface news hub for more Surface guides, how-tos, and news articles.