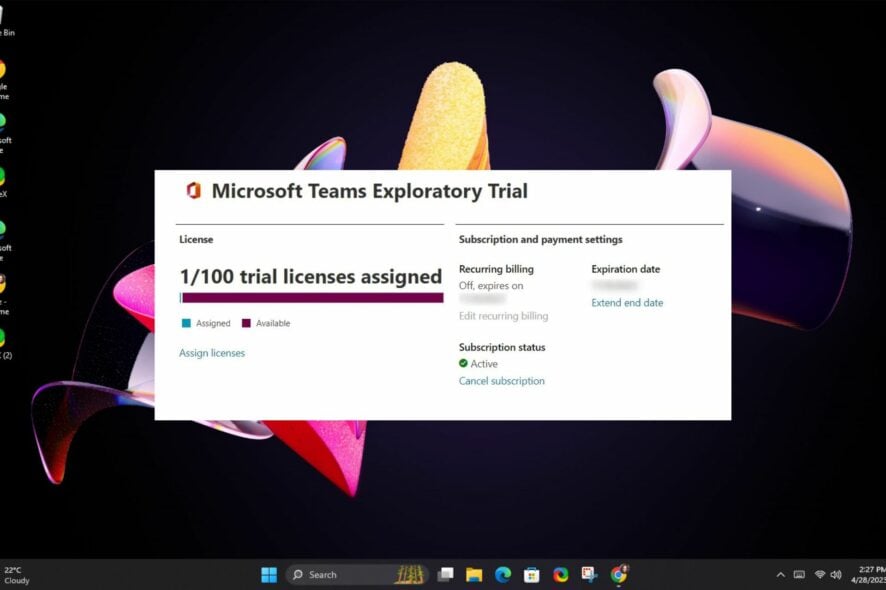
Microsoft Teams Exploratory: Everything You Need to Know
How about a commitment-free trial run for Microsoft Teams premium?
![]() 3 min. read
3 min. read
![]() Updated on
Updated on
Share this article

Improve this guide
Read our disclosure page to find out how can you help Windows Report sustain the editorial team Read more
Microsoft Teams can be improved with Microsoft Teams Exploratory which gives you a trial access to some of the Microsoft apps. The list includes 18 different services, such as Exchange, Sway, Forms, Planner, StaffHub, Power Apps, Insights, and more.
Before you can use it, you need to have an active and managed Azure AD domain email address and a paid subscription to Office 365.
You also can’t have an active Teams license or be a tenant where a license assignment policy was created. Also, users who have used a trial license or a part of Syndication Partner Customer or a GCC, GCC High, DoD, or EDU are ineligible.
How do I get a free exploratory license for Teams?
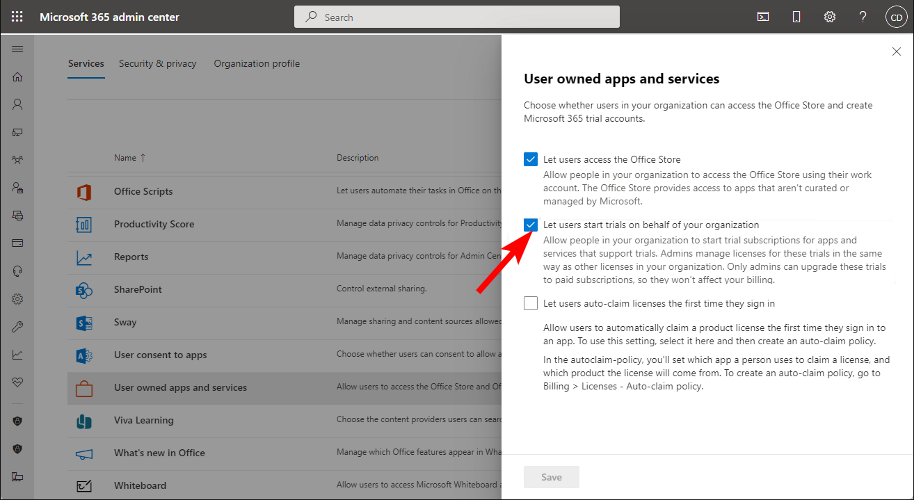
1. Steps for administrators
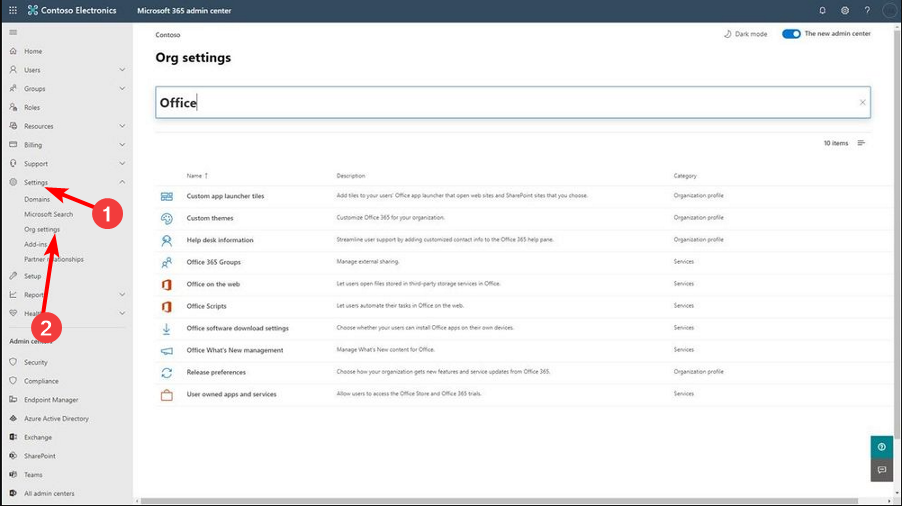
- Navigate to your browser and log in to the Microsoft 365 Admin Center.
- Click on Settings then select Org settings.

- Navigate to the Services tab and check the Let users start trials on behalf of your organization option.

2. Steps for users
- Navigate to your desktop app or web browser and sign in to your Teams account. Remember to use your Azure Active Directory credentials. (Mobiles are not supported).
- You’ll be assigned a license automatically, and your organization admin will get a notification.

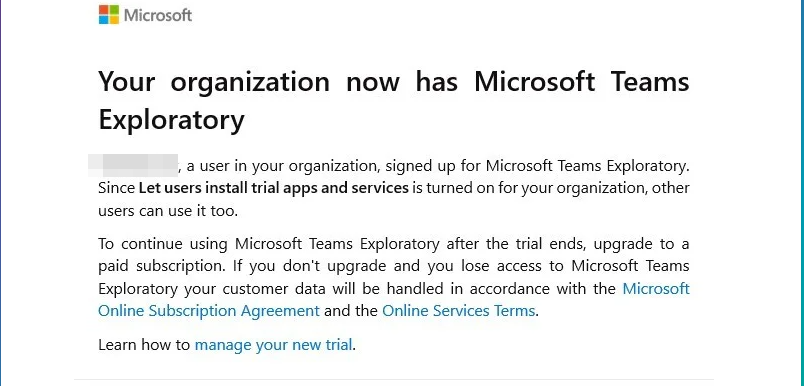
Remember that once the first user in an organization has signed up, the 12-month period also begins for all other users, regardless of whether they’ve started using it or not.
What are some of the benefits of the Exploratory Trial?
- You’ll get a fully functional version of Microsoft Teams, and your team can use it for free for up to a 12-month trial period.
- The exploratory experience gives you a sense of how well Microsoft Teams works with your current hardware and software environment before committing to an upgrade. For instance, you can try Teams on Chromebook and observe if there are any issues.
- You can install the software on multiple devices with up to 100 users.
- Allows for cost-saving as the grace period time frame is enough to cover an entire financial year that would have otherwise been used to try out new products with shorter trial periods.
What happens when Microsoft Teams exploratory trial expires?
Once your trial period elapses, Microsoft is gracious enough to give you another 30-day grace period, but you will lose access to the Office 365 apps.
Thereafter, you have another 30 days, and failure to renew your license within 60 days after the expiration will result in your data being deleted.
This offer put Teams way ahead of its other noteworthy competitor Skype. You can check out our comprehensive side-by-side comparison of Teams vs Skype if you’re still not convinced.
Before you leave, don’t miss our guide on how to create and manage teams in Microsoft Teams. We also have a guide on how to enable Microsoft Teams Together mode.
Have you gotten to testing the Microsoft Teams Exploratory experience yet? What are your thoughts, and would you consider upgrading your subscription after the trial period? Let us know in the comment section below.