How To
Guides on how to use OneDrive to it’s fullest potential and save a lot of time and effort.
2 Ways to Share OneDrive With Another User
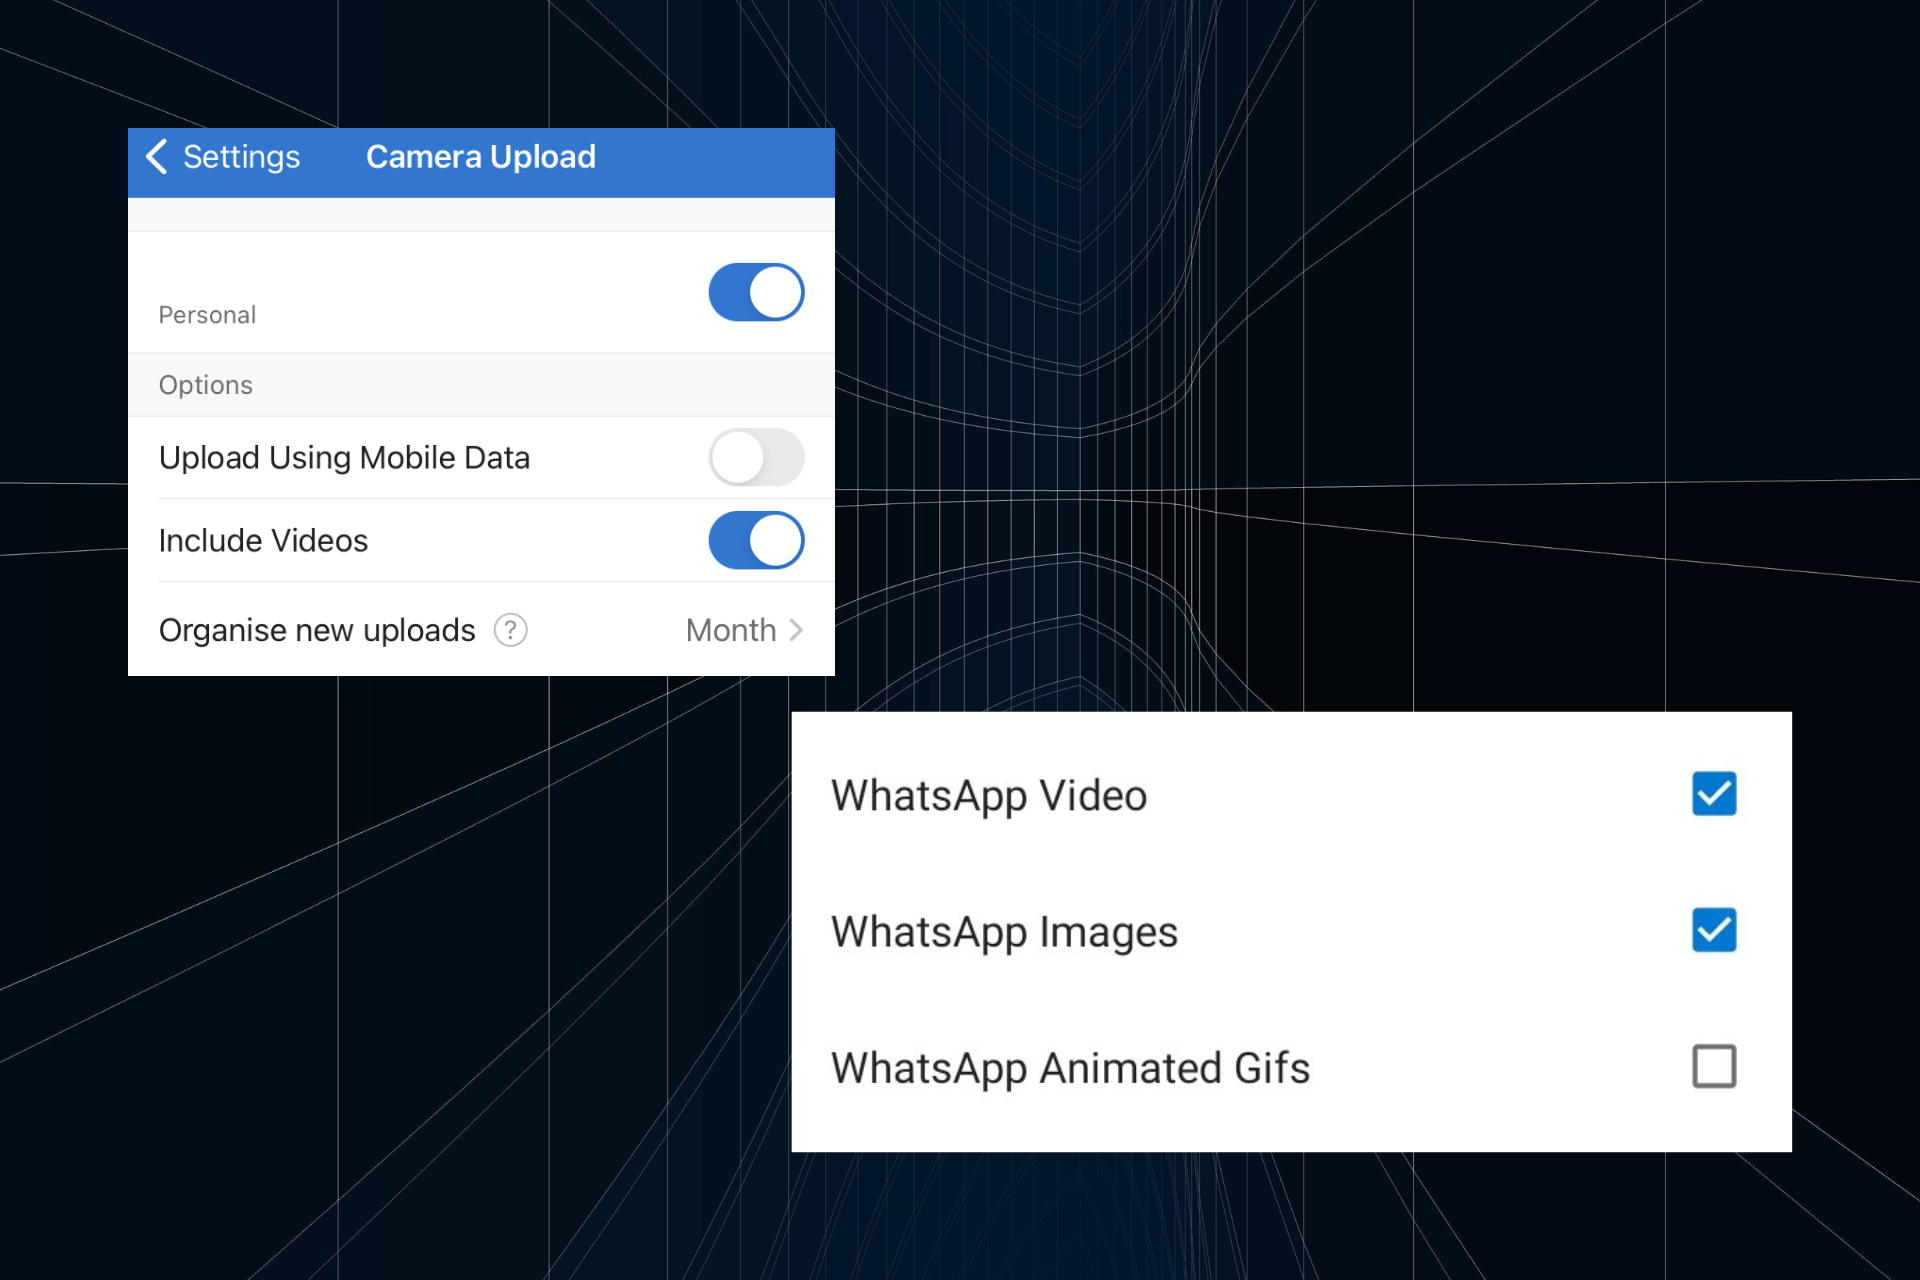
How to Backup WhatsApp Files to OneDrive [iOS and Android]
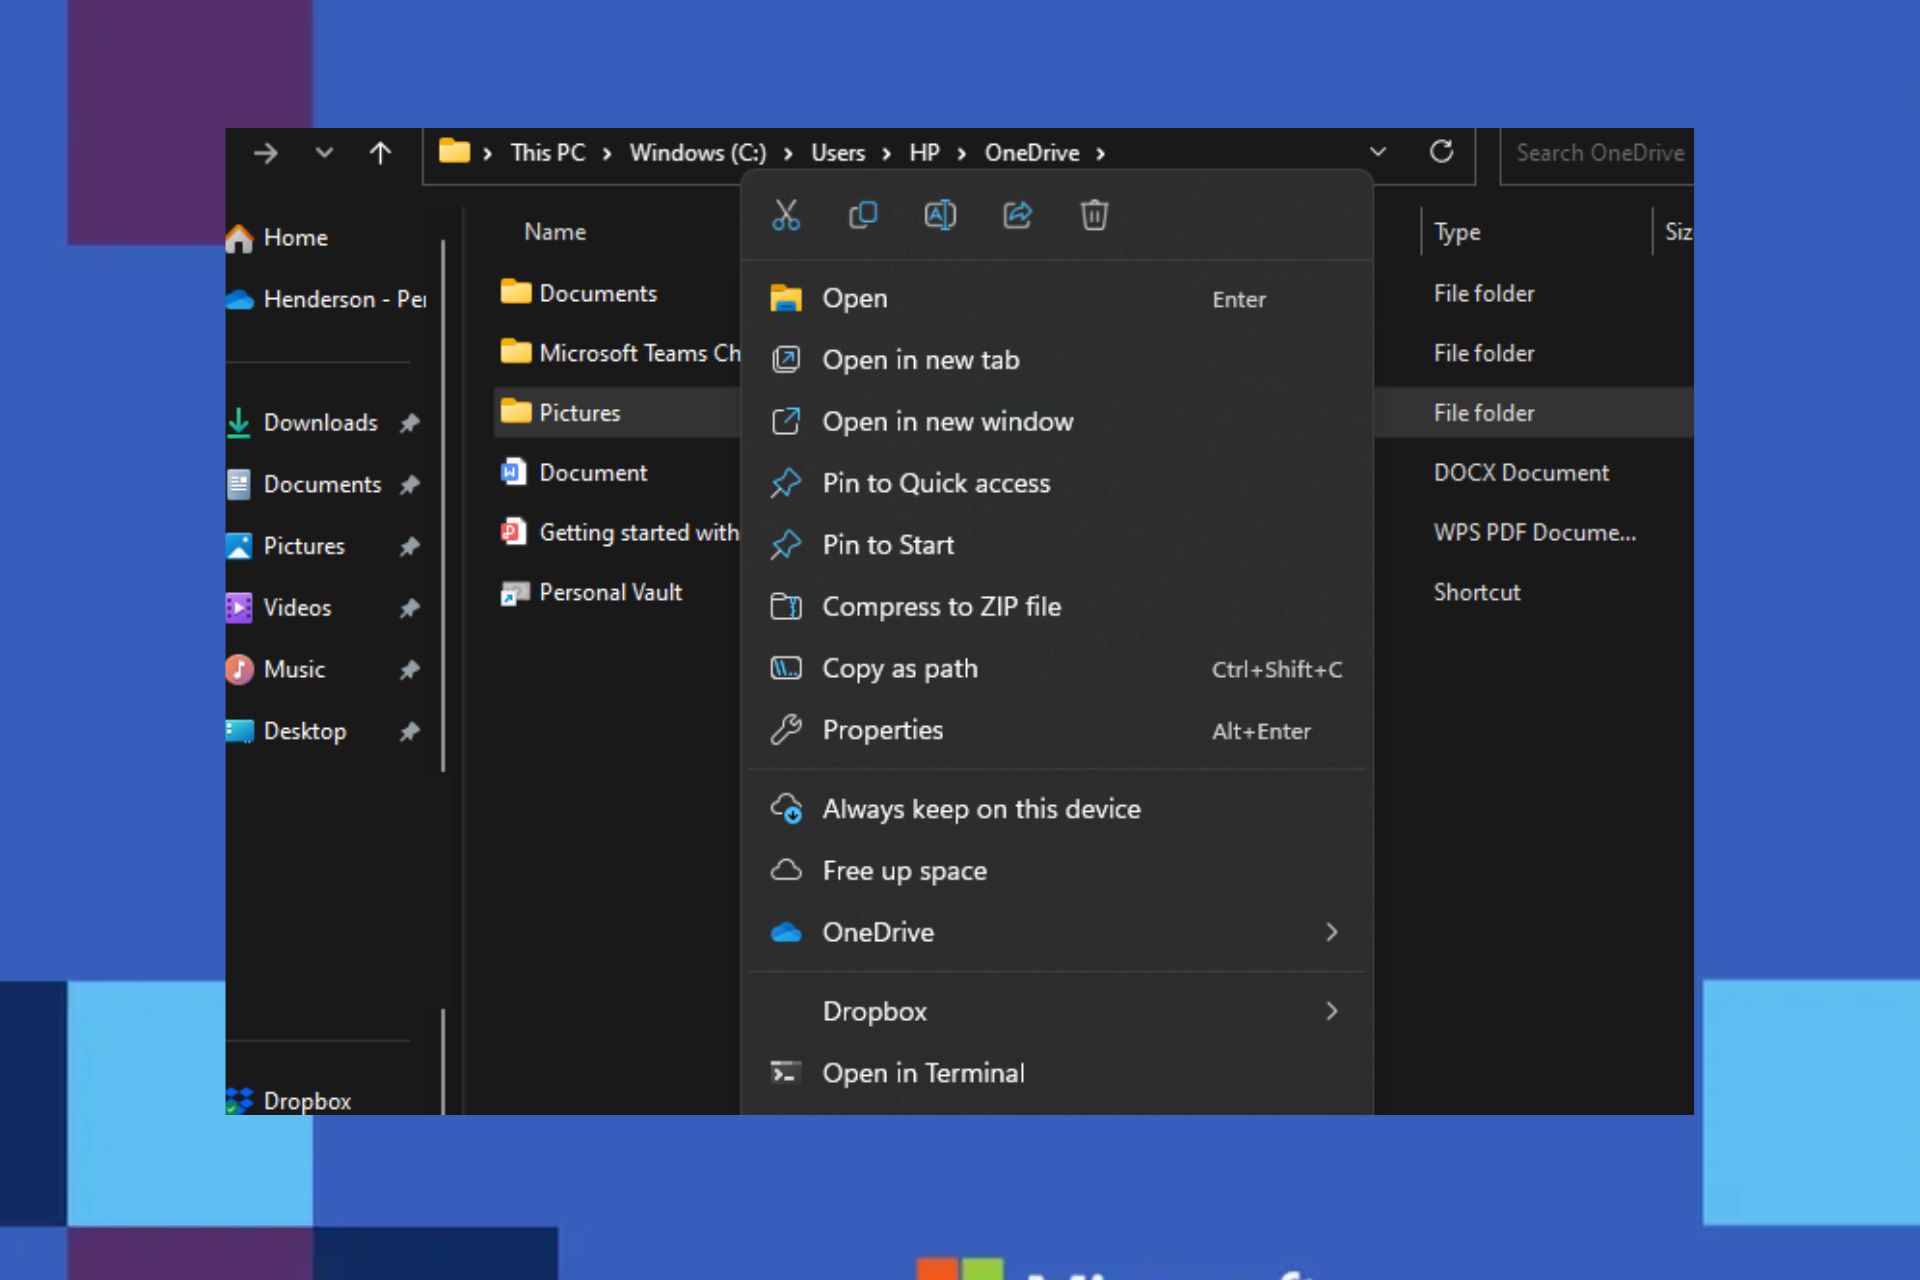
How to Set OneDrive Files to Always Keep on This Device
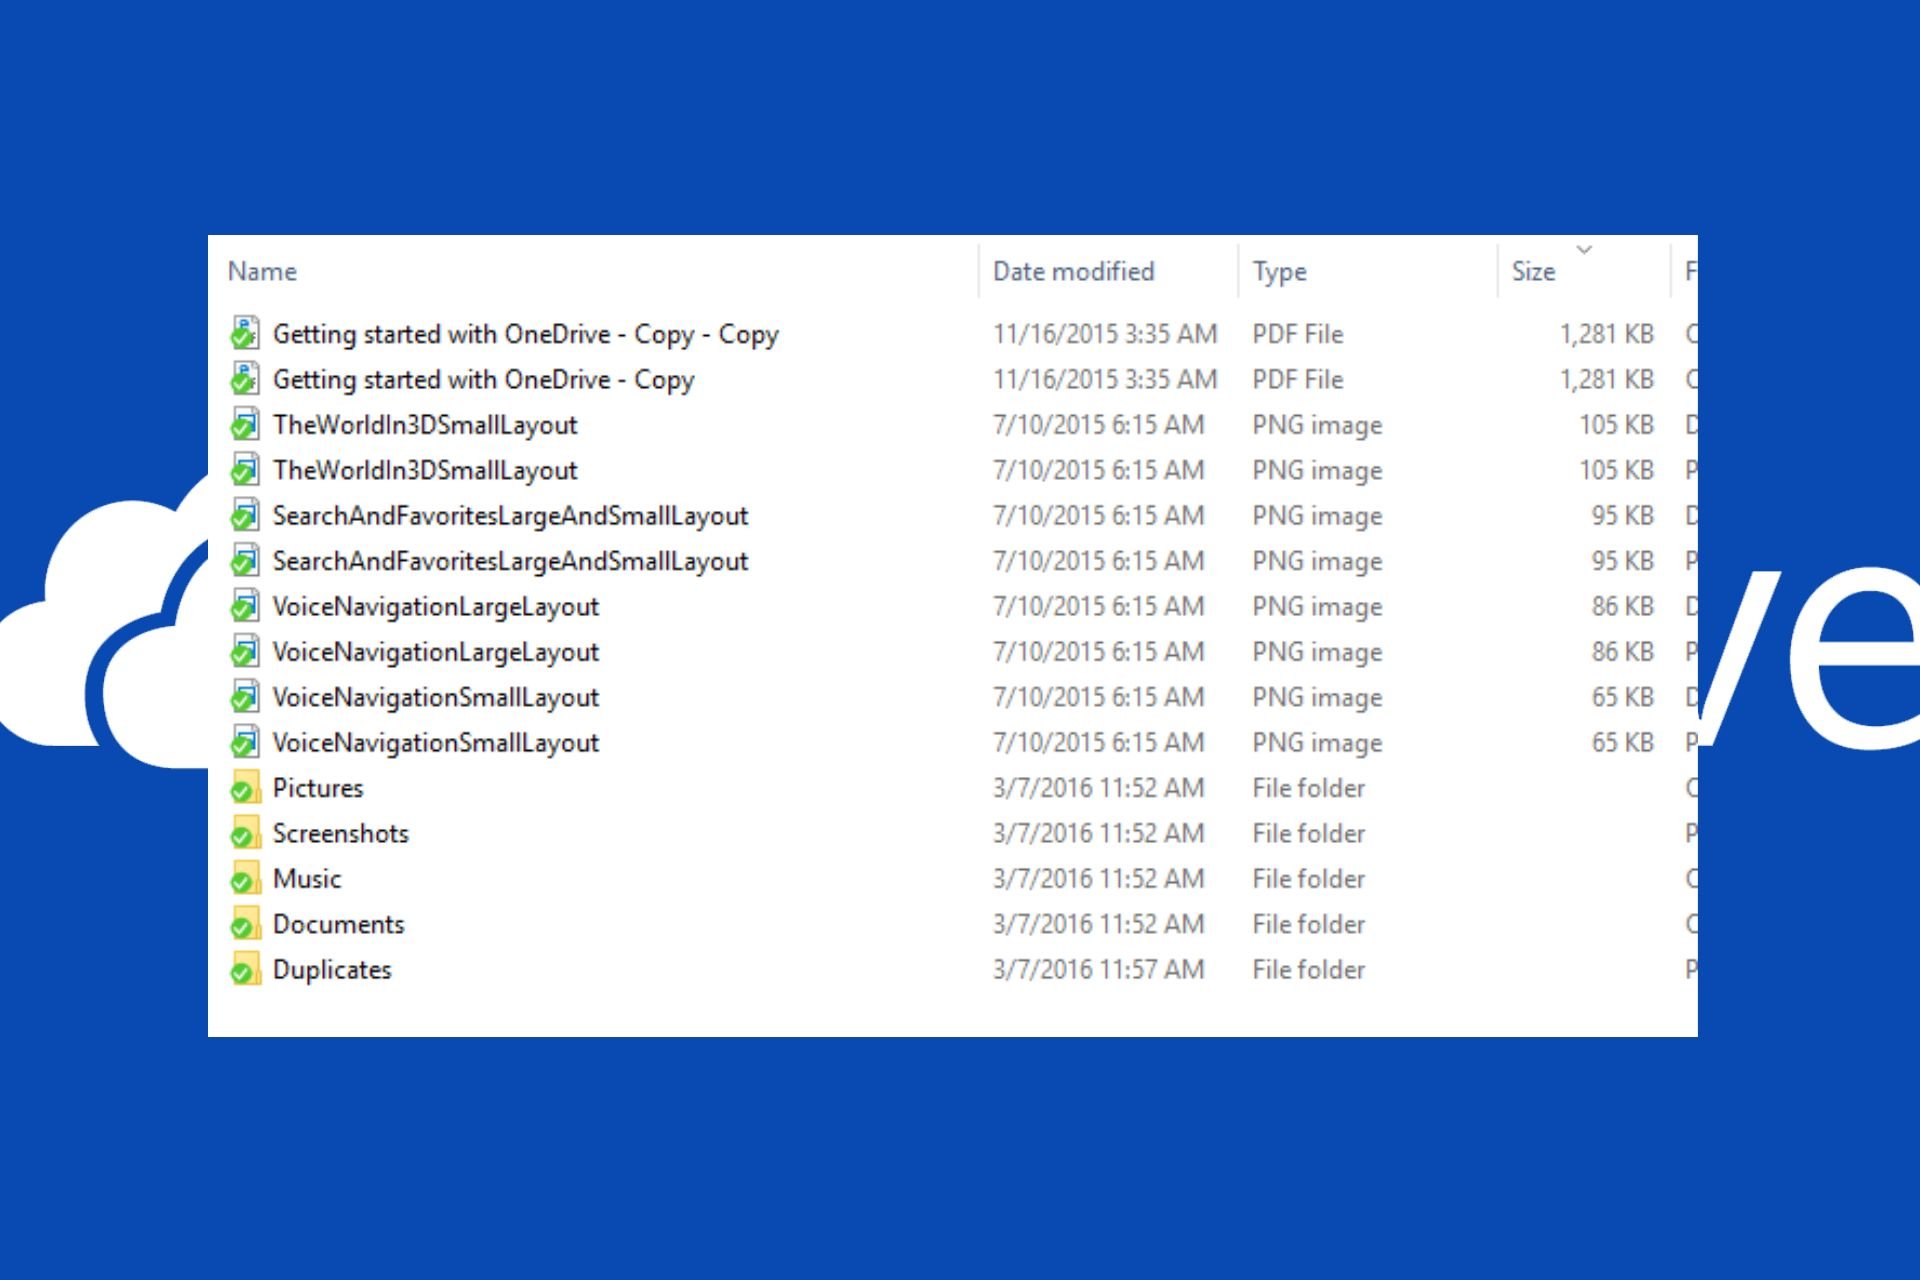
How to Find & Remove Duplicate Files in OneDrive
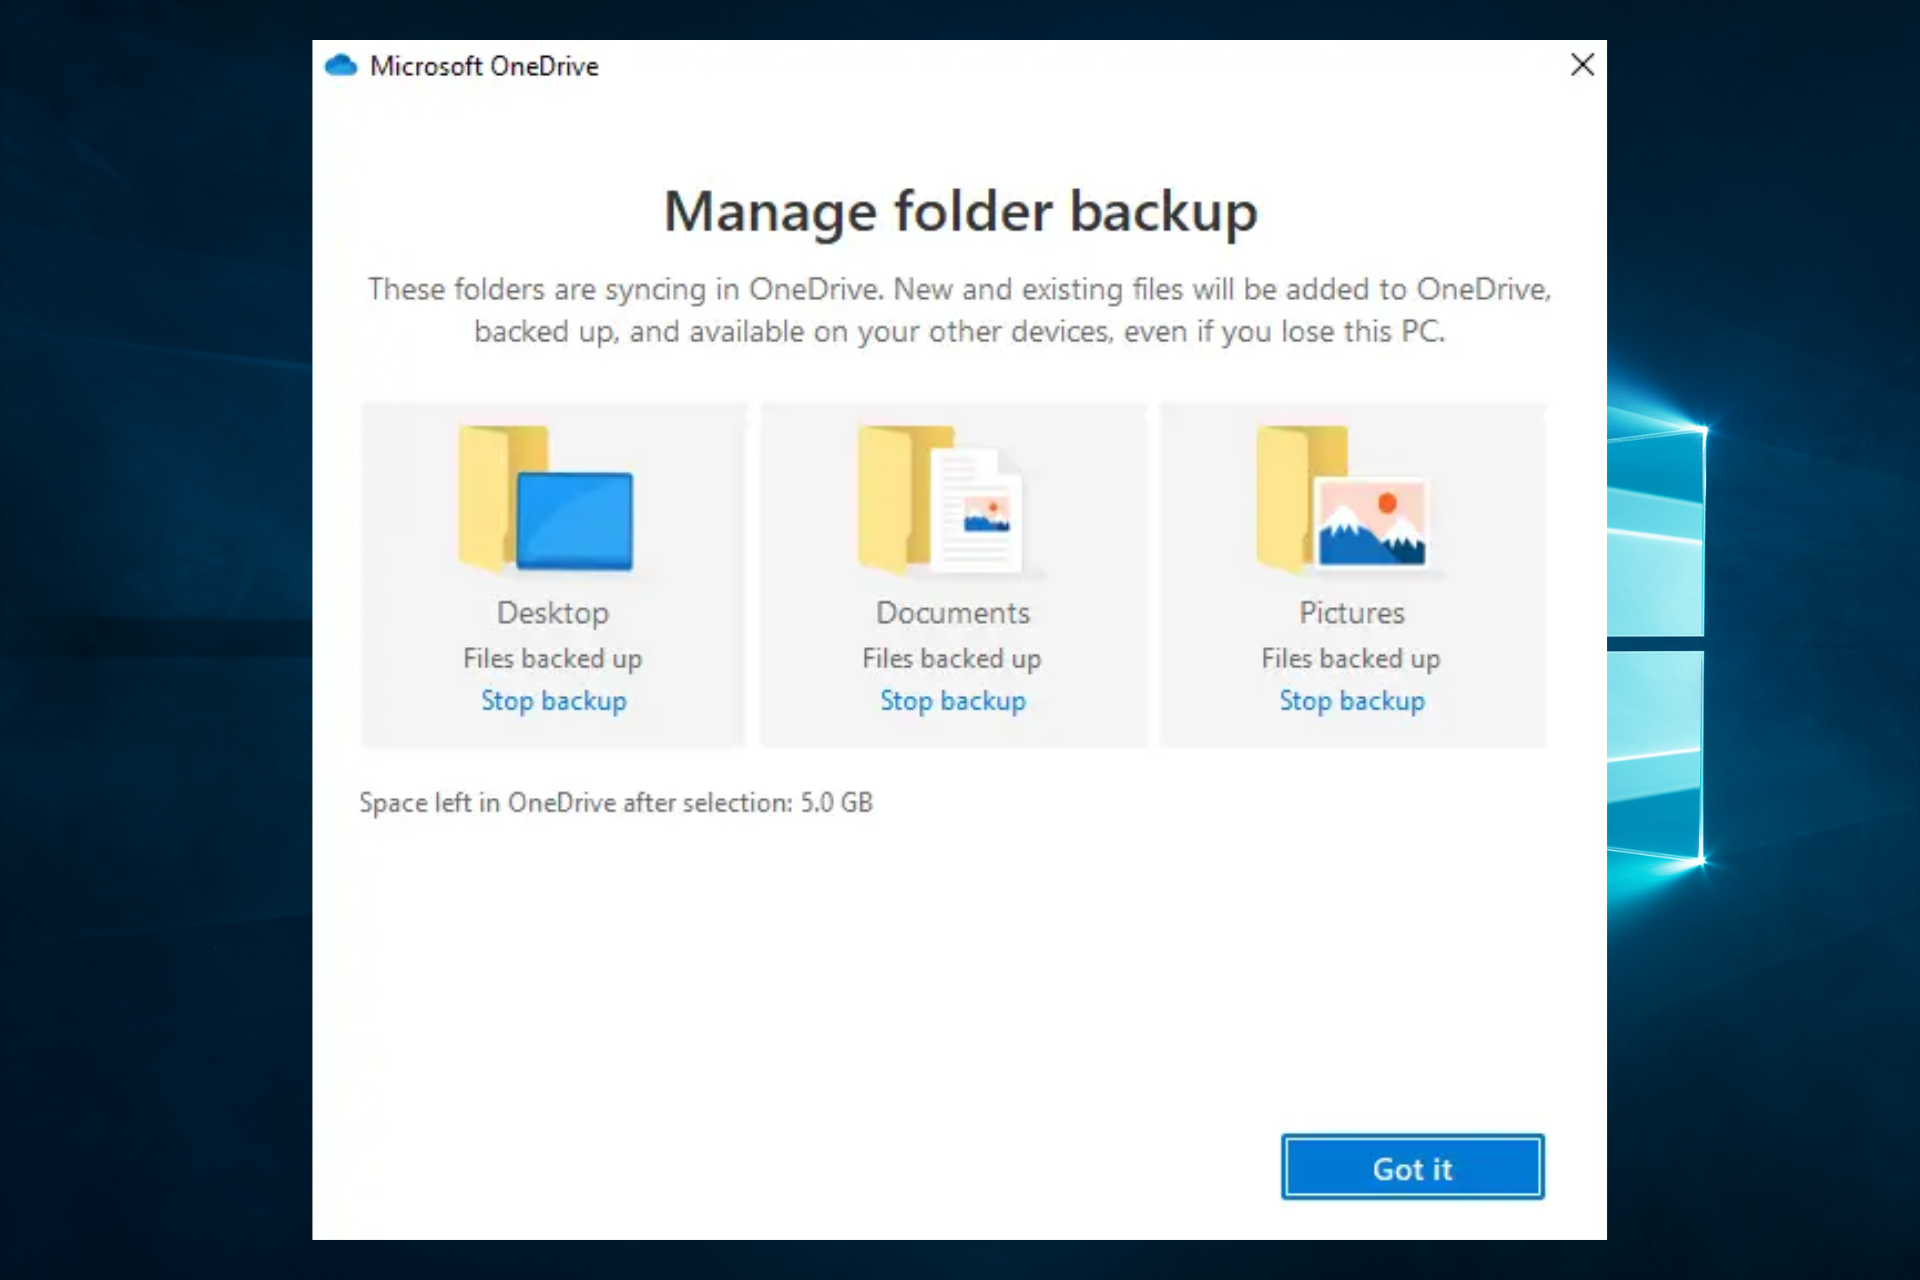
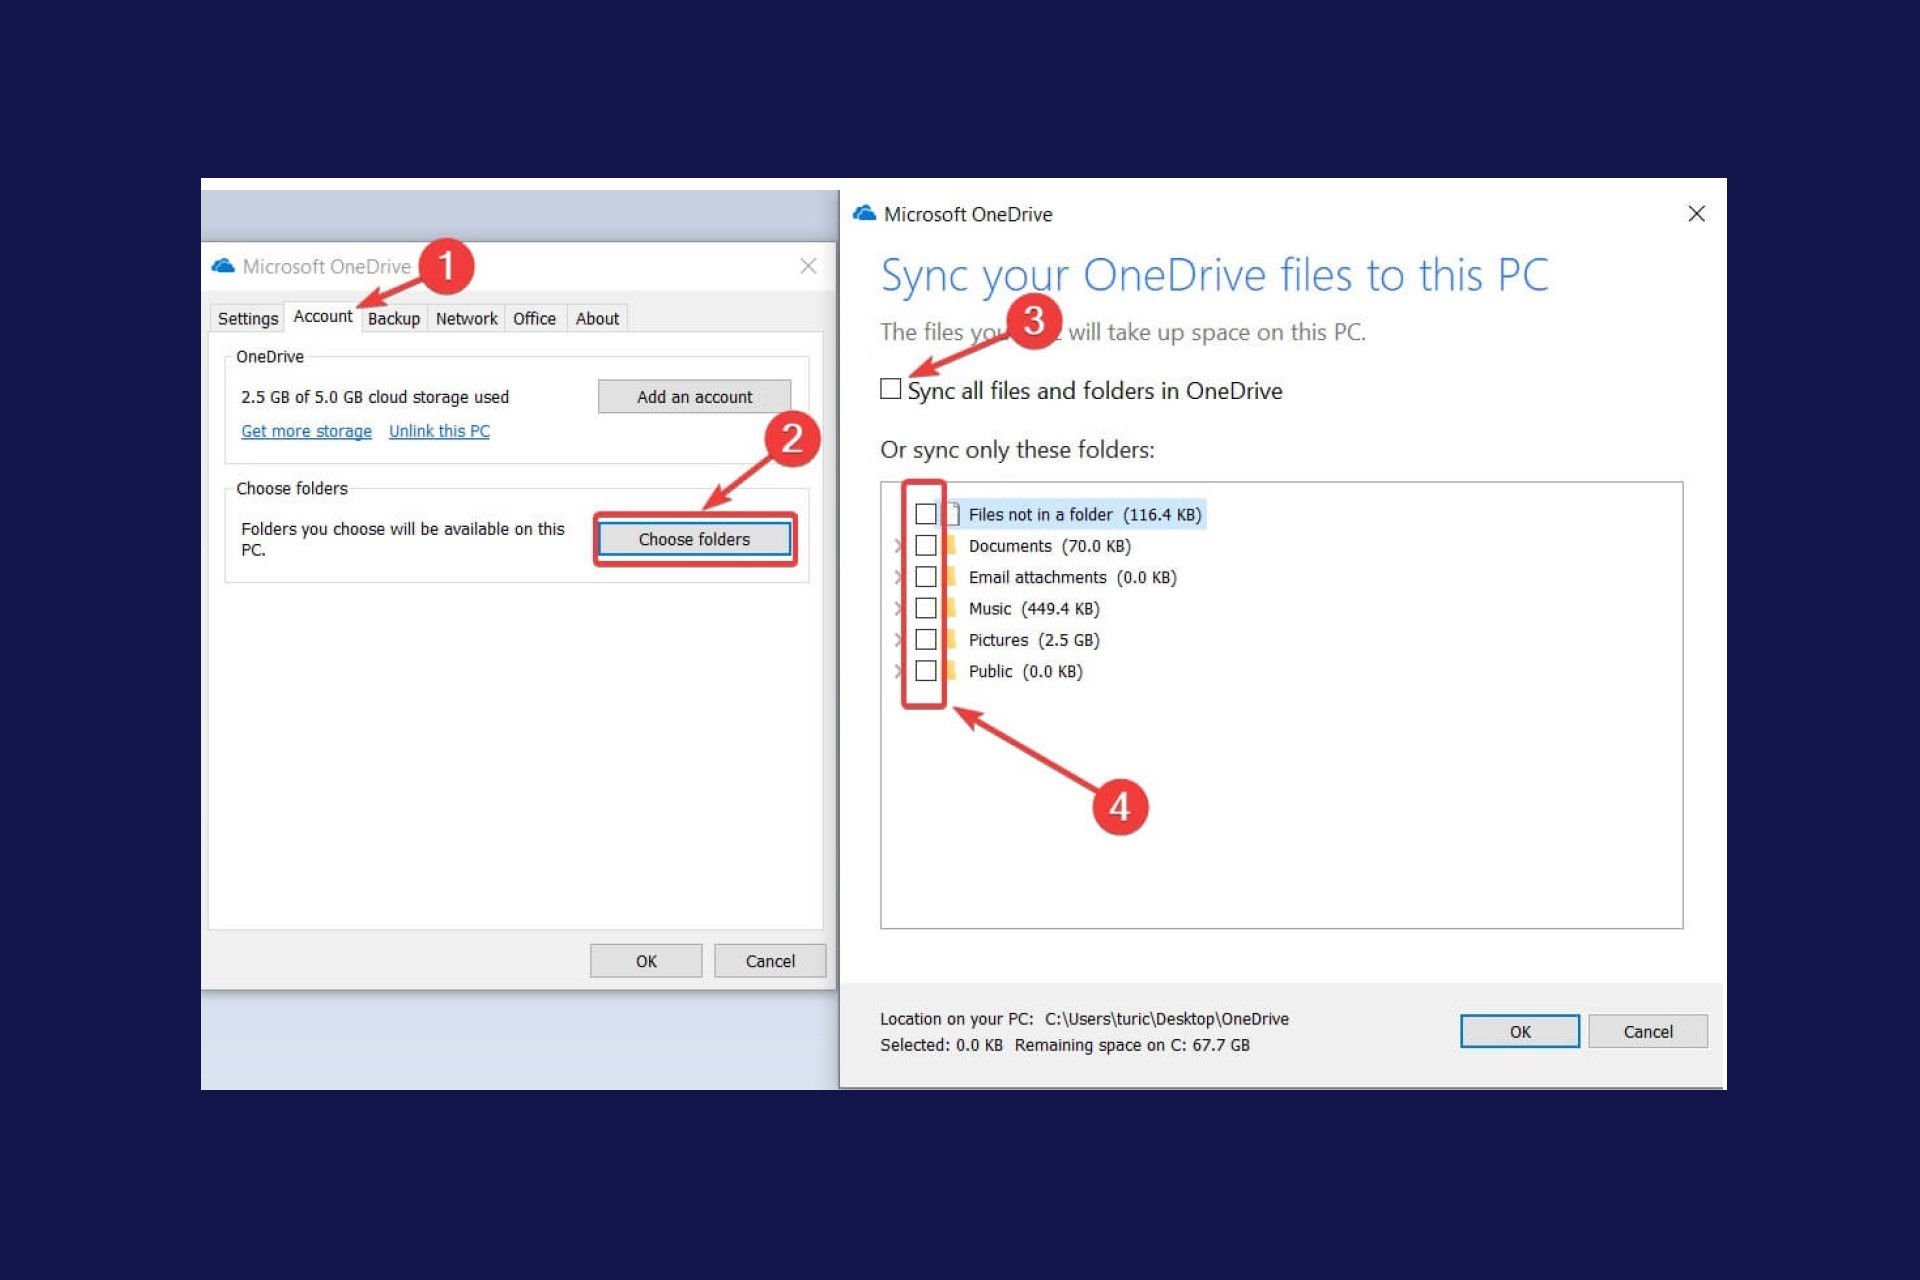
How to Change OneDrive Sync Settings on Windows 10
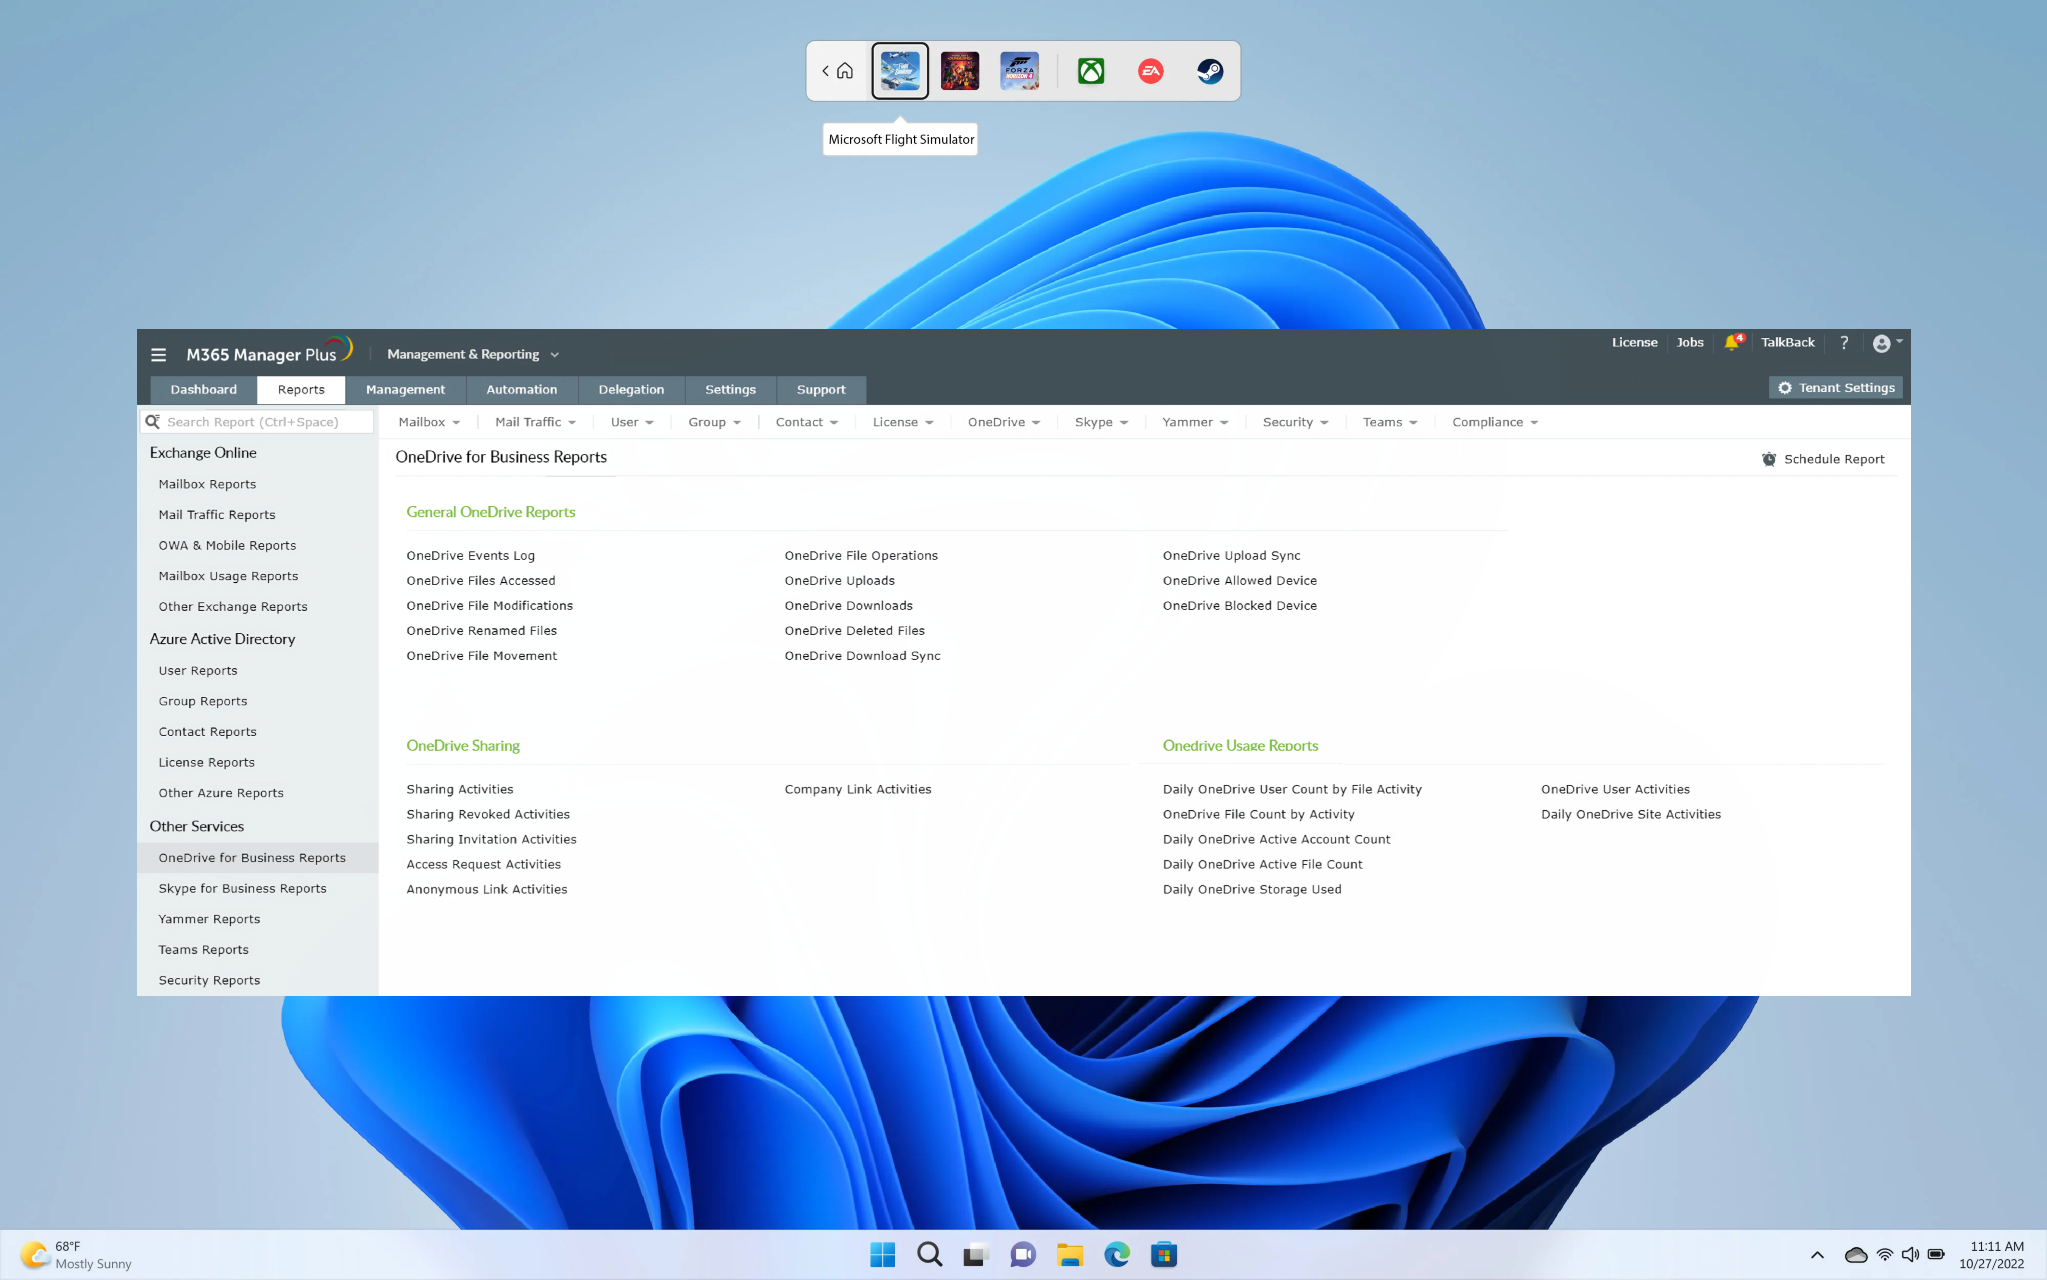
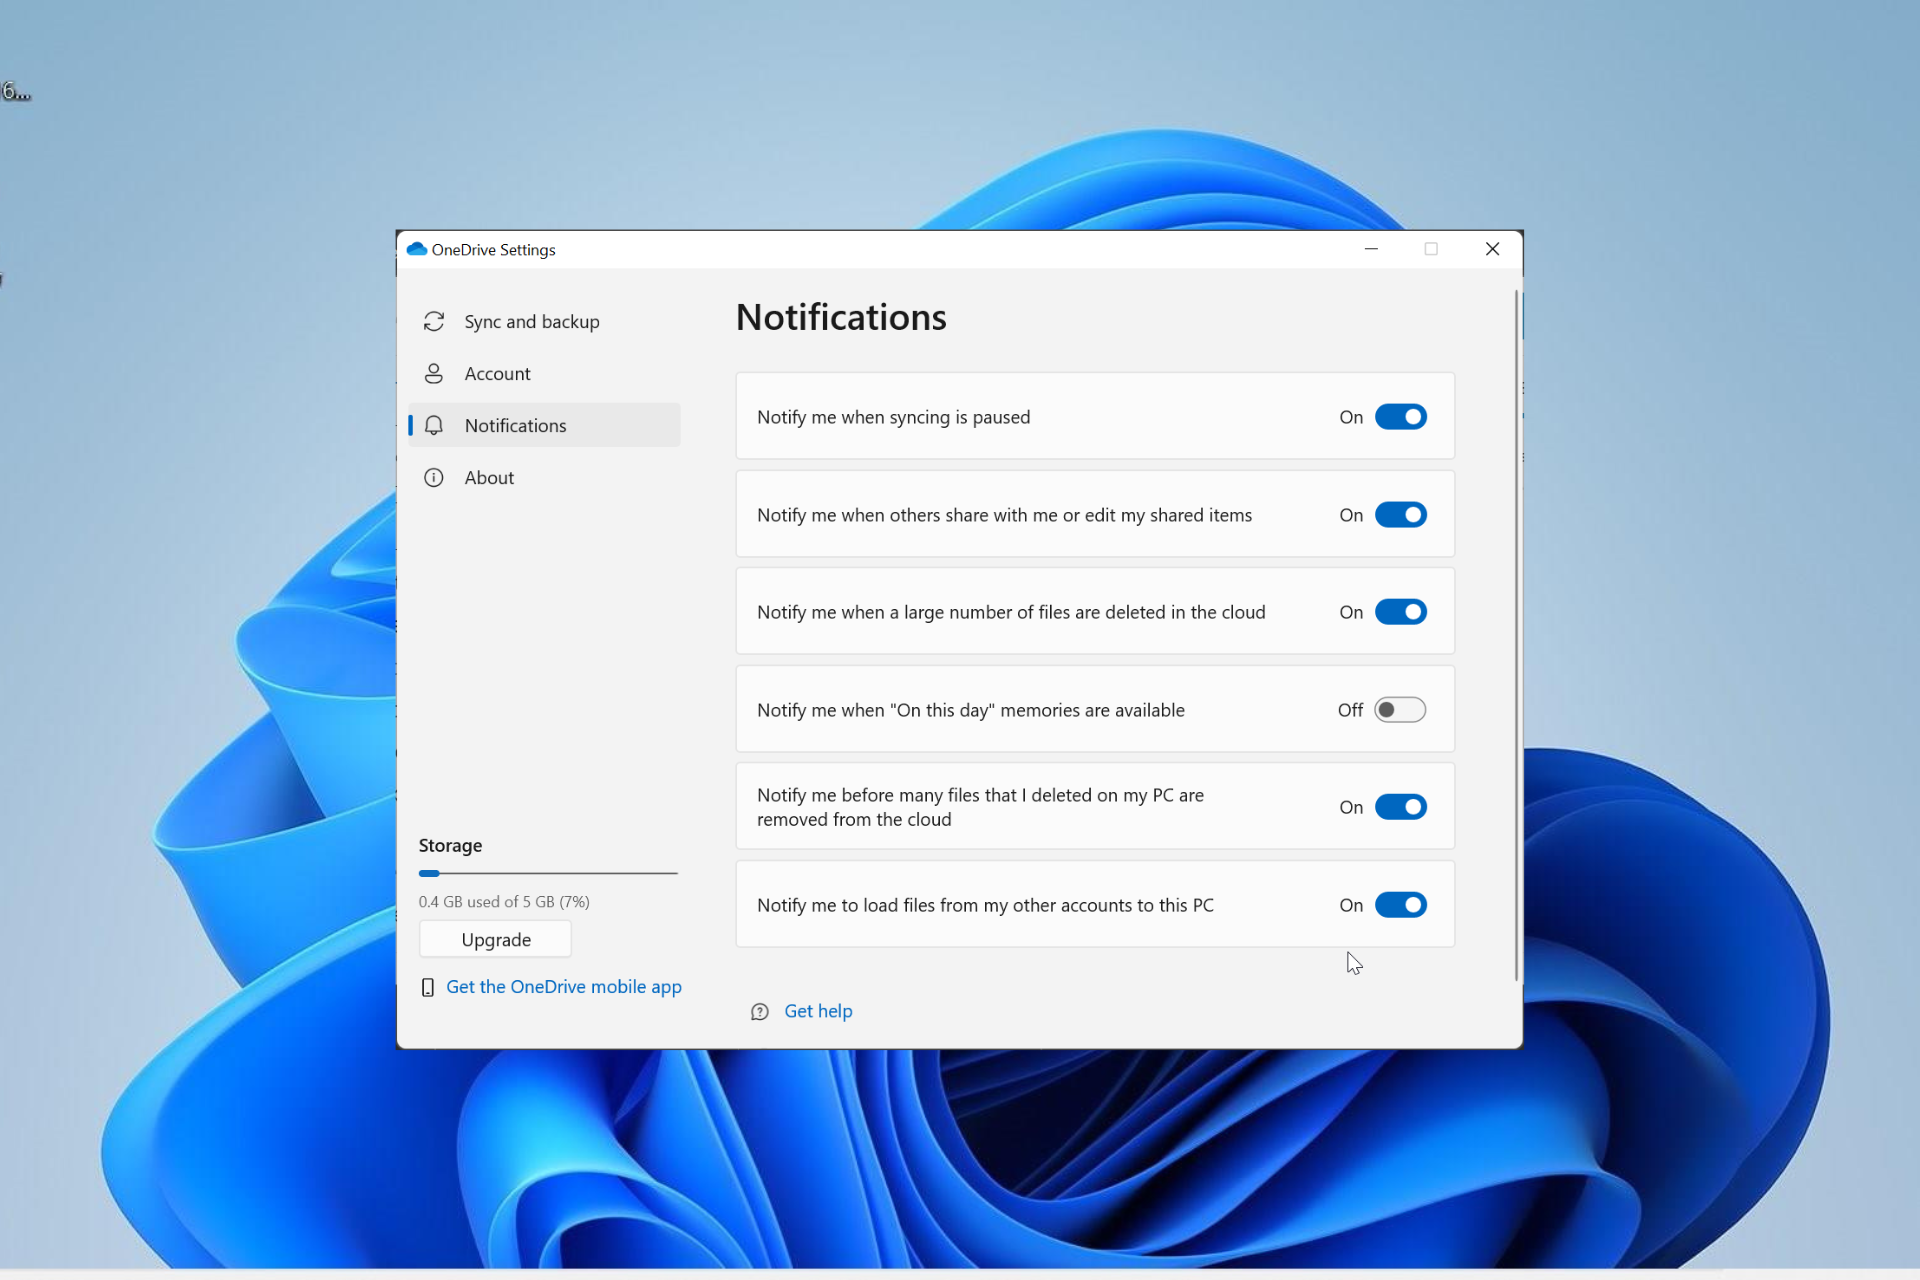
How to Get a OneDrive Usage Report: Audit Log Best Practices
How to See Who Is Invited to a Meeting in Outlook & Attending
Green Check Marks on Desktop Icons: How to Remove Them
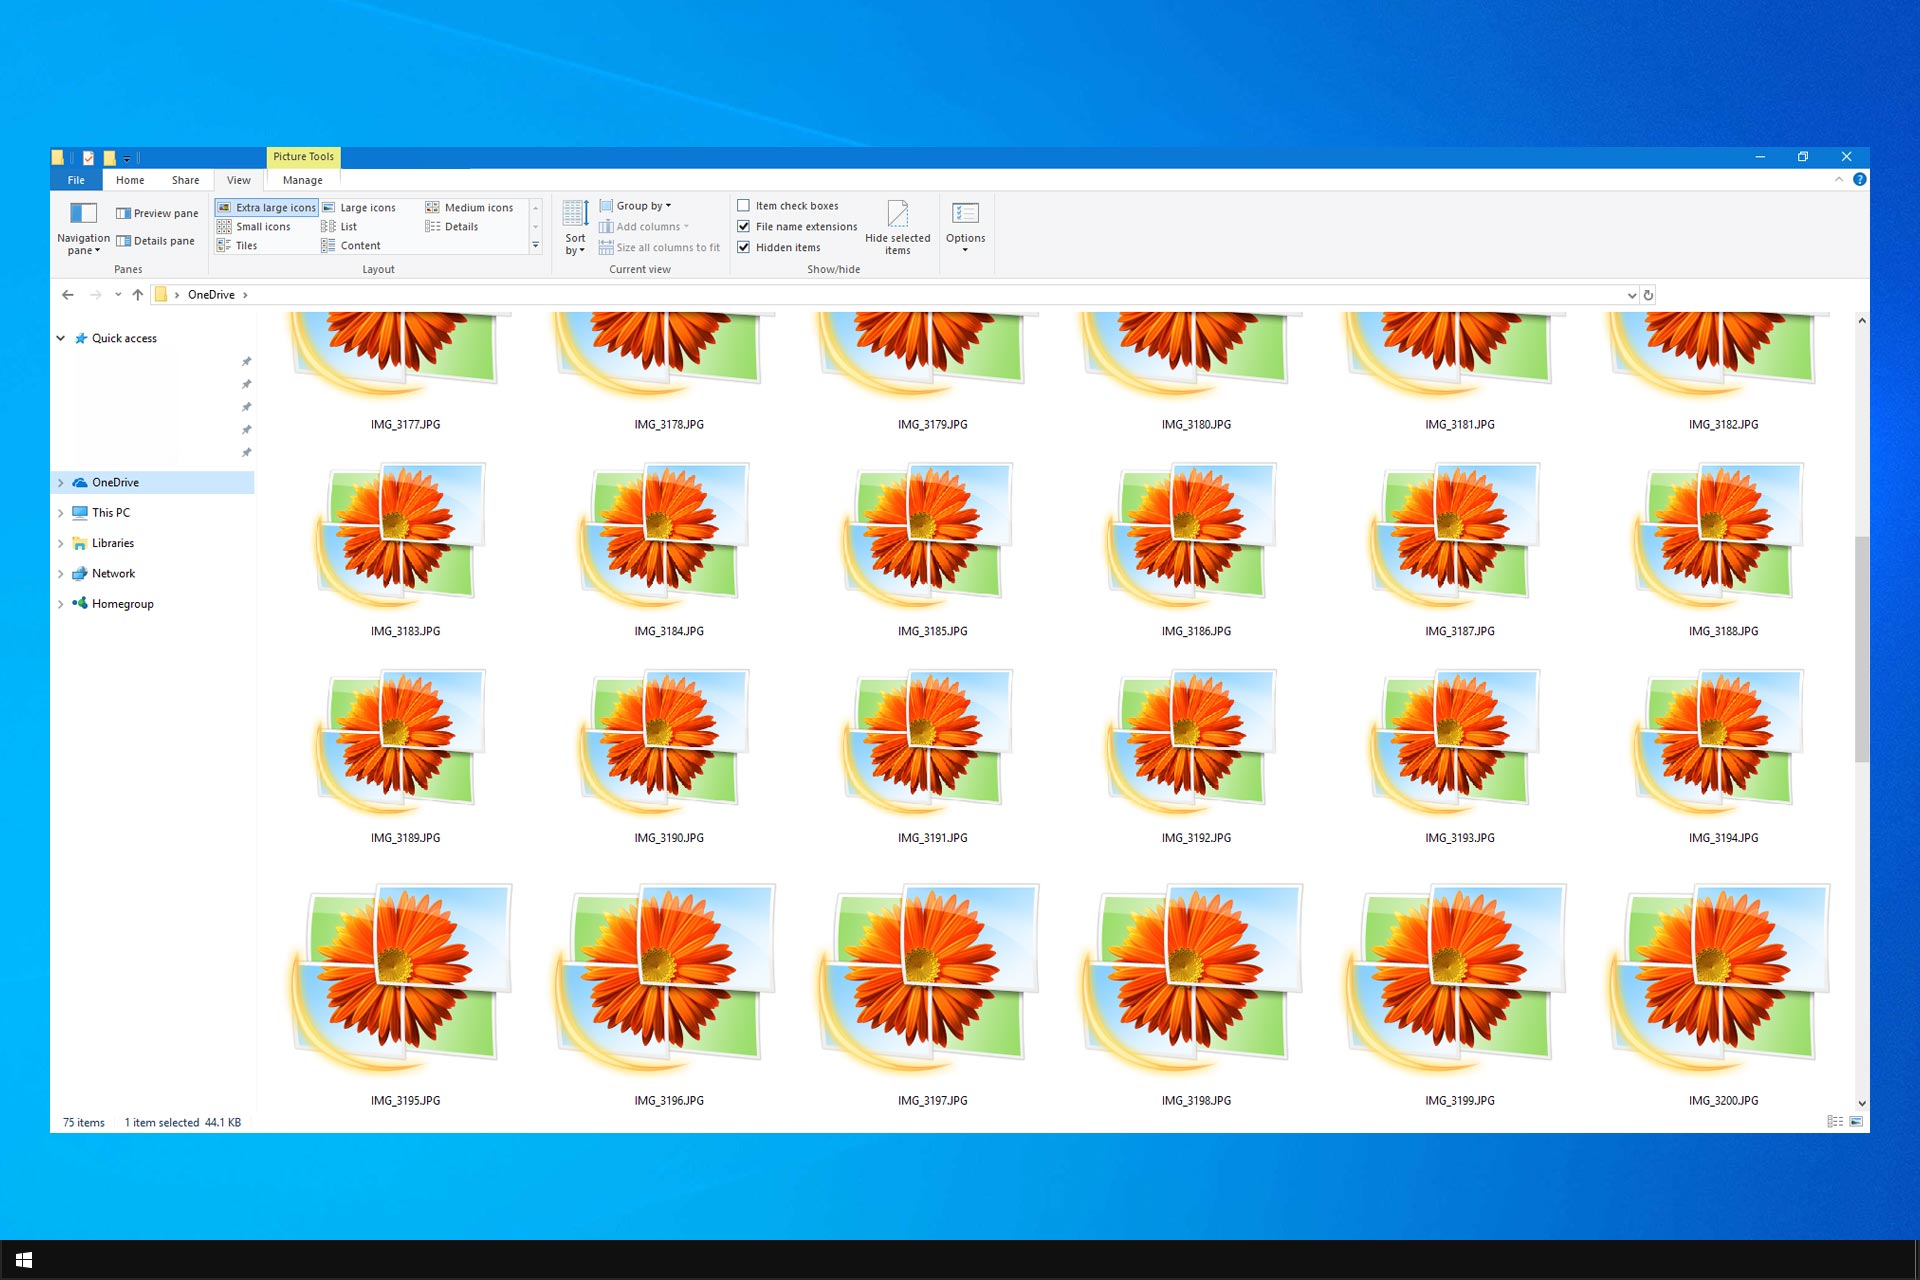
3 Ways to Fix OneDrive Doesn’t Show Picture Thumbnails
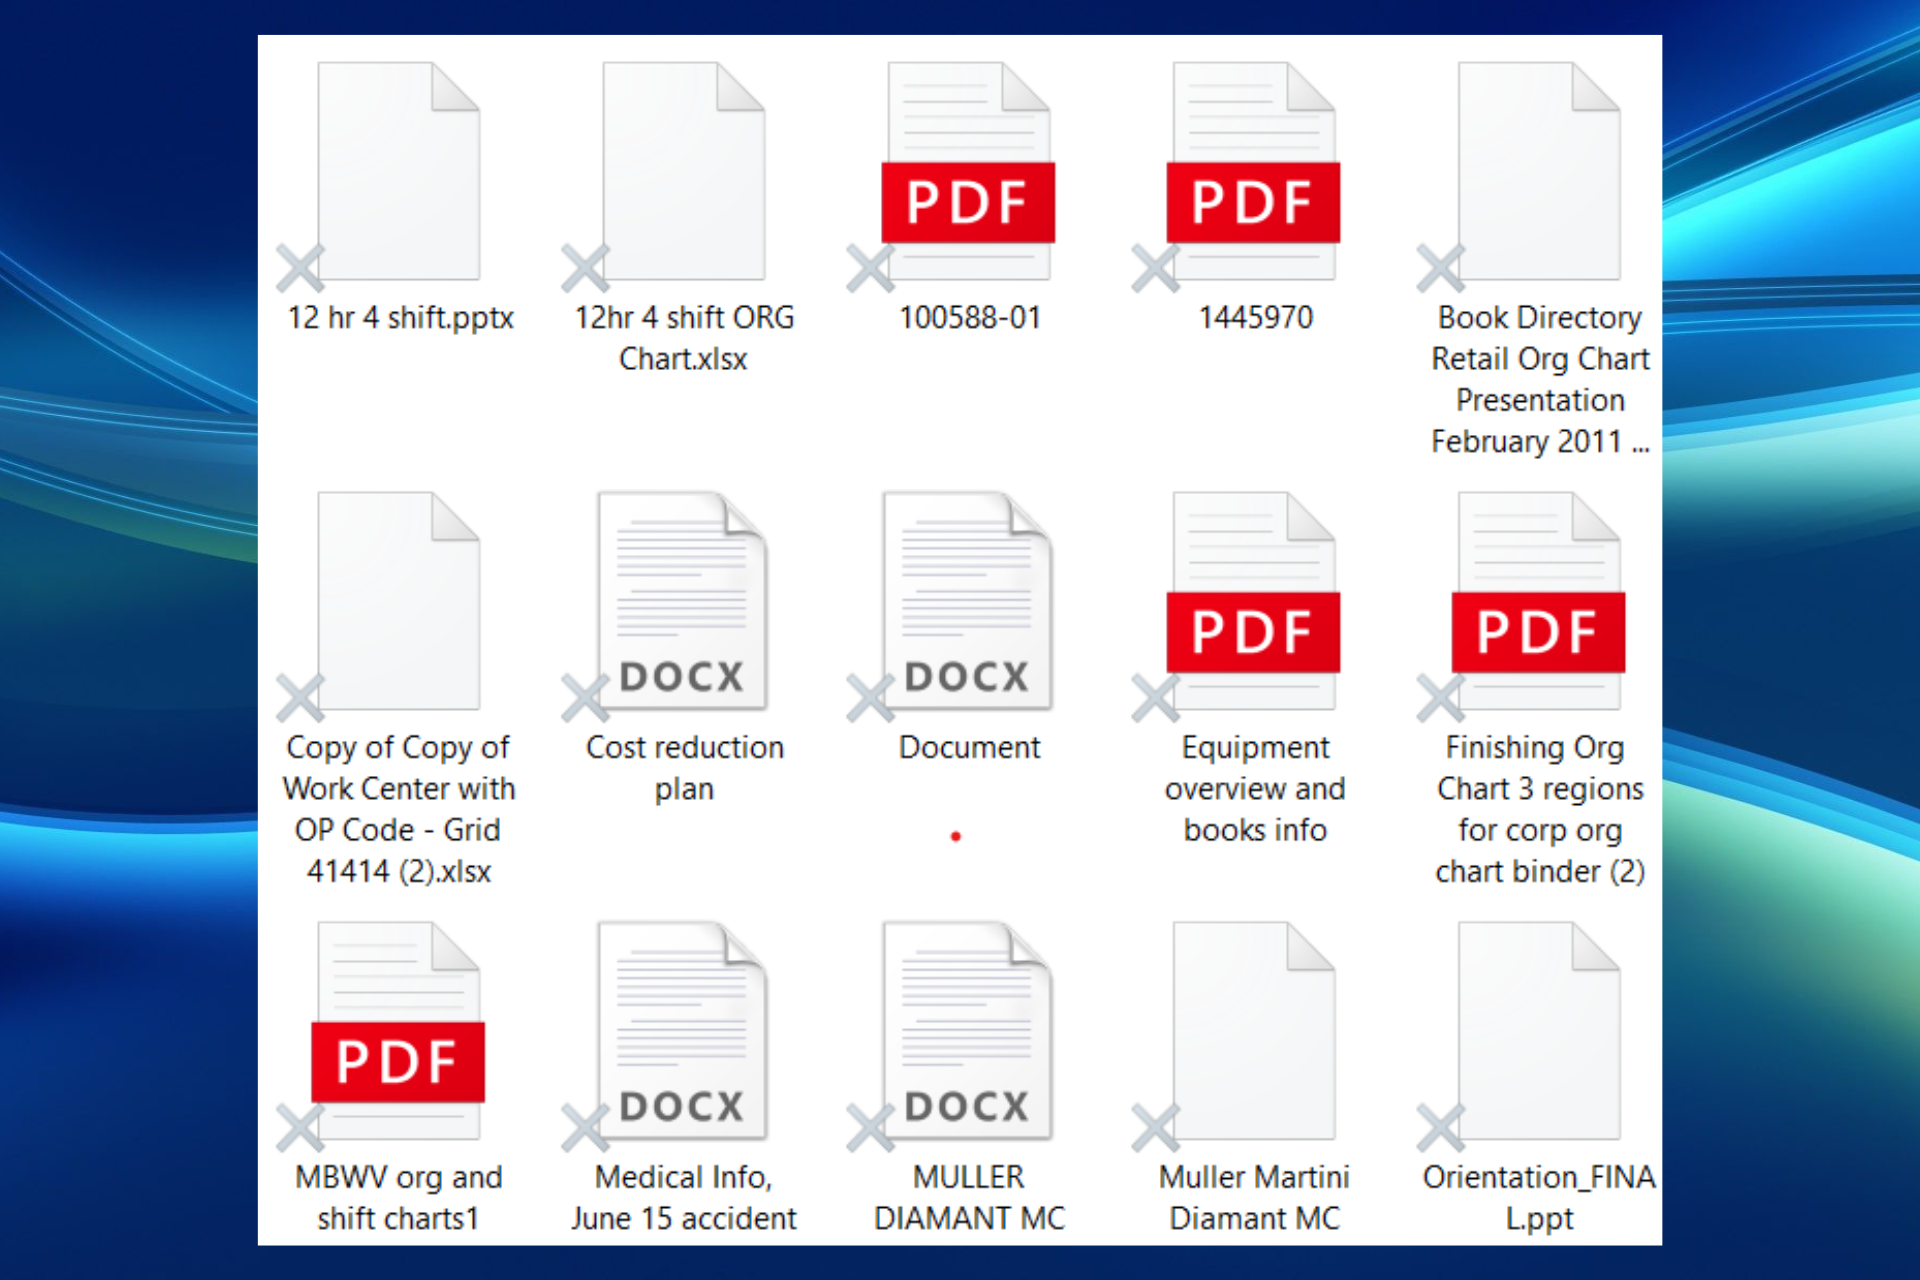
Grey X on Files and Folders: What Does It Mean & How to Fix

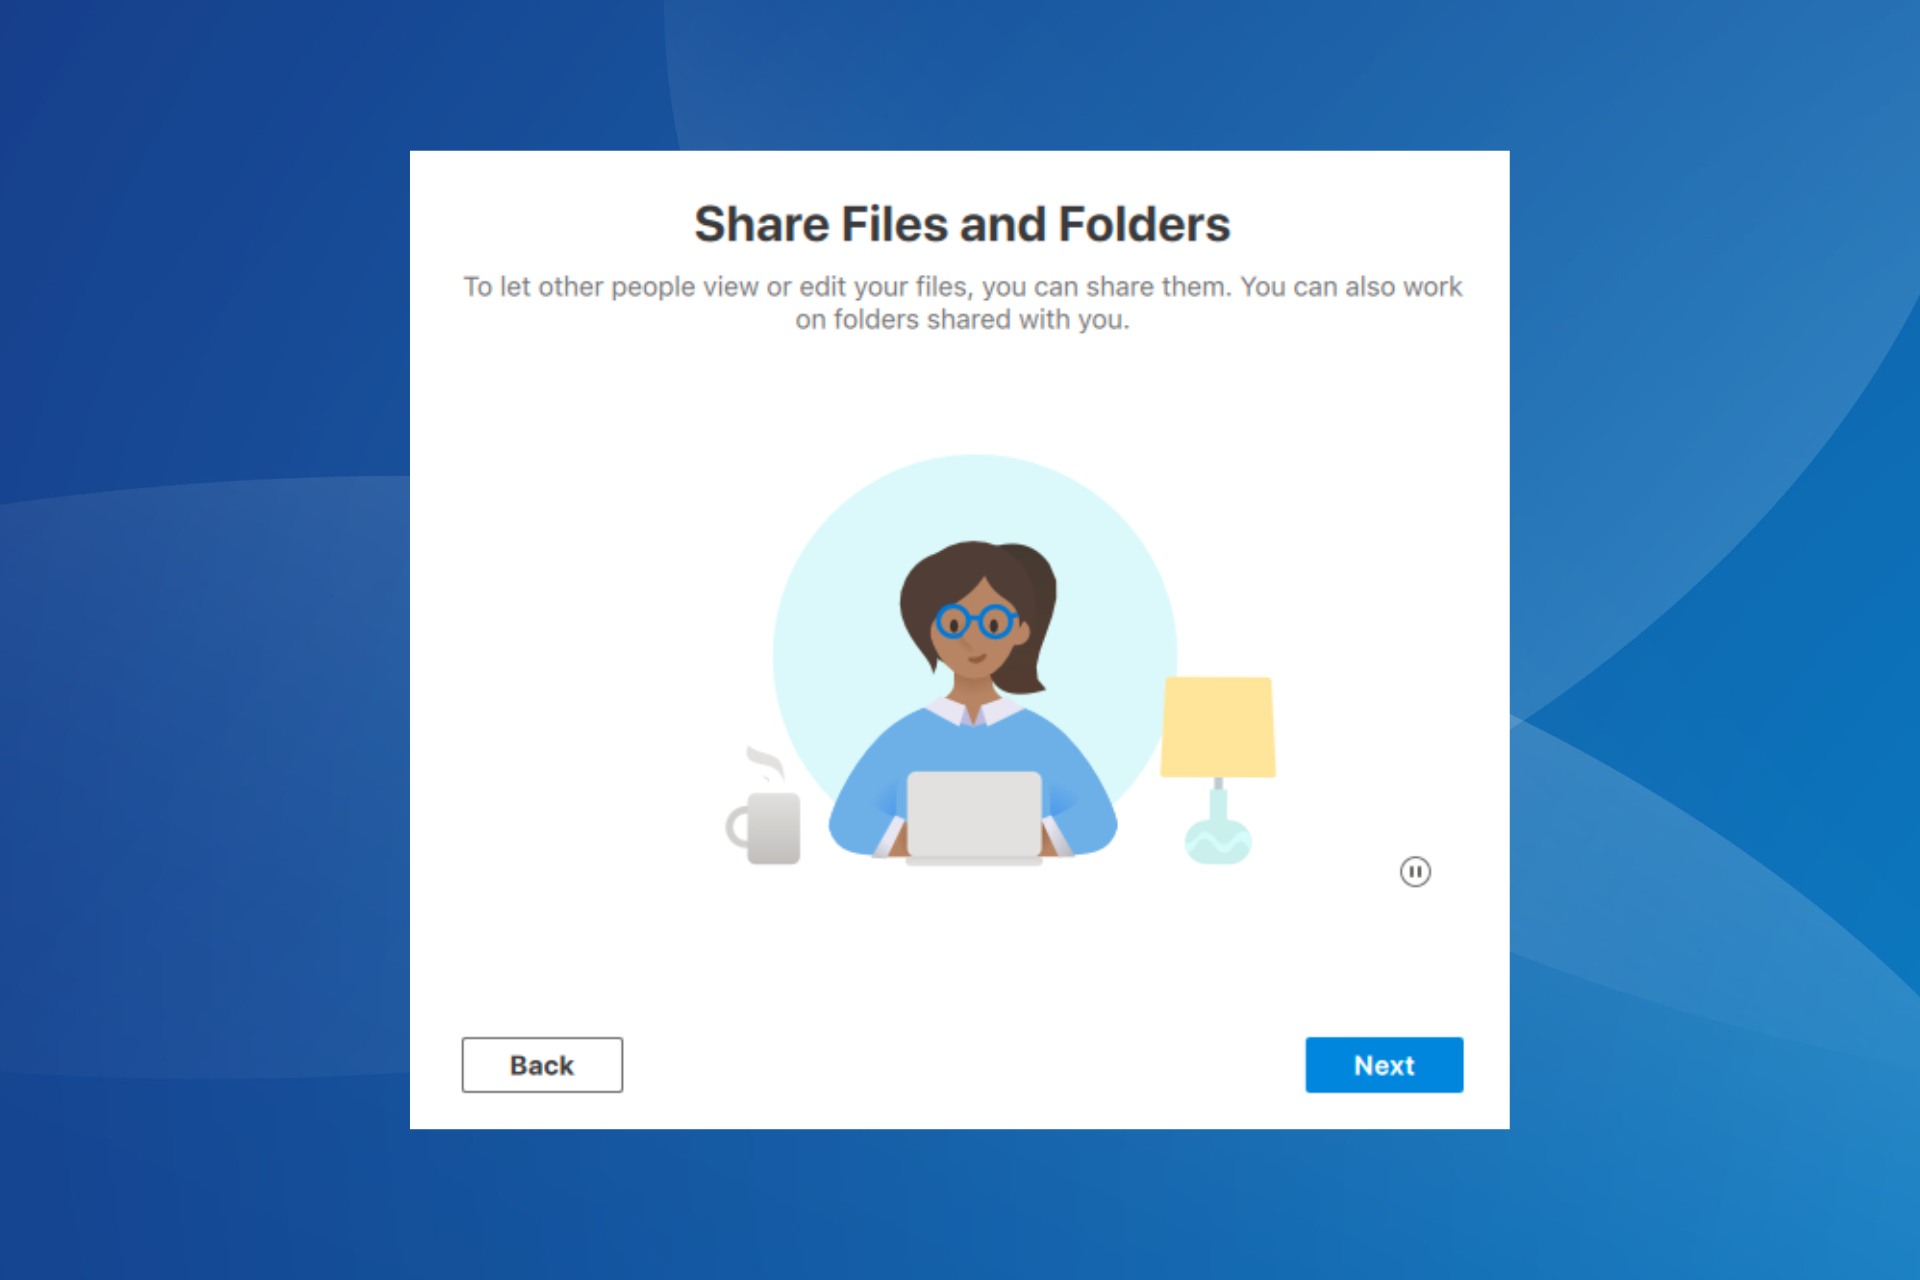
How to Share Files on OneDrive With Others
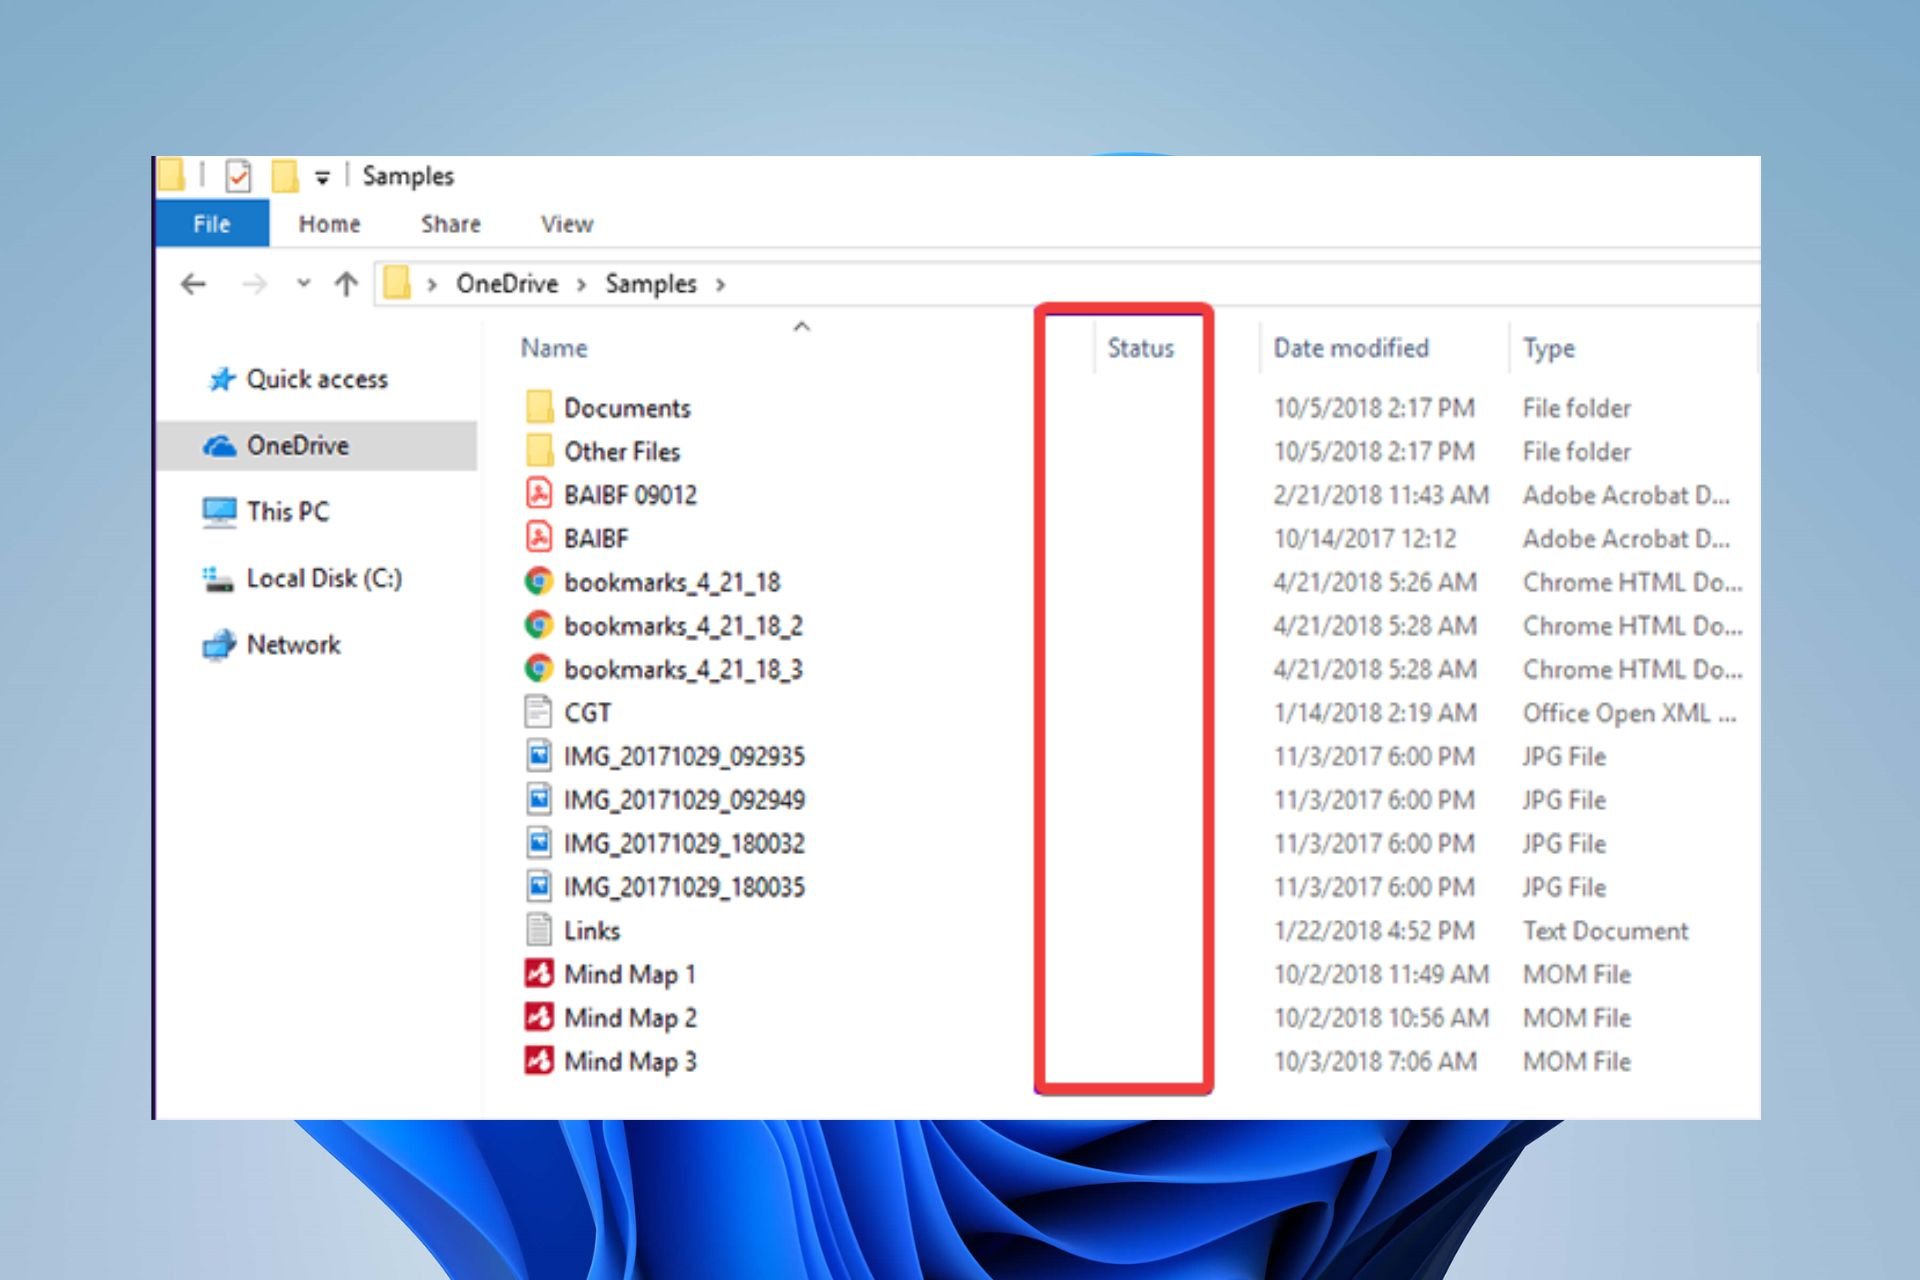
5 Ways to Get Back OneDrive’s Green Check Mark if It’s Missing

How to a Create a Photo Album in OneDrive

How to Transfer Files from One OneDrive Account to Another

How to Sync OneDrive to External Hard Drive
How to Restore a Previous Version in OneDrive
How to Use Multiple One Drives on One Computer
How To Unsync OneDrive from PC [4 Easy Ways]
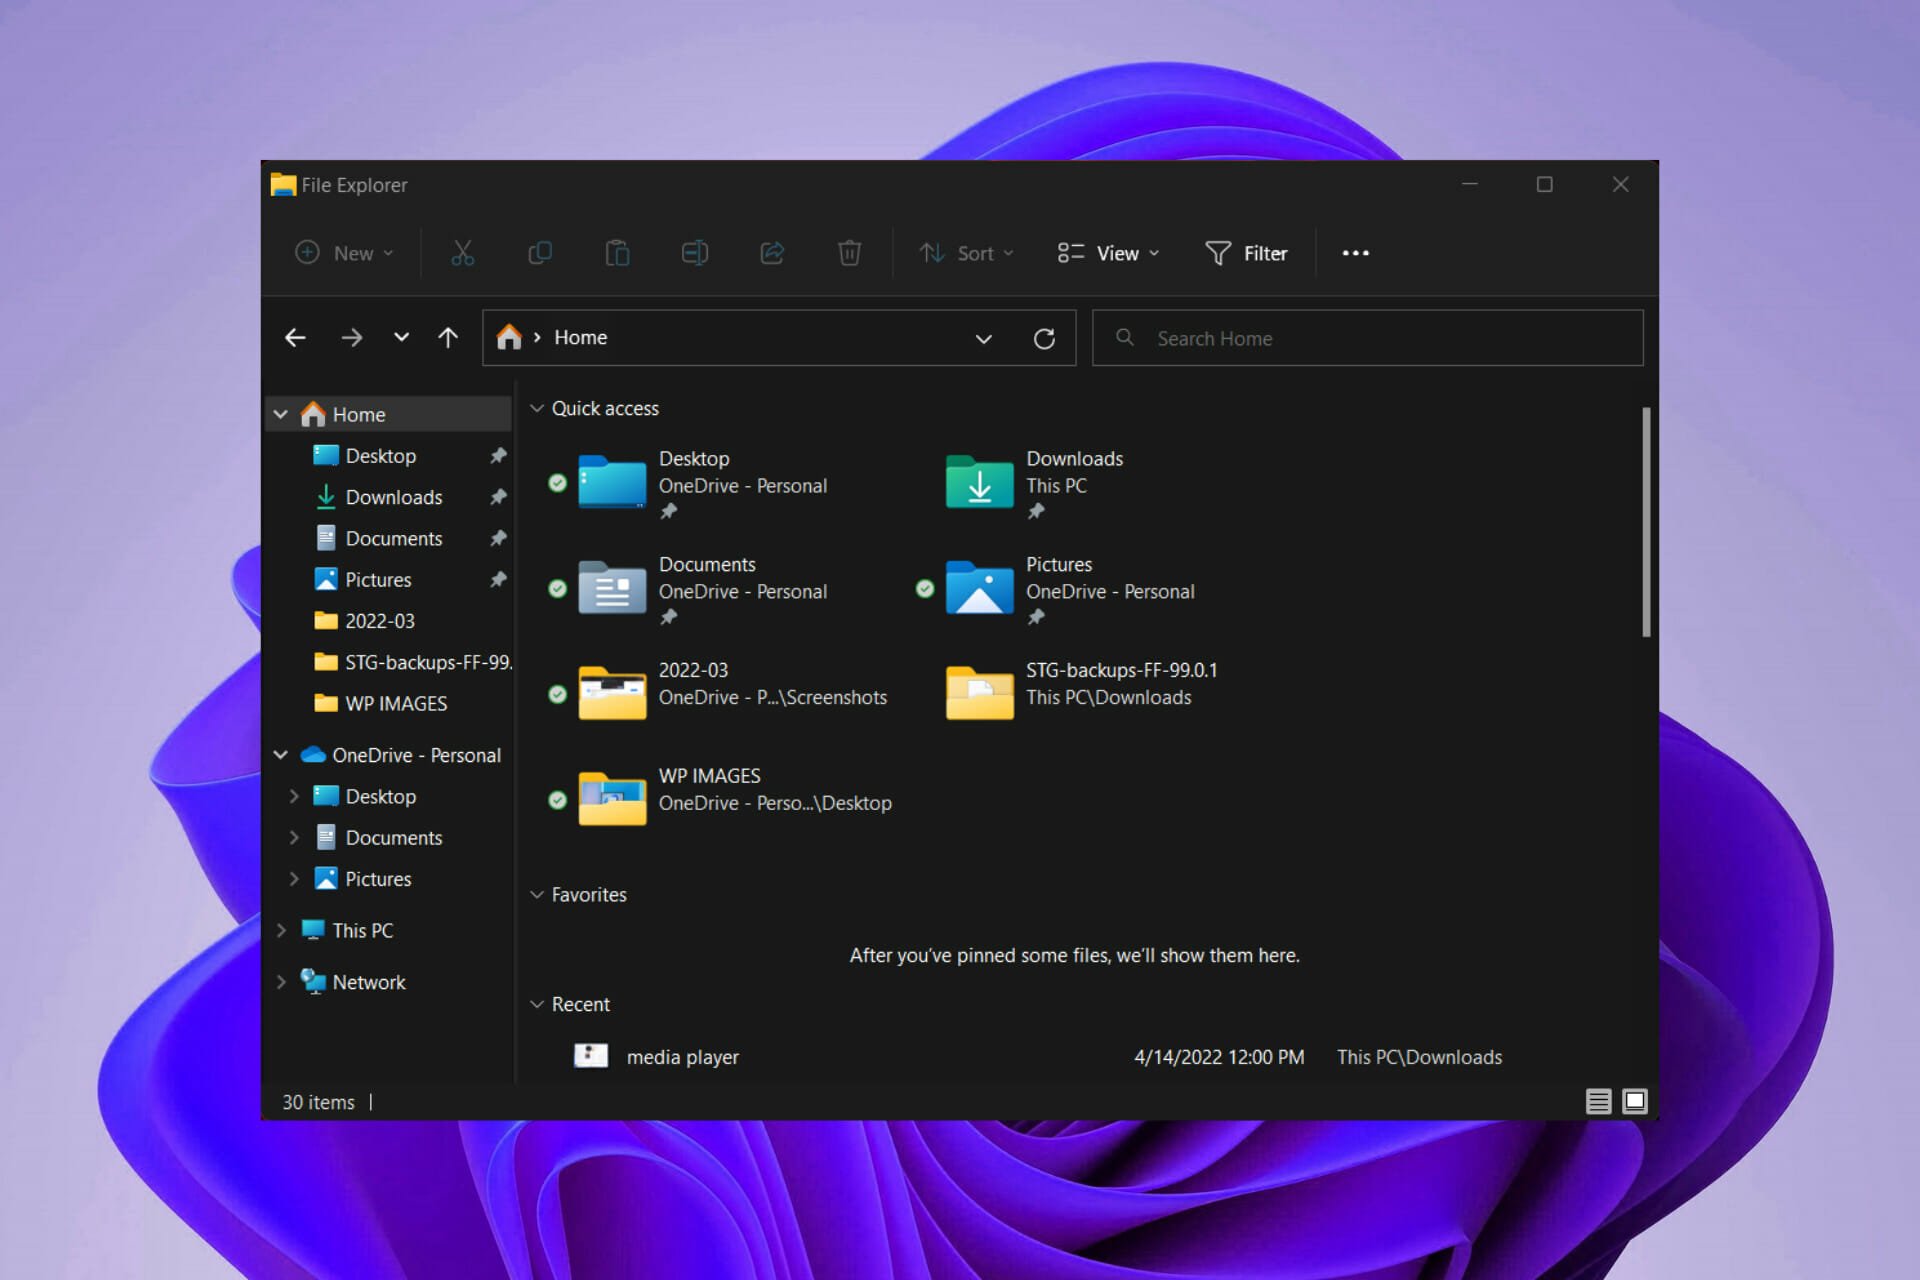
How to Set Up OneDrive in File Explorer

OneDrive upload speed: What is the limit & how to speed up?
How to migrate from OneDrive to SharePoint

How to migrate your content from OneDrive to Google Drive

Disable OneDrive pop-ups in Windows 10/11 [QUICK WAYS]

We answer: What is OneDrive in Windows 10 and how to use it?

How to use OneDrive diagnostic tools for Windows 7/10

How to reinstall OneDrive on Windows 10 S

Improve OneDrive performance on Linux by tweaking the user agent string
Microsoft’s OneDrive adds spam File Explorer: Here’s how to get rid of them
