How to Assign Tasks in Microsoft To-Do [Quick Steps]
Boost your productivity with Microsoft To-Do
![]() 2 min. read
2 min. read
![]() Updated on
Updated on
Share this article

Improve this guide
Read our disclosure page to find out how can you help Windows Report sustain the editorial team Read more
Key notes
- Microsoft-To-Do is a task management application that allows its users to schedule tasks.
- The newest update to the app includes a task assignment feature.
- Users can assign tasks to each other in just a few clicks.
- We will show you how to do this in our article.

Microsoft To-Do is a cloud-based task management application that allows users to manage their work on a desktop or mobile gadgets.
It has an intuitive interface with multiple options that increase productivity and help users manage their tasks with ease.
Recently, Microsoft has improved Azure and Teams to offer a better experience to users who want to work together and share data. Microsoft To-Do was not left behind.
There were updates to Microsoft To-Do as well, including a new entry bar and reminders.
How can I assign tasks to list members in Microsoft To-Do?
Now, you can work together on tasks, as the tech giant added a task assignment feature in To-Do.
If you work on a shared list, all you have to do is to @mention someone to assign them a task. This is the simplest method, but you can also assign tasks in the classic way.
The traditional method consists of manually assigning tasks to members from the app’s menu. All you need to do is navigate to the Task you want somebody else to do, and assign it to them.
1. Open Microsoft To-Do on your device.
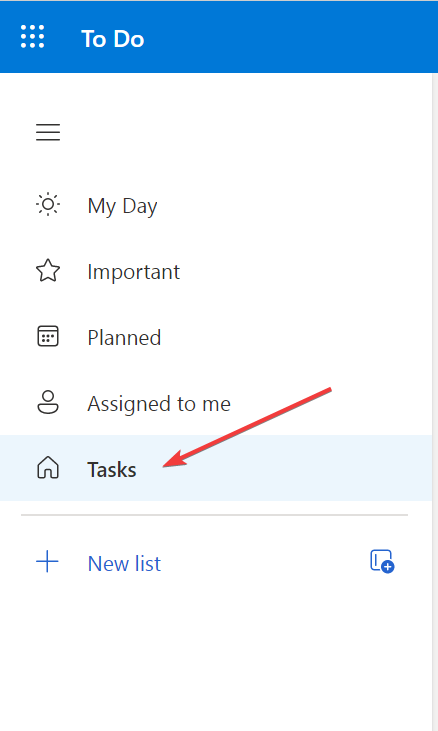
2. Navigate to the Tasks section in the menu on the left side of the screen.
3. Click on the task that you want to assign.
5. Now you will see a new pop-up window with the list members. Click on the member to whom you want to assign the task.
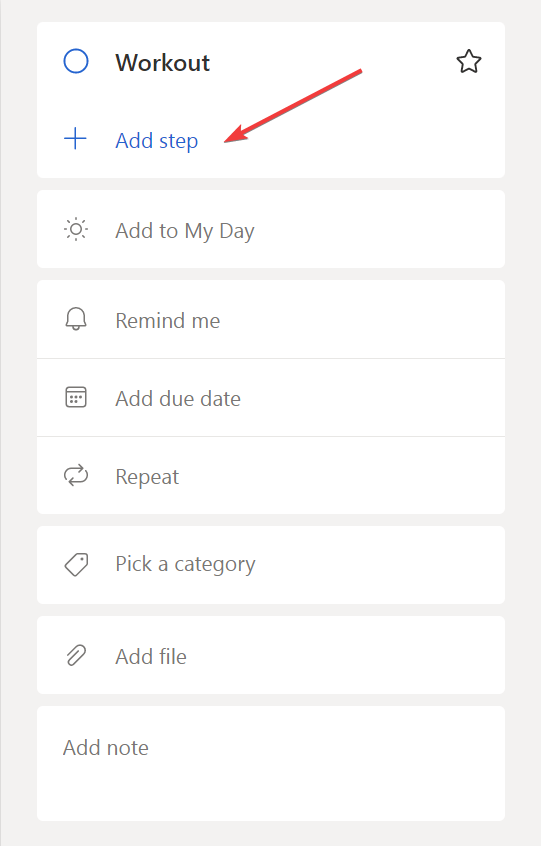
6. Also, if you don’t want to clutter your lists with too many related tasks, you can create steps or sub-tasks to keep everything in order.
This way, with some added steps and task assignments, you will increase your workflow and productivity. You will also keep things more organized and easy to access.
After you assign a task to a member, all the other members in your shared list will be able to see who has which task.
Did you know you can show and manage tasks in Outlook Calendar? That’s right, and we have a guide to show you how to do that properly.
Don’t forget to share your experience with Microsoft To-Do in the comments section below. If you have further questions, leave them there as well, and we’ll be sure to check them out.