Paint 3D for Windows 11: How to Download, Install & Use
Learn how you can use the app on Windows 11
![]() 4 min. read
4 min. read
![]() Updated on
Updated on
Share this article

Improve this guide
Read our disclosure page to find out how can you help Windows Report sustain the editorial team Read more
Key notes
- Windows 11 comes with an updated design, and while new features are added, some old ones aren't pre-installed, Paint 3D being one of them.
- However, if you make an upgrade from Windows 10, for example, the features are still present.
- The changes only apply to new devices that will come with Windows 11 pre-installed or to clean installs of the OS.
- As with other apps and features that are available in the Microsoft Store, you can easily download and enable Paint 3D.
When gossip started to spread that a new Windows 11 is in the works, every Microsoft user became curious as to how the new OS will look like and what it will bring to the table.
After speculations, Windows 11 is here. The operating system comes with a new design and feature changes. Besides some additions, it also comes with feature deprecations and removals.
One of the features that aren’t present in Windows 11 is Paint 3D. While it still offers the classic Paint, which is good for drawers, doodlers, and scribblers, it gave up on Paint 3D, which provides additional features and is great for 3D creators. If you are looking for some extra capabilities, we recommend Autodesk Maya as the best 3D design software.
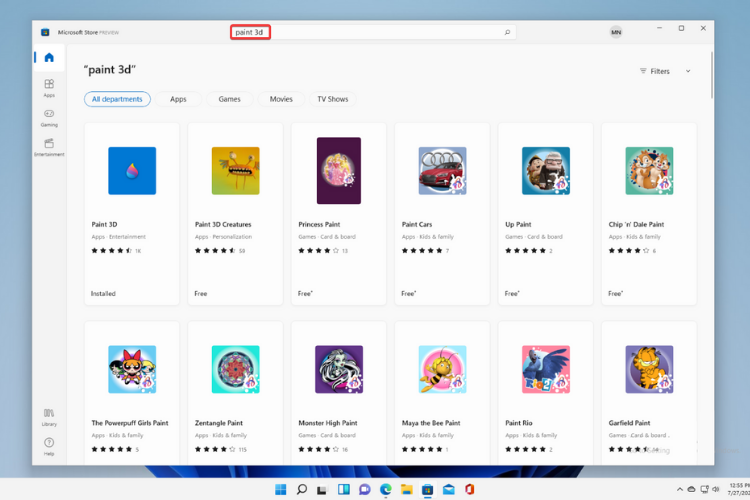
How can I download Paint 3D for Windows 11?
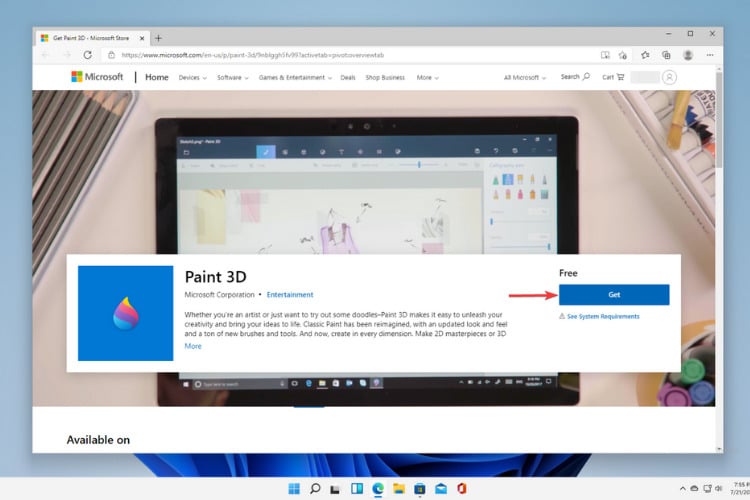
1. Download Paint 3D from the official website
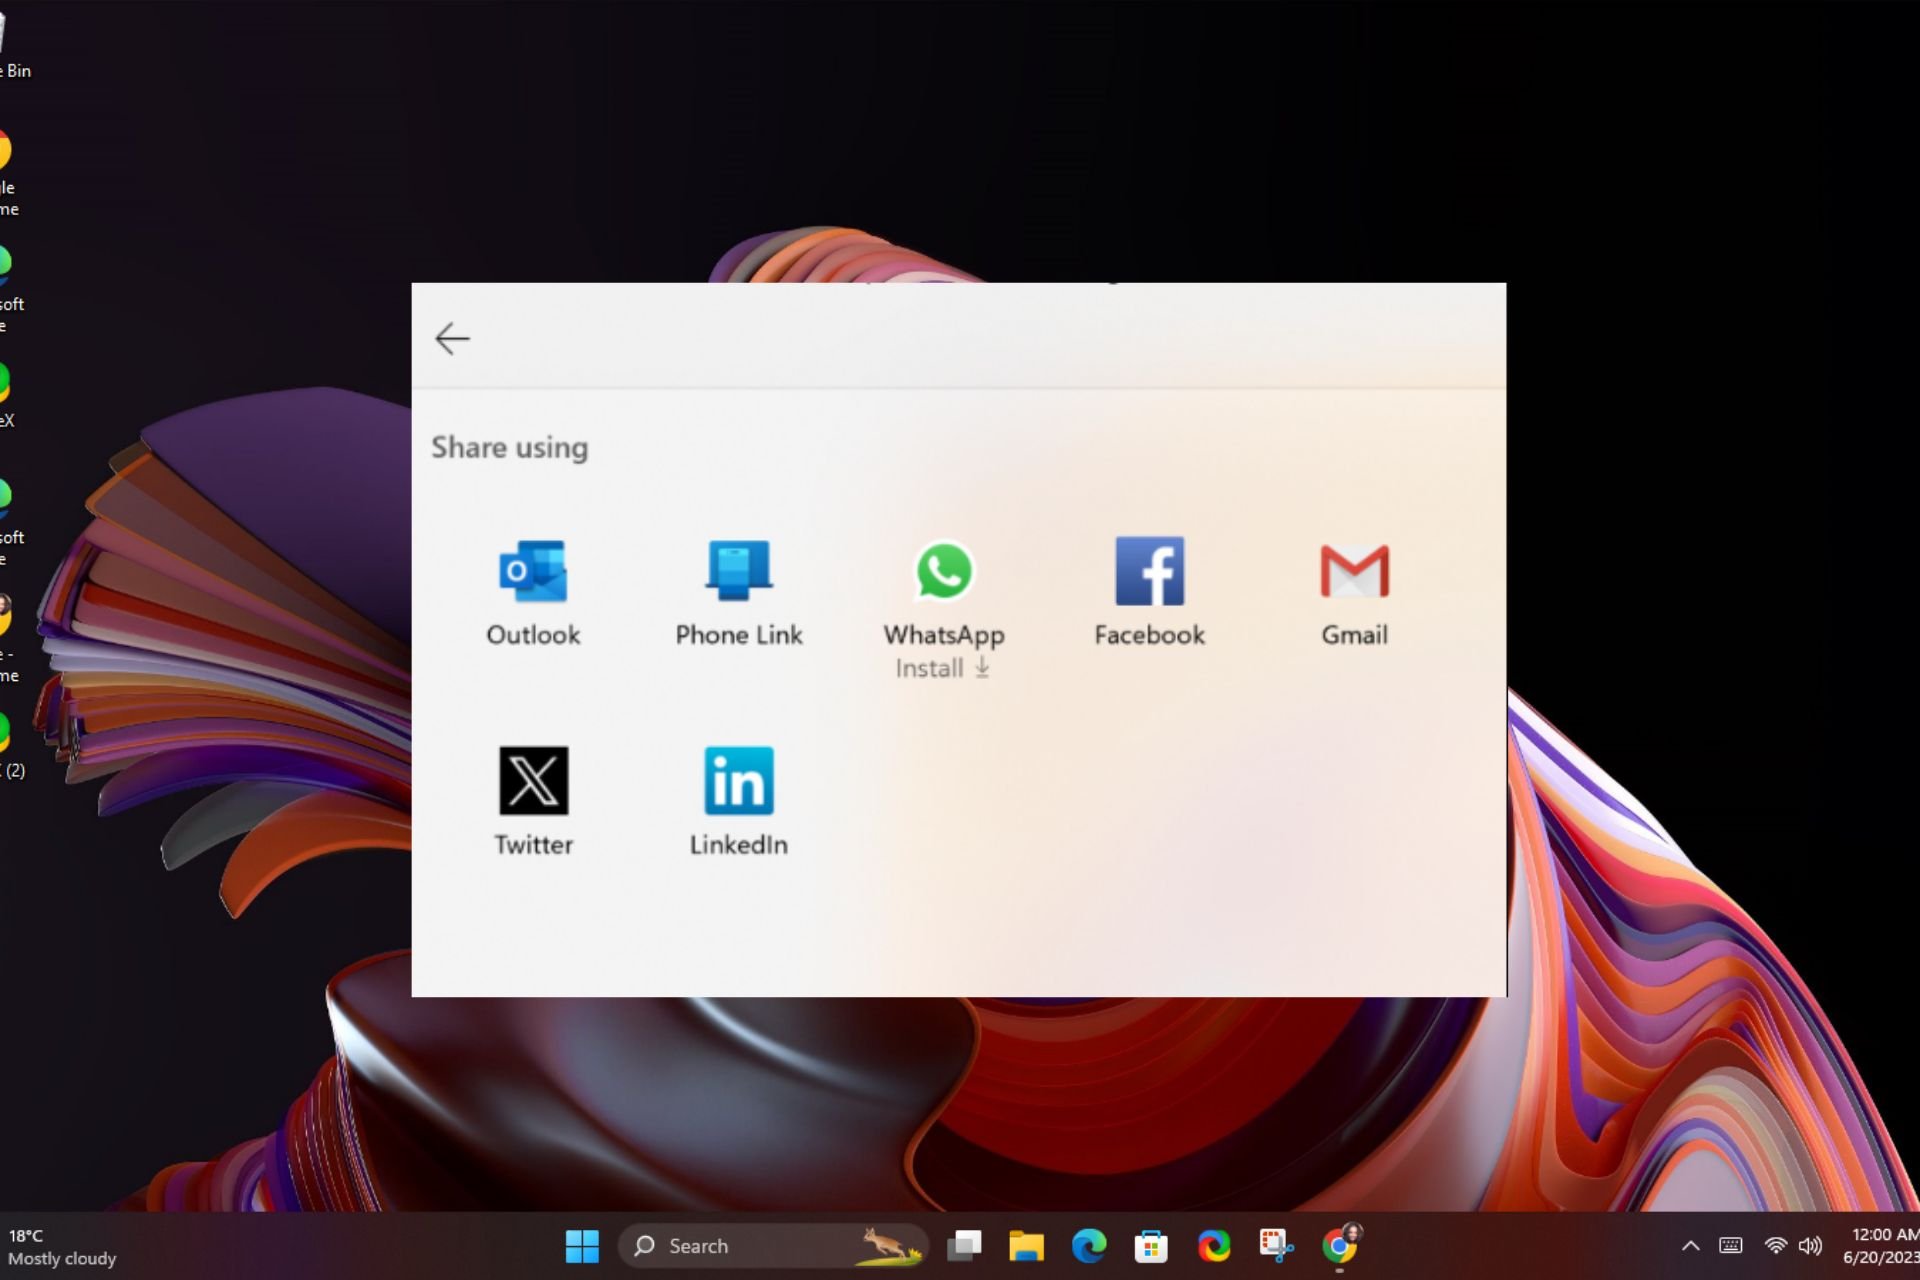
- Go to the Microsoft website to find Paint 3D.
- Click on Get.

- The website will try to open the Microsoft Store. Click on Open.
- Click on the Free button to start the download.
- You can now start using Paint 3D by clicking Launch.

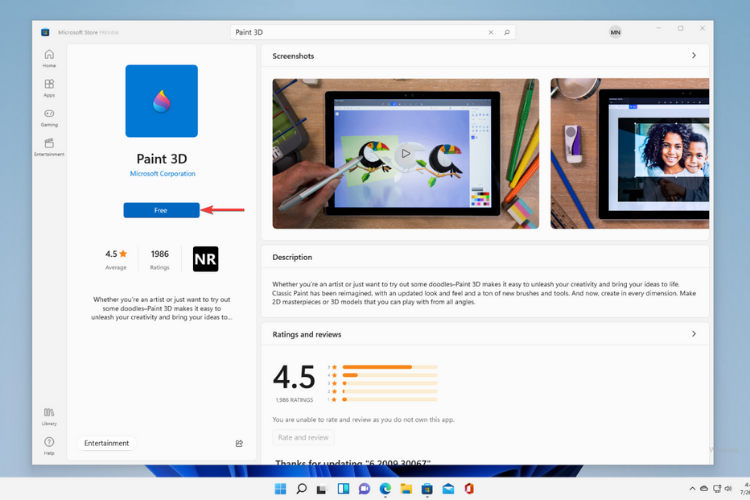
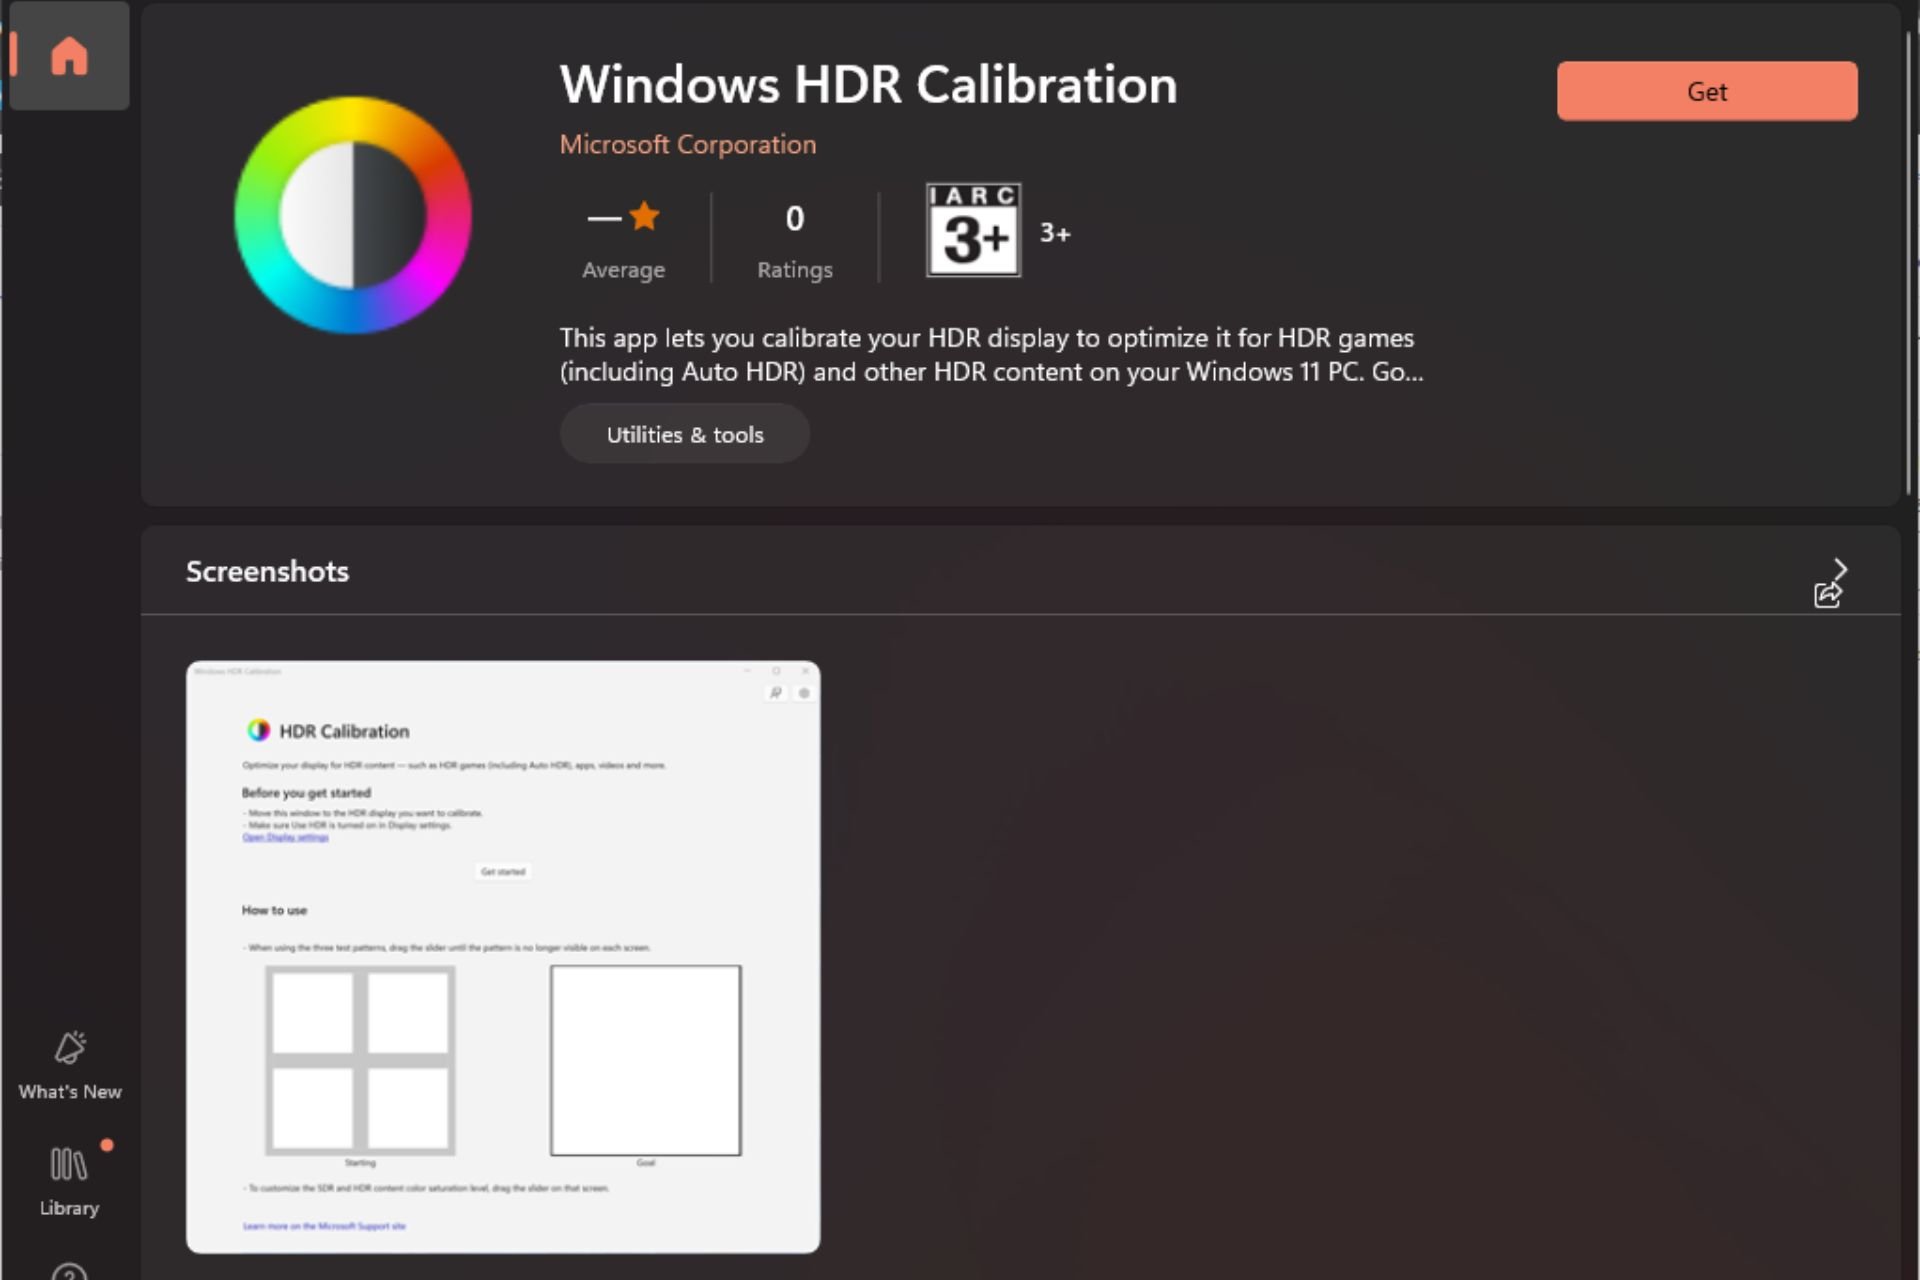
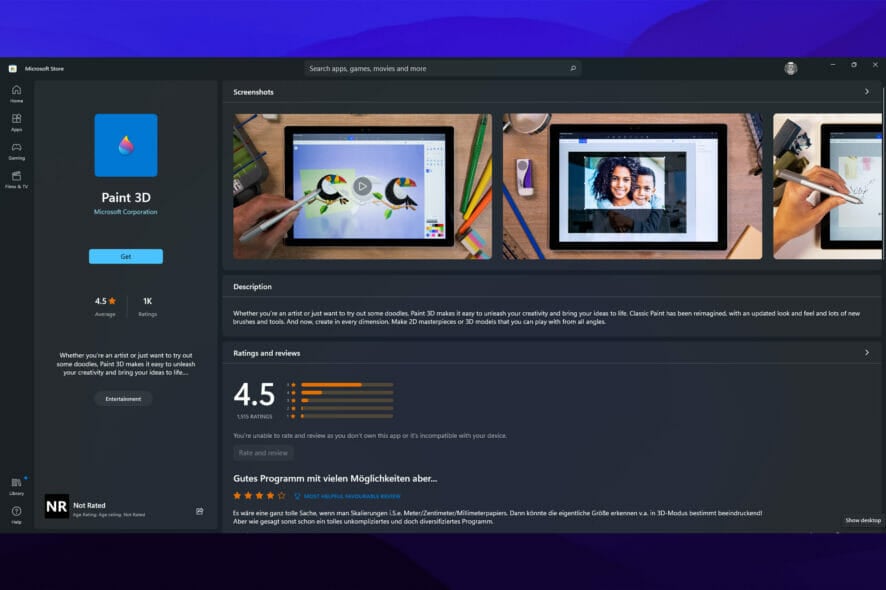
2. Download Paint 3D from the App Store
- Go to your Microsoft Store and look for the app.
- Now you should notice that Paint 3D was installed. Select it and click on Launch to start using the app.
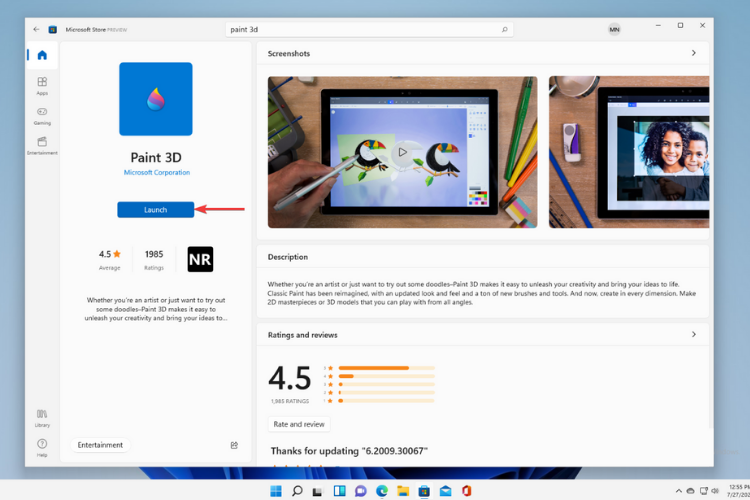
Once the app is installed on your Windows 11 device, you can launch it anytime by looking it up in the search bar from the Start menu.
Why did Microsoft remove Paint 3D?
You might be asking yourself why Microsoft chose to remove some of the features that were available in Windows 10.
So far, Microsoft hasn’t given any precise answer. On the official Windows 11 specs, features, and computer requirements, the tech company says:
When upgrading to Windows 11 from Windows 10 or when installing an update to Windows 11, some features may be deprecated or removed.
But given that earlier this year, Microsoft took the decision to no longer include Paint 3D in an Insider build released on February 24, 2021, for Windows 10, it’s no surprise that the app didn’t make the cut in the new OS.
Among Paint 3D, Microsoft also removed the 3D Viewer app for new Windows installations, after hiding the 3D Objects folder from the main sidebar menu by default in the same Insider build of Windows 10.
And while some features are not installed with Windows 11, others are deprecated since they are no longer considered efficient.
However, you shouldn’t worry about this, as we’ll show you above how you can easily enable Paint 3D in the new Windows version.
 NOTE
NOTE
Is Paint 3D better than the classic Paint?
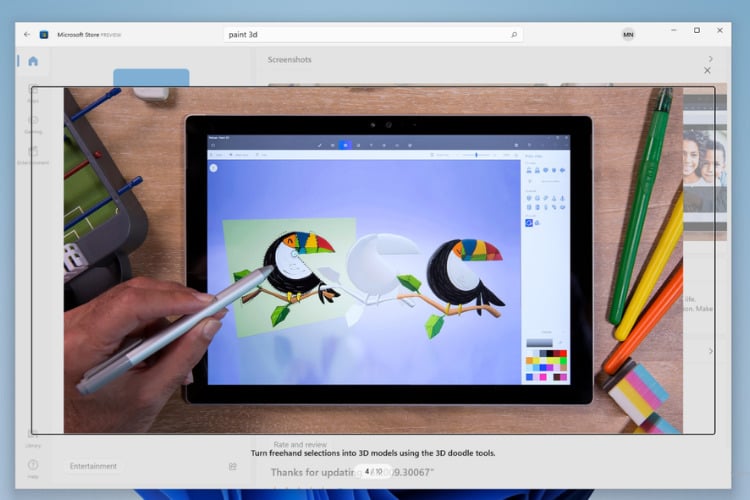
Compared to the classic Paint, Paint 3D is more professional, has more functionalities, and as its name suggests, it allows you to create and manipulate 3D objects in 3D space.
You can sketch your ideas with the marker, make notes with the pen, and turn your drawings into 3D models using the 3D doodle tools.
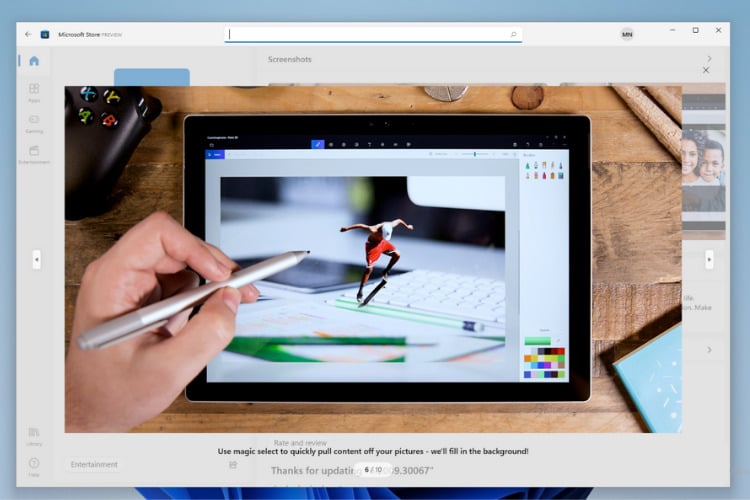
Moreover, you can edit your 2D photos with the 3D selection to add some depth and add stickers, textures, or another background to have the best pictures.
But if you truly want to show off your work, you should know that the app offers you the possibility to export a video of your creative process and present it to others.
In the end, when comparing the two, Paint 3D gives you the possibility to create and share really amazing projects with all its cool features and tools, and that makes it an overall better app than the classic Paint.
However, if you’re really interested in 3D apps, you should definitely take a look at the best 3D design software tools.
If you want to find how the new OS differs from Windows 10 as far as the design, interface, features, requirements are concerned, or you’re interested in upgrading, you can take a look at this Windows 11 vs Windows 10 comparison.
Last but not least, we encourage you to keep an eye on us. With the OS released, here you can experience it first hand and take your daily dose of Windows 11.