Money in Excel lets you track your financial transactions
![]() 2 min. read
2 min. read
![]() Updated on
Updated on
Share this article

Improve this guide
Read our disclosure page to find out how can you help Windows Report sustain the editorial team Read more
Key notes
- Money in Excel, a personal finance management tool, is available to U.S-based Microsoft 365 users.
- The solution lets you track your bank account transactions within your Excel Workbook.
- Would you like to start improving your Excel proficiency level? Head on over to the Excel section to read our expertly-written how-tos.
- Also, don't hesitate to visit the Personal Finance page to discover and evaluate tools similar to Money in Excel.
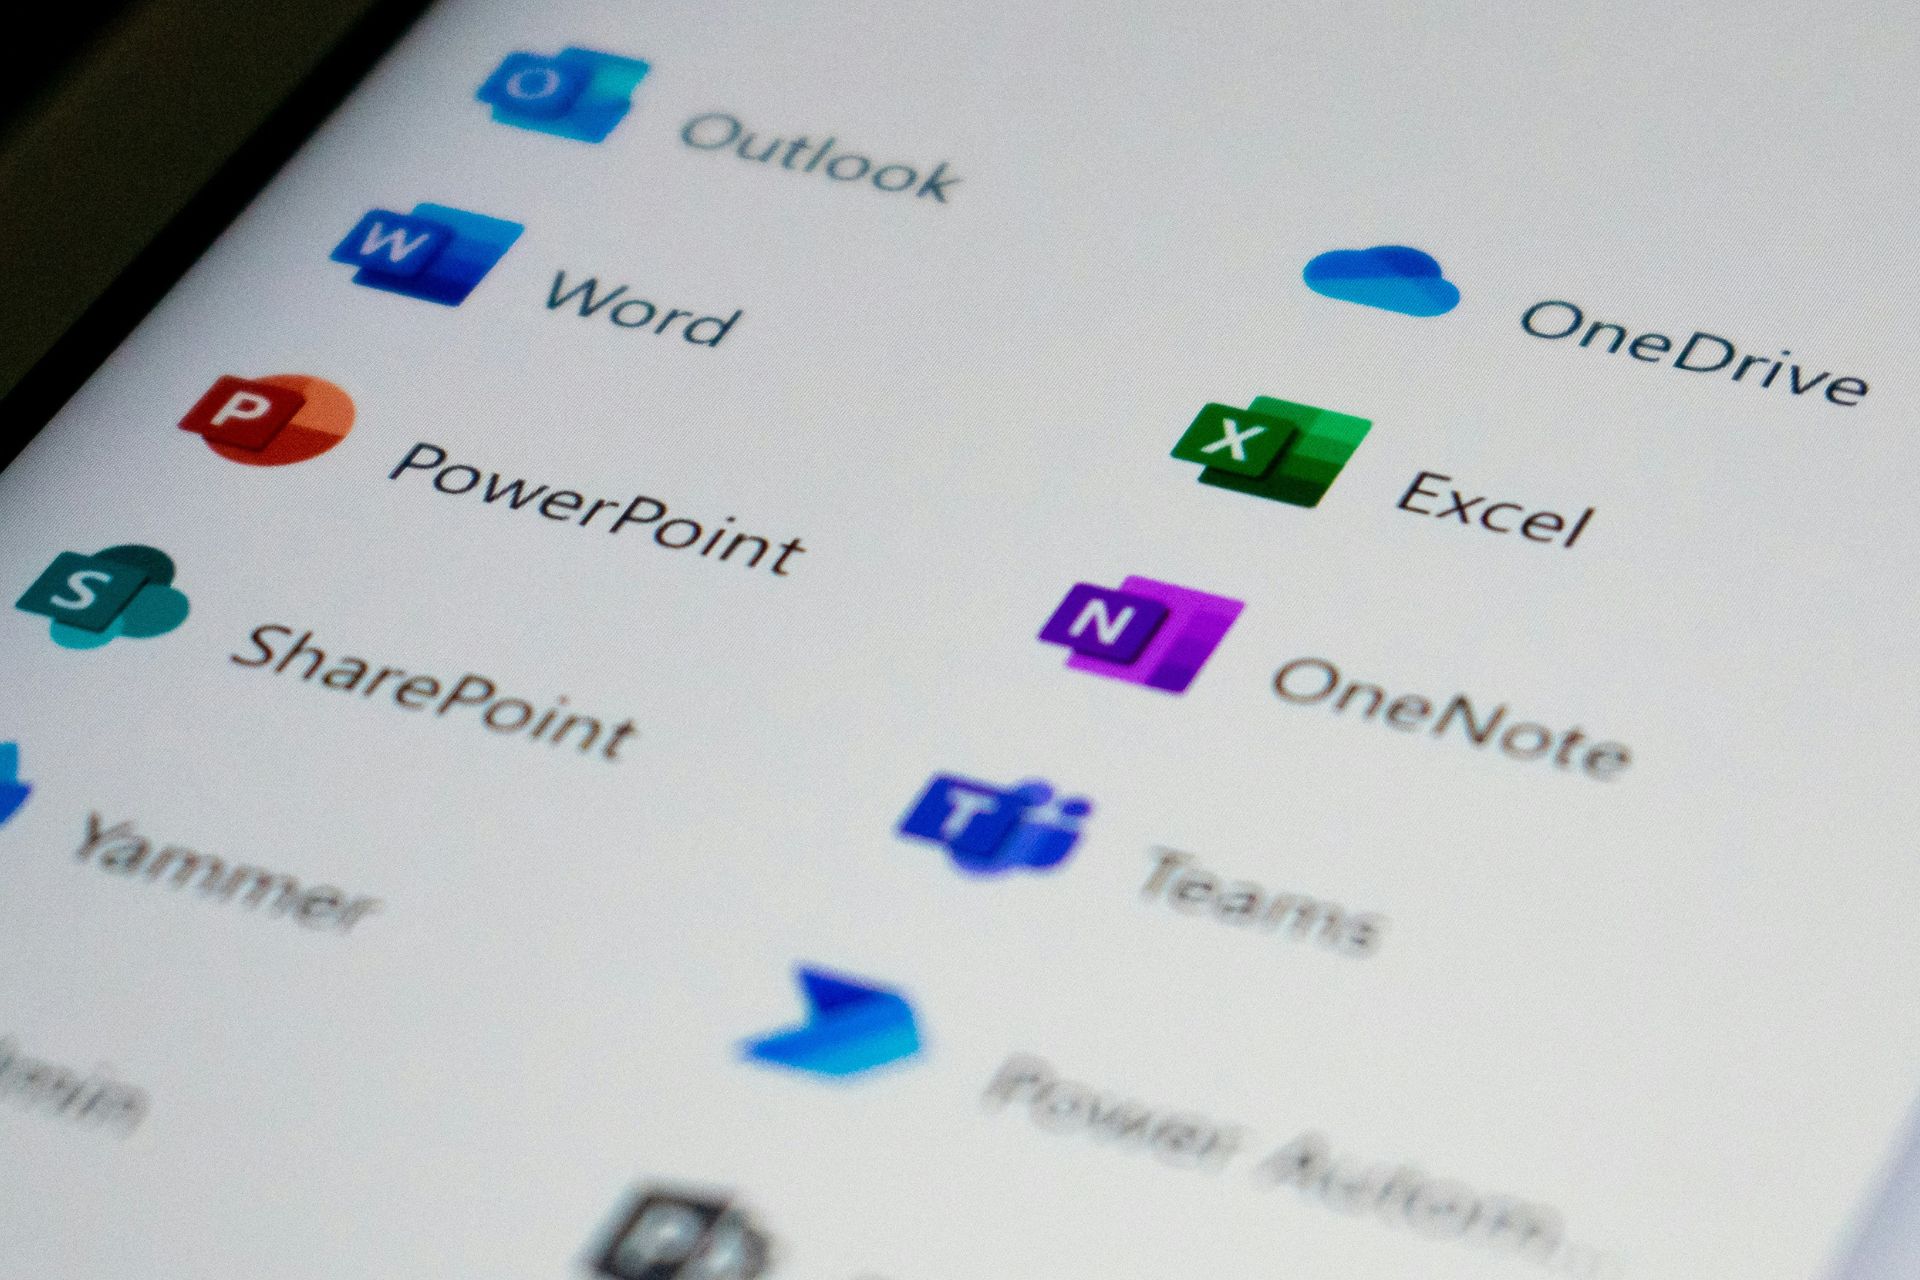
Excel is one of the core Microsoft 365 applications, and just like Teams, OneDrive, Outlook, and the rest, it gets functional improvements from time to time. Well, Microsoft recently announced a partnership with Plaid to create Money in Excel, a personal finance management solution.
Money in Excel is now available to Microsoft 365 users
US-based Microsoft 365 Personal and Family users can start using Money in Excel right away. To get started, they simply need to download a template built for the solution.
The personal finance tool plugs into your bank accounts with the help of a third-party plugin. It tracks all your financial transactions. Specifically, it automatically extracts your credit card, loan, or investment account data and presents it to you on your Excelspreadsheet.
The objective of using Money in Excel is to simplify your everyday financial management workflows.
Money in Excel will automatically import your transaction information from all your accounts into one workbook. You no longer need to spend hours manually setting up a personal finance spreadsheet from scratch; Money in Excel does it for you in just a few seconds.
For sure, Money in Excel is a consumer-facing feature that changes the way you track your financial goals using Excel. For instance, it includes analytics that deliver insights into your spending habits across various categories for any specific period.
To keep your spending in check, the app detects and notifies you about any deviation from your regular cash outflows. It lets you know when you’re trying to withdraw more than you have in your bank account. Any extra-ordinary spending is on the app’s radar too.
You can use solution on your smartphone, although you might miss out on some core app functionalities. But Windows 10, Microsoft Edge, and Chrome are the recommended platforms for running the application.
Do you think Money in Excel is an ideal alternative to traditional personal finance management tools? You can always share your thoughts or raise any concern about it via the comments section below.
[wl_navigator]